

This DIY tree topper Christmas star with glass glitter is a fun and easy project to do! It adds the perfect elegant vintage touch as the prettiest tree topper that no one will ever believe is homemade!
Add this Free Printable Merry Christmas Banner or this Free Printable Vintage Santa Ornament to your tree and don't forget this simple trick for How to elevate cheap Christmas Ornaments. I also have a bunch more beautiful Christmas printables you might love for your home and gift giving this season!
About this DIY Tree Topper
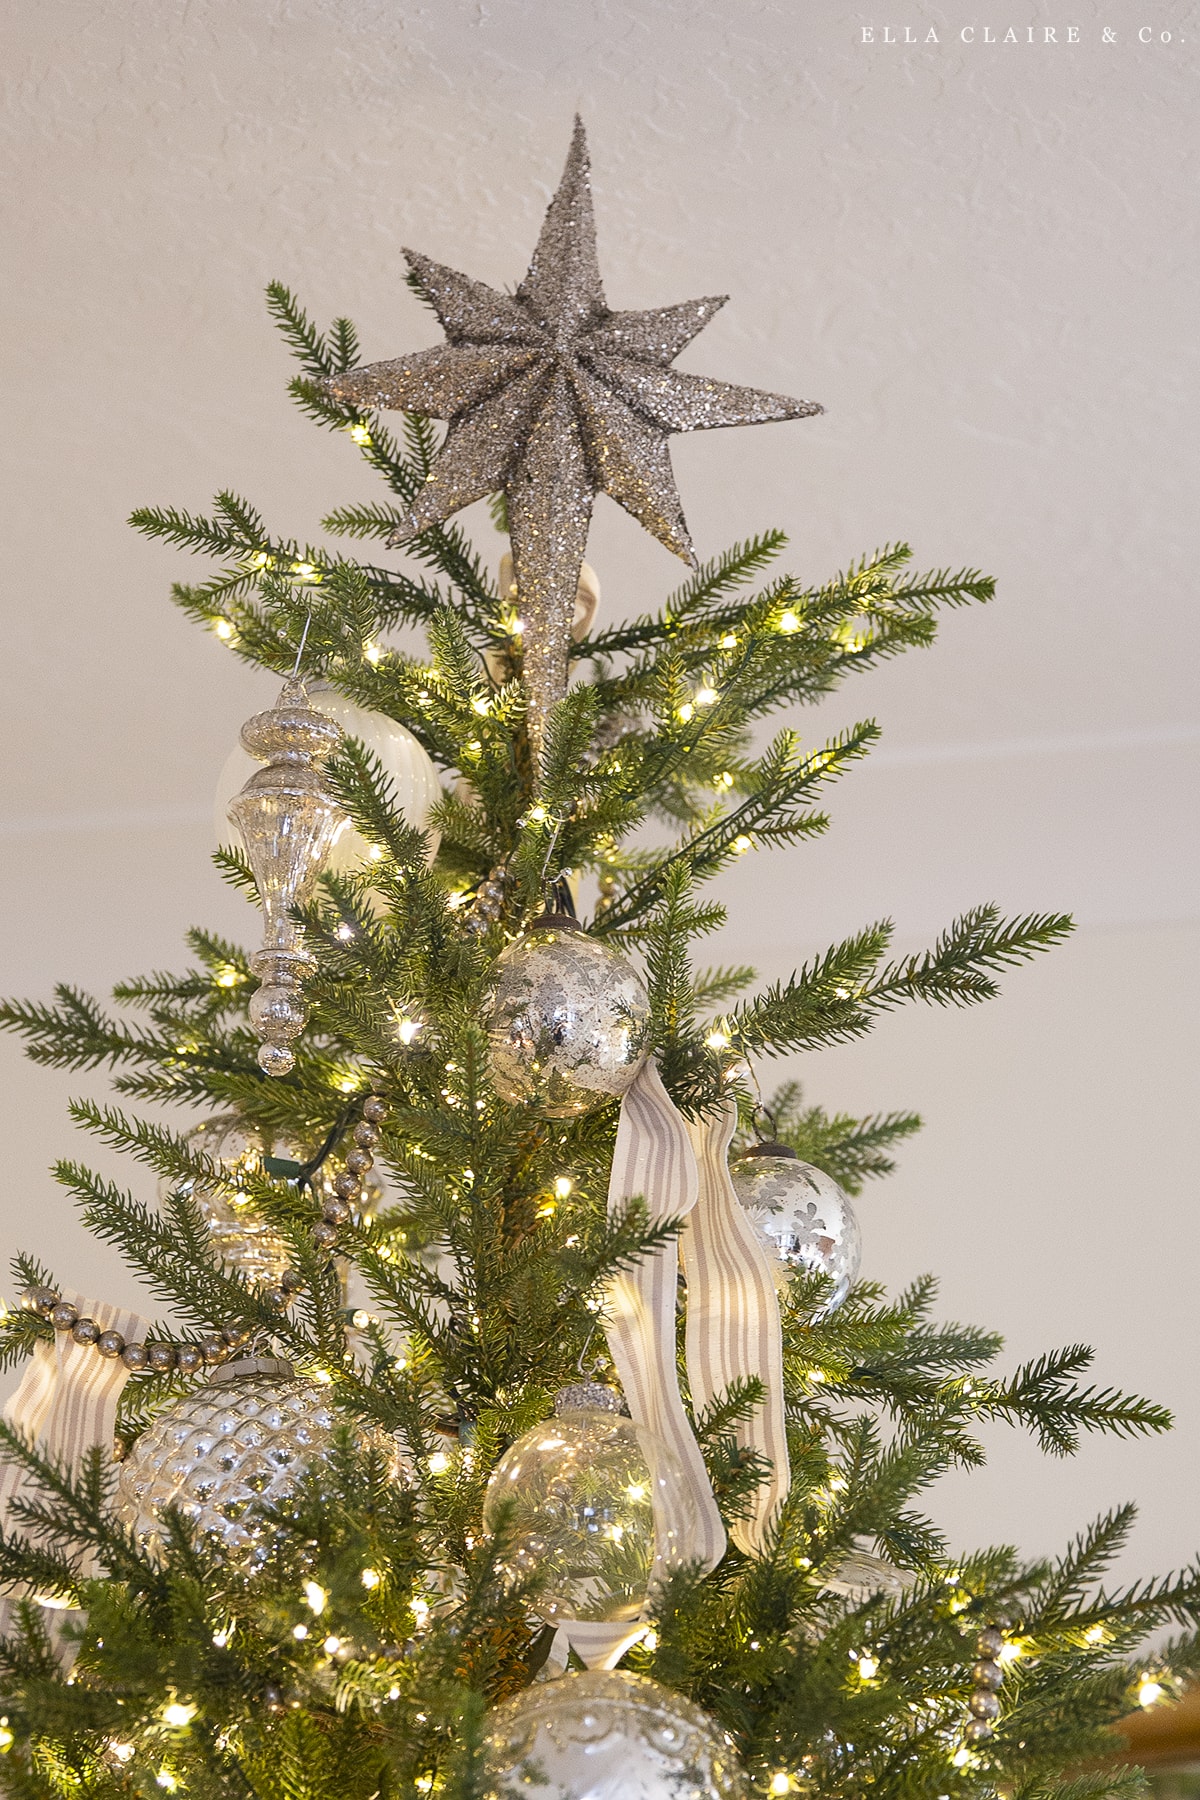
I had searched and searched for a star tree topper this year without any luck. I had a very specific shape and style in mind and couldn't find it anywhere, so of course I had to make it! The end result is a star I will use over and over again. I love the symbolism behind the star and I love that this one is very reminiscent of the star of Bethlehem.
I also love the classic vintage feel of this star. It looks like something you would find at a home decor or antique store.
Supplies you will need for the DIY tree topper
- white cardstock
- free printable download (below)
- glitter glue (I use this one or a clear glue)
- glass glitter- (I use this one in silver and gold mixed together, or this kind)
- gold and silver metallic paint- (I used shimmering silver, champagne gold, brushed bronze)

How to Make a DIY Tree Topper Christmas Star
First: Print onto Cardstock
Print off both pages of the free printable tree star onto card stock. Make 2 copies of each page, or 3 if you want your star to be extra sturdy. We are layering the stars for added support. If your printer will not accept cardstock, print onto regular printer paper, cut out the star and glue it to card stock.
Here are the free printable files. Please remember they are for personal use only.
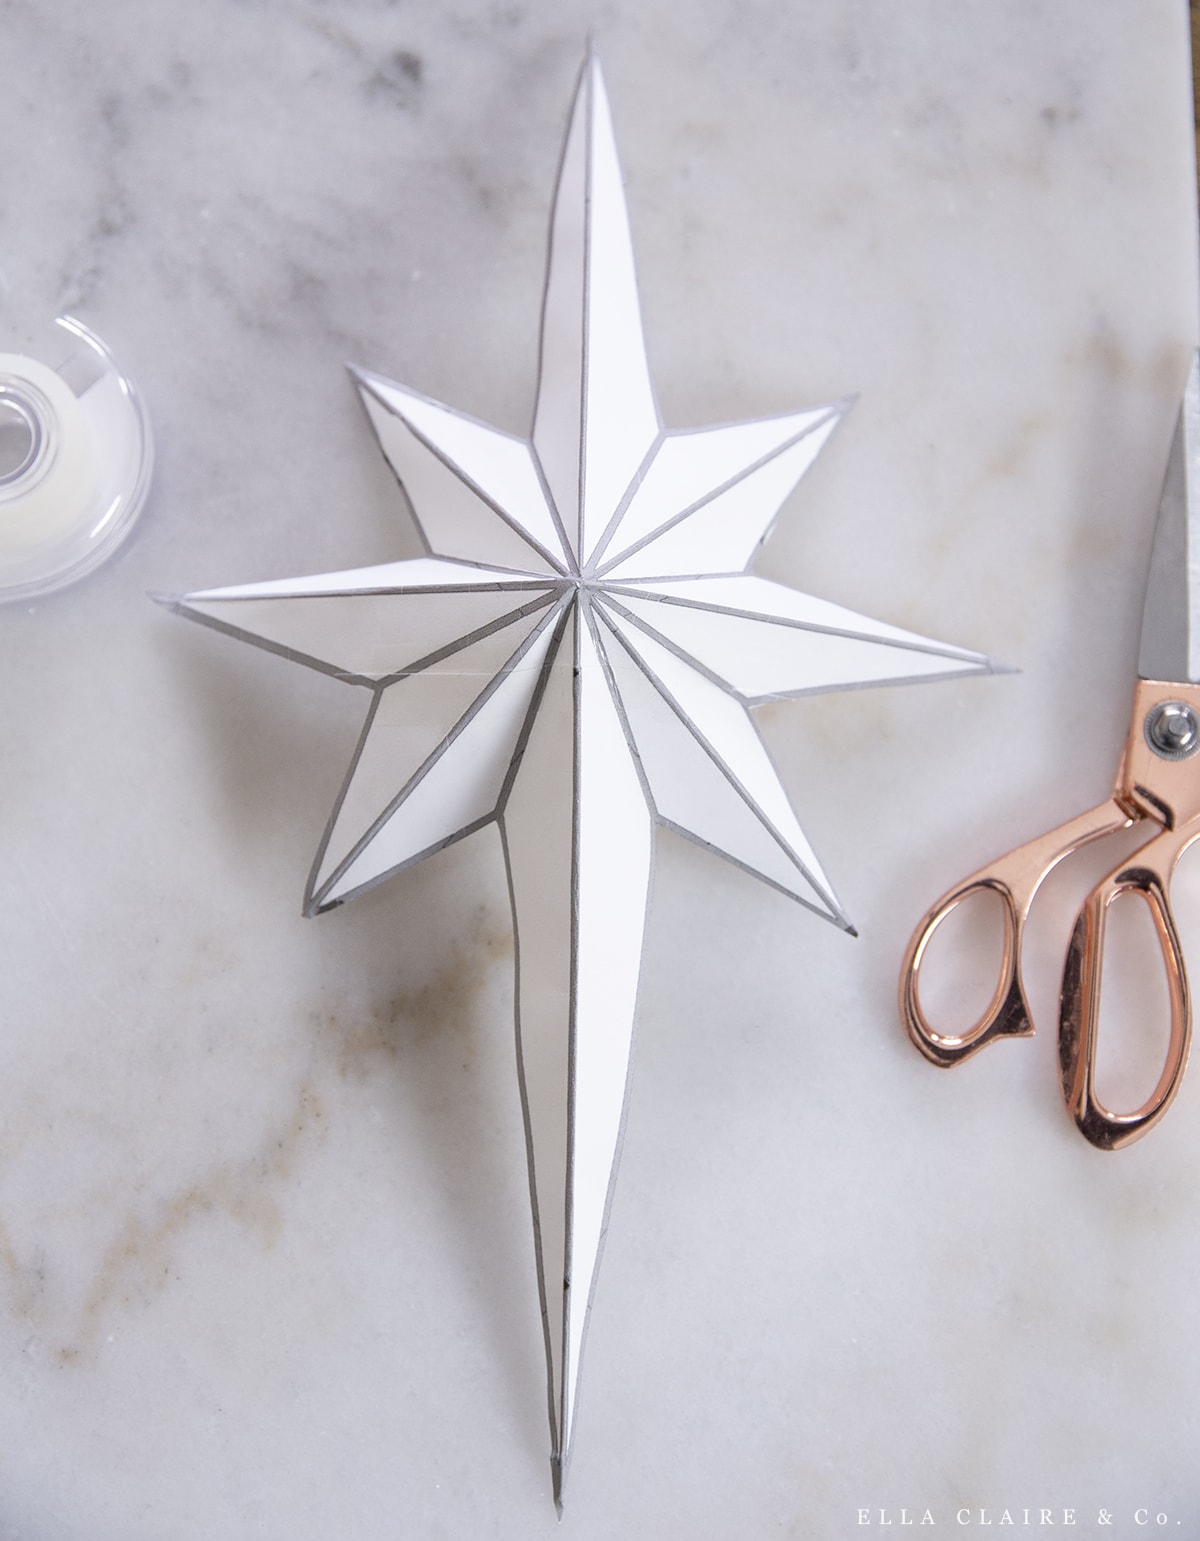
Second: Cut Out and Assemble Stars
Cut out stars and tape the halves together. Keep each full star separate for now

Third: Fold and Layer DIY tree topper
Fold along the lines of the stars to create the 3D effect. The middle of each arm of the star should fold outward and the crease between the arms should fold inward. Repeat for each layer of the star. Then glue the layers together, trimming off any overhanging areas to make clean lines.
Fourth: Paint
Paint both sides of the star with a mixture of gold and silver metallic paint. I prefer the more muted tone of these colors mixed together, but feel free to use just silver if you want your star to be just silver. This paint will mostly be covered anyway, so even gray paint would work.

Fifth: Add Glitter!
Using a paintbrush, paint glue onto a section of the star and working quickly, pour glass glitter over the same section. It helps to do this on two different sheets of paper- one for the glue, then move over to another one for the glitter. That way, you can fold the paper over and pour the excess glass glitter back into the jar.
Repeat on each section of the star until the entire thing is covered. Leave alone for several hours until completely dry. Pinch the seams again to make sure your star still has its beautiful 3D shape.


Sixth: Add Dimension with Shading to the DIY tree topper
Using a paintbrush, create a mixture of the gold/silver mixed with a little black. Lightly paint in the creases of the star to add dimension and the appearance of age. If you accidentally do too much, you can use a damp rag to remove very gently before the paint dries. Less is more here and you can always add more later.


Additional Tree Topper Star Tips
- I taped a long thin paintbrush on the back of my star and used it as a stake to stick the star into the top of my tree, but a dowel or other stick would work too. You could also hot glue floral wire to the back of the star and use it to wire the star to the tree
- You can use other types of glitter for a different color or look.
- If there are spots where the glass glitter didn't adhere, just use your paintbrush to add a little extra glue and patch it with more glitter. Tap off excess.
- Making a bunch of these for the tree could be a pretty ornament as well!

I hope you enjoy your tree star! We love ours and had a lot of fun making one for us and one for a friend. I am even planning on making a small one for the little tree in my room.
Leave a Reply