

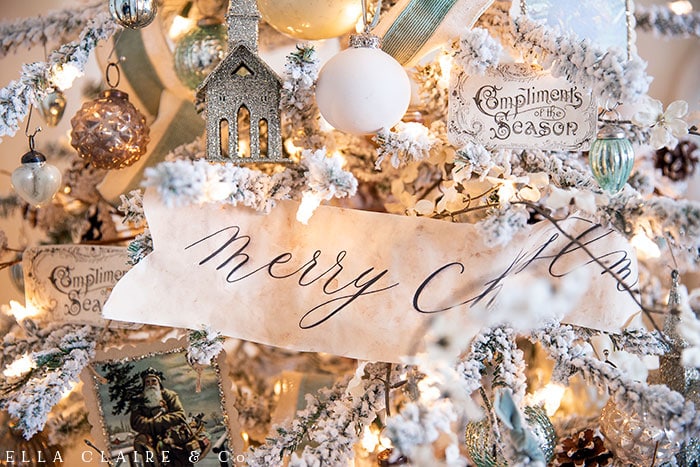
These free printable Merry Christmas banners with an elegant Calligraphy font are a beautiful accent decoration for Christmas trees, mantels and holiday wreaths.

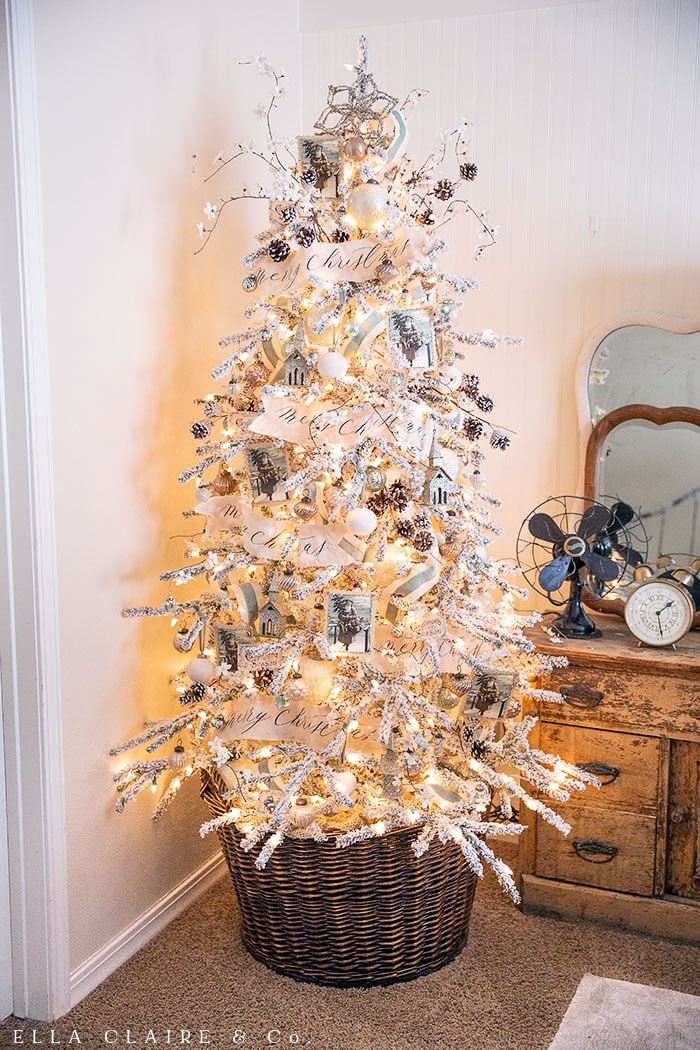
When I was putting together the Christmas tree for my bedroom (see details here), I knew I wanted to add some vintage looking Merry Christmas banners but I couldn't find the style and aged color that I wanted anywhere. I really wanted ones that were charming and very antique feeling, so I decided to make my own. And, of course I have the tutorial and free printable for you to make them too!
Supplies
- Download and print the Merry Christmas banners (see below)
- Scissors (purchase mine here)
- 2 Tea bags (I use this)
- Hot Water
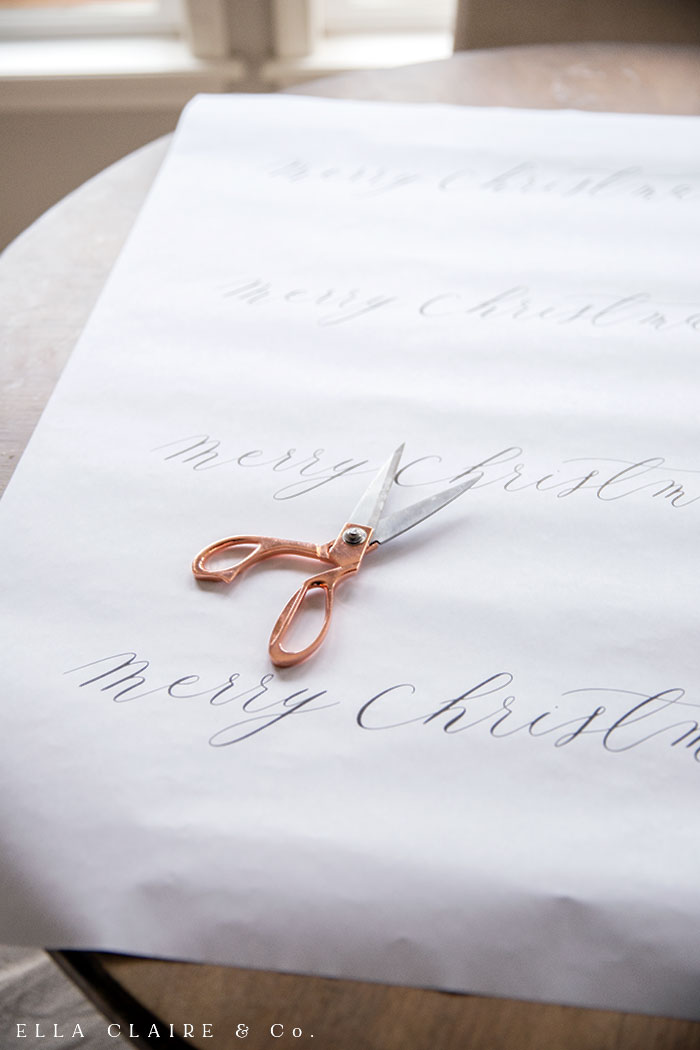
Step One: download and print banners
I wanted my banners to be larger than a regular sheet of paper, so I created these to be printed as a 24"x36" engineering blueprint. You can just take the file down to a copy place and ask for the engineering blueprint in black and white (not color). It should cost around $5. I also made a file you can print at home on a regular printer. They are a lot smaller, but would still be adorable on a tree, wreath, or even for gift wrapping.
You can download the files here:
- 24"x36" print
- 8 1/2" x 11" print
- You might also be interested in these cute mini banners too. They are so sweet on gifts as tags or on place settings at the table.
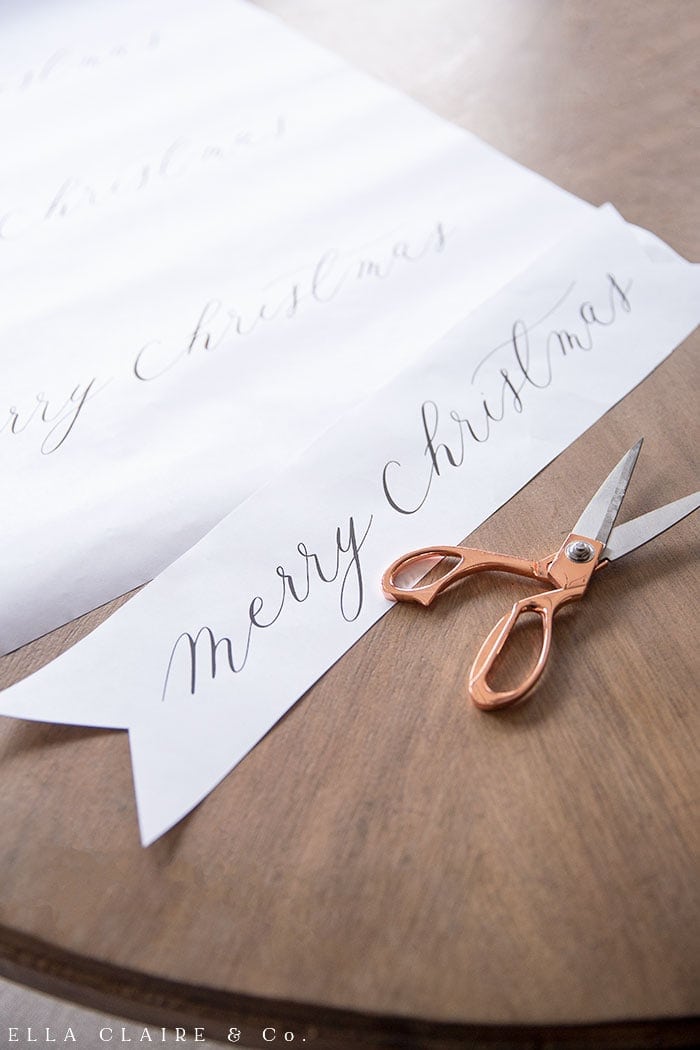
Step Two: cut out banners
There are 4 Merry Christmas banners on the big prints (2 on the small one). I just eyeballed the size and shape I wanted. Some were way more "perfect" than others, but it really didn't matter in the end. They all looked cute on the tree.
First, I cut the banners into strips and then I added the little V-shaped cut at the ends. You could certainly leave that out if you prefer a straight edge.
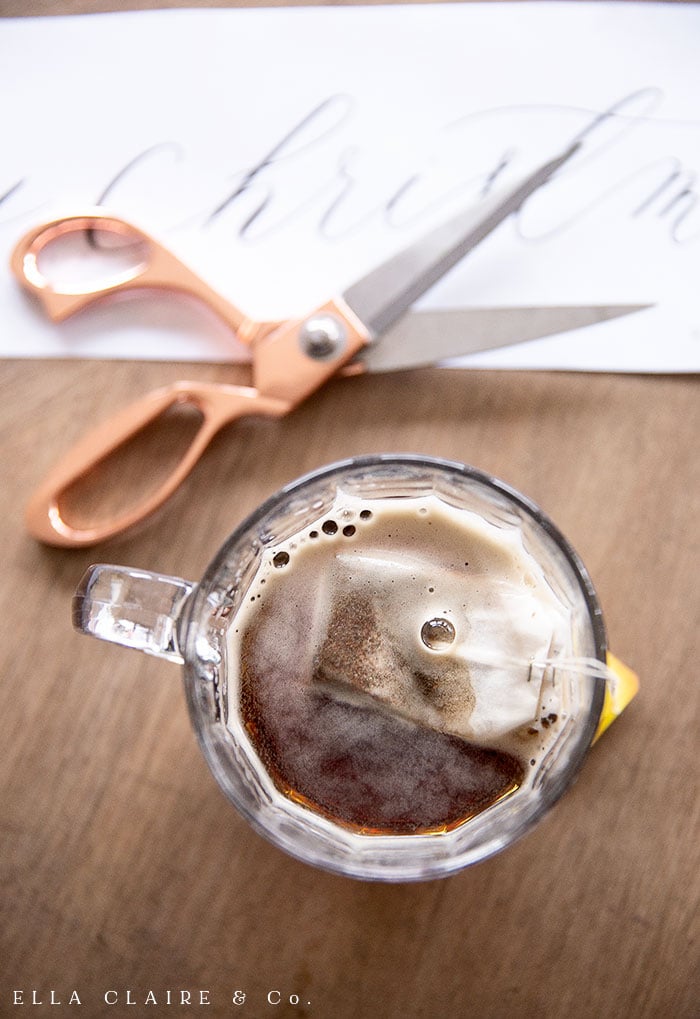
Step 3: Aging paper banners by tea dying
The banners are pretty printed and left just the way they are as a a pure white, but in order for them to match my tree better, I wanted to age them a bit. I wanted to give them that antique old book page feel with varying color, age spots, etc. so I used tea to get this look!
I will share the steps I used:
- Steep 2 tea bags in a glass of hot water.
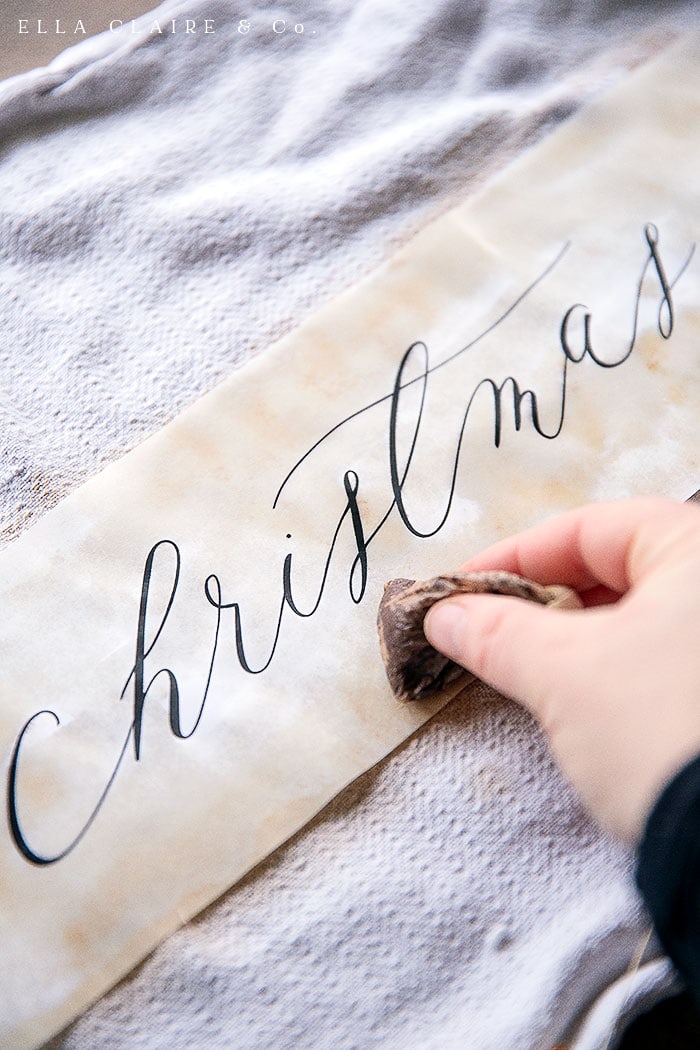
- lay banners on an old towel.
- Use one tea bag to squeeze tea onto banner in sections.
- Use tea bag to spread tea around the banner, starting on the outside edges and going over the lettering last. The lettering will bleed a little, but to minimize this, I just went over it lightly with the tea and avoided touching it too much.
- Full disclosure: I put my banners in the oven on a parchment lined baking sheet at 180 degrees for 15-20 minutes until just dry (supervised). This deepens the color and speeds up the process. HOWEVER, I am sure it is some sort of fire hazard, so my official recommendation is to air dry them in a warm or sunny place.
Adding Paper Banners to the Christmas Tree
The paper banners give the look and feel of a kind of ribbon, adding filler, character and movement to the tree. To get the prettiest look, it is important to give them a more natural, flowy shape and feel. After tea-dying, the paper isn't straight anymore anyway and it just adds to the old world feel.
When adding them to my tree, I make sure to press them in and out of the holes in between branches so the look like they are flowing like ribbon. When you step back and look at the tree, it gives a really pretty effect.
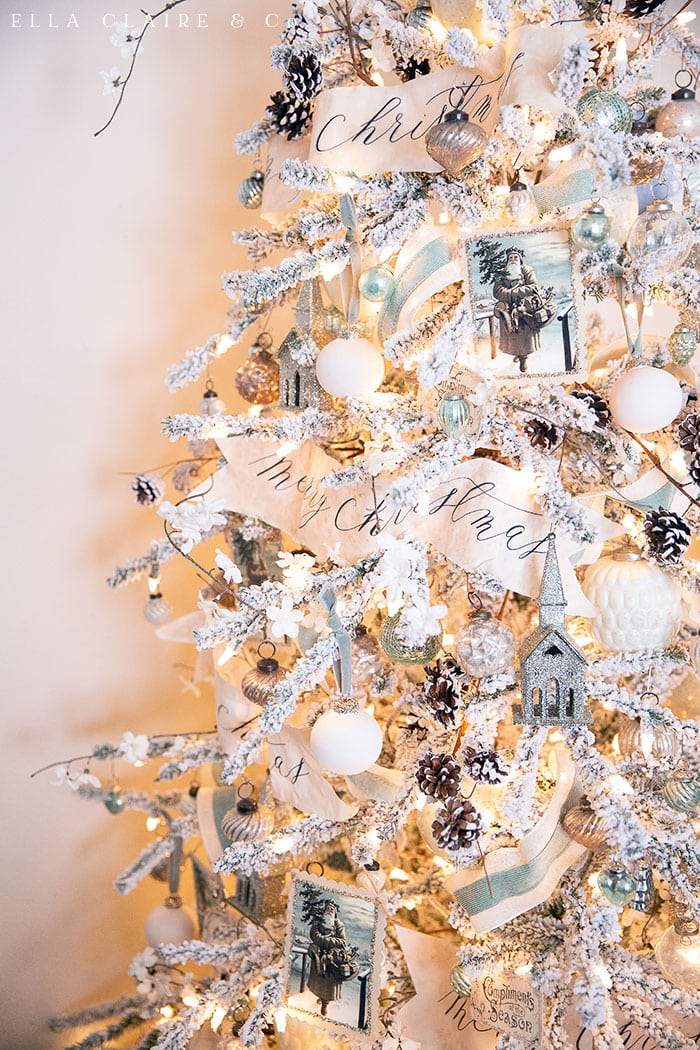
I'm so glad I took the time to make these easy banners. Lets be honest, they didn't really take that much time, but they really make the tree. They re so feminine and pretty and they really bring all of the other elements of the tree together- the mercury glass, the DIY ceramic glitter glass ornaments, the Free printable DIY vintage Santa ornaments and Compliments of the Season cards. See all tree details and tutorials HERE.
I hope you enjoy the free printable! I would love to see what you do with it!
Gaylin
Love this ! Your pintables are making my Christmas decorating easy!
Thank you!