

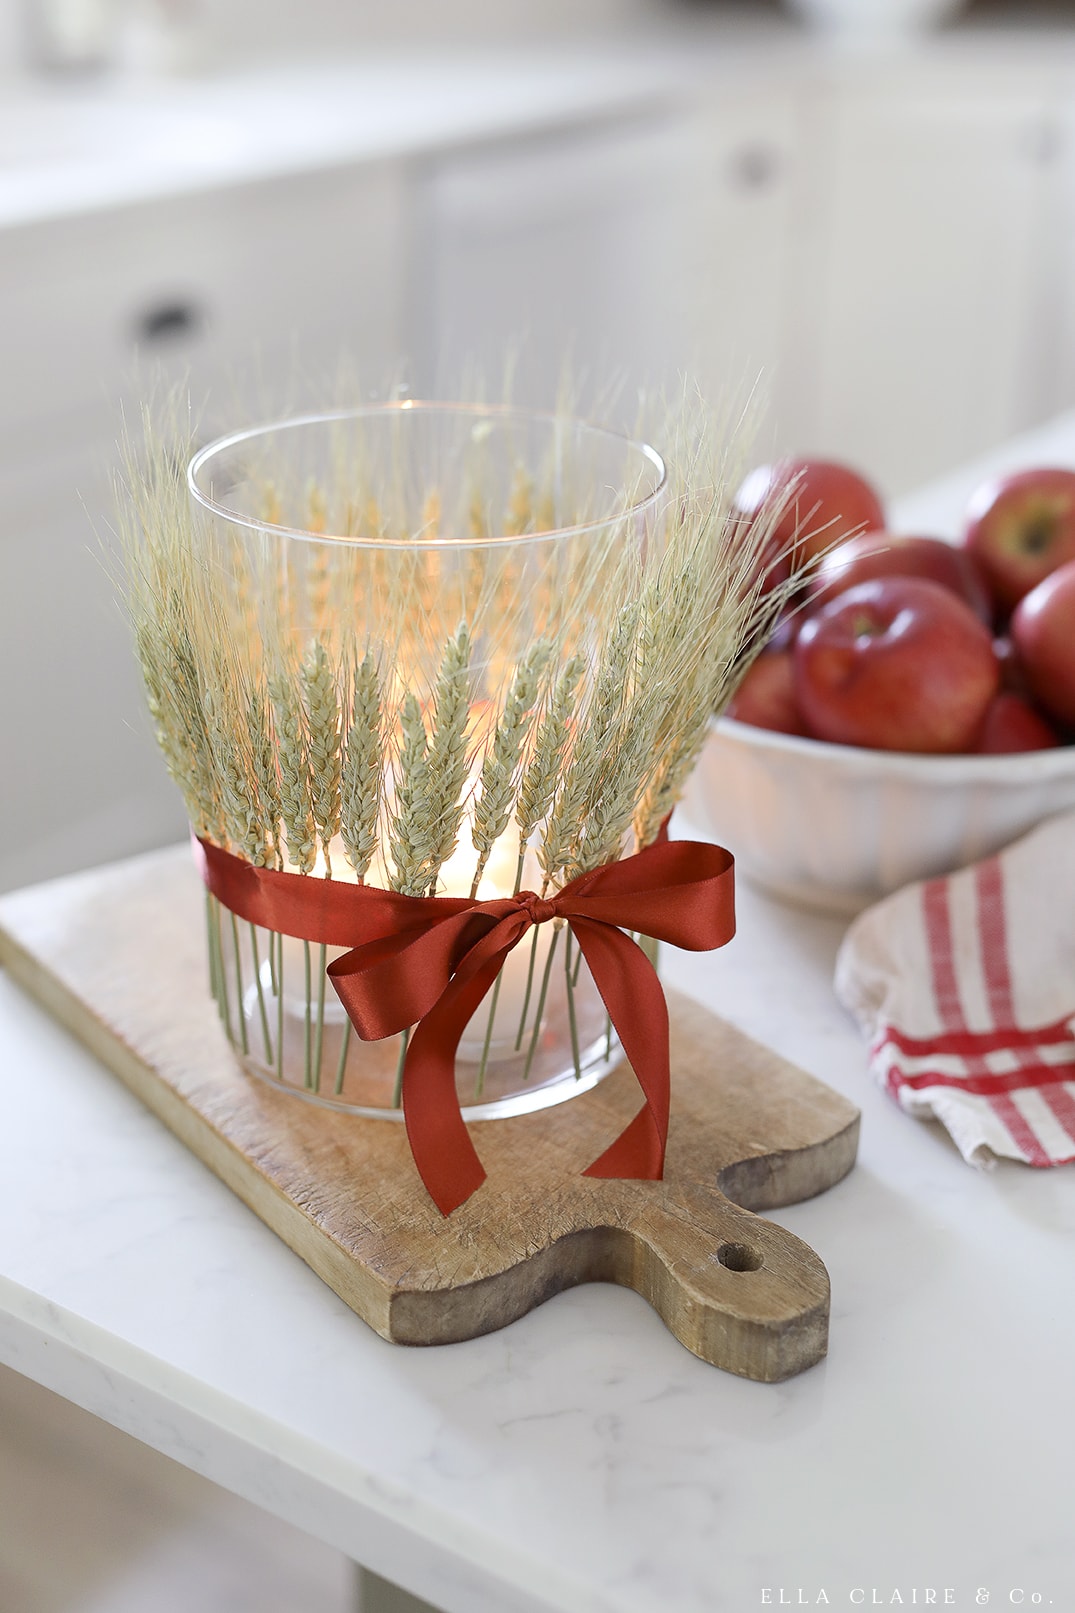
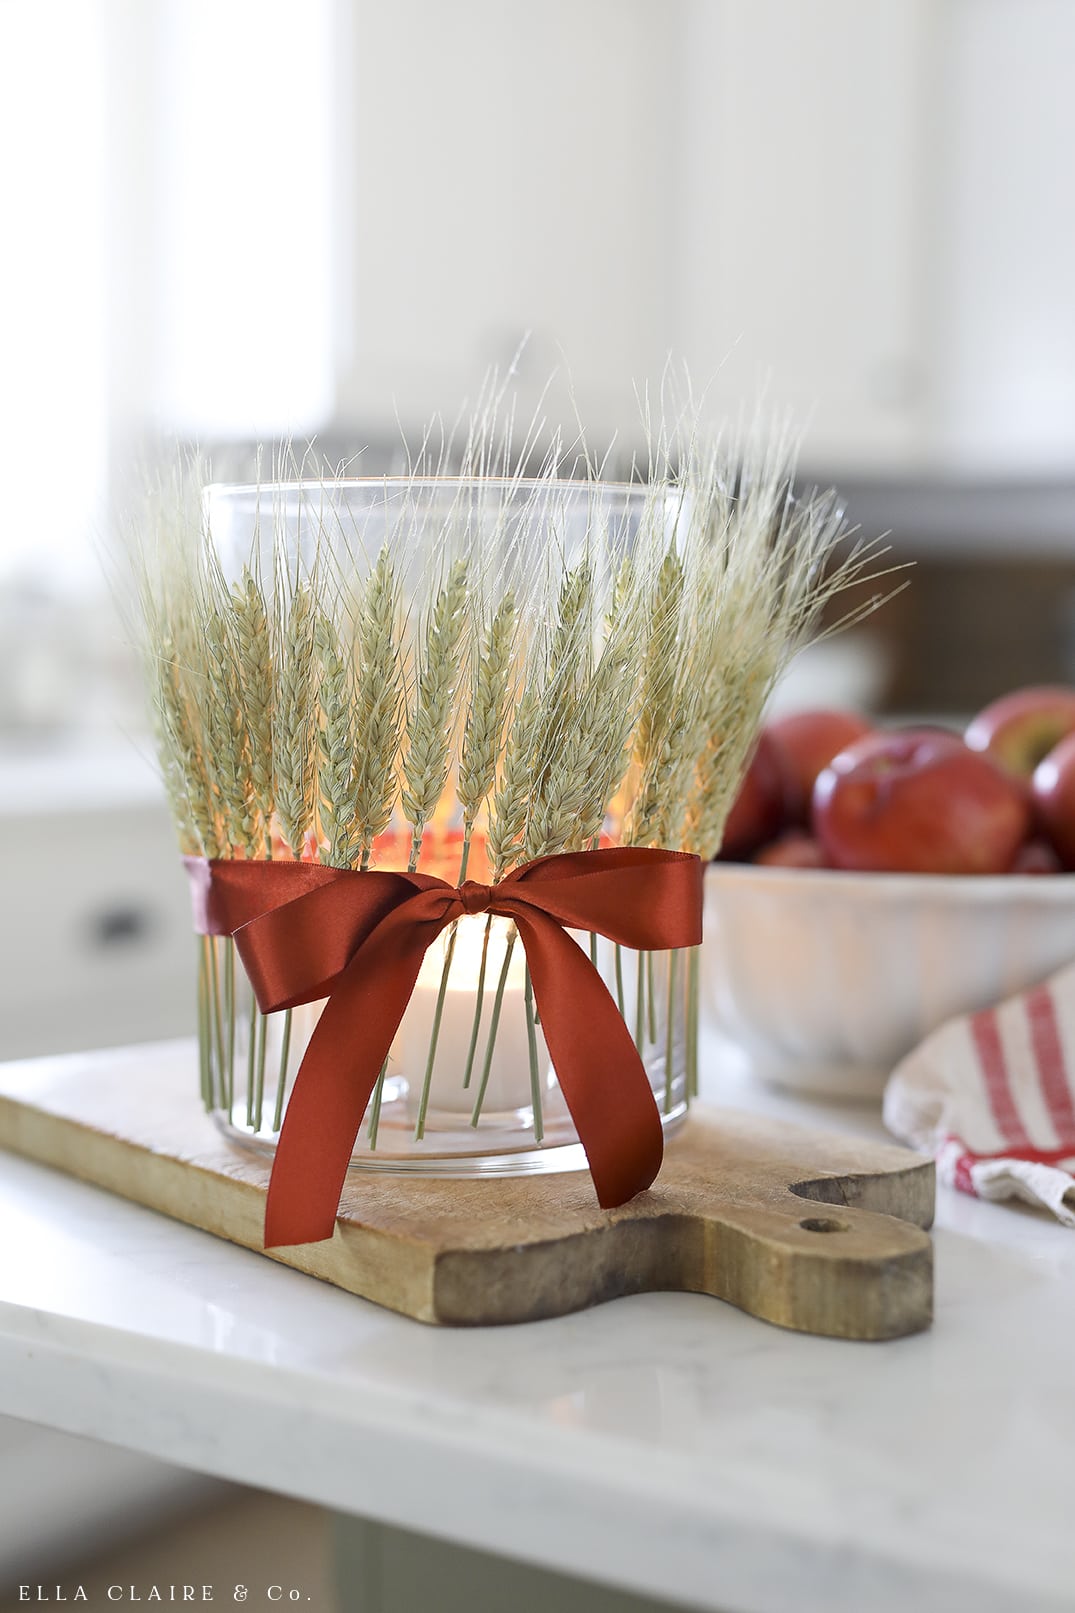
This Fall Candle is an elegant DIY decor project to cozy up your home for this holiday season. Perfect for autumn centerpieces, decorating tables, mantels, or given as a gift, it is sure to add that natural touch to your home.
This fall candle holder is a very budget friendly project that can be made in about 30 minutes or less if you're a quick worker!
I love adding beautiful but inexpensive projects and decor to my home each season like this Fall Mantel or this cozy No Sew Flannel Throw Blanket and my very, very favorite, these DIY Fall Leaf Luminaries.
Fall Candle with Wheat
When the weather starts to turn and there is a crispness in the air, one of my favorite things to do is light a candle and turn on one of my favorite folksy playlists. It just feels magical and so very fall. It is, after all one of the very best times of the year.
There is something about this time of the year that just makes me want to bake and fluff the house.
Projects aren't for everyone, but this little fall candle holder project bring me joy.
If you're not a project person, you may even like this one because it really is so easy to do if you follow my little tape trick.
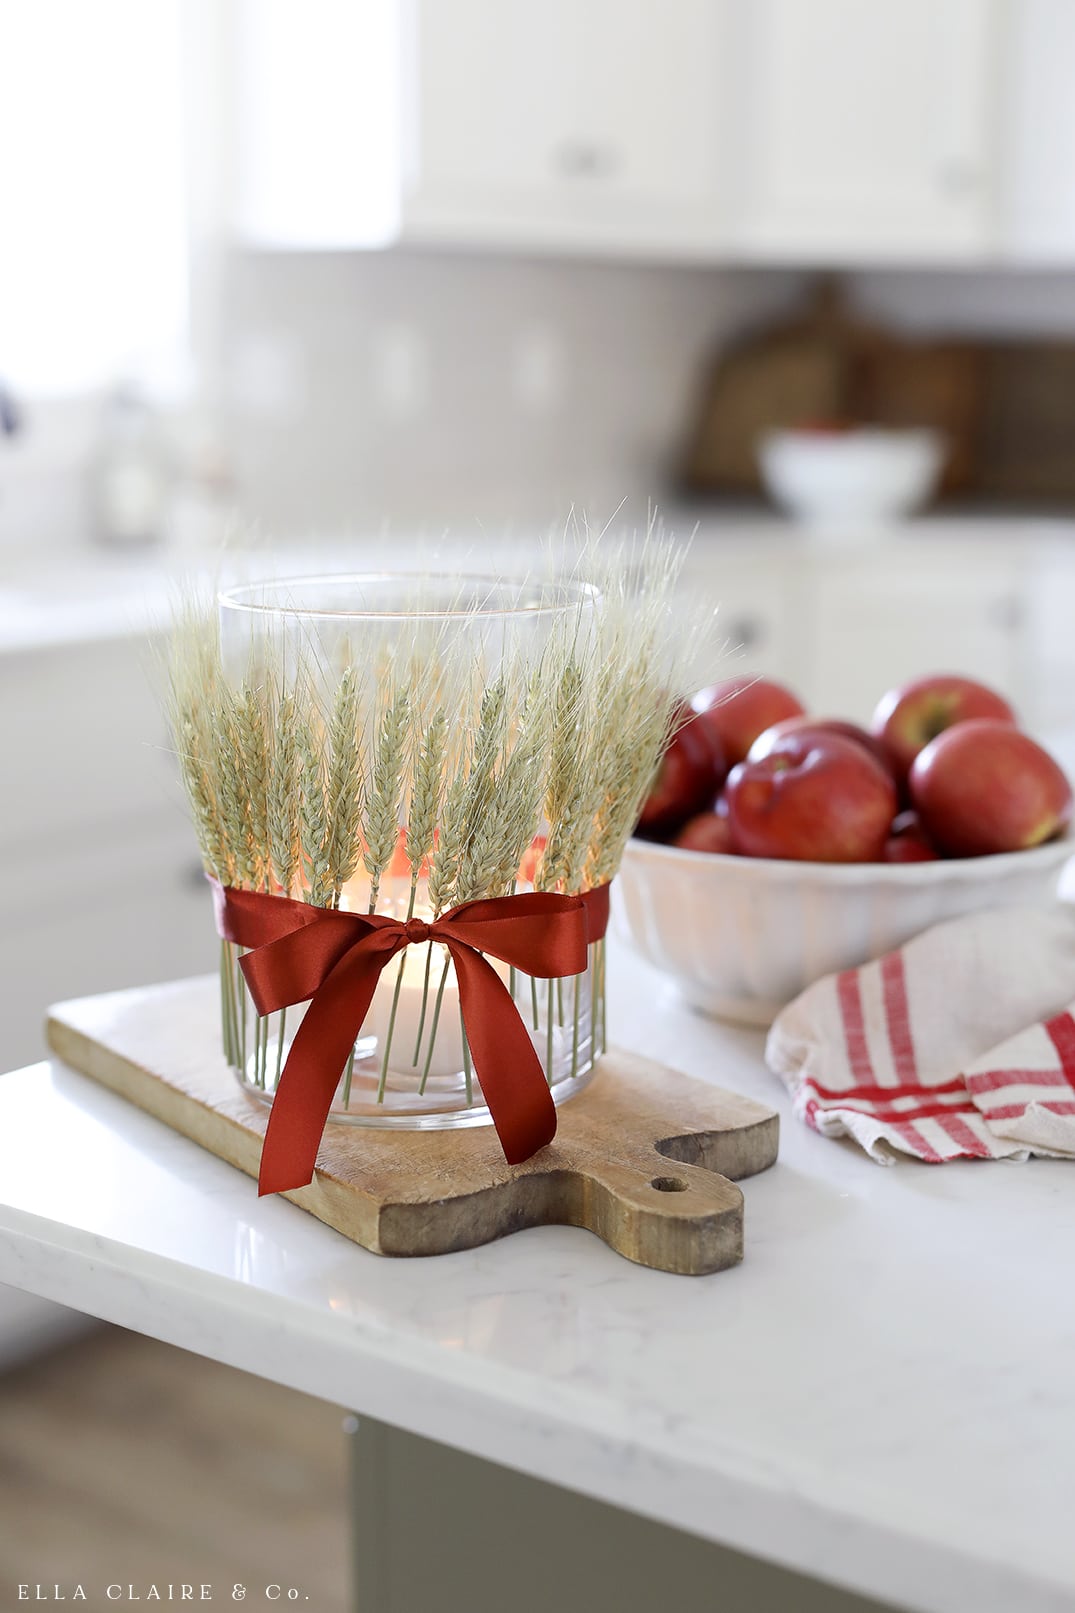
How to Make this Wheat Fall Candle
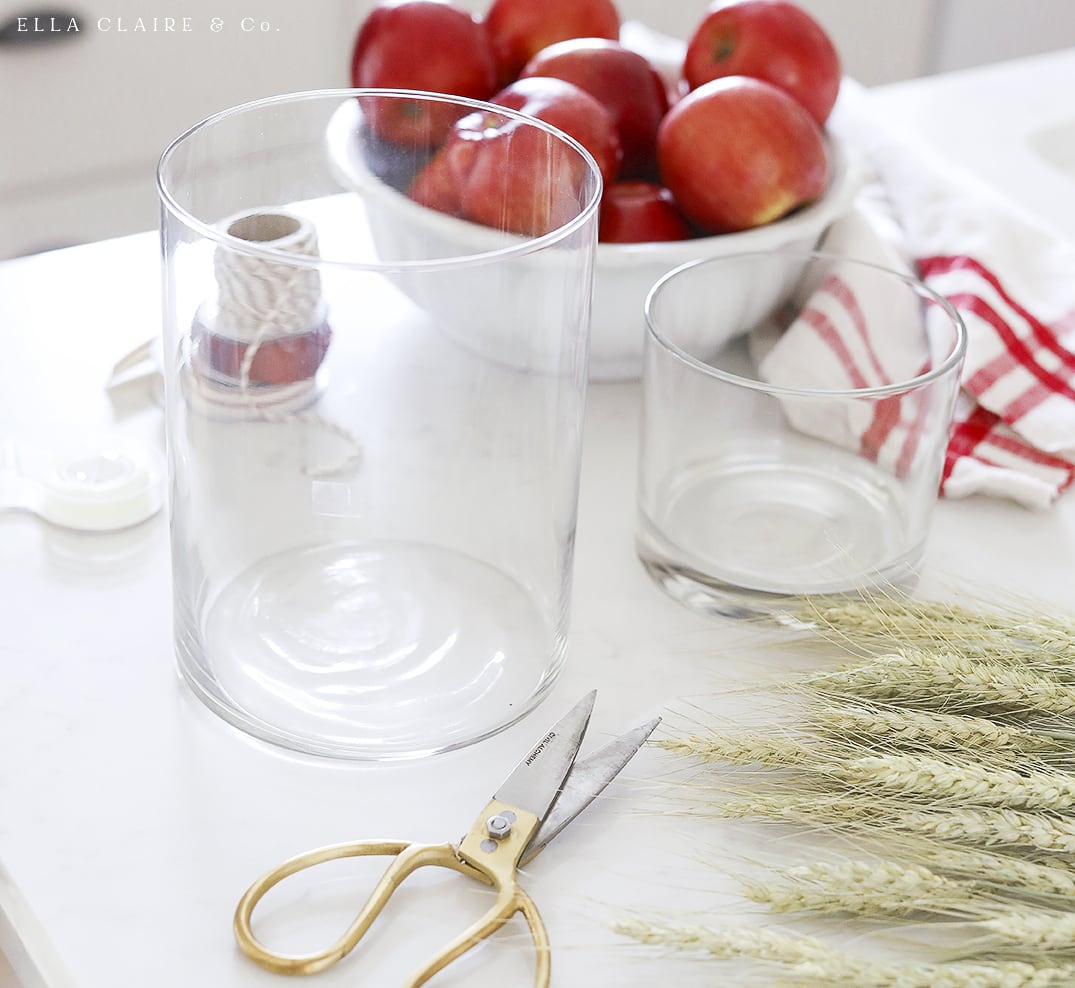
Supplies
- Straight sided glass vase or jar that is tall enough for wheat stems
- Dried wheat- from Hobby Lobby or Michaels
- Double sided tape-
- Glue gun and glue sticks
- Ribbon or twine- this one is a burnt red orange satin one from Hobby Lobby
- Candles- these flameless candles are awesome. If you choose to use a real flame fall candle, be sure to supervise at all times.
Instructions
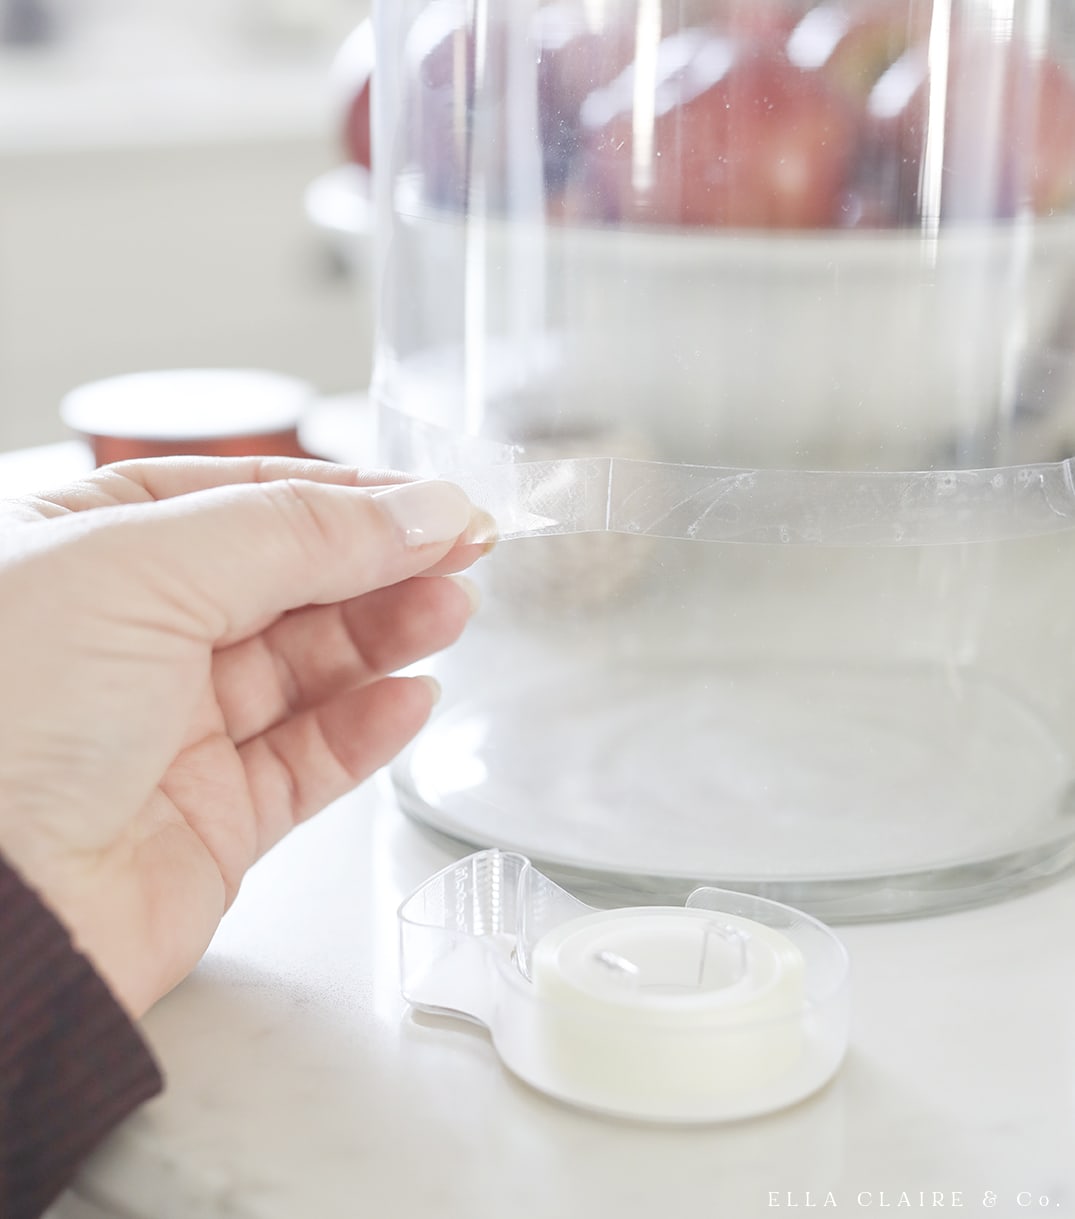
- First, use the double sided tape to make a line all the way around the outside of the glass vase or jar you will be using. You will want your tape line to be under where the heads of the wheat will be on your vase.
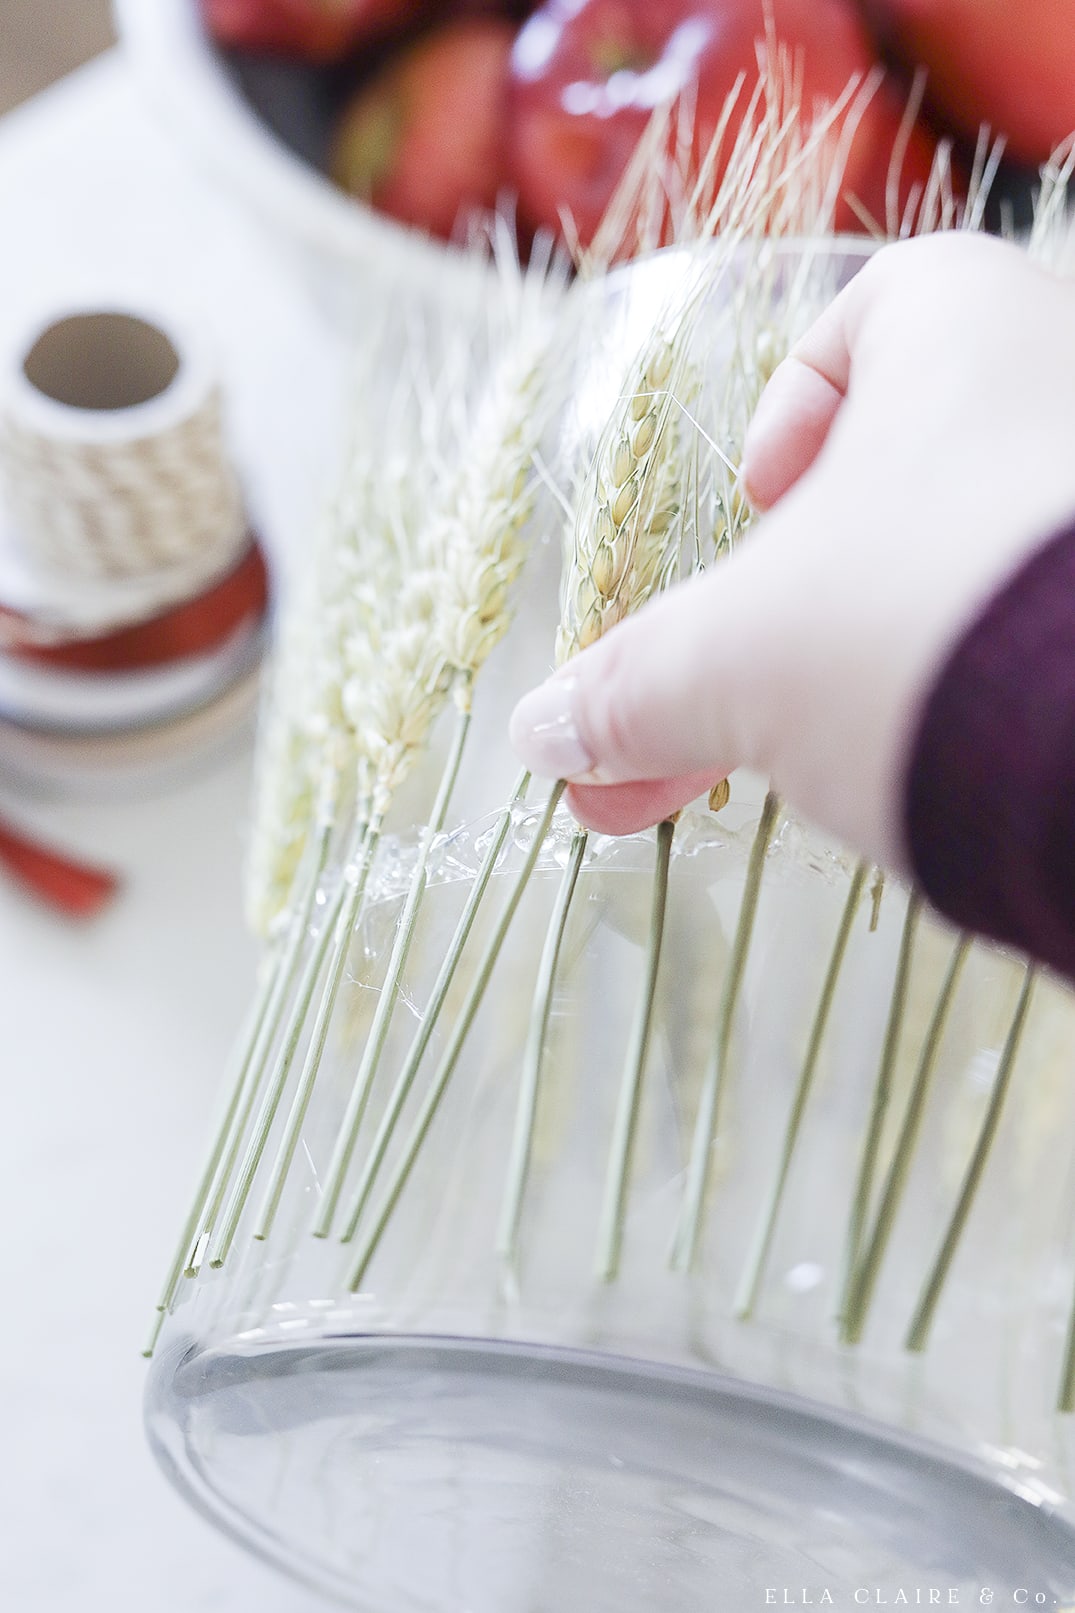
- Cut all of your wheat for this project down to size so that it will fit on your vase. The stems tend to be very long, so just cut them down to where you need them. It doesn't have to be perfect.
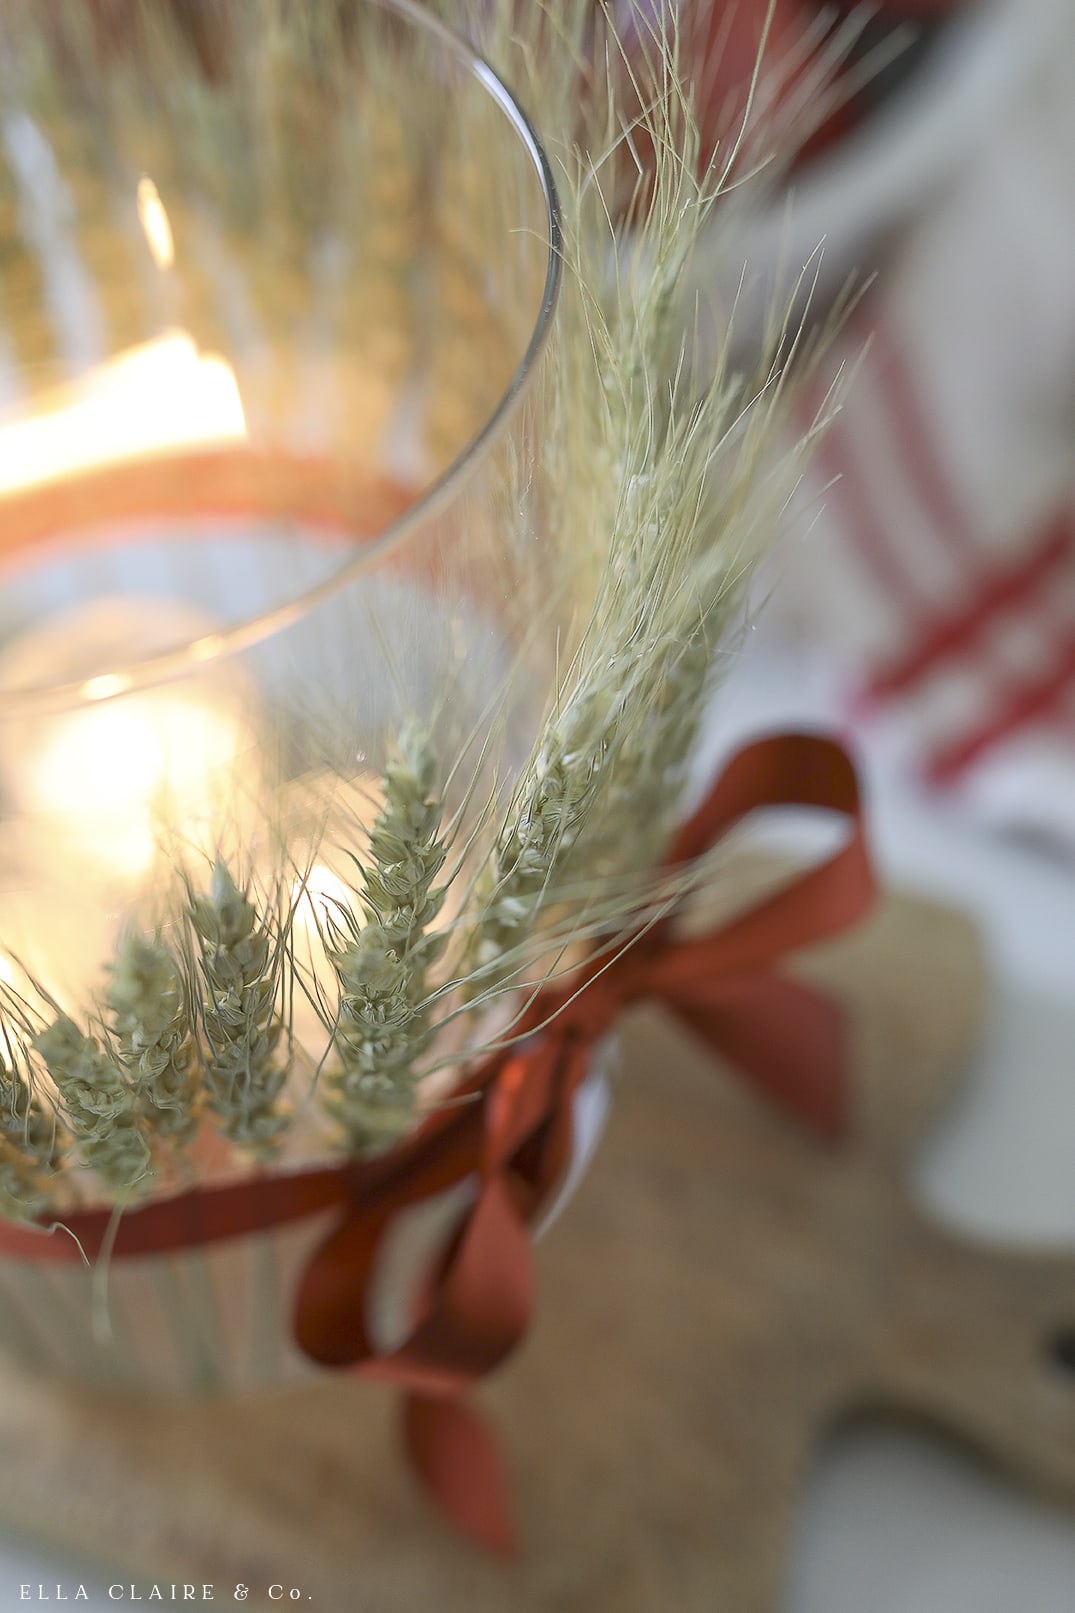
- Using a glue gun, add a dot of glue, then immediately put a piece of wheat on it until it is dried enough to stay on its own.
- Repeat until the entire perimeter of the vase is covered.
- Tie a ribbon or twine around the top of your fall candle holder the double sided tape.
Tips
- Many vases and jars can be used for this project as long as they are glass (if you're using a real candle). The best and easiest type is a straight-sided one which will make it easier to space out the wheat along the perimeter of the vase.
- There are always so many glass vases at thrift stores! With just a quick clean up, you can save a lot of money buying secondhand.
- If you are unable to supervise a real candle or if your wheat will be overhanging low enough to catch fire, use a flickering fake candle instead. There are so many realistic ones on the market!
- If you want to skip the glue gun, you can find a much thicker and stickier tape at the craft store that can hold the wheat.
- If you choose not to store this candle holder for next year, simply remove the wheat. Then remove the tape (which will take the glue with it) and discard. Then you can use the glass jar for other projects.
Here are more budget friendly fall decor ideas that I know you will love!

DIY Fall Wheat Candle Tutorial by Ella Claire & Co. | Six Fall Ideas by City Farmhouse | DIY Cinnamon and Cloves Pinecones by Handmade Farmhouse | Homemade Fire Starters by Inspired by Charm

Forged Autumn Floral Arrangement by French Country Cottage | DIY Dried Flowers Fall Wreath by Dear Lillie | Budget Friendly Fall Decor Ideas by Craftberry Bush | Foraged and Budget Friendly Fall Decor by Zevy Joy
Leave a Reply