

This easy DIY no-sew flannel blanket with a cute knotted fringe edge is an inexpensive and beautiful fall decor piece for layering on a cozy couch, chair, bench, or even a table.
Supplies
- 1 1/2 to 2 yards of flannel or fleece of choice
- good, sharp sewing scissors (find mine here)
- measuring tape (optional)
Flannel or Fleece?
For this project, you can use flannel or fleece. There are tradeoffs for each, so it is completely personal preference. The fleece is thicker and doesn't have as sharply detailed designs but it won't fray like flannel. Flannel has a very classic look with better design detail, but it does fray a bit when you use it in a no-sew project. I love the classic look of cozy flannel, so I will be sharing how I use it for this project. Using fleece would be the same steps, however.
To purchase your flannel, you can visit any fabric store. I usually try to catch it on sale, and picked up this beautiful muted burnt orange plaid one for $6.99/ yd at JoAnn Fabrics. It was love at first sight for me. You can choose the width and length that best suits your needs. For this throw, I used 2 yards of 45" wide.
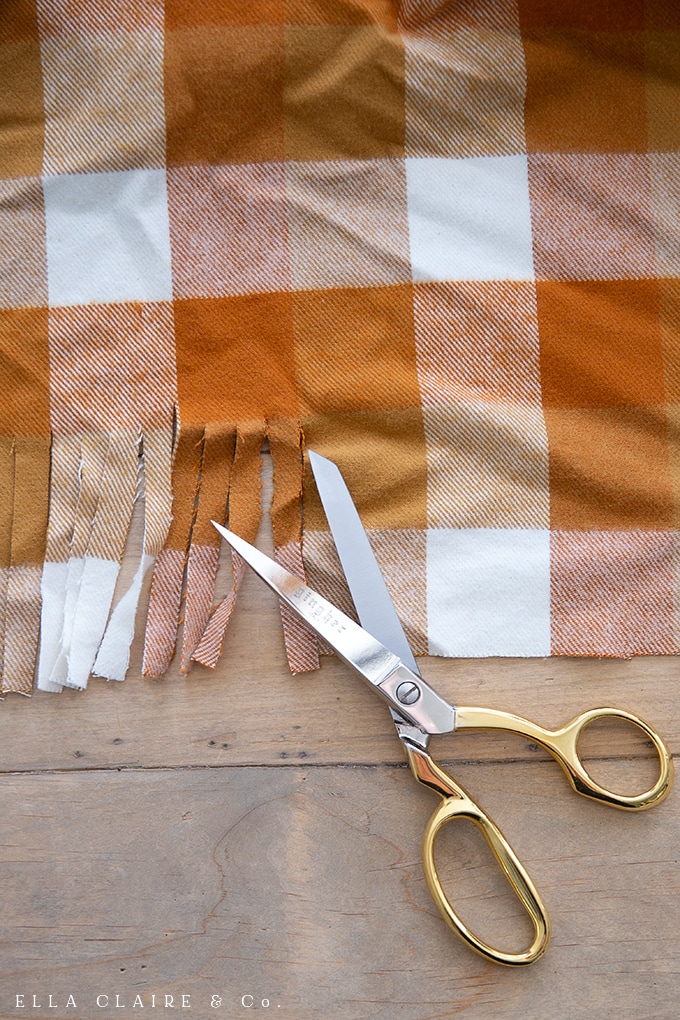
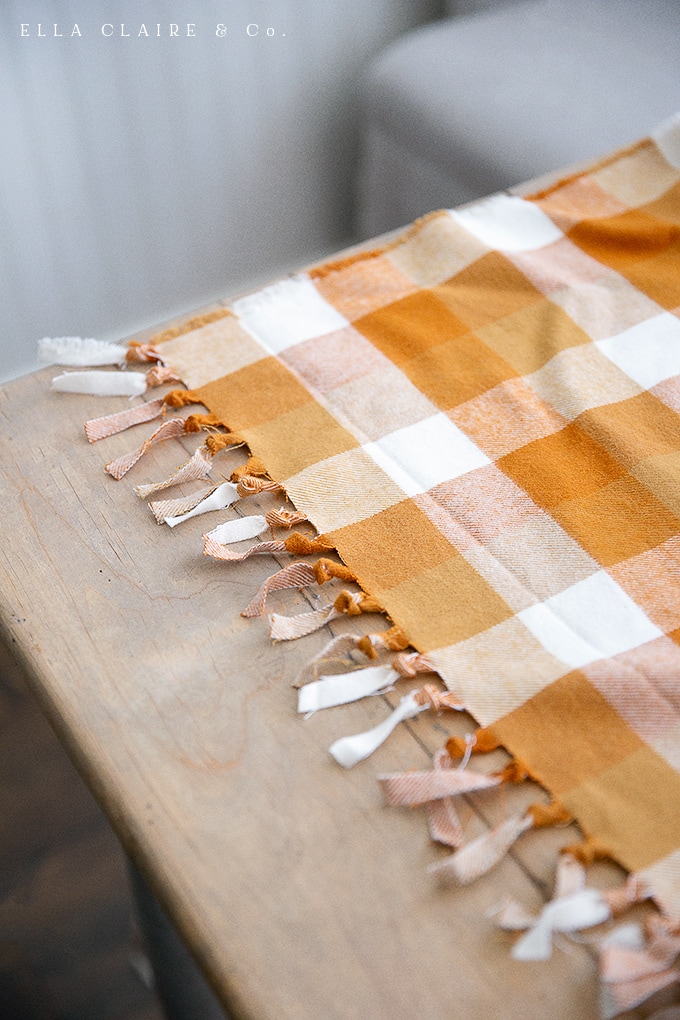
Step One: Evenly Cut Fringe
Picking a plaid print like this one makes this step exponentially easier. If you don't have straight lines or a repeating pattern to work with, you may need to use a measuring tape or ruler to measure out a guideline (use a disappearing ink pen for this).
For my fringe, I cut each square (the length of 2 squares deep) in half and then each half in half again. So, each square is cut into fourths. If you would like a more exact measurement, my fringe ended up being . You could certainly make yours longer or thicker if you like and it would be very cute.
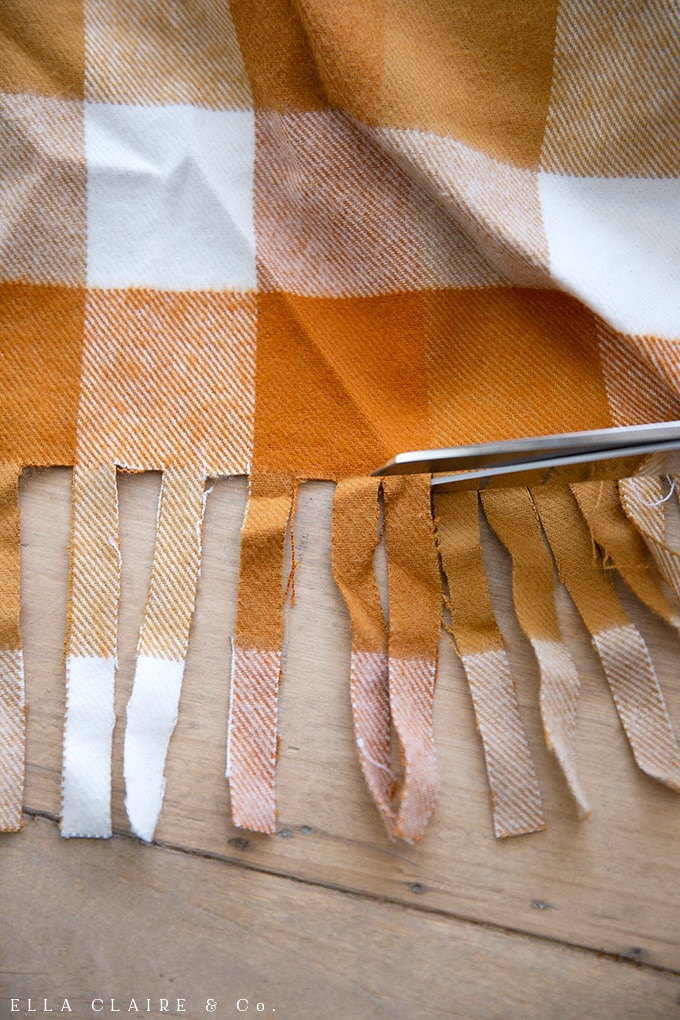
Step Two: Remove Every Other Strip
In order for the fringe to stand out better and show each individual piece, I removed every other strip. Like I mentioned before, there will be some extra fraying that you can remove. I honestly wasn't to concerned about it and left most of them. I like the rustic look for fall.
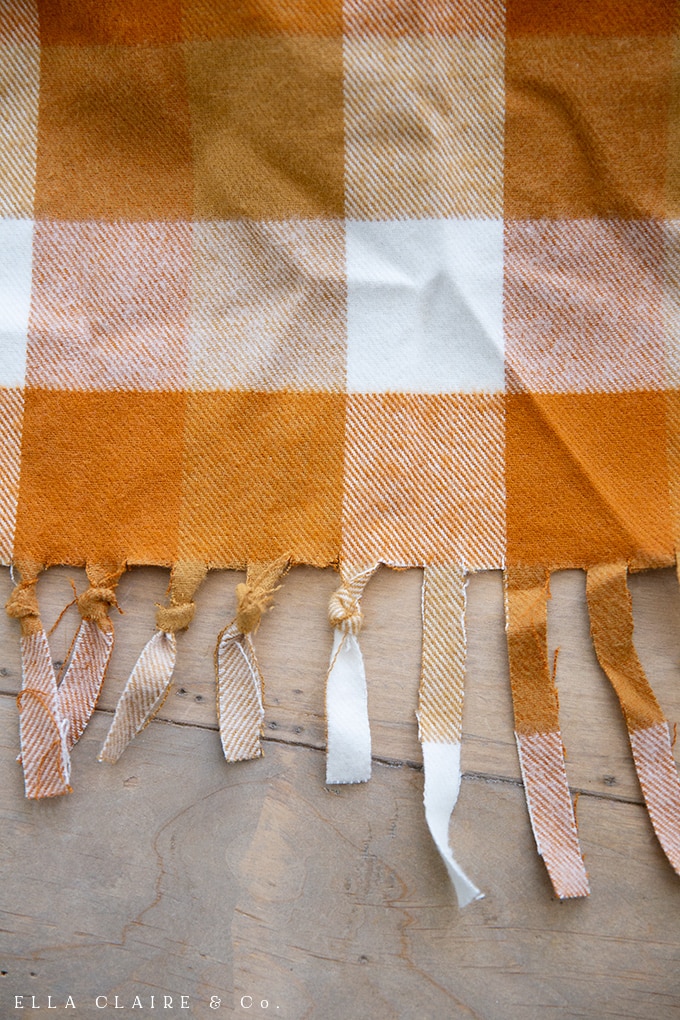
Step Three: Knot Each Piece of Fringe
For this step, I just tied a quick slipknot on each piece of remaining fringe. Try not to overthink this step. It doesn't have to be perfect at all. Repeat all the way around the blanket. I chose to leave the selvedge edge raw and do the fringe on the two other sides. I really loved how the selvedge had a pretty little fray to it.
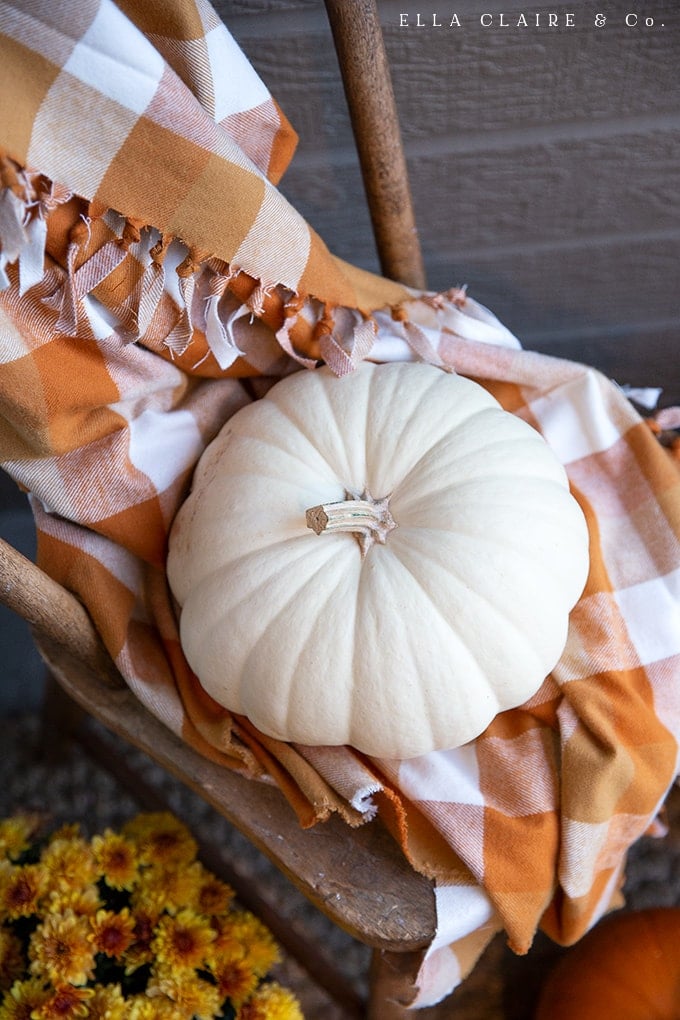
Uses for This No-Sew Flannel Throw
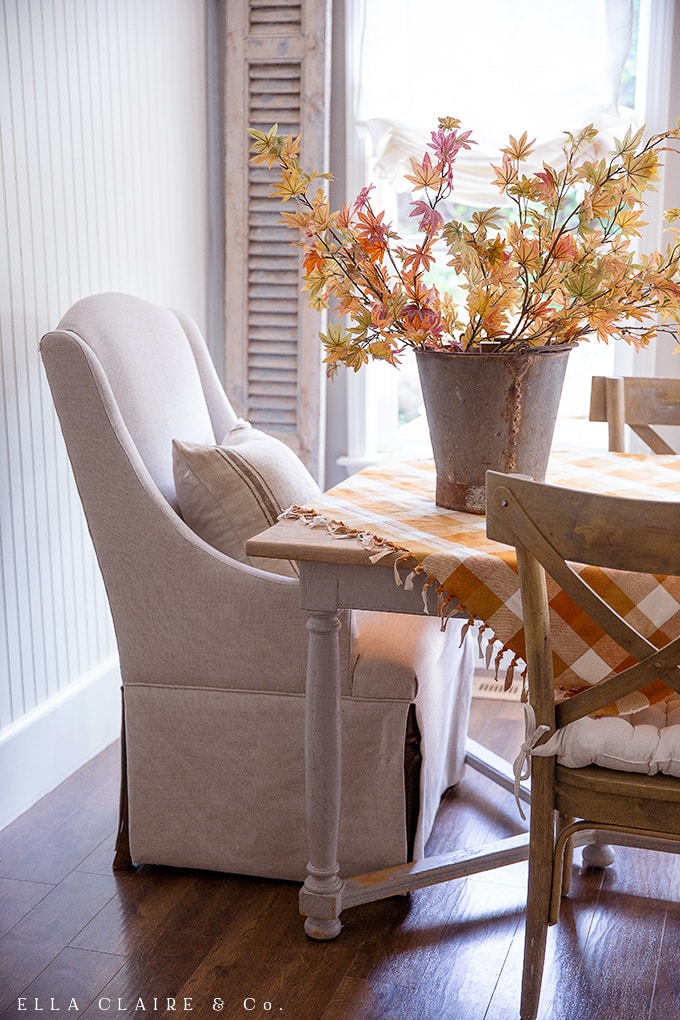
So far, my littles have loved snuggling in this throw and I have also used it folded over the back of our family room couch. I have also used it draped over our dining table. It is currently out on the front porch, draped on a chair with a cute pumpkin sitting on top of it. I have made a few of these throw blankets this fall so far and have the others in various places in our home. The great thing about them is that they are washable and they fold up and store very easily.
Shop This post

More Fall DIY Project Ideas
Here are a few more plaid, flannel and sweater DIY ideas for your autumn decor!
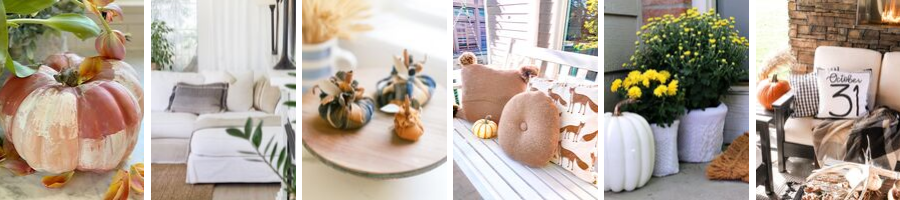
Painted Pumpkin Ideas // My 100 Year Old Home
Scented Flannel Pumpkins // Finding Lovely
Sweater Pillow Pom Poms // Tatertots & Jello
No-Sew Sweater Flower Pots // The Tattered Pew
DIY Halloween Pillows // Taryn Whitaker Designs
DIY Halloween Decor // Happy Happy Nester
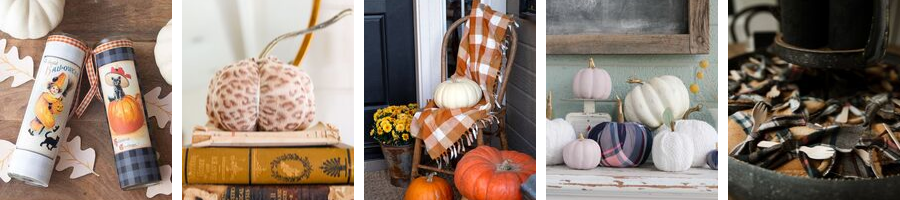
DIY Sweater Pumpkins // Modern Glam
No-Sew Flannel Throw Blanket // Ella Claire
Sweater Flannel Pumpkins // Lolly Jane
Plaid Project // My Sweet Savannah
Taryn Whiteaker
Kirsten this is beautiful!
Cynthia
I love this idea. Quick question: did you just fringe 2 sides? If so, was it the selvage edge or the other sides? Thanks for sharing!
Kristen Whitby
I fringed the non- selvedge edge and left the selvedge edge alone.