

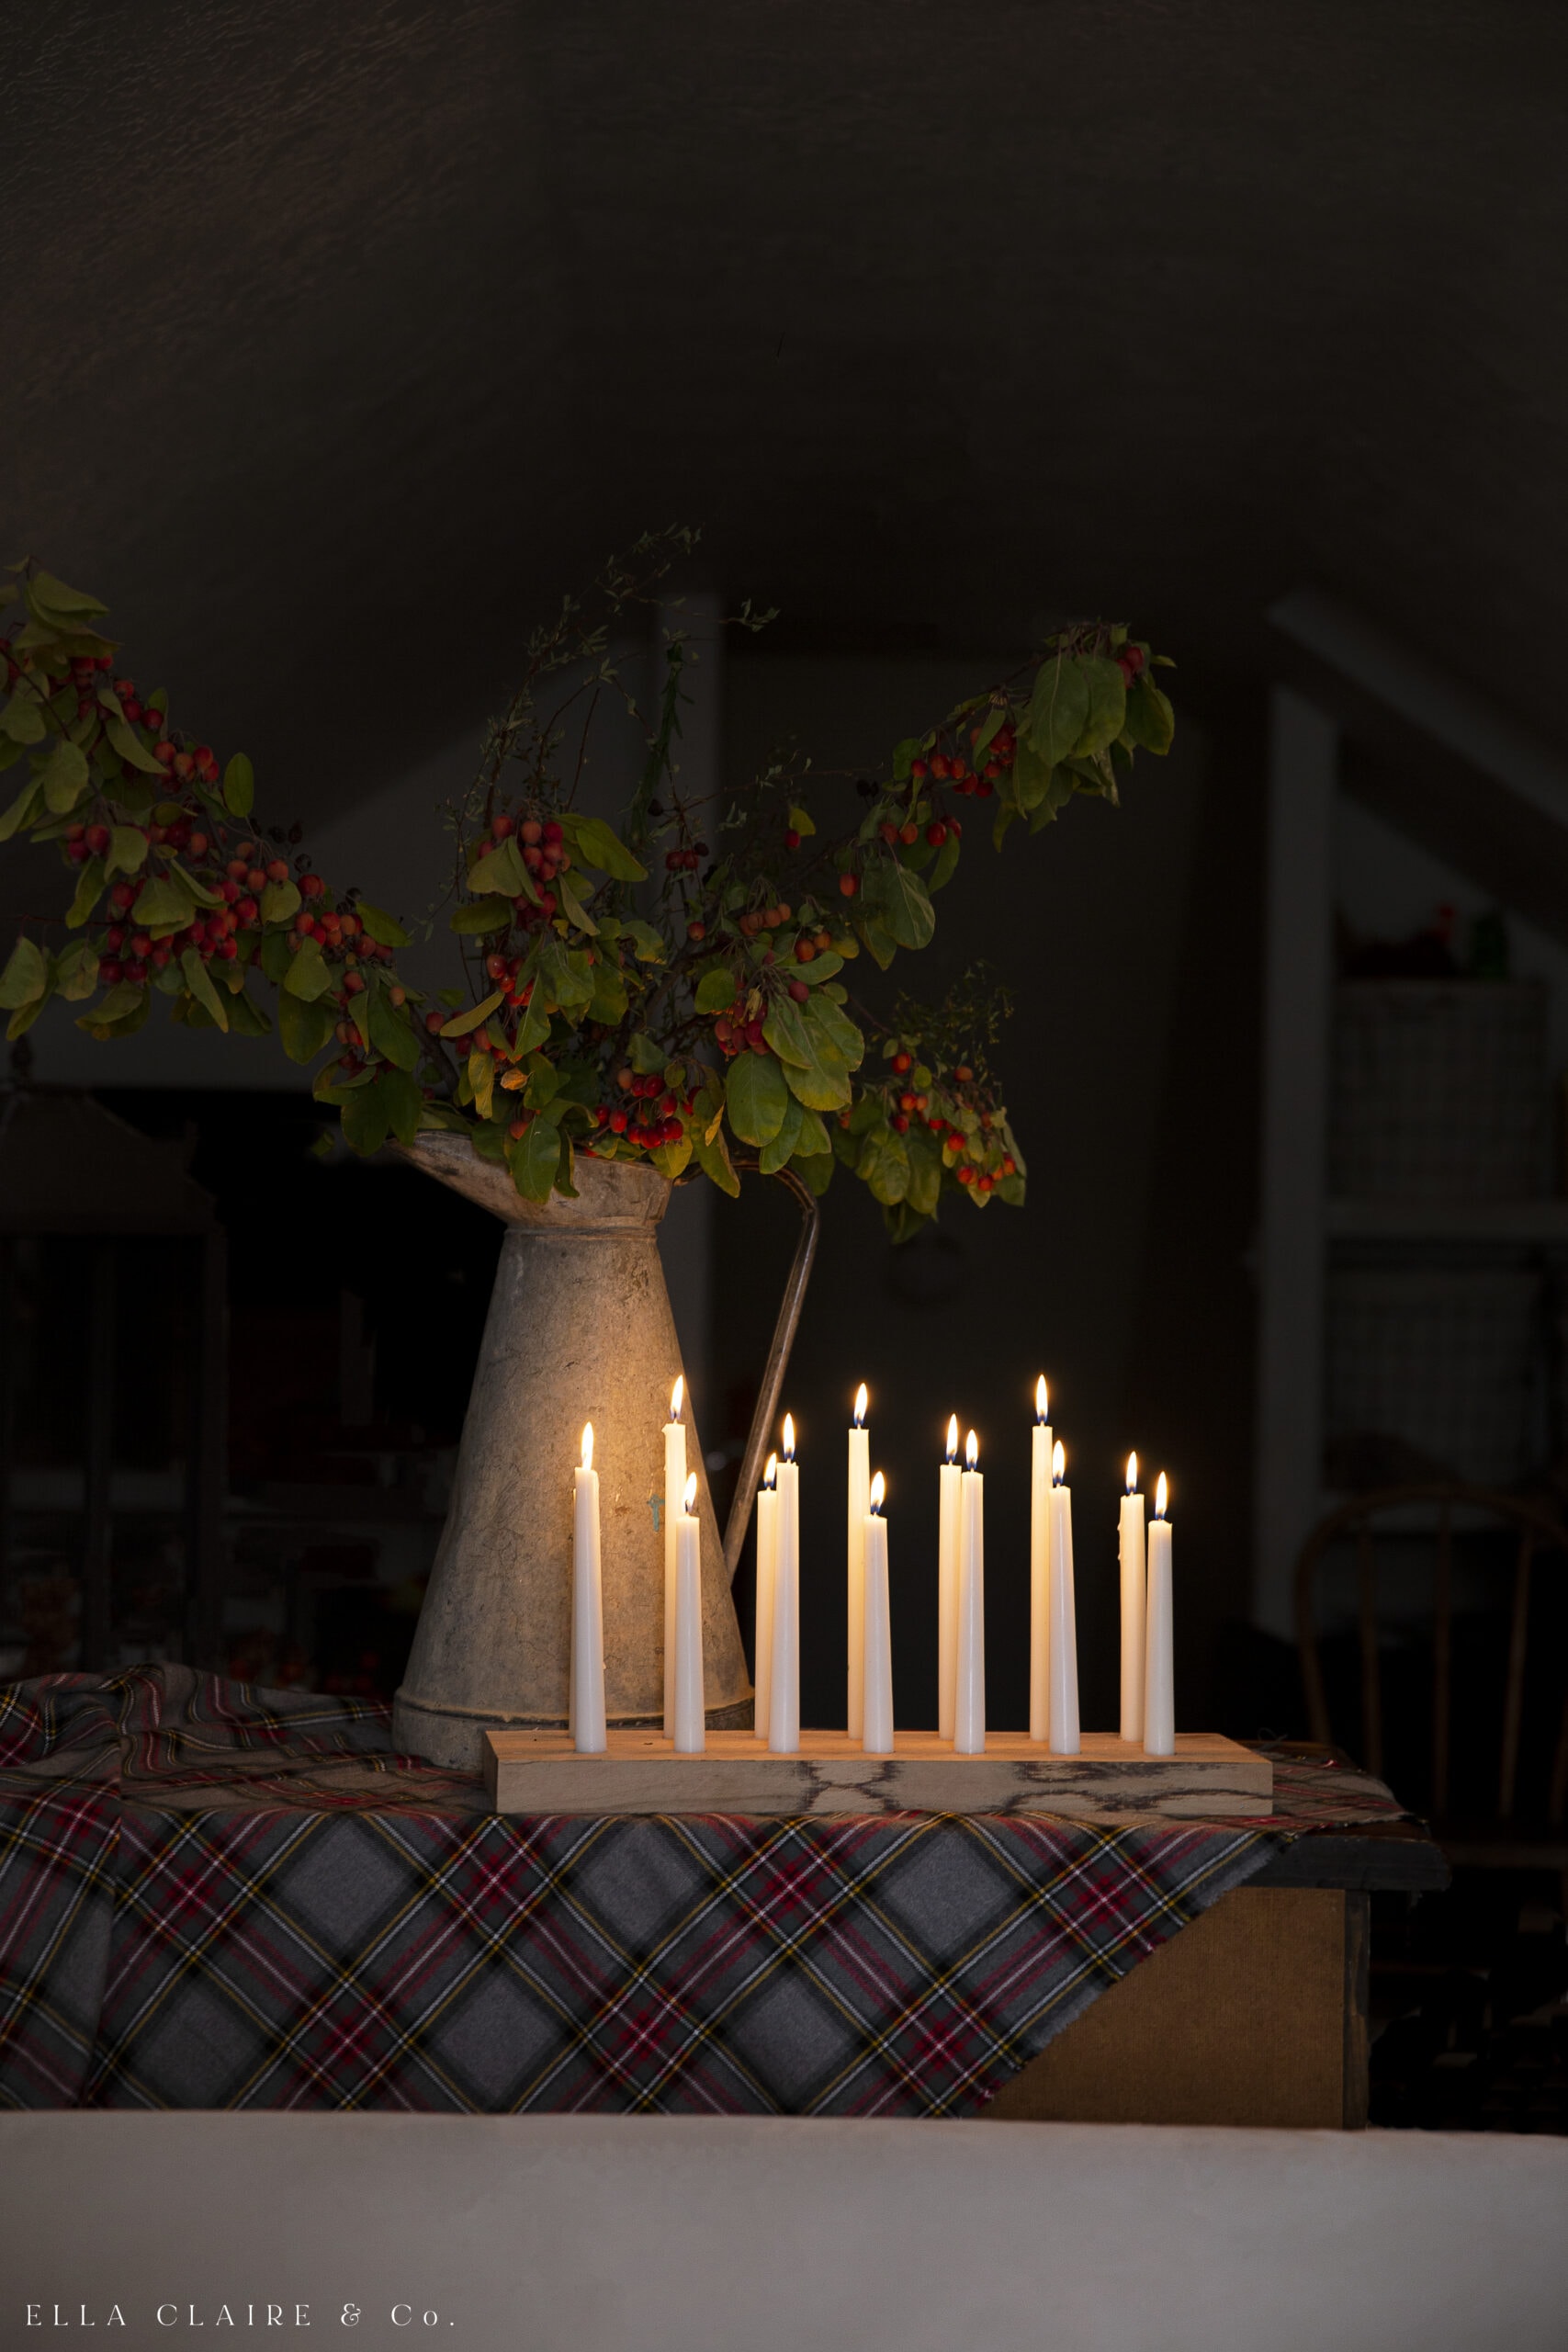
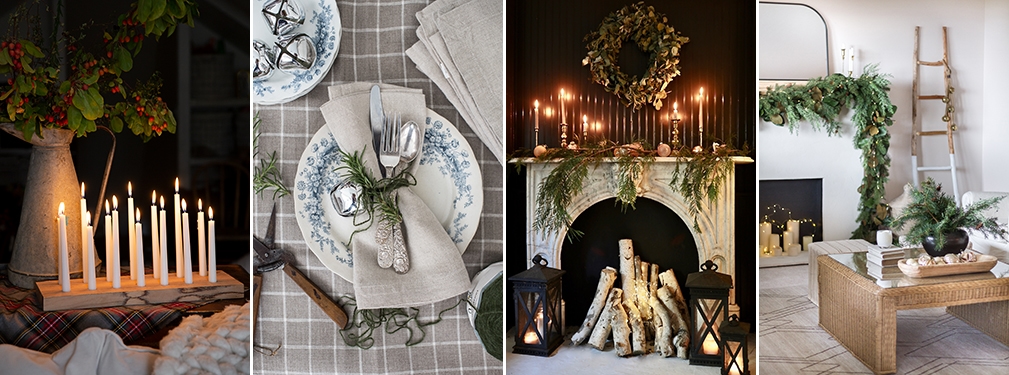
Build DIY wooden candle holders, easy, inexpensive and perfect for entertaining, tablescapes, and even beautiful Christmas gifts. Taper candles are stunning grouped together in this centerpiece.
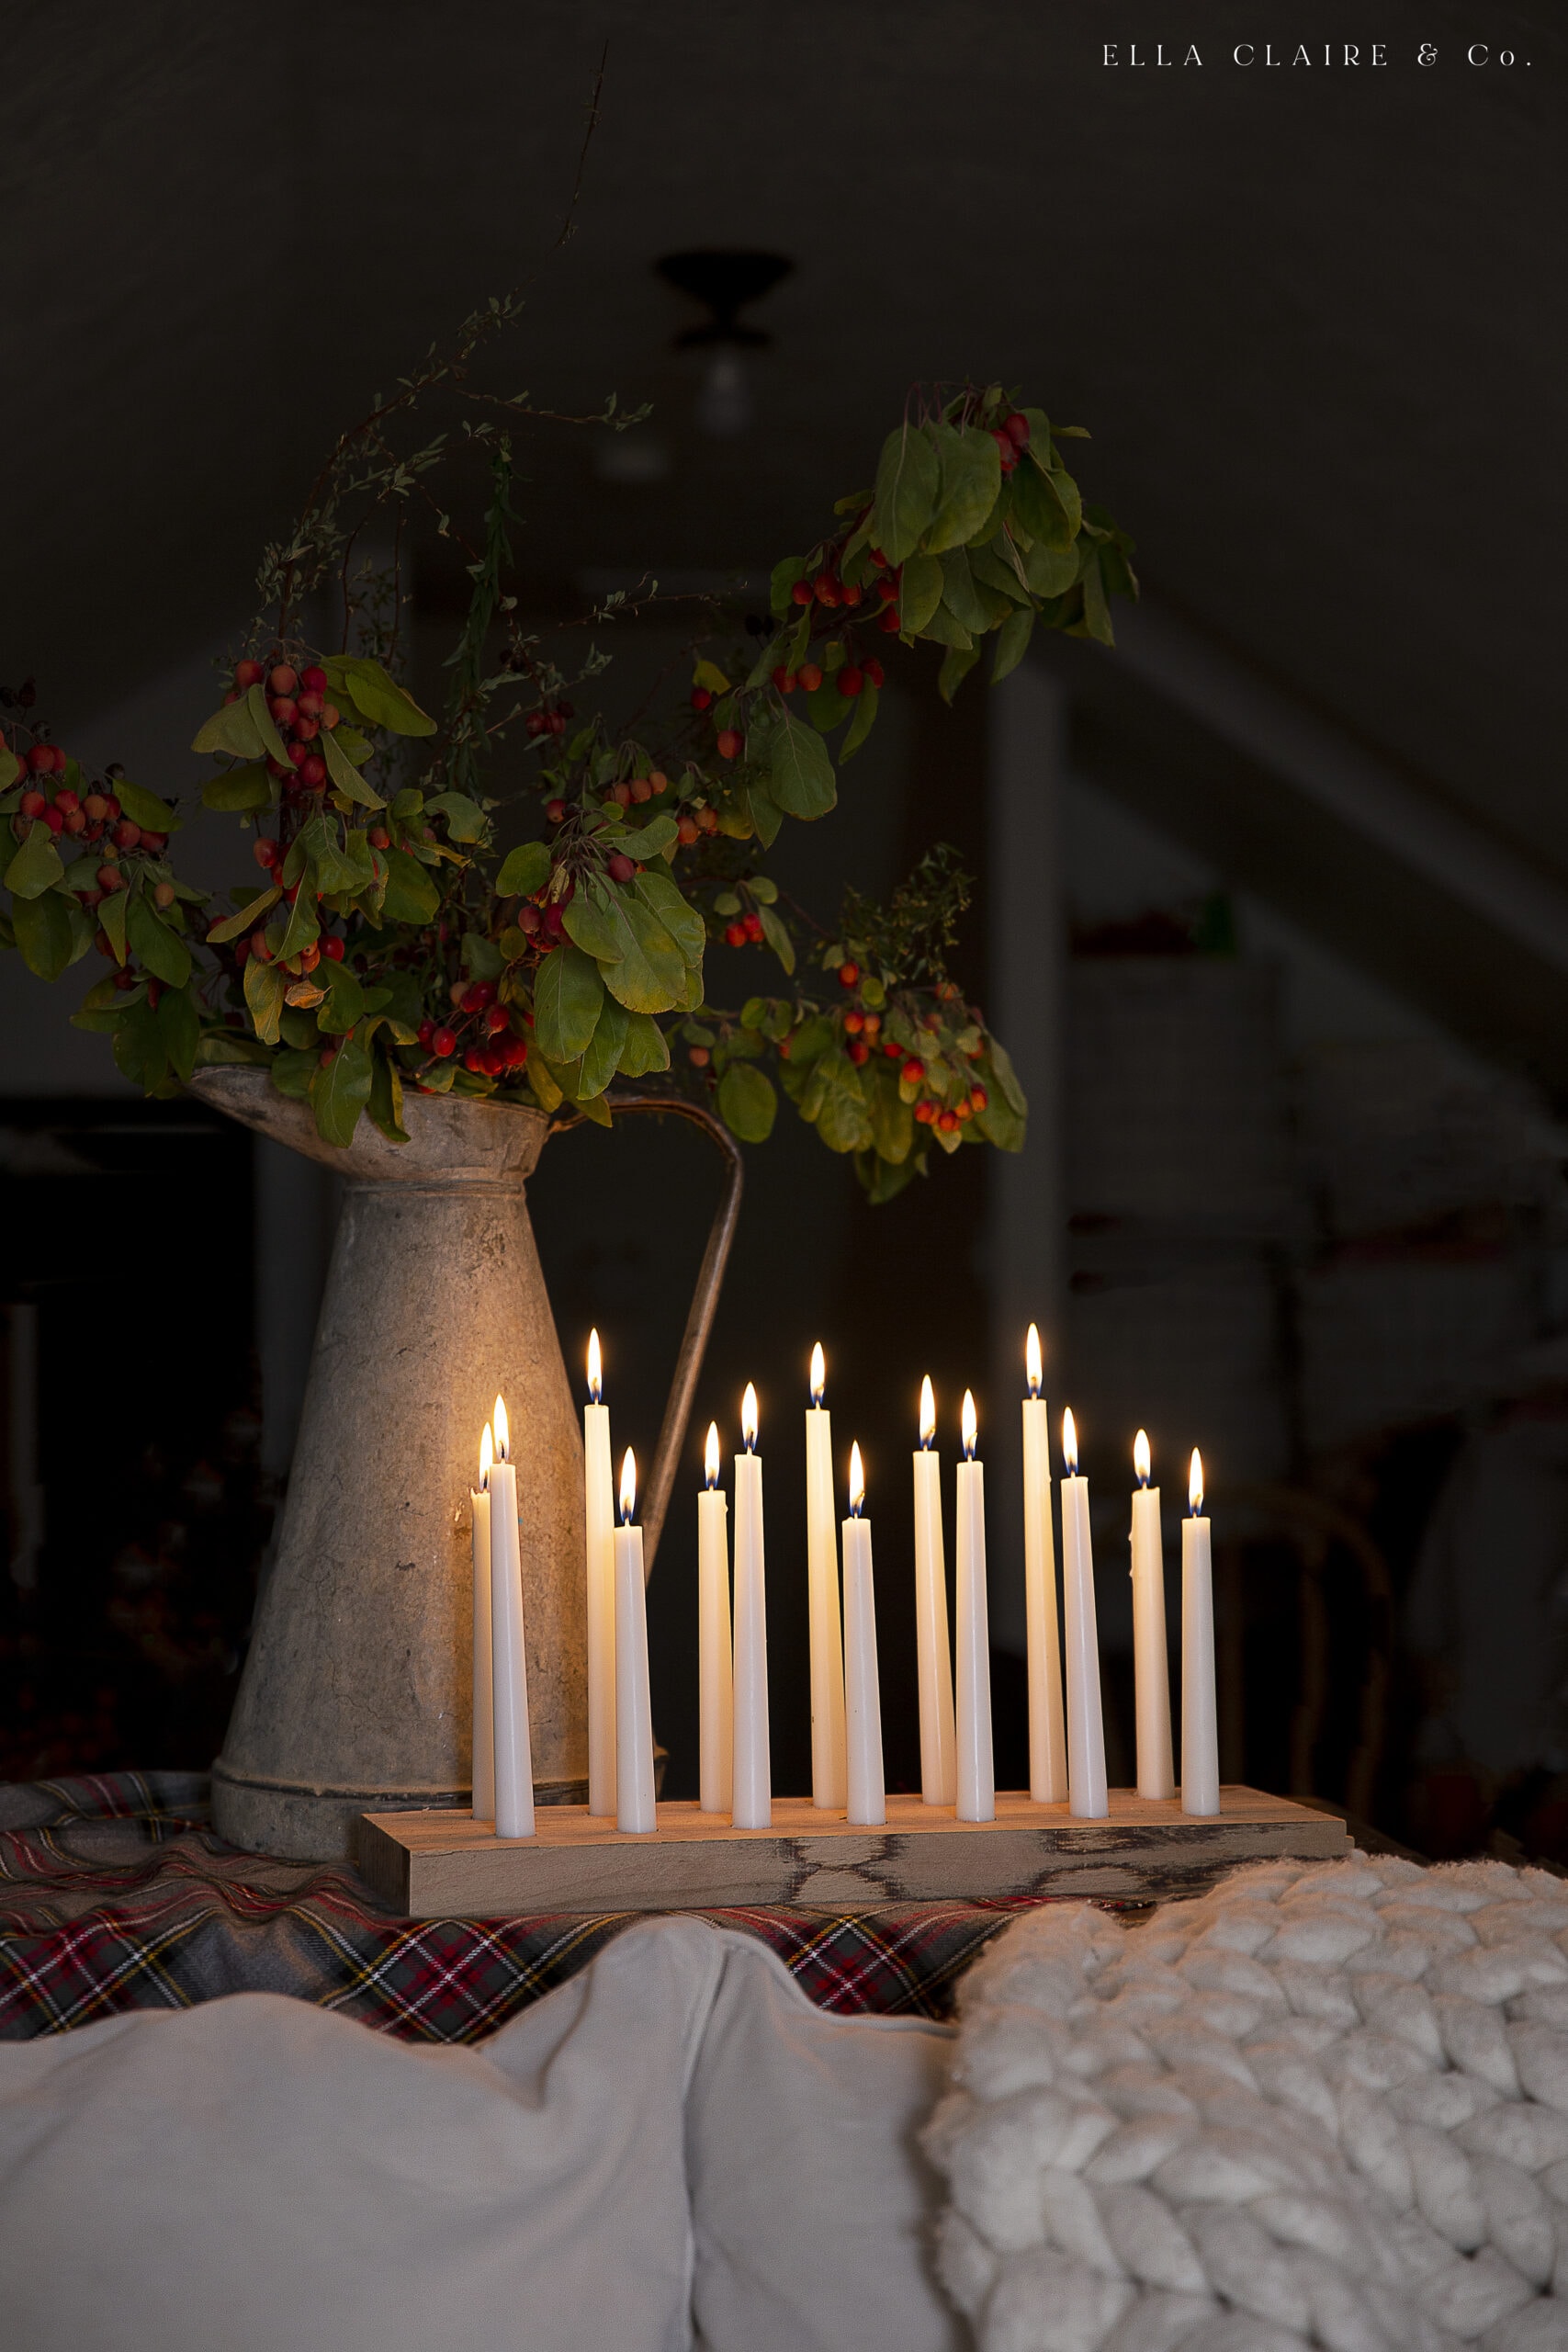
I am so thrilled to work on holiday projects again! This DIY Wooden candle holder is an easy project made with inexpensive wood and my favorite taper candles! I love the magical ambiance of candle decor at Christmastime like my free printable Christmas village luminaries (lanterns), santa sleigh and reindeer luminaries, or this easy 10 minute Christmas centerpiece.
I originally made a version of this project 5 years ago on this little blog. So, I have updated and tweaked it just a bit and really love the results.
How to Make Wooden Candle Holders
These DIY candle holders are pretty easy to make with just a few supplies. They are really quick to assembly line if you want to make them for Christmas presents, hostess, or neighbor gifts.
This project is so easy to customize it to fit your style or decor! You can really get creative and have fun with this one!
Wooden Candle Holder Supplies
Supplies you will need:
- 2x6x20" board (or custom size for your table)
- pencil and tape measure
- 7/8 paddle bit (or whichever bit fits your candles)
- drill
- fine grit sand paper
- taper candles (these are my favorite)
- stick-um (optional)
Step 1: Measure the Holes
This project is easily customized to whatever size candle holder you would like, so feel free to adjust the measurements. These are just the measurements that I used for my candle stand.
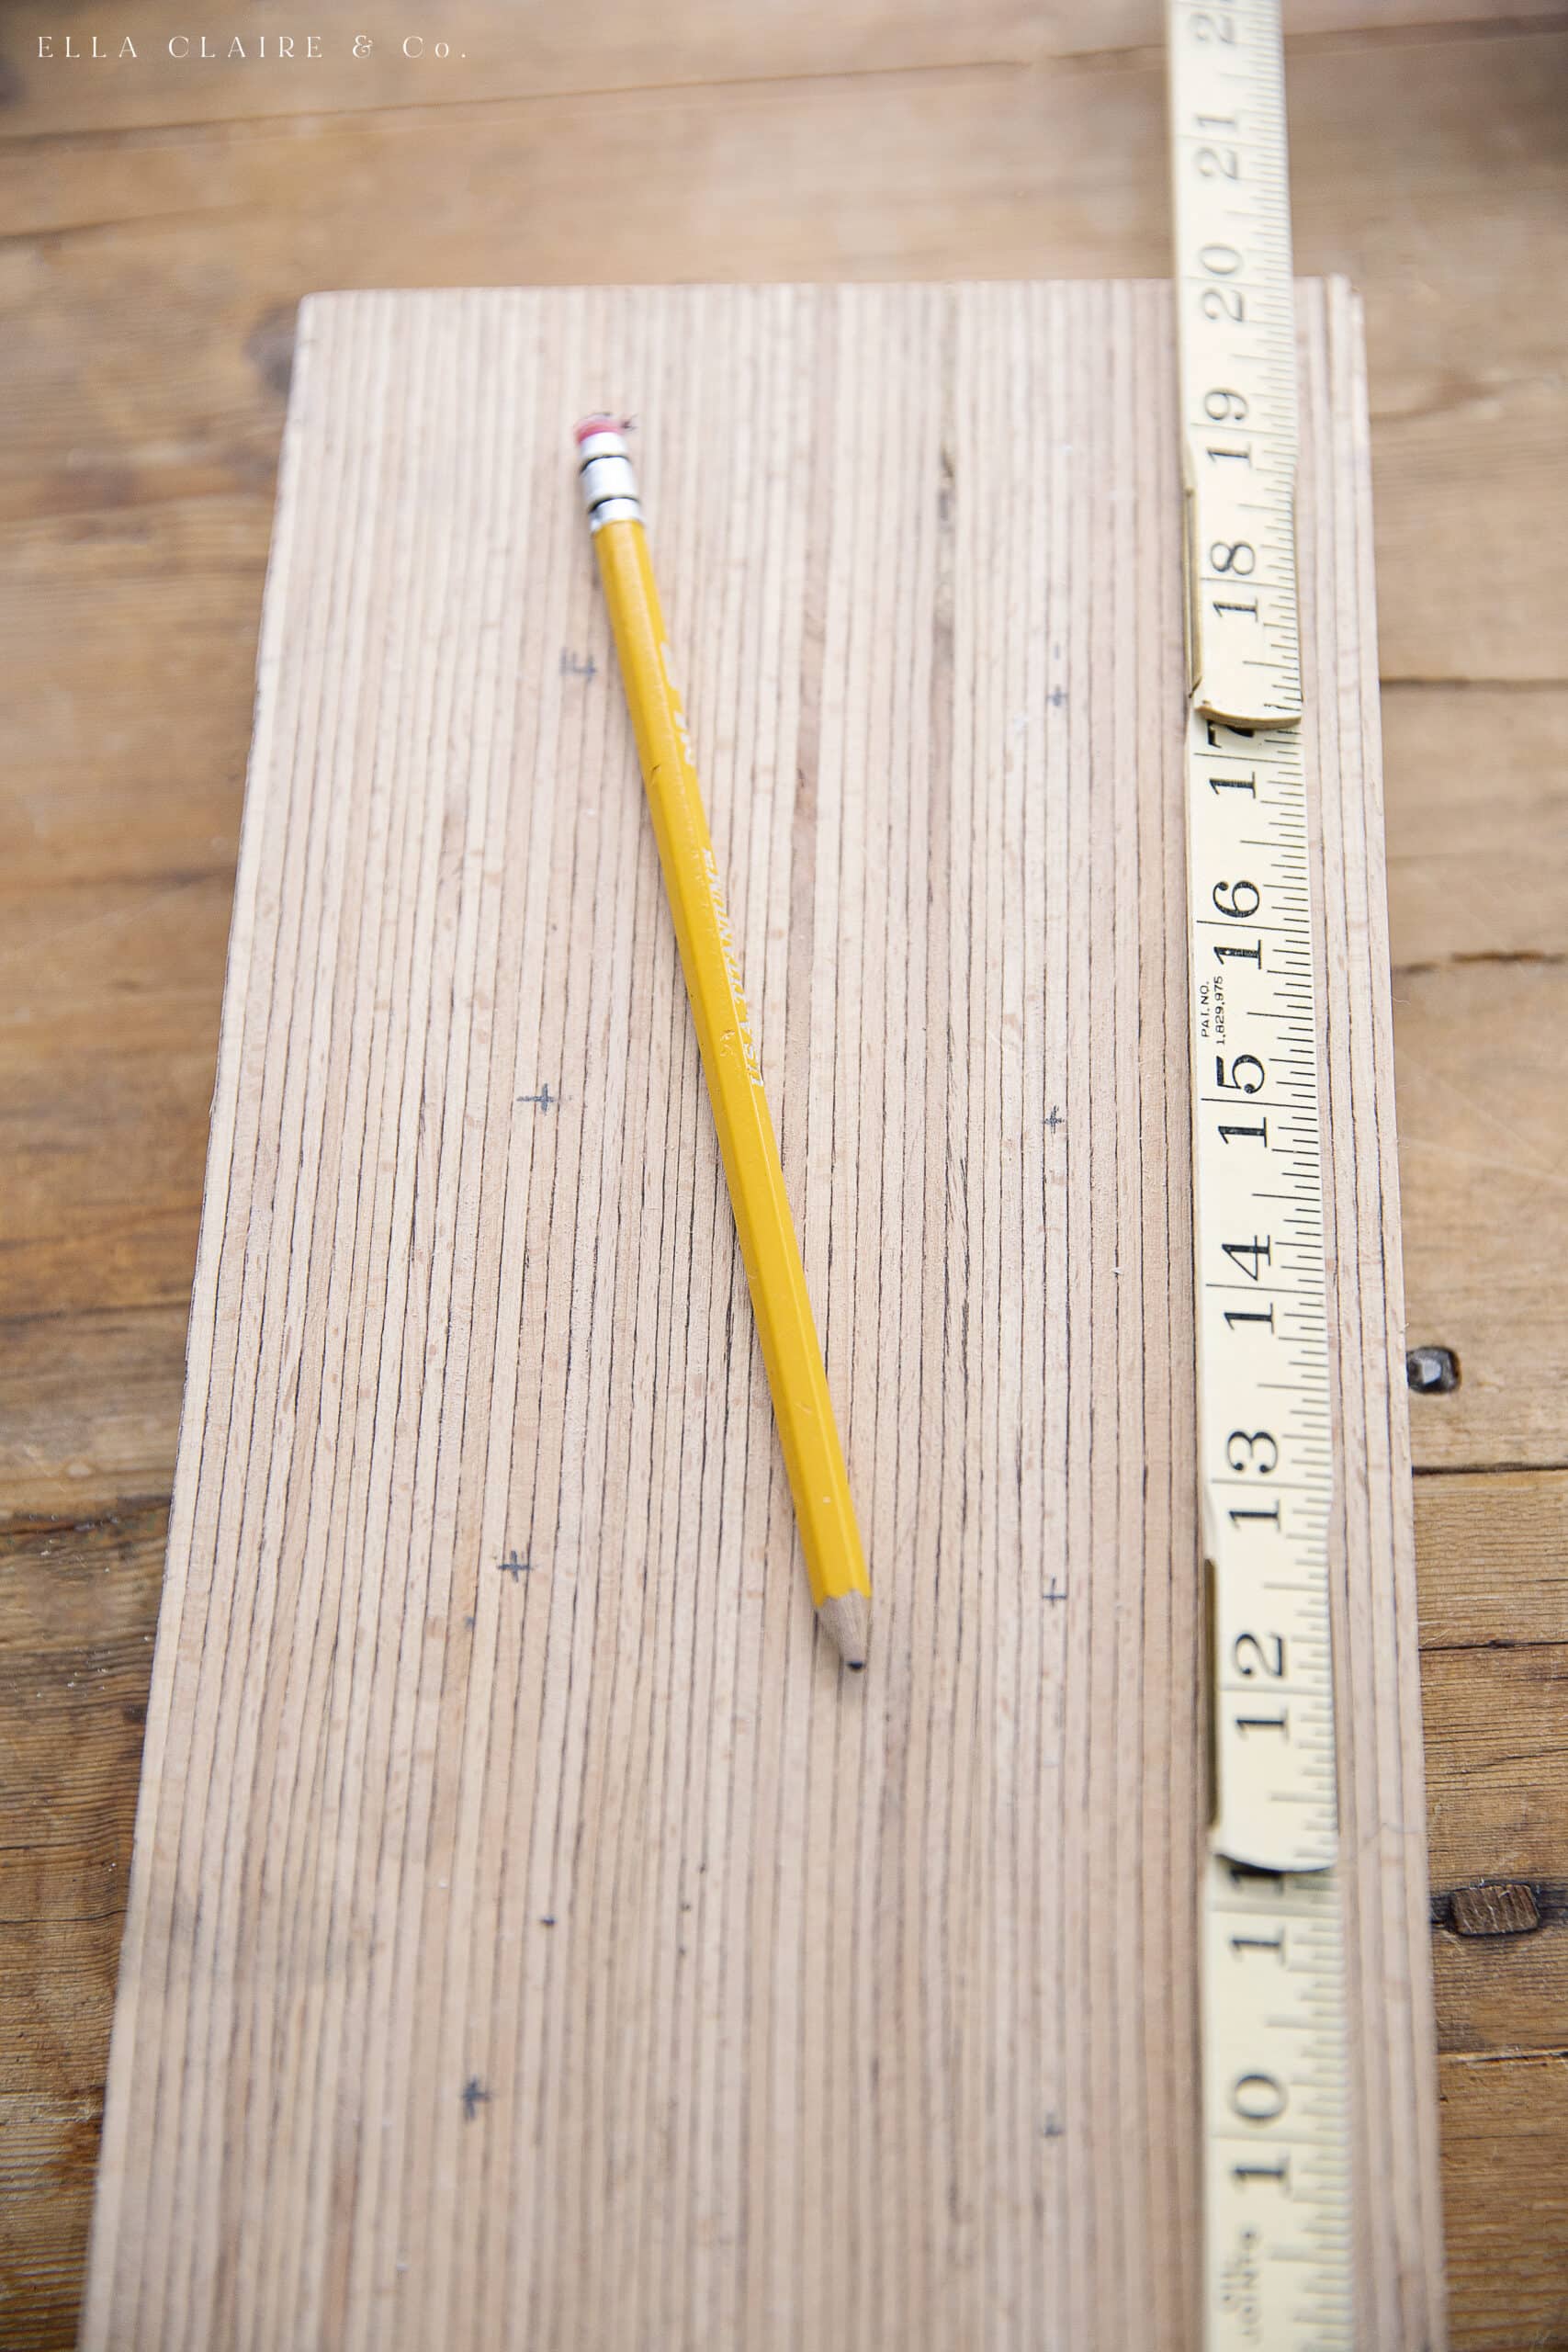
I used a 2x6x20" board from the scrap pile, but any 2 " thick board would work well. If you do a wider board than the 6 inches, you could even add a third row.
Measure out 7 holes down the length of the board, each 2 1/2 inches apart. Mark them 1 1/2 inches in from the edge (this will be the center of each hole).
I just put a little X where the two measurements intersect so I knew exactly where to drill the center of each hole.
Step 2: Drill Holes with Paddle Bit

There is a point at the end of the paddle bit. Just stick that in the center of the X and be sure to hold the board firmly with your other hand. Gently start to drill each hole until it is about 3/4 " or so deep.

Step 3: Clean and Sand
Dump out all of the wood shavings from the holes. Use sandpaper to smooth any rough edges. Use a slightly damp cloth to clean out the rest of the dust from all of the crevices.
Step 4: Add a Finish to your Wooden Candle Holders (Optional)
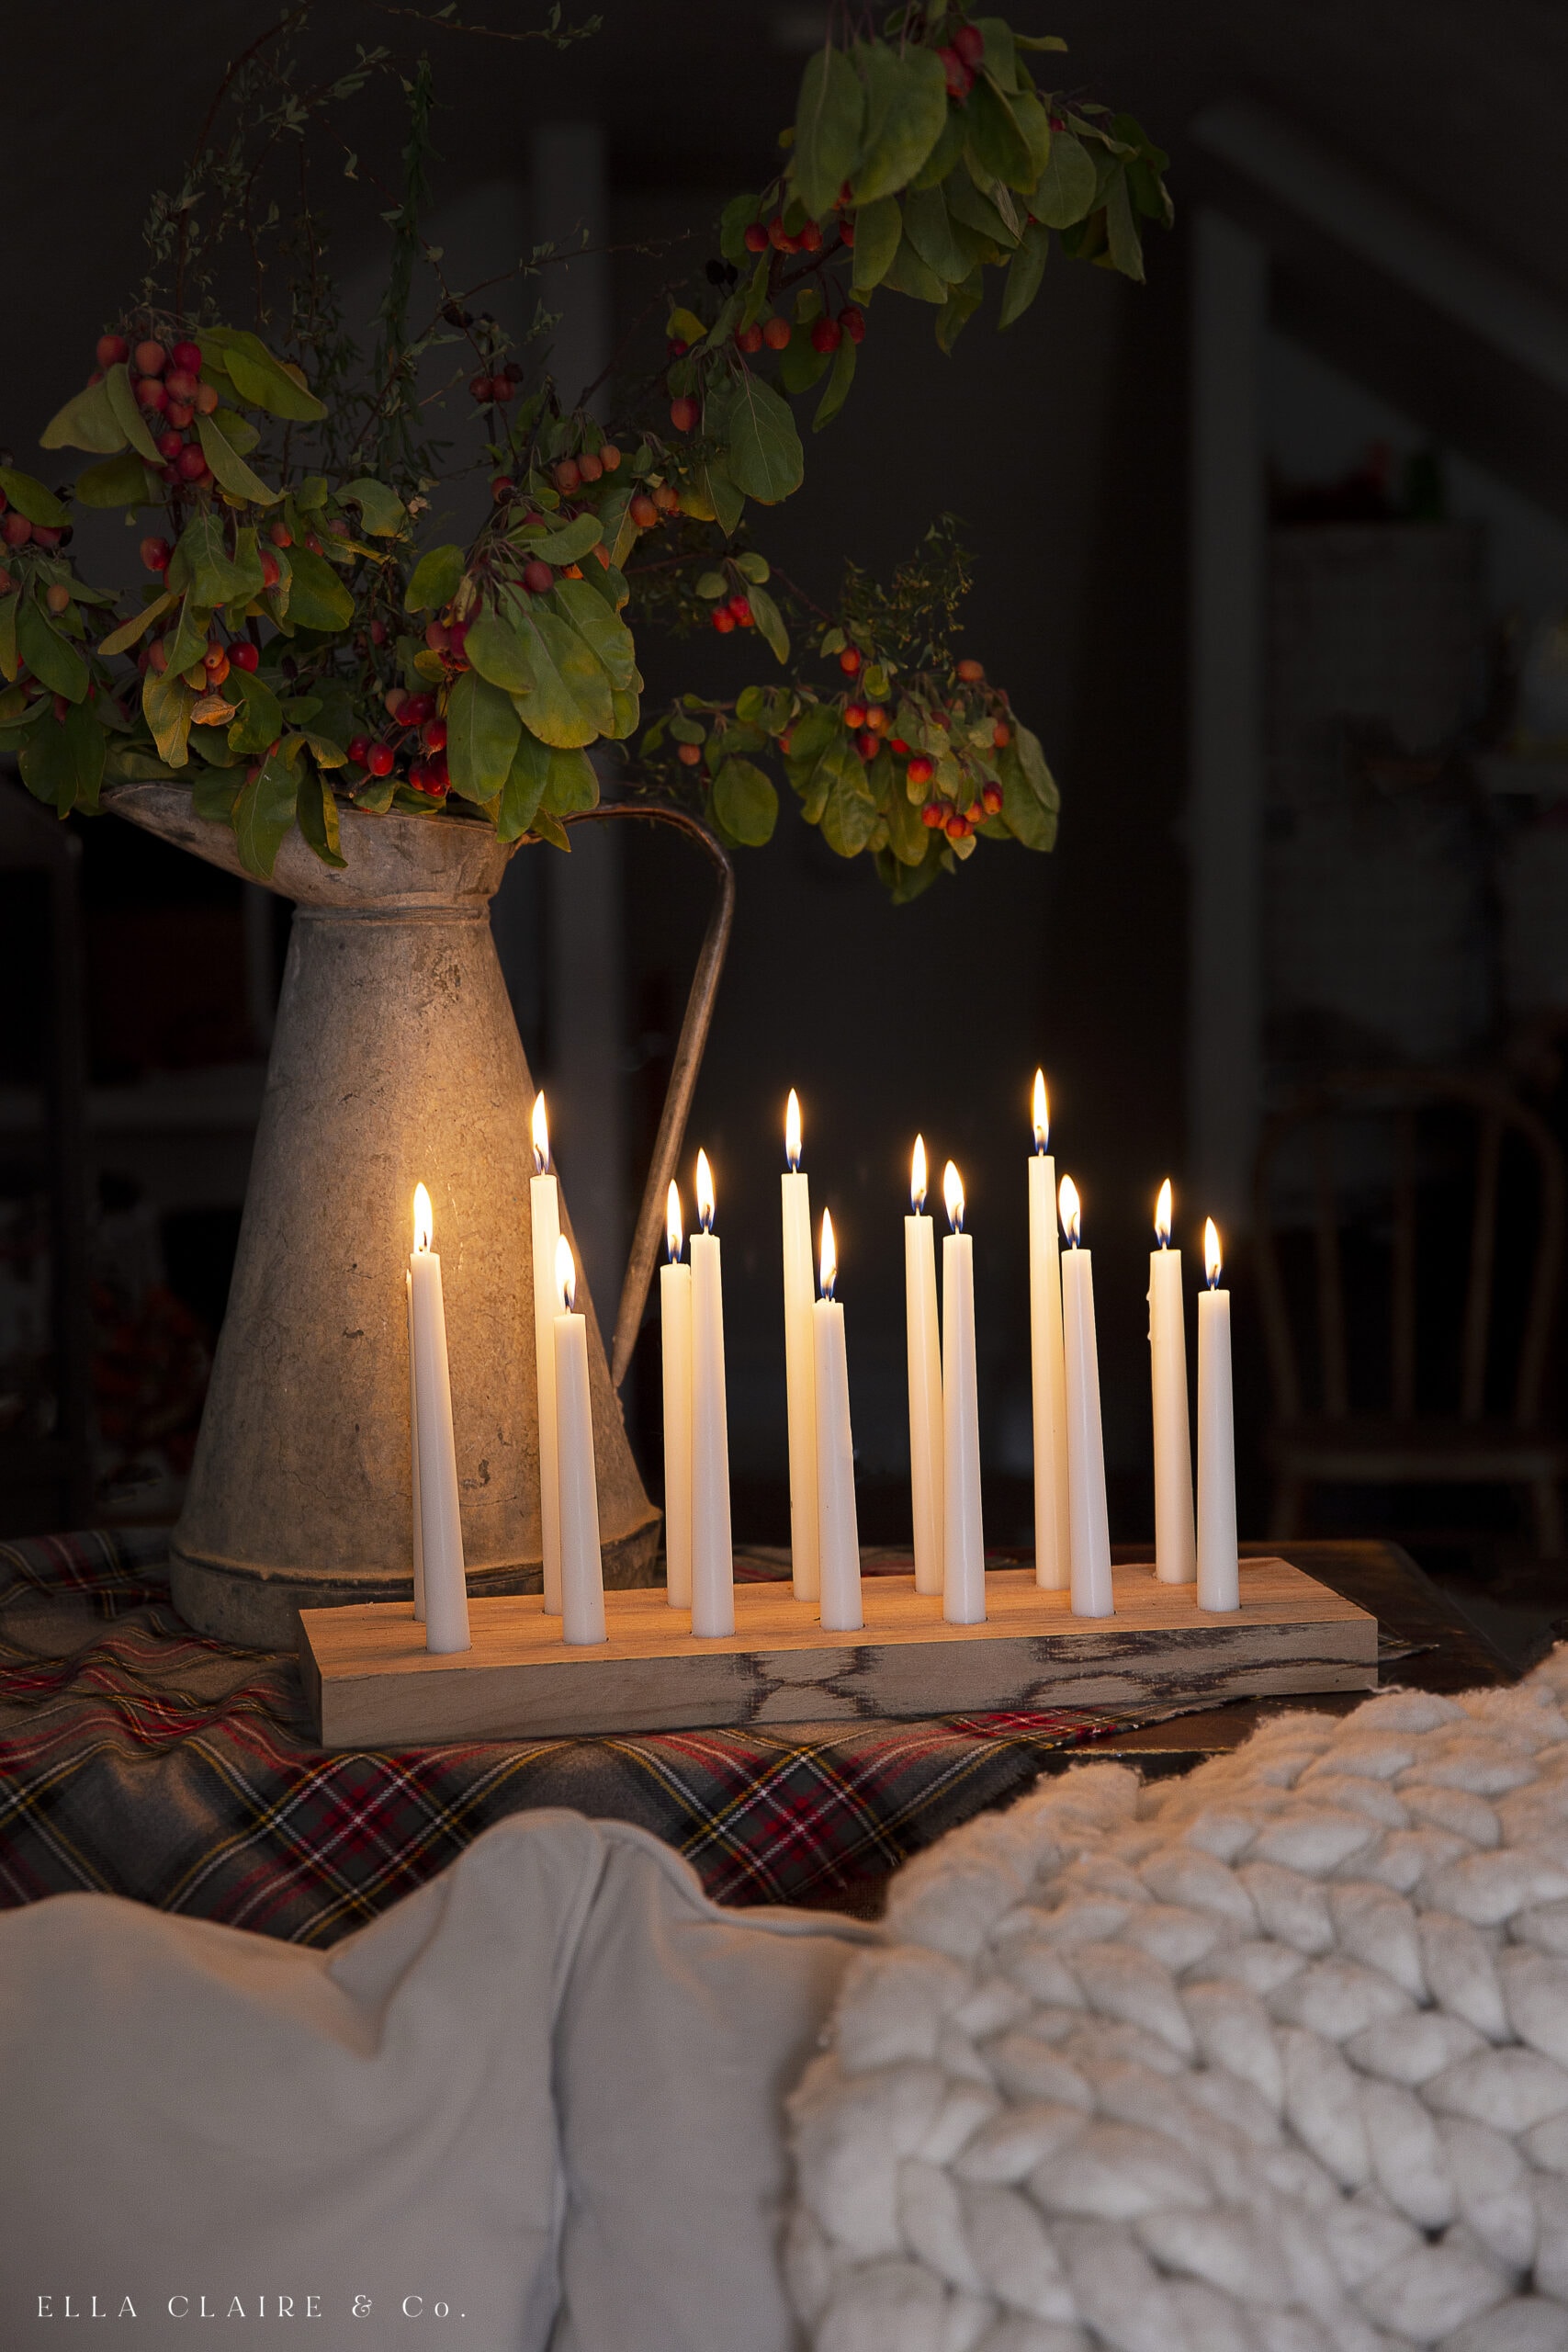
I left my candle holder wood raw (so I skipped this step), but it would be cute finished in any number of ways. If you use a paint, you could also put a clear coat or wax on top of it for protection.
You could try one of these finishes:
- whitewashing
- stain
- paint
- clear varnish
- gold or other metallic spray paint
- wax
Step 6: Add Candles to the Wooden Candle Holders
The last step is to put a candle in each of the holes. Use the stick-um in each hole to help the candles stand perfectly upright. You could also just use a dab of hot glue in each or warm up the bottom of each candle with a lighter and press them firmly into the holes.
Tip: Burn some of the candles down a bit to create variation in heights.
Disclaimer: Aways supervise burning candles!
Here are 6 more beautiful, budget-friendly Christmas decor projects for you to try this season!
Ella Claire & Co. | Miss Mustard Seed | French Country Cottage | Zevy Joy
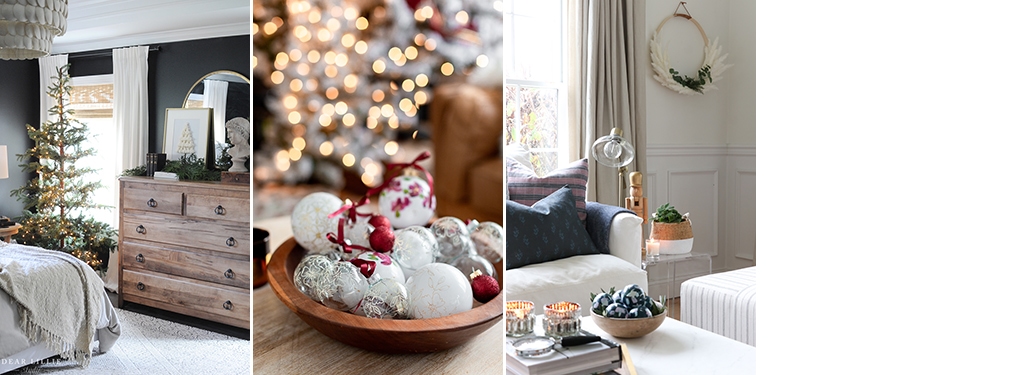
Dear Lillie Studio | Craftberry Bush | City Farmhouse

Jennifer Holmes
Love this, Kristen! So simple and elegant and absolutely beautiful!