

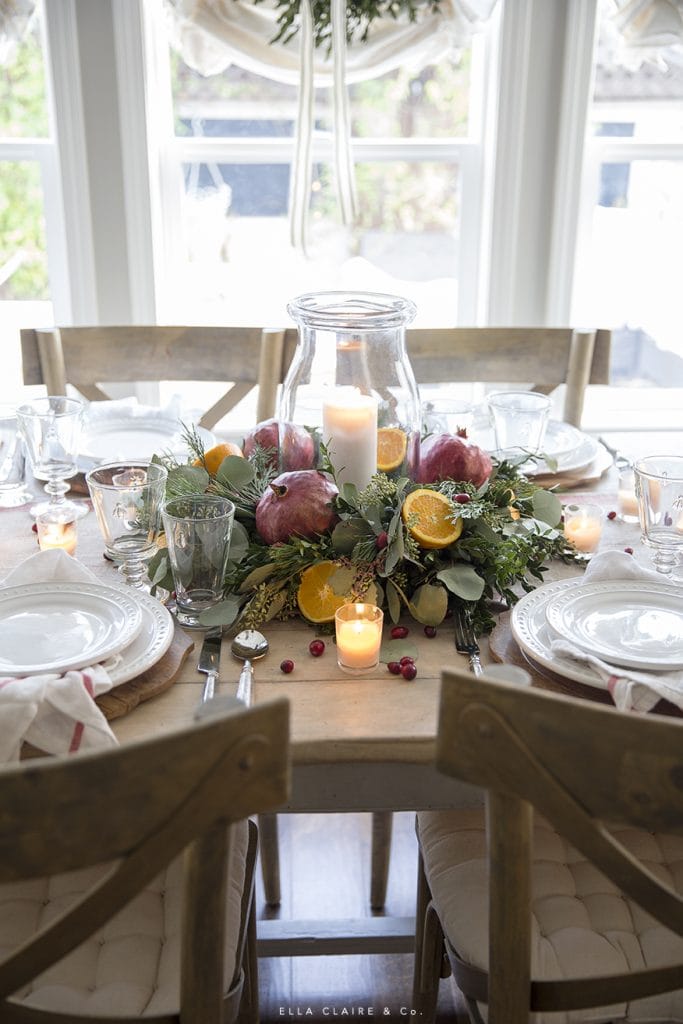
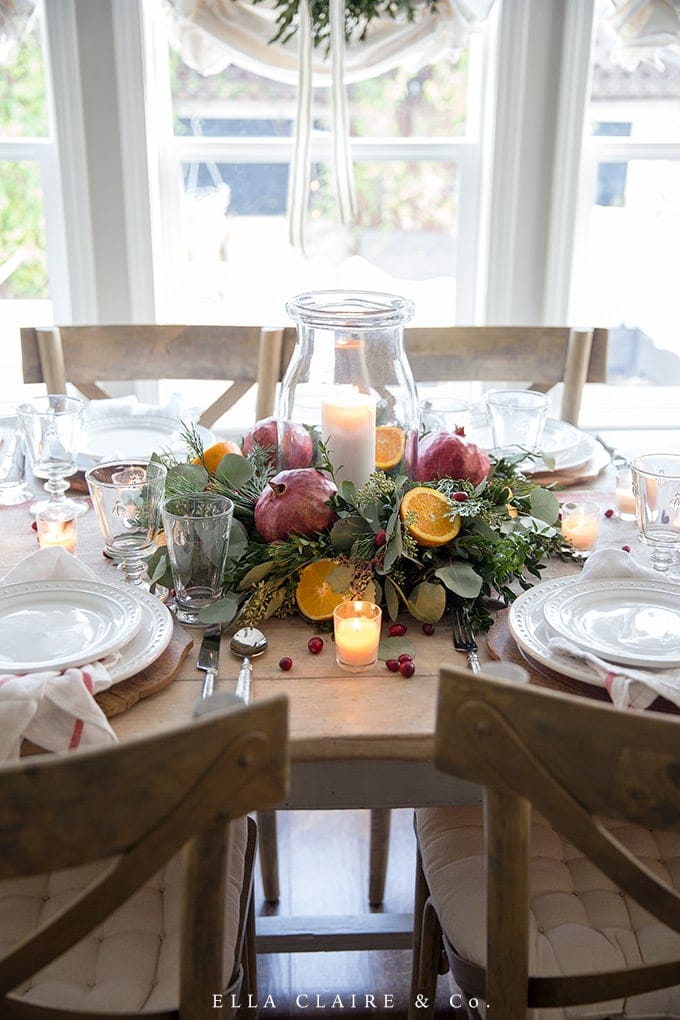
A quick and easy 10 minute DIY Christmas centerpiece with fresh greenery, pomegranates, cranberries and the warm glow of candlelight accented by the delicious scents of fresh oranges and Holiday trimmings.
I shared a simple Christmas tablescape a few days ago with this easy 10 minute DIY centerpiece and I wanted to share the tutorial with you before your holiday guests arrive! This centerpiece looks so much harder to put together than it actually is, but with my little secret trick, you will throw it together in no time.
Supplies:
- clear glass hurricane lantern/candle container
- pillar candle
- fresh or faux wreath (I used a fresh boxwood wreath)
- sprigs of fresh greens (from grocery store or yard clippings)
- 3 pomegranates
- 3-4 oranges
- fresh cranberries
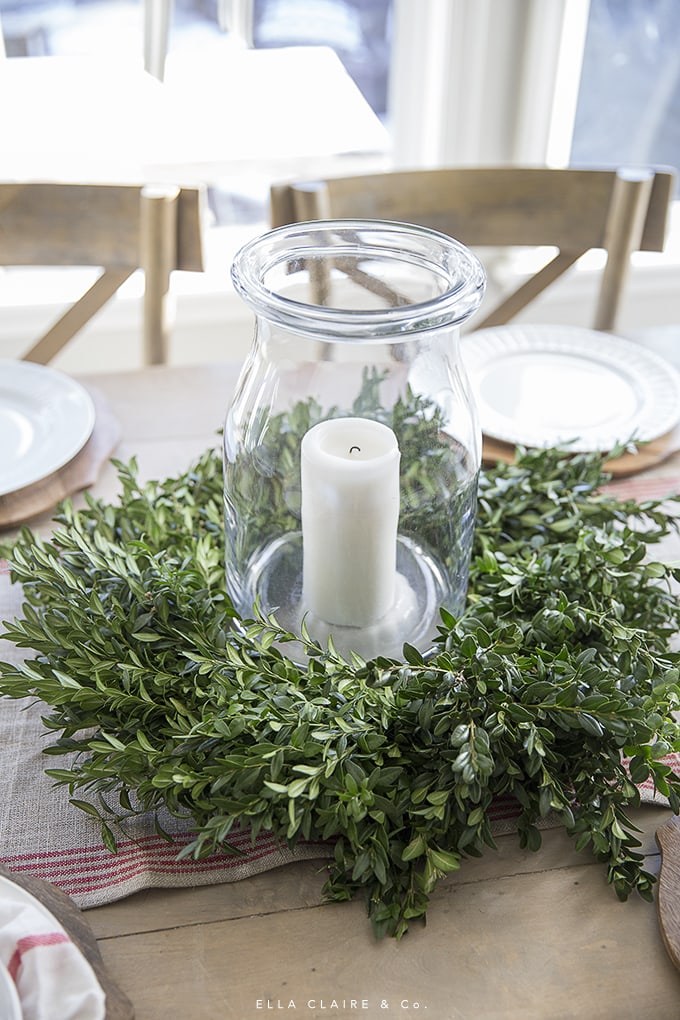
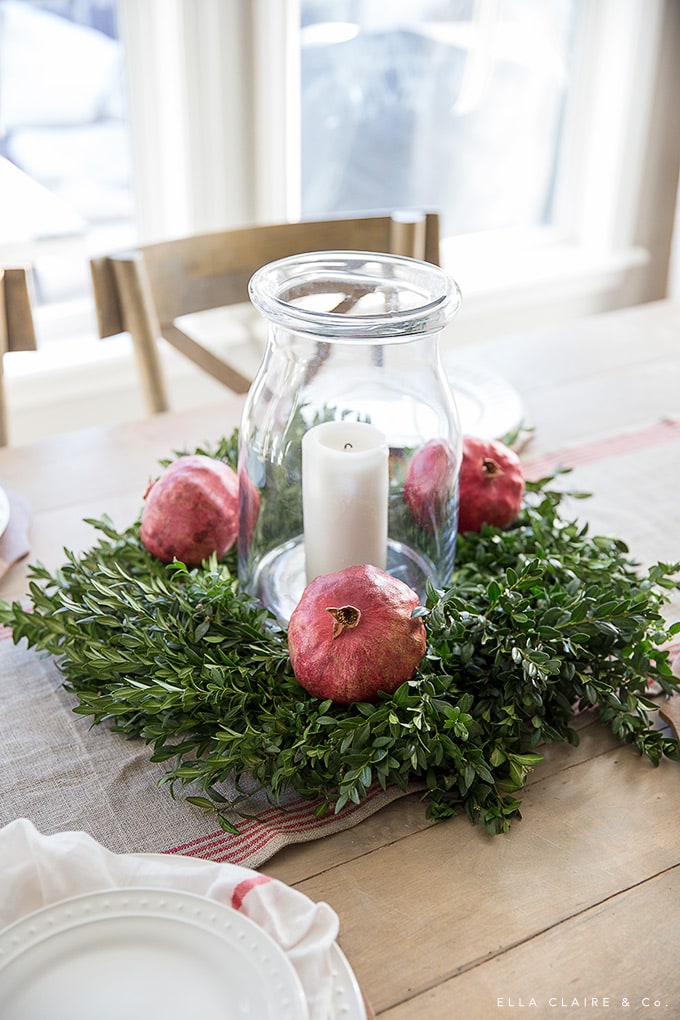
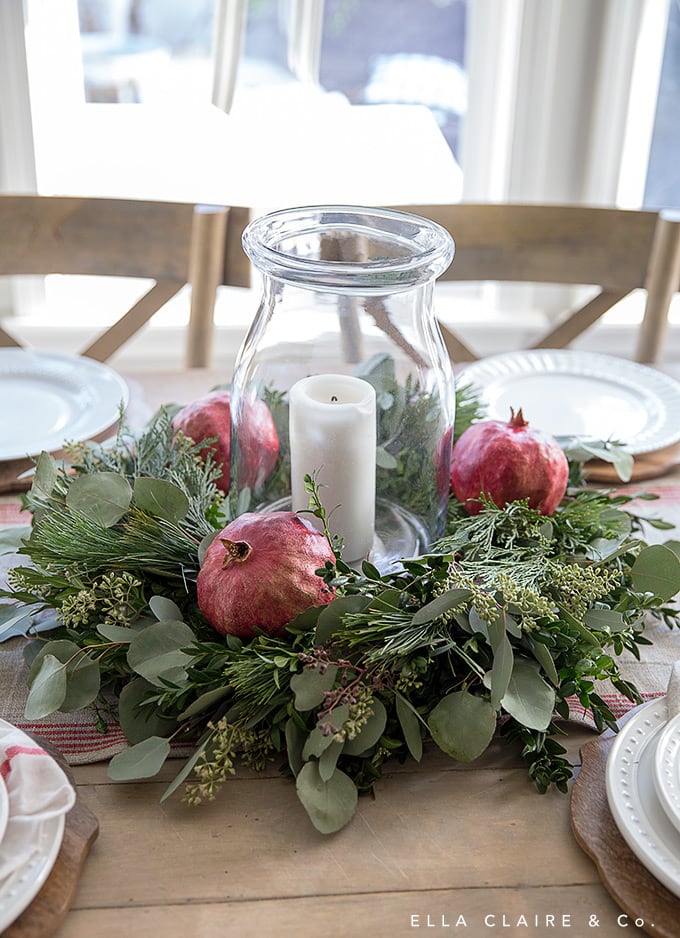
Step 1: create your base
My little secret trick to creating a quick and easy Christmas centerpiece, is to start with a wreath as a base. I used a fresh boxwood wreath (from Trader Joe's), but any green wreath would work. I have used good faux wreaths before for this as well.
Tip: if you want to make this for free, you can follow my tutorial for making a live wreath out of yard clippings.
This is a full and beautiful centerpiece by itself, but by adding some of the other little details I will share below, it turns into something really unique and special.
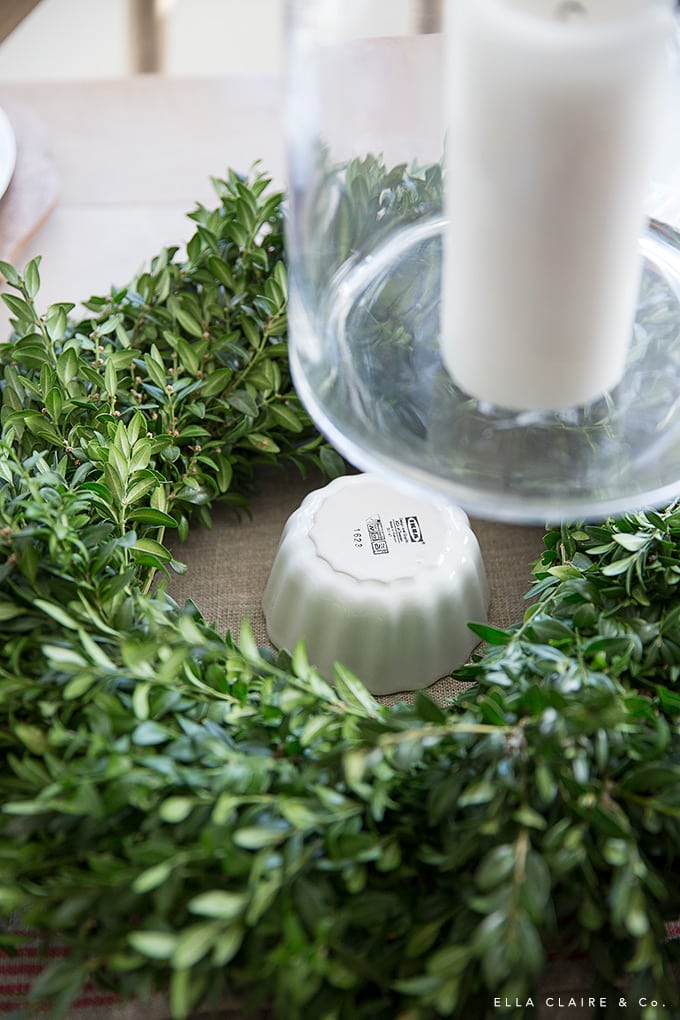
I used an upside-down ramekin to elevate the clear glass vase and candle. It fit perfectly in the middle of my wreath, but you will want to make sure that the wreath you choose fits your candle holder. This vase is my very favorite and it is from IKEA. Disclaimer- While I have used these many times, I don't know if these vases are actually rated for candle/fire use, so please do your research before using them. I have also used them with a flickering, battery operated candle and it is beautiful as well. It is amazing the beautiful battery candles they make now!
Step 2: add large accent first
I added the three pomegranates evenly around the wreath, nestling them into the sprigs so they stayed put. The pomegranates add such a beautiful, deep color to the arrangement. You could trade them out for apples, pears, pinecones, and so much more.
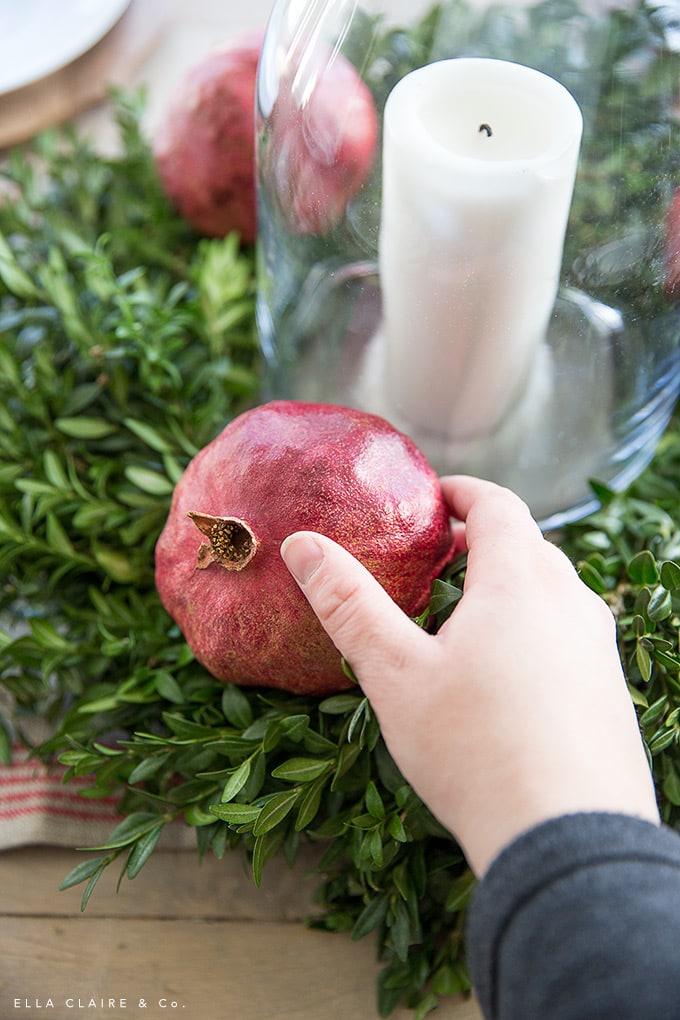
If you are having trouble making them stay put, you could always stick a popsicle stick or kabob skewer in them for added support. I slightly leaned mine against the glass and they stayed put just fine.
Step 3: add cut greenery
I picked up one bundle of eucalyptus and a bundle of mixed pine and greenery stems. A short walk through the neighborhood would have also produced a bunch of beautiful greens to use, so don't feel like you have to use the same ones I did.
Tip: I recently decorated a big holiday party for our church with a similar tablescape on all (27!) of the tables. I hit up a couple local Christmas tree lots and they gave me their tree clippings for free. I did give them a tip, but it was a very inexpensive way to get delicious smelling fresh Christmas greens.
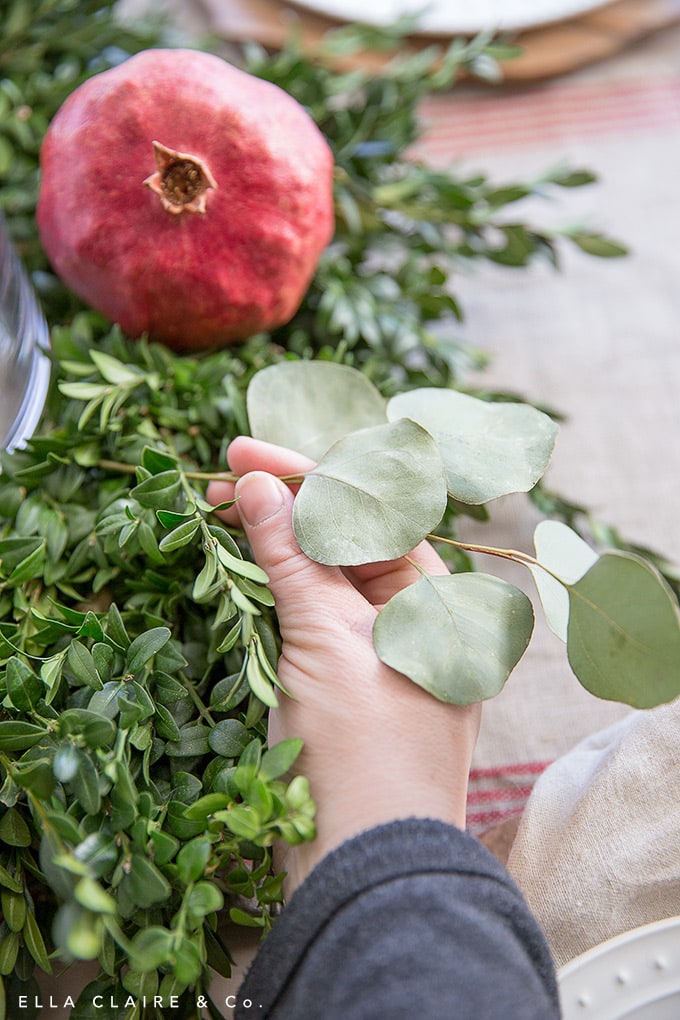
I started by cutting my eucalyptus braces into small sections and sticking them here and there all the way around the wreath. You don't need to do any fancy wiring or anything- all you need to do is stick the branches where you like them into the boxwood wreath.
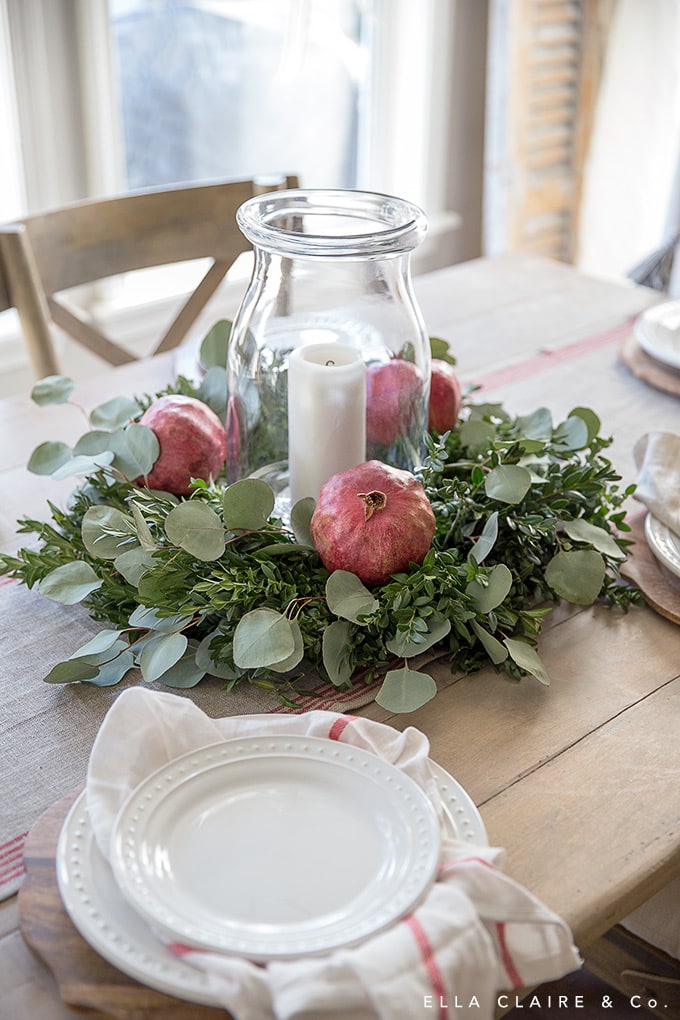
Then I just added a few clippings of the other greens here and there- a few in between each pomegranate. This is supposed to be a quick and easy wreath, so the key is not to overthink the placement of anything. Just spread everything out evenly. It will all be beautiful.
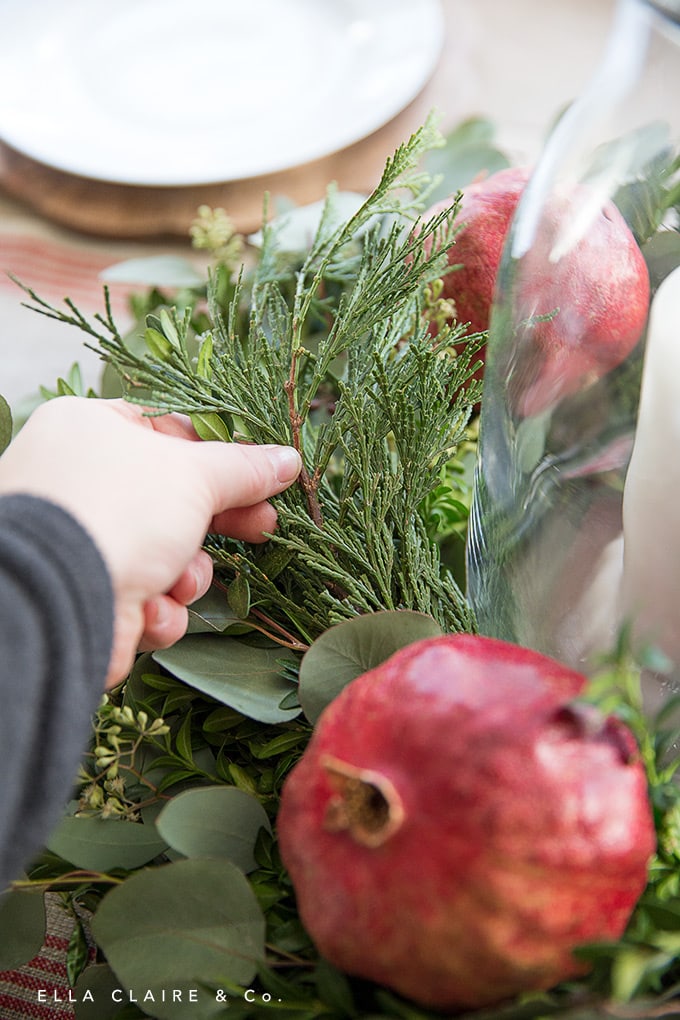
At this point, I just stood back and looked to see where I had bare spots or gaps that needed to be filled and added in some of my remaining stems. The key to making this process the easiest is to cut each branch into small, workable twigs.
Step 4: add a pop of color
The first color I added was with pomegranates, but I also love the look of oranges. I cut mine in half and tucked them in all around the centerpiece. They look and smell amazing.
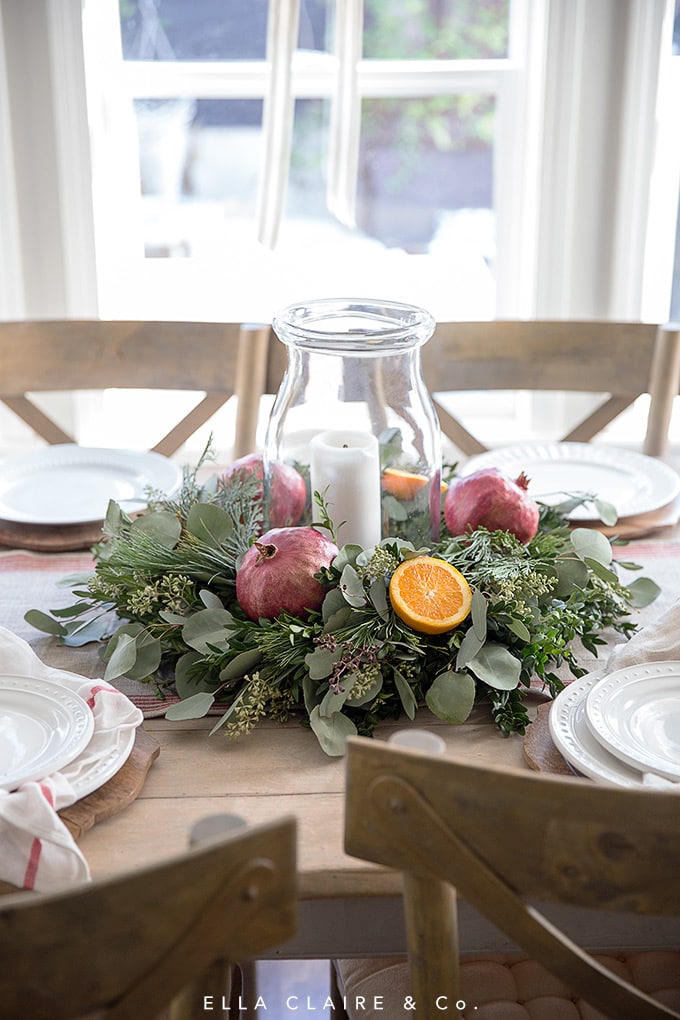
I kept this centerpiece out for several days and it looked beautiful even with the cut oranges for the whole time. One tip is to pat them dry after you cut them so they don't drip on your tablescape.
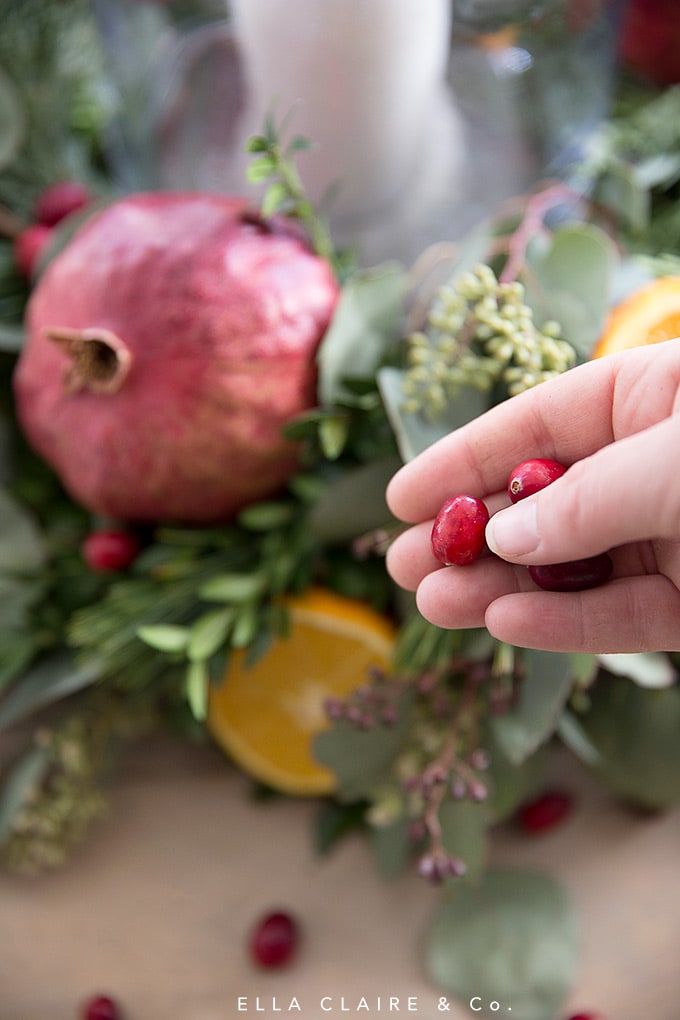
The last way I added a little color was by sprinkling cranberries throughout the centerpiece and onto the table around it. They are a beautiful and organic way to add a little Christmas color.
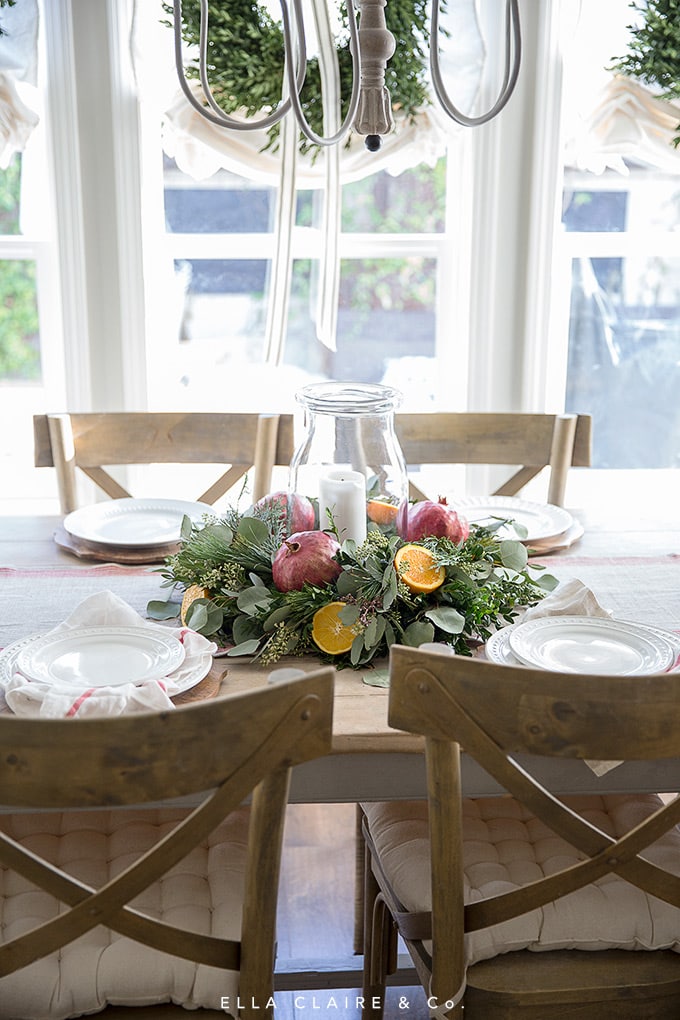
Step 5: Finish Table
At this point, I added a few more votive candles (these are my favorite, and also these) and finished setting the table. I have neutral basics for my tablewares so it is always quick and easy to throw a table together. You can shop my favorites that I use regularly here:

You can see the rest of the details for this Christmas tablescape in my post here. This centerpiece took just about 10 minutes to throw together and was a quick and simple way to add holiday cheer to our table. This would be great for holiday entertaining since there is still a lot of room on the table for food. I also think this would be beautiful on a buffet table. So many options, so little time.
No matter what, I hope it adds warmth and coziness to your holiday gathering.

laura
this is so beautiful and doable! can't wait to try it:) thank you for sharing!!
Cindy Cicuto
Love this! Beautiful
Deborah SAARANEN
Beautiful table as always! Love that you shared step by step how to achieve it-- it doesn't look that difficult! I will have to attempt it! Thank you and Merry Christmas!
Suzanne Gruenstein
Love this ????????
Thank you ~•
renee
Thank you for sharing!! Such a pretty centerpiece.