

Gold chargers get a beautiful vintage copper patina and old world charm with a quick and easy DIY paint treatment.

One of the fun things I have been collecting is vintage copper. I love the warmth it adds to my kitchen and it is fun to use when entertaining. I knew that I wanted to include pops of antique copper in my Fall decorating this year and I thought it would be fun to try to find copper chargers for my table. I found a few online (here) but they really didn't have the patina that I was hoping for. I loved these ones from Pottery Barn, but I didn't want to spend that much on them. I wanted them to look less new, and have that old world charm, so I decided to try to DIY them.
Supplies (affiliate links for your convenience)
- Gold Chargers (michaels, similar here)
- Sponge brush set (found here)
- Copper paint (here)
- Matte Clear spray (here)
I found these gold chargers at Michaels on sale for about $3 (similar here). I like starting with the gold base because it adds one more pretty layer and patina to the process, but you could really start with any color.
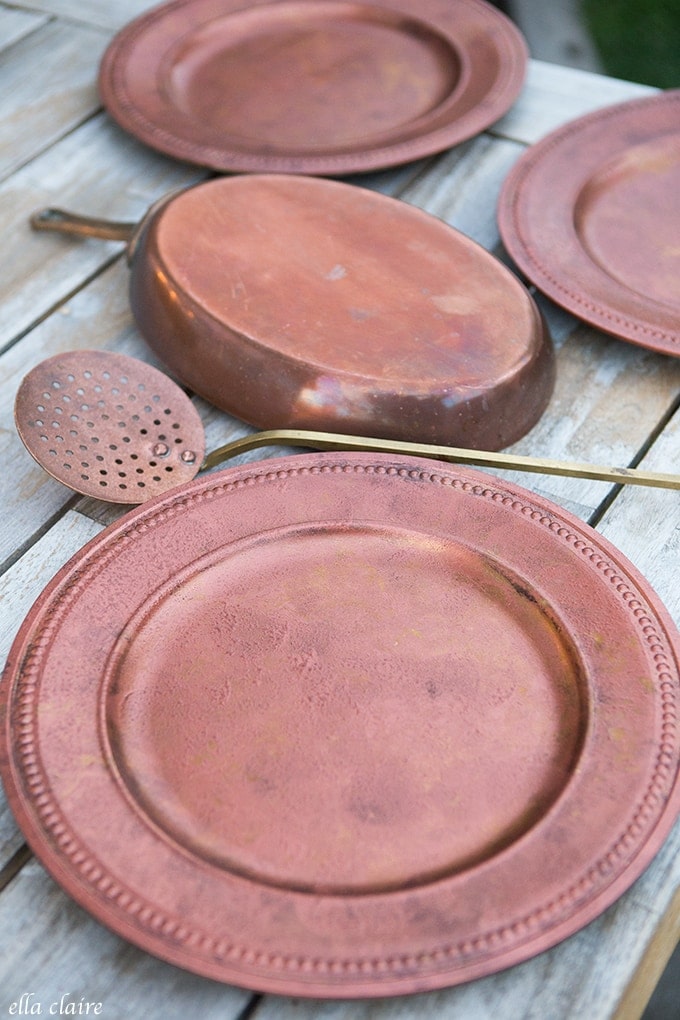
Here is the charger next to what I wanted it to look like- this pretty vintage copper pan:

Using a sponge brush (found here), I dabbed my plate (dab, don't brush) with copper colored paint that I found at a local craft store. I didn't get a picture of the backs, but these chargers have black backs on them. I just left it alone and only painted the top and the tiny lip on the side of the plate.

I let my copper layer dry while I finished adding the first layer to all of my other chargers. Once dry, I came back and dabbed it with a bit of black here and there.

Once the black was completely dry, I dabbed one more generous layer of copper paint over the entire plate. Dabbing allows some of that black to show through mimicking the old patina of the antique copper. Since I had the gold base, I also used a paper towel to dab off the paint here and there to barely let some of the gold through.
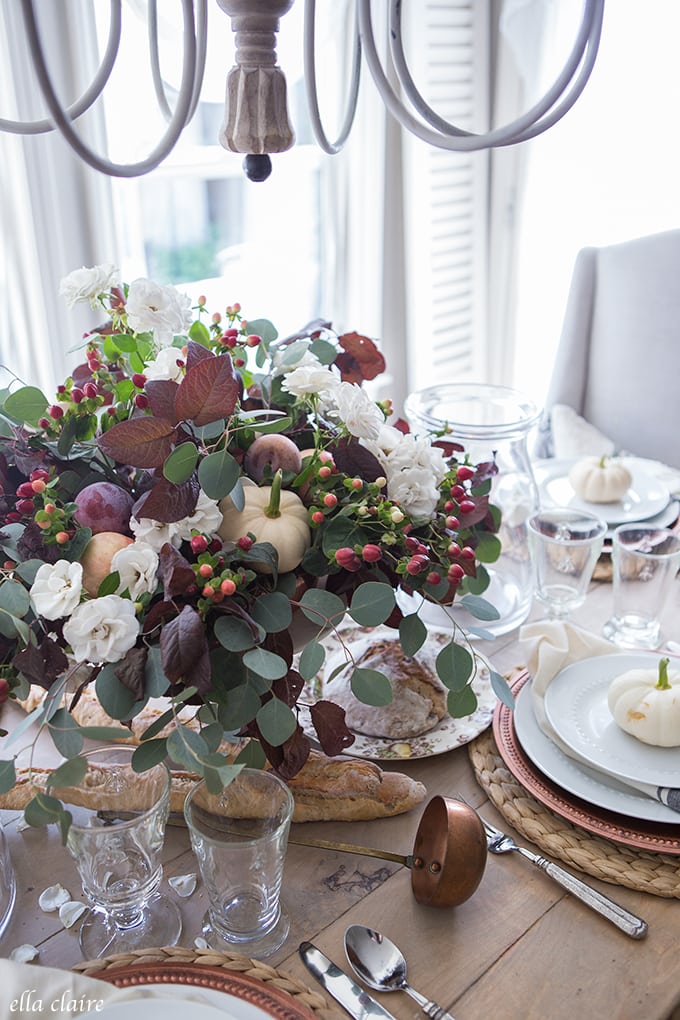
It isn't exact, but I think it is pretty dang close and it coordinates so well- especially on the table as a pretty base for my place settings. I have to be honest, I haven't sealed them yet, but I will be hitting them with a matte clear coat just to protect the finish. Overall, they were pretty quick and easy. The trick is not to be too much of a perfectionist and just let the layers and patina happen without overthinking it.
What do you think? Would you make these? I love the way they turned out.
Leave a Reply