

Hello friends! I have a tutorial for you today!

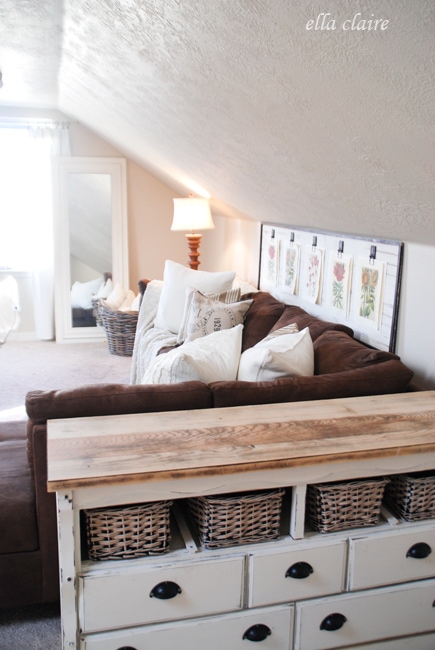
I wanted to build a pretty substantial board/gallery/wall art thing behind the couch to hold my vintage botanical prints. I thought it would add a lot of charm to the space.

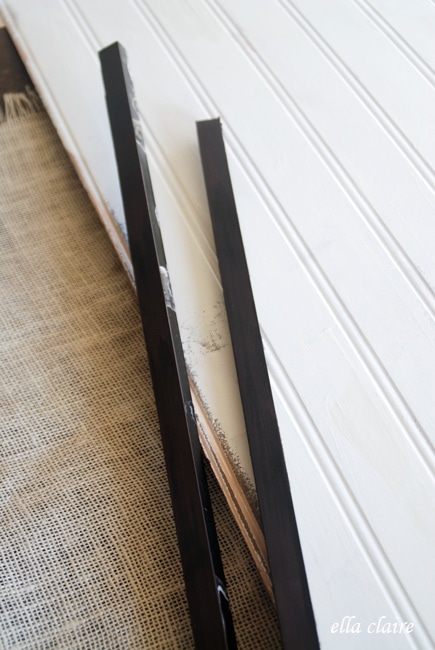
So, I thought, and thought, and thought... and this is what I came up with. I knew that I wanted it to have a vintage feel, have numbered clips for the prints, and fill up the big space. I hit up the local ReStore {again} and found a long piece of beadboard for $3 and the trim for $1.50 {I took this picture after I had spray painted the trim black}. I crossed my fingers all the way home, hoping that it would be the right size... and it was PERFECT!
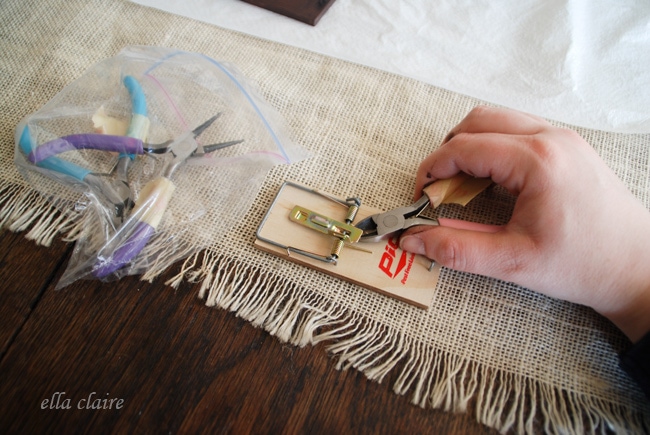
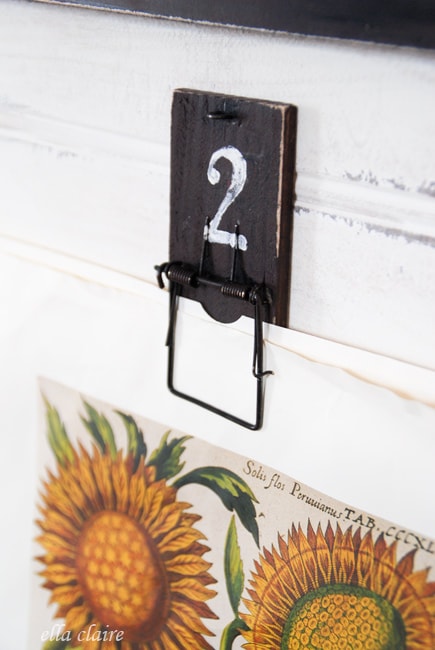
I wanted the clips to have the look of vintage reciept holders, but I didn't want to pay that much. So, I hit the dollar store and grabbed these mouse traps. At 4/$1, you can't beat the price!
So, I will show you how I transformed them.
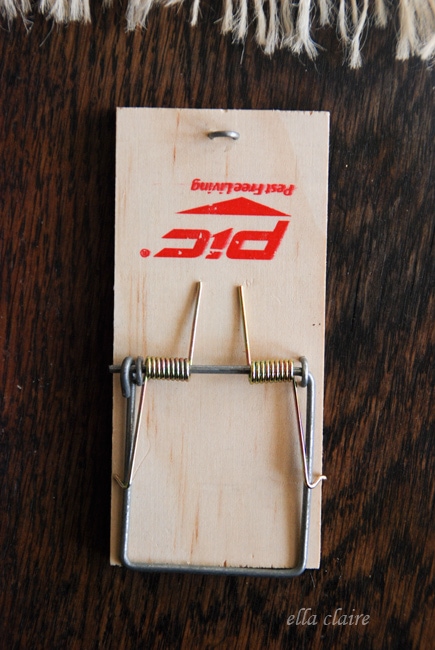
First, I just clipped off the unnecessary death trap parts with wire cutters.
Until it looks like this...
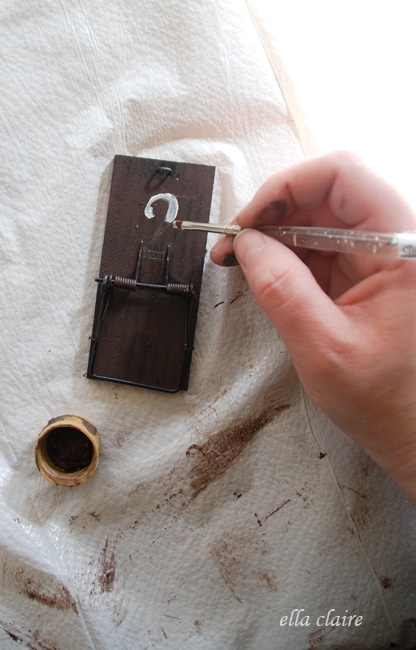
Then I spray painted them with a base of black spray paint. I lightly painted over the top of that with a raw umber craft paint until they look like this...

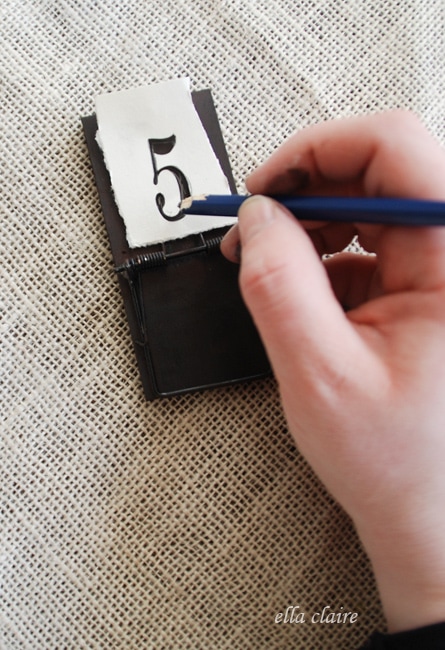
I used my Silhouette to cut out a stencil for the numbers {you could also use your printer and the technique I show here} and penciled them onto the top, flat area.
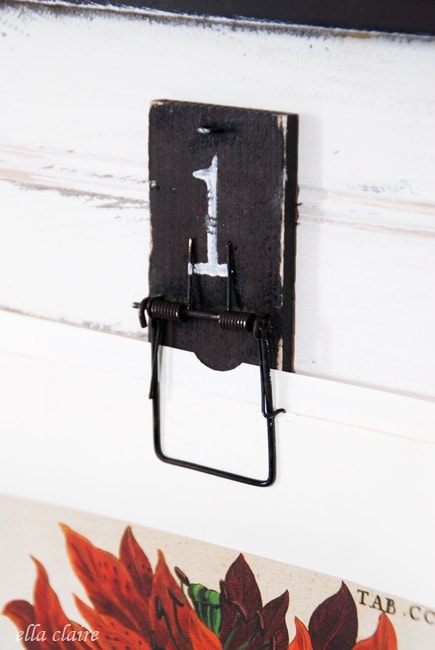
I filled the letters in with a creamy white paint and lightly distressed them.
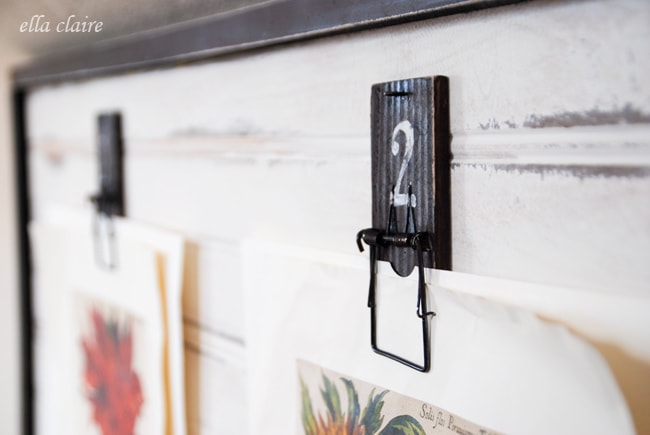
I painted the piece of beadboard using layers of my favorite creamy white paint, and a light brown with the technique I show here. Then all I had to do was attach the trim with wood glue, and attach all of the mousetraps and I had a place to display my botanicals!


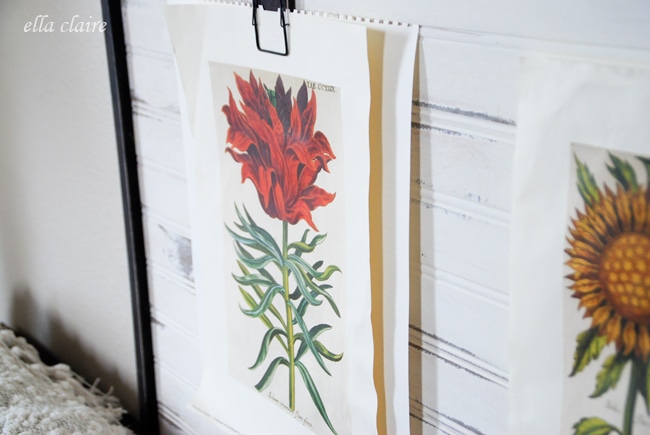
I loved the look of the loose papers. I played with them in mats and thin frames, but when it came down to it, I just really loved the whimsical, artistic feel of the free papers. I have had these botanicals in my stash forever. I purchased them off of Ebay a long time ago, used them for different things and have always loved them. You can tell they are a bit crumpled, but I really love that about them.

The total cost for this project was $6.50 since I already had the prints on hand! Love that!

Our bonus room/family room is really coming together. I keep working on it, little by little and I am so happy with how it is coming together.
Here is what we have so far... From a couch I never would have picked on my own, to a room I am completely in love with. It isn't finished, but it is getting there! I have to warn you, I am going full steam ahead on my bonus room redo project, so I will keep sharing as I go.

To see the other before/afters in the room, click on the links below:
Thank you for reading! I hope you are having a wonderful week!
Linking up at East Coast Creative!
a need to say what i want
Hi Kristen, do you always use sponge brushes when using the chalk paint? Also, do you sand it when done to achieve a smoother finish? Or do you wax? I'm referring to furniture.
Thanks kirsten!!
Shannon
Thank you for this project. It was a great inspiration to an easy way for our teenage daughter to swap out her favorite pics. She is always taking pictures and this gives her an easy way to highlight a few. I entered in a Pinterest Challenge using this idea and linked back to this post of yours as my inspiration. Check it out in my blog I just started. https://bohojunktion.wordpress.com/2013/02/27/mouse-trap/
Jessica @ My World - Made By Hand
Very creative! Love it!
Jessica
myworldmadebyhand.blogspot.com
thelittleredowl.com
Such an inventive idea. I AM going to try this. Thanks for sharing!
Nike@ChooseToThrive
You're my craft hero.
Michelle @ rockMYroll
I reeeeally like that - scratch that LOVE it!! Making and planning where they will go in my home ASAP
Leslie
These are fantastically clever! I love them. How much weight would you say they can hold?
campclem.com
Brilliant. LOVE.
Heather
I would never have known those clips were mouse traps - so creative! I love the colors you've used in the room - very cozy and country but still modern.
Inspired by you
Absolutely great idea! Never would have thought of that in a million years. Everything looks great!
Craftberry Bush
Kristen, you've done it again ! beautiful !
We featured you today at the Inspiration Gallery..xo
Solange Hooks
Flipping cute!!!!!!!
Charity West
Lovely! You are so clever and creative. It looks gorgeous.
Jenn @ Clean and Scentsible
That looks amazing!! Love the use of the mouse traps! I will definitely be stealing this idea! 🙂 Pinned and shared on my Facebook page too. Happy Valentine's Day sweet friend! xo
Taryn @ Design, Dining + Diapers
What a brilliant idea! So clever and I love how the whole look turned out. The space is gorgeous.
Meg
these are super cute and a great idea.
thank you.
Jean @ www.thebackyardbungalow.com
Mouse traps? That is ridiculously clever!
Bronwyn
Mouse traps!? Girl--you just beat all!! Amazing. I love how this room is coming together, step by step!
Jenn
SO awesome! I love this {and everything else you do}.
Lorraine Finkbeiner
That vintage clip is genius! Very clever and looks just great! I foresee Creating with the Stars in your future!