
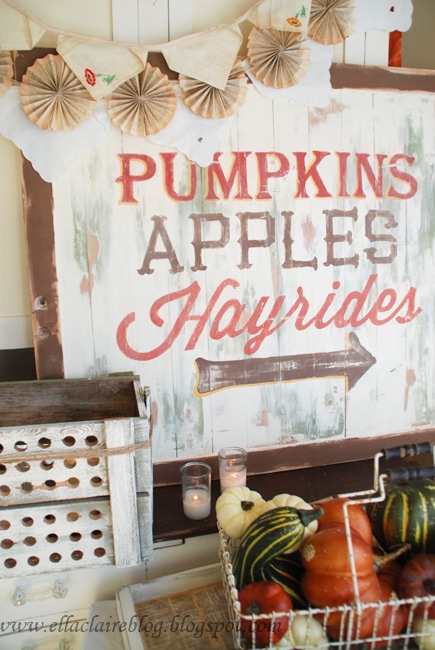
I put a little tutorial together for the "Pumpkins Apples Hayrides" sign that I posted about {here} in "6 DIY Autumn Decorations Under $6." I took some of the tutorial pictures late in the evening and some in the middle of the night, so you will have to forgive the picture quality.
To start, you will need to find some kind of large board. I got mine {2 of them, actually, which appear to be some kind of cupboard doors, maybe?} at a yard sale for free, but you could use whatever you can find. I think that nailing a bunch of boards together would give a similar look to this one. I used the 2nd one in the pictures below to show the painting technique since I painted this sign in the middle of the night.

This painting technique is one that I use when I want to achieve the look of layers of timeworn paint. There is probably a better way to do this, but this is my own little funky way, and it works for me :).
First, mix some homemade chalk like finish paint {that I love} using this recipe {I doubled this}:
1 cup flat latex paint
1 Tbs. unsanded grout
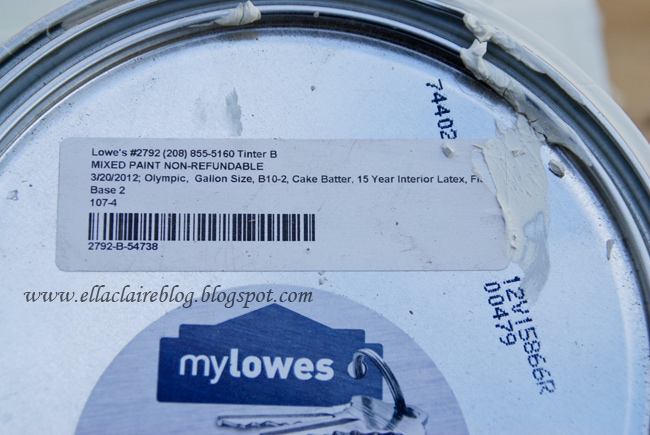
I used my favorite paint color. It is called "Cake Batter" from Lowes... but you can get it mixed anywhere that sells paint. I love this color. It is kind of an antique white, and I have painted many things with it over the years, including most of the furniture in my home.
After making the homemade chalk paint, paint a layer on your board. It doesn't have to be perfect, and mine certainly wasn't.
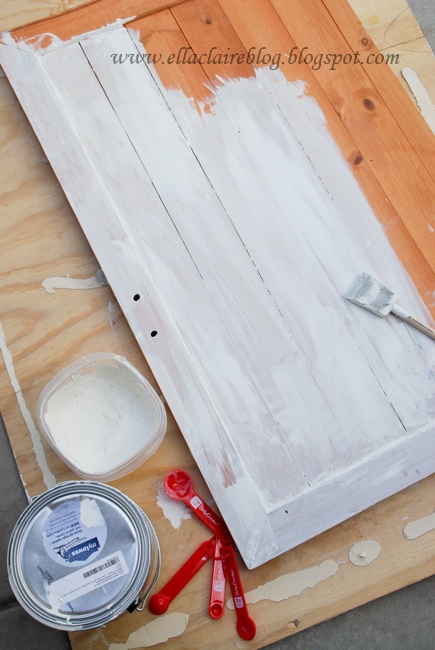
Once you are finished painting your first layer, leave the rest of your chalk paint open to the air so it will thicken up a bit. Let the first layer dry completely.
Next, grab a paint color that you want to layer on your sign. It doesn't have to be chalk paint, but it can be if you want. I chose this green "oops" paint color, but you can use whatever you want. When I refinished the lamp {here}, I used a taupy brown and a little red to layer. Brush it on {I use sponge brushes, by the way} unevenly all across your board. You want to go heavier in some places and lighter, or no paint at all, in others. With this layer, try not to leave many globs of paint anywhere.
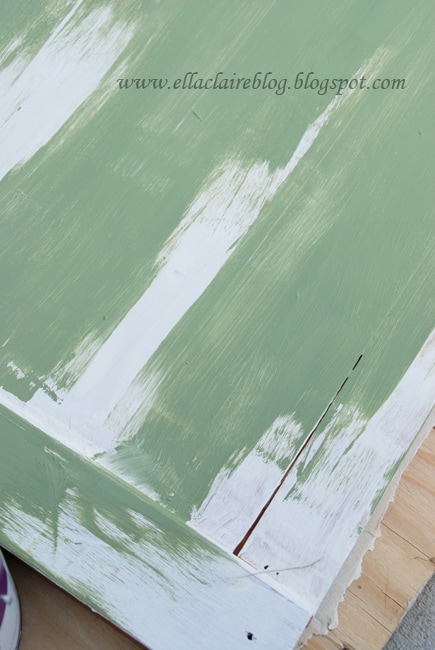
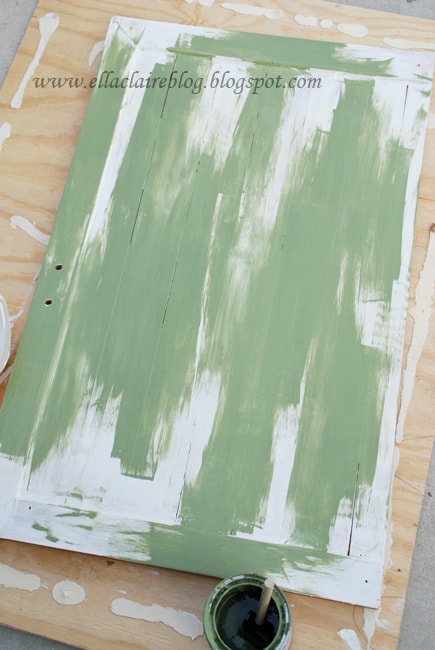
Wait until this layer is completely dry before proceeding.
Next, grab your chalk paint again. By this time, it should have thickened as it sat. For this step, I glob my chalk paint on very generously. It makes it look really pretty when distressed.
First, paint over the areas where the chalk paint is still exposed, overlapping, and semi blending into {green} the areas around it. Leave bits of your second layer {green} showing.
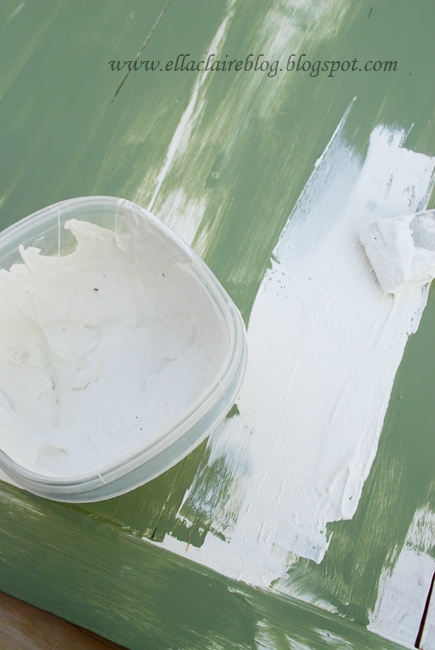
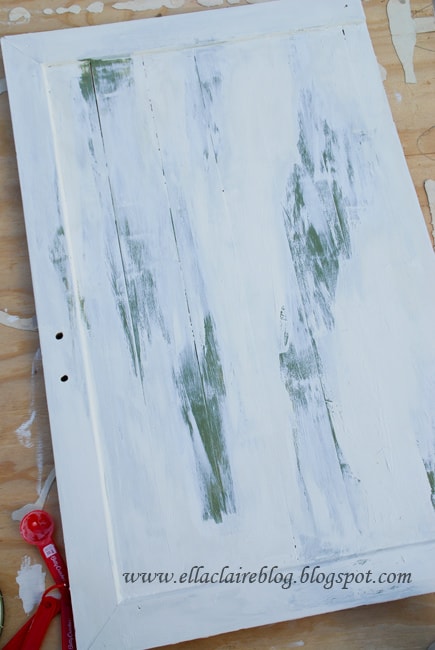
Here is a close up of how I "semi blend." Notice that the chalk paint is pretty thick, even globby, in some areas. All of this contributes to the patina in the end, so slather away!
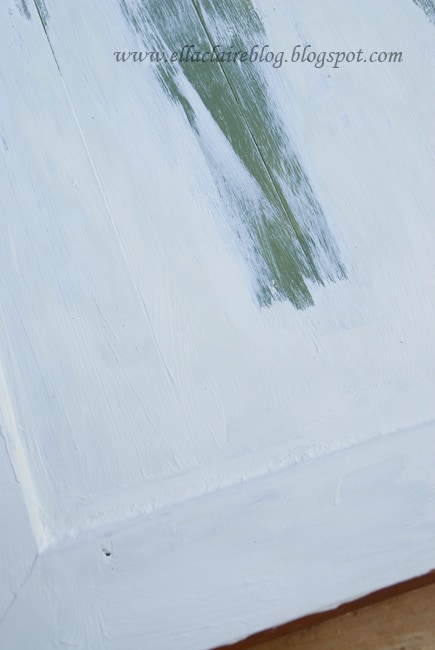
This next part is my favorite! I love distressing. And, with this project, it is extra fun because it exposes all of the fun layers.
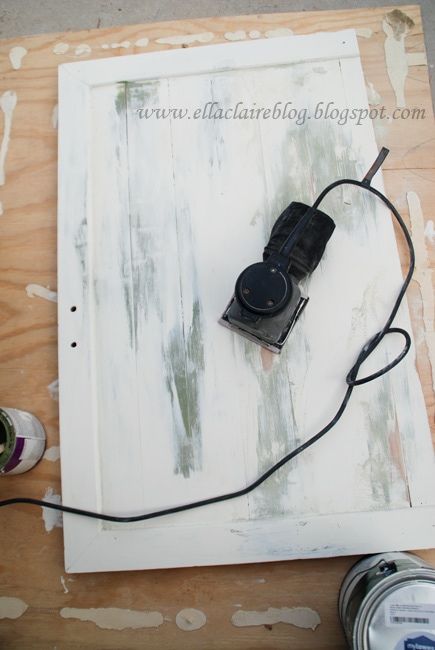
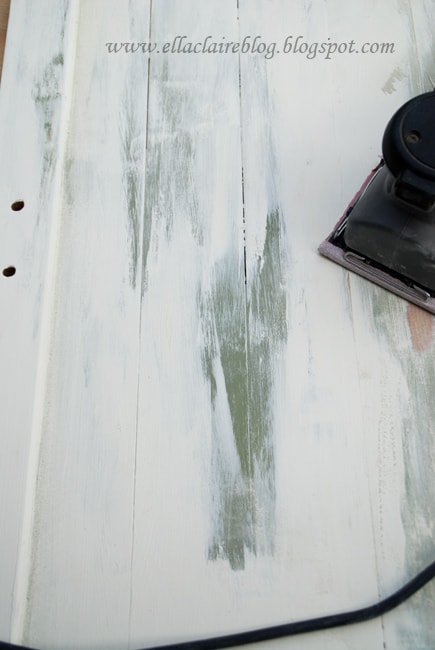
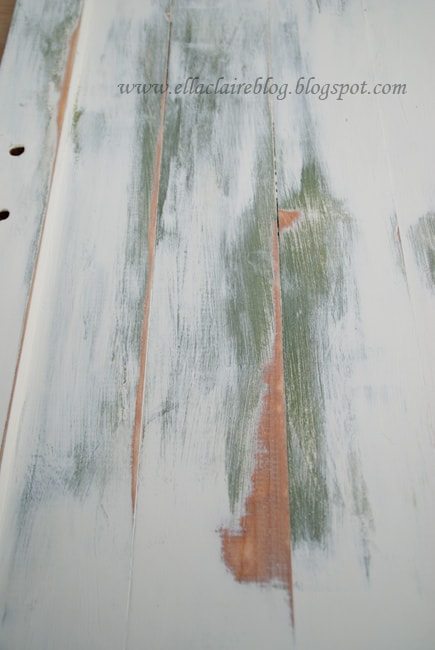
I use a finer grit sandpaper and a palm sander. Start in the areas where your second layer {green} is exposed and sand, not pushing too hard, and moving your sander in a circular motion outward. This will smooth out some of the top layer and expose more of the second, as well as some of the wood. Just keep sanding in circles until it looks how you want. Keep in mind that it doesn't have to be perfect since you will be painting words over the top of it.
Here is a spot before:
And here is the same spot after:
Sand away some of your edges, and corners as well, to mimic aging.
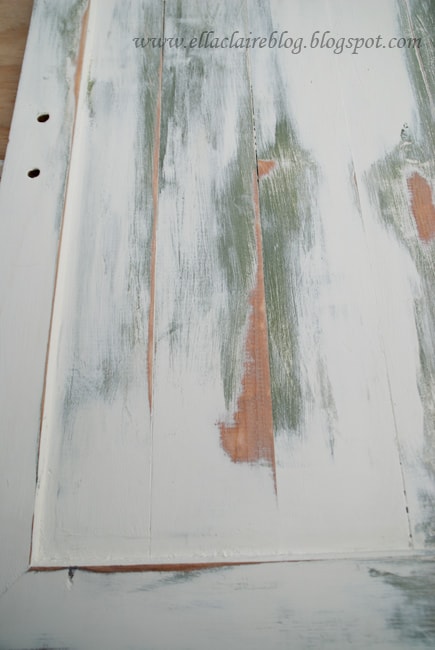
And here is the finished result!
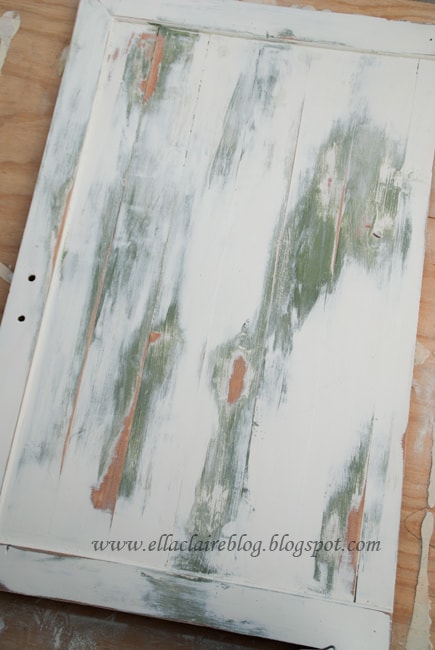
Okay, now that the base painting is out of the way, it is time to paint the words on your sign. If you want to make this particular sign, feel free to use this graphic for your own personal use. It is my gift to you :){This template is for personal use only. Please be respectful of my work. It is not to be sold in any form.}. Just copy and paste it into your own document and adjust the size {by adding as a picture to a document, and pulling the corners to stretch} accordingly.
I wanted my sign to be pretty large so I ended up blowing this up to be pretty big-- 9 pages big! Then, just print it off and tape all of the pages together. Center your image on your board, and tape it down to the board.
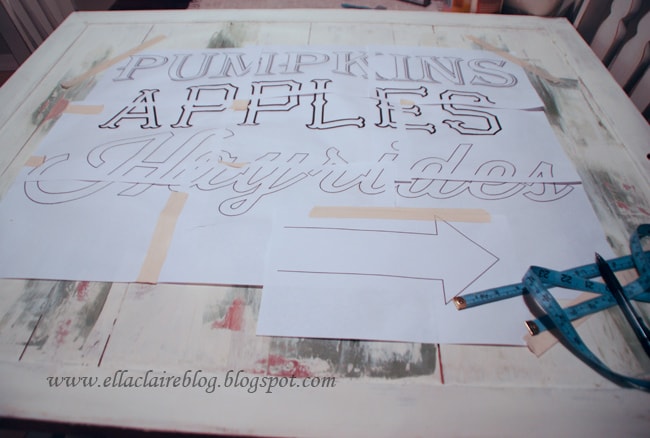
I don't remember where I learned this technique, but I have been using it for a long time and it works well. Go over all of the letters with a ballpoint pen, pushing really hard. This makes an indentation in the painted finish underneath.
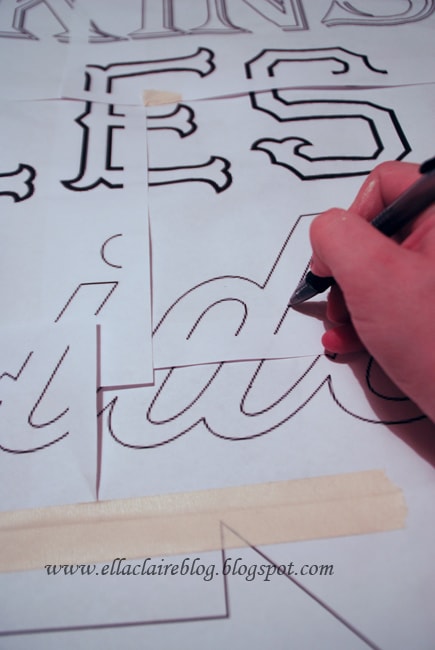
Go over the indentation with the pen to make an outline that you will be filling in with paint.
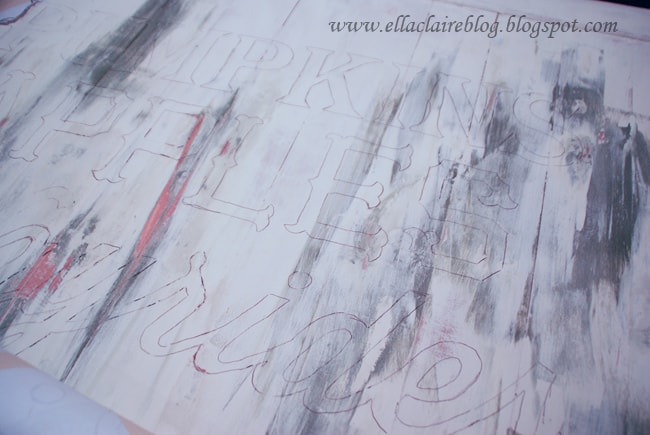
Next, just use a small paintbrush to fill in the letters with paint. It doesn't have to be perfect since you will be distressing it. For my sign, I used red {Ceramcoat, Tomato Spice}, orange {Americana, Georgia Clay}, and brown {Folk Art, Coffee Bean}. Then I highlighted "Pumpkins" and the arrow with a mixture of a yellow with a tiny bit of brown and orange.
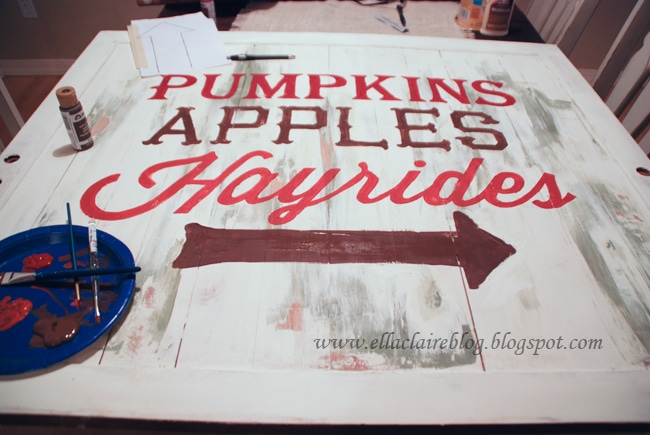
When you are finished painting, just take a sanding block and distress your words a bit.
Clean off your dust, and you are finished!

Not too bad, right!?
Let me know if you have any questions.
There will be two more tutorials that I promised that will be coming up this week!
Happy Monday!


Kylie
This is totally my mom! She has a huge pumpkin collection for fall and her b-day is in October. I think I'll make a scaled down version as a gift. Thanks for the tutorial!
Tausha
This is a fantastic Tutorial! I love how detailed it is. I can totally do this now. Thanks for the inspiration!
Have a happy week!
Tausha
sassystyleredesign.com
Megan {Splendid Design}
Thank you for the great tutorial! It is going on my to-do list for fall things to make! Can I just say I am in love with the colors.
Megan
Emily Netz
Great tute, Kristen! 😉 I am going to have to find something to paint just so I can try this technique! Thanks for sharing the color white you use! It's tough to find a good one.
Jenn Lifford
Wow! I love this! Fabulous tutorial on your painting technique. Off to pin!
Kristen {Ella Claire}
Thank you so much Jenn!
Suzanne@Meridian Road
That is just adorable! I love how you layered the paint~it looks really authentic and so much better than some I've seen selling at craft fairs. Great job!
Blessed Serendipity
Your sign is so cute. You did a great job painting it you talented girl!
Danielle
Anonymous
I love this sign!! Already have my board ready for letters but can't figure out how to get it all to print. Could you help me? : )
Thanks,
Alicia
Kristen {Ella Claire}
Hi Alicia! I would love to help you! Shoot me an email ellaclaireblog{at}gmail{dot}com and I will try to help 🙂
Kristin @ Simply Klassic Home
That's a great tutorial, Kristen. Really well done and thorough. I like the idea of layer the paint on sloppy because even when I know I'm going to be distressing I have a habit of trying to paint it "perfect." Love it!
Jennifer @ Decorated Chaos
You did such a great job on this piece and the tute. Love it....and I may actually do it sometime this fall! Thanks for sharing!
Jennifer
Alabaster Rose Designs
What an awesome sign Kristen!!!
I am so ready for Fall and this is the perfect sign for it!
I hope you have a lovely week!!
Sincerely,
Melinda
Claire @ a little something in the meantime . . .
This is such a fantastic tutorial, Kristen!
Thank you so much for all the details (and for going the extra mile painting the sign again to show us the steps) and specifics. I love your colour choices and can't wait to give the chalk paint technique a try. I attempted painting a chair with the paint/plaster of paris chalk paint recipe and didn't like the results. I'll give it another go with the grout alternative.
This gets me excited for fall decorating!
Laurel Stephens
Another wonderful tutorial, Kristen. I'll be trying your method on my garden sign. Thanks for sharing!
Kassie
Love this!
Twigs and Twirls
I totally adore this. Great job.
Anonymous
I want to do a sign very similar to yours but just with a quote instead but want to know how you know how big of letters (size font) to make to fit the board properly? Can I just use regular Word '07? I'd appreciate any guidance you could give me!! Thank you!!
Kristen {Ella Claire}
I would love to help you! Shoot me an email ellaclaireblog{at}gmail{dot}com and I will try to help 🙂 There is a little too much to write in a comment
Melissa
Thanks so much for the tutorial. I'm going to put it on my to do list. haha
xoxo,
Melissa
Becca @ The Sassy Penguin
Ohh, I've been waiting for this tutorial. Thanks so much for sharing.
Loving the distressing and layering advice.
Rachel
Do you remember what size you set your fonts at?
Heather Lee
I just recently came across your blog and I'm totally smitten! I'm so excited about this tutorial, and I can't wait to give it a go! I'll also be waiting patiently to see what beautiful things you come up with next!