

In this post you will learn how to set up and fluff an artificial green, flocked or tinsel Christmas tree.
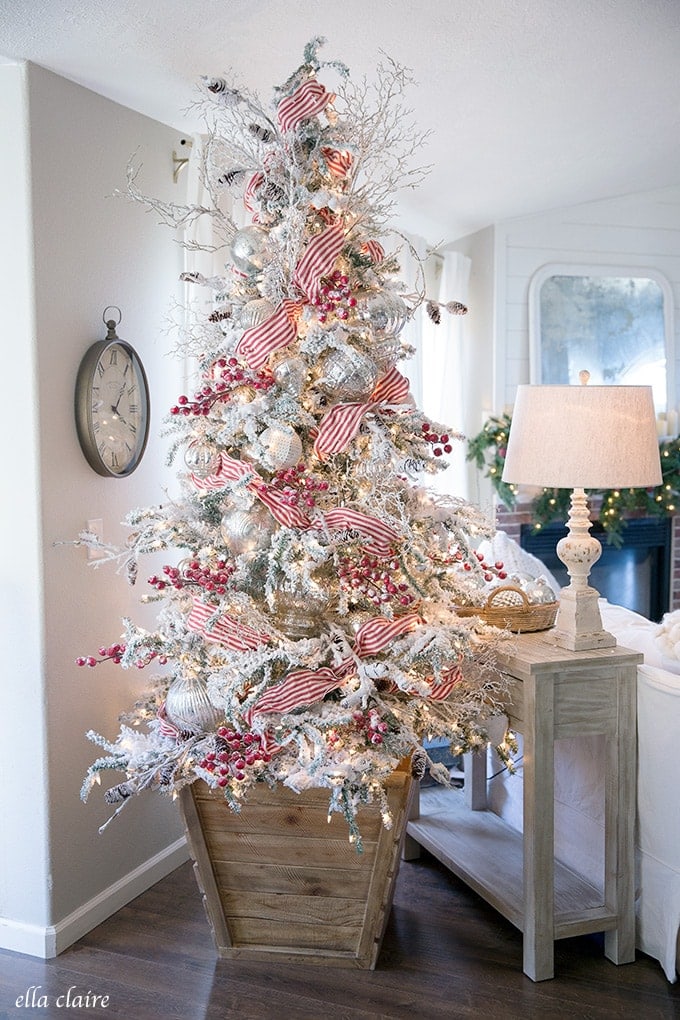
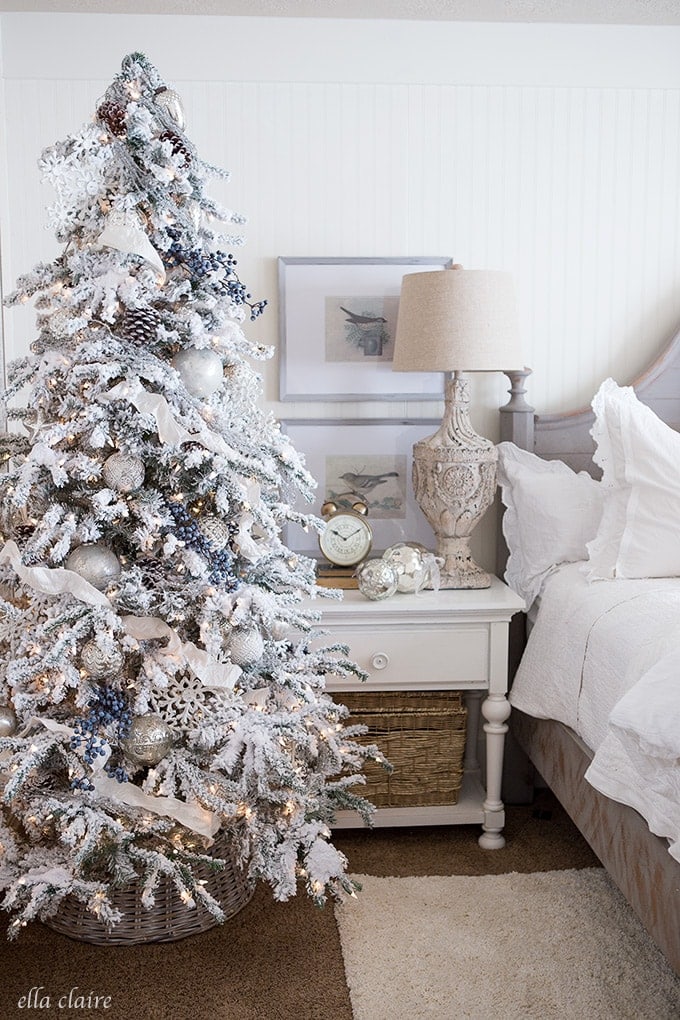
I have a passion for decorating Christmas trees. It is one of my very favorite things to do! Over the years, I have developed certain techniques for making trees look their best and it all begins with the way they are set up and fluffed! It is such a simple thing, but it really makes a world of difference in the end result. By taking a few extra minutes to make sure your tree is put together and fluffed correctly, I promise that you will be so much more happy with the end result and it will look like a more expensive, professional tree.
Before I start here are some great tutorials for DIY Tree flocking, decorating, ribbon and more. Feel free to click over and pin them for when you need them!
- How to decorate a Christmas Tree
- How to Add Ribbon to a Christmas Tree
- DIY- How to Flock a Christmas Tree
- DIY Tapered Wooden Christmas Tree Box
Steps for Setting Up and Fluffing an Artificial Christmas Tree
Step One: How To Choose Artificial Christmas Tree
Picking out an artificial Christmas tree can feel intimidating sometimes, especially if you are purchasing it online. When you are unable to touch or feel the tree in person, it is sometimes scary to pull the trigger. Have no fear though, I have a few tips and tricks to ensure you will love the tree you order! You can see all of those tips HERE.
Step Two: The Base
- Before pulling out my tree base, I always put down a bath towel, folded in half. This helps if I need to reposition the tree after I get it up and decorated. It is much easier to nudge and scoot this way.
- I then put down the base and any collar I will be using. I do have a tree skirt on one of my trees, but have switched over to collars and boxes for my other trees. They are just so much easier with littles running around. The last thing I want is for one of them to trip on a tree skirt.
- If you are using a tree skirt, you will save that to the end, not at this stage.
- If you are using a smart-wired tree, make sure you adjust the plug over your collar/box in the way that you want it to be for the season.
Note: I have a tutorial for my DIY wooden base (a reader favorite!) HERE.
Step Three: Assembling and fluffing the Bottom Section
- I always start by pulling out the first section and tweak it until the bottom branches look like they are positioned in the way that I want them, inserting it firmly into the base.
- If is is not a smart-wired tree (one that has the electricity connected up through the pole), I adjust my cord and plug in the base to ensure all of the lights are working properly.
- Then I fluff the bottom section before adding any more sections. To Fluff, I make sure each branch is nice and straight with no kinks or weird bends in it. This really makes all the difference in the world, and is best achieved one section at a time.
Step Four: Adding Additional Sections
- After the bottom section is set up, plugged in, and fluffed, I add the next section firmly into the base.
- Before I pull the branches down, I plug the second section into the first.
- Then I just fluff the second section like I did the first.
Step Five: Repeat
I just repeat the above steps over and over again until the tree is fully assembled, fluffed, and beautiful!
Extra Notes
- If the tree has bald spots or holes that you don't like, don't be afraid to gently bend branches to try to fill them in a little better. The branches are made of wire and metal, so they can naturally bend out of place during storage.
- It is really important to plug in and check the lights before decorating your tree. Skipping this step can make be really frustrating if you get through the decorating phase and realize you have strands that have burned out.
Happy decorating!
Leave a Reply