

Hello friends! I have a tutorial for you today!

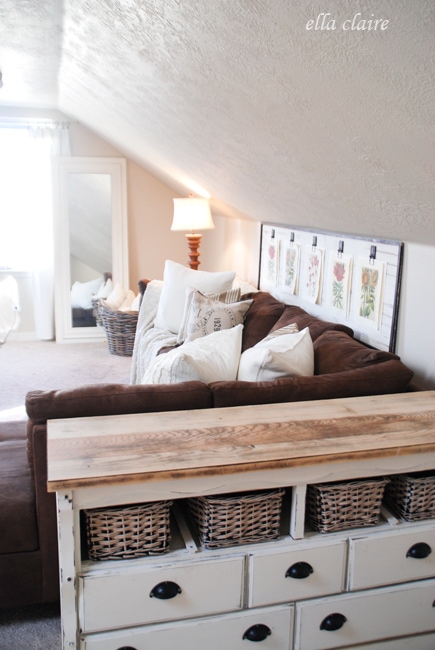
I wanted to build a pretty substantial board/gallery/wall art thing behind the couch to hold my vintage botanical prints. I thought it would add a lot of charm to the space.

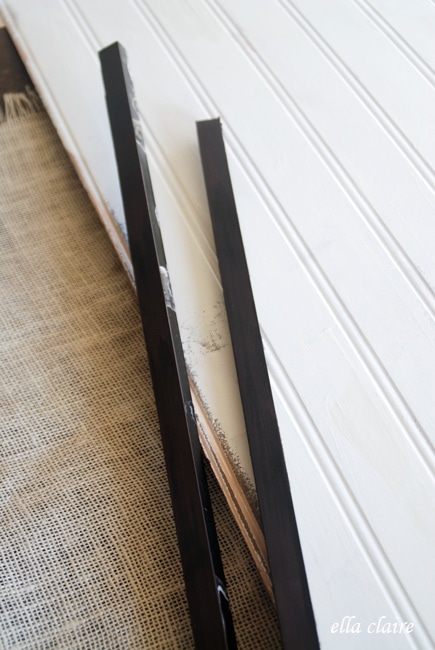
So, I thought, and thought, and thought... and this is what I came up with. I knew that I wanted it to have a vintage feel, have numbered clips for the prints, and fill up the big space. I hit up the local ReStore {again} and found a long piece of beadboard for $3 and the trim for $1.50 {I took this picture after I had spray painted the trim black}. I crossed my fingers all the way home, hoping that it would be the right size... and it was PERFECT!
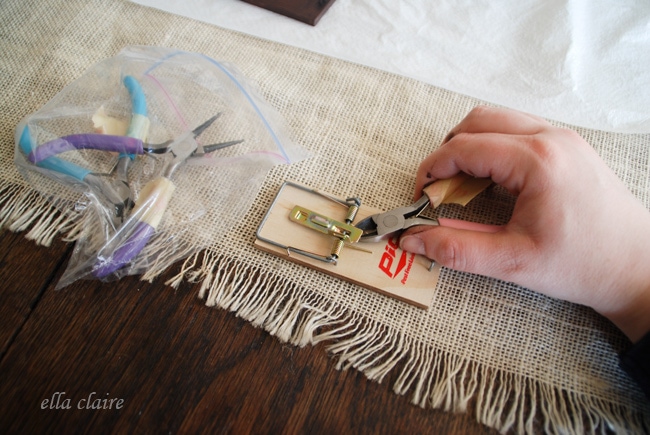
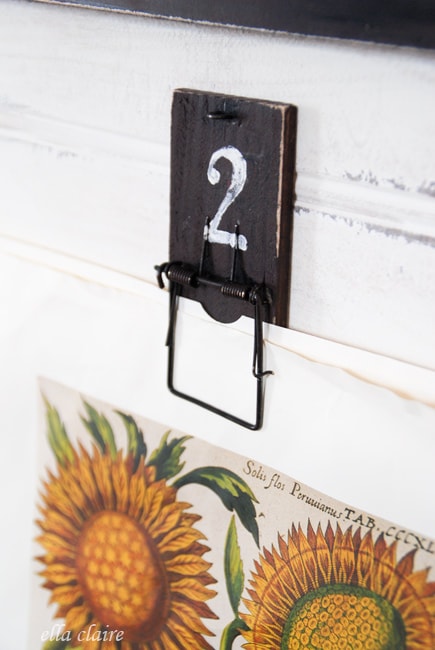
I wanted the clips to have the look of vintage reciept holders, but I didn't want to pay that much. So, I hit the dollar store and grabbed these mouse traps. At 4/$1, you can't beat the price!
So, I will show you how I transformed them.
First, I just clipped off the unnecessary death trap parts with wire cutters.
Until it looks like this...
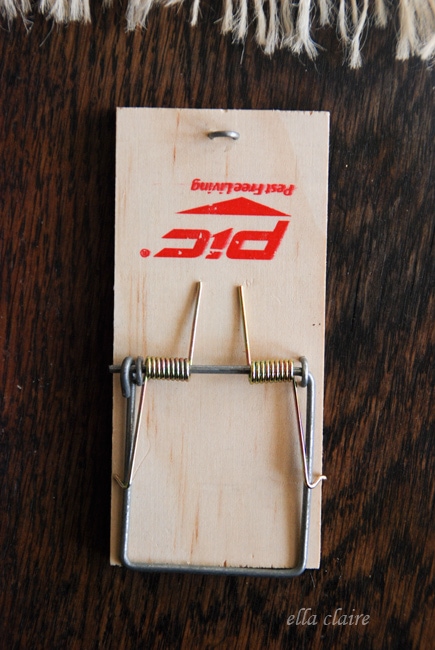
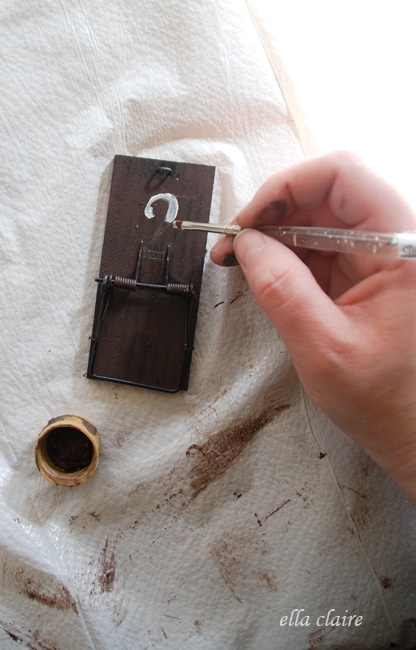
Then I spray painted them with a base of black spray paint. I lightly painted over the top of that with a raw umber craft paint until they look like this...

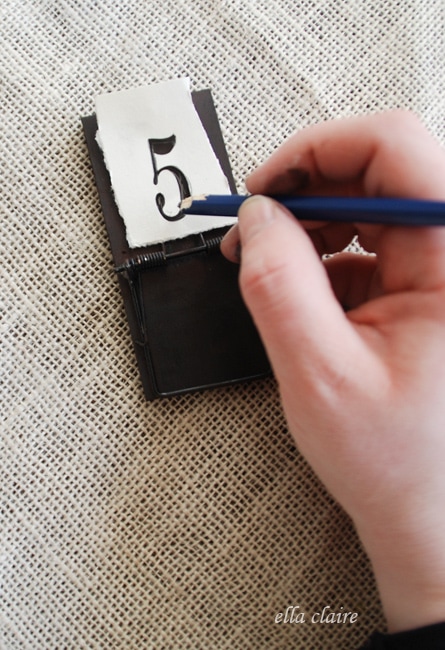
I used my Silhouette to cut out a stencil for the numbers {you could also use your printer and the technique I show here} and penciled them onto the top, flat area.
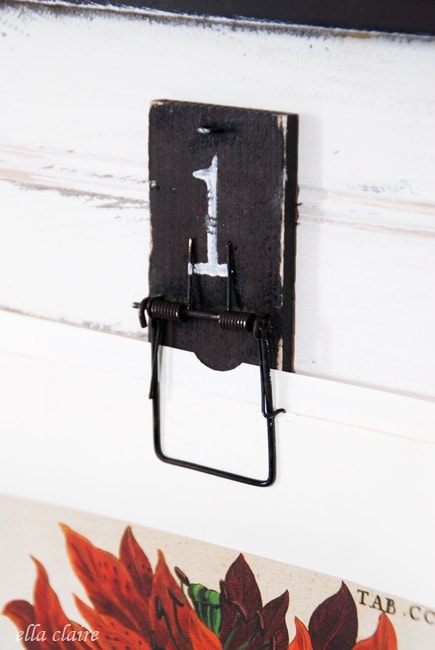
I filled the letters in with a creamy white paint and lightly distressed them.
I painted the piece of beadboard using layers of my favorite creamy white paint, and a light brown with the technique I show here. Then all I had to do was attach the trim with wood glue, and attach all of the mousetraps and I had a place to display my botanicals!


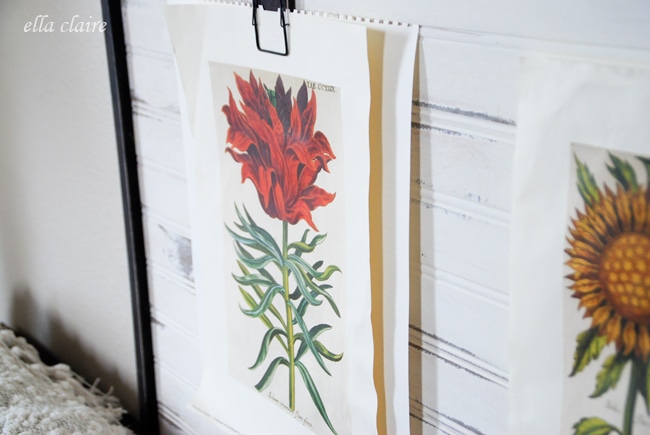
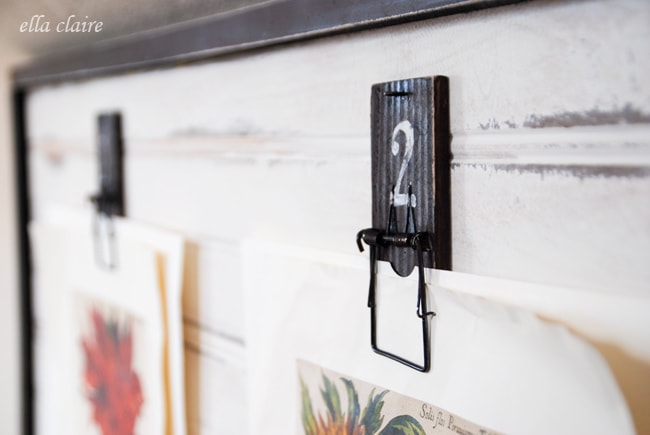
I loved the look of the loose papers. I played with them in mats and thin frames, but when it came down to it, I just really loved the whimsical, artistic feel of the free papers. I have had these botanicals in my stash forever. I purchased them off of Ebay a long time ago, used them for different things and have always loved them. You can tell they are a bit crumpled, but I really love that about them.

The total cost for this project was $6.50 since I already had the prints on hand! Love that!

Our bonus room/family room is really coming together. I keep working on it, little by little and I am so happy with how it is coming together.
Here is what we have so far... From a couch I never would have picked on my own, to a room I am completely in love with. It isn't finished, but it is getting there! I have to warn you, I am going full steam ahead on my bonus room redo project, so I will keep sharing as I go.

To see the other before/afters in the room, click on the links below:
Thank you for reading! I hope you are having a wonderful week!
Linking up at East Coast Creative!
Gretchen
Wow--such a creative idea! and it looks great 🙂
Mary
Genius. Pure Genius
Shannon
Mousetraps?!?! Are you kidding me? Great eye for the shape and look you wanted for less! The wall looks great. (We have the SAME couch in our basement!). I'm loving how the space is coming together.
xo,
Shannon
Miss Kitty
Love the idea of the mousetraps as clips...genius! I saw your post over at Stone Gable blog party.
Vickie
Now that's thinking outside the box. Well done.
Newton Custom Interiors
What a great idea! Never would have thought to use mousetraps.
Christine Graves
Such a great idea!
Little Vintage Cottage
Wow, I love how your room is coming along! And I love your newest piece... the mouse traps is a great idea, I NEVER would have thought of that! I might have to steal that idea from you! :o)
Tania
debi
Well, aren't you clever?!! I love your mousetrap clips, and your botannical wall arrangement is really pretty. Your family room is so beautiful and cozy!
Something Nice and Pretty
You are amazing, I just wish I had your energy!
I love what you did for art, it's gorgeous and everytime I see a mouse trap at The Dollar Tree I'll always think of you:)
Amy Kinser
I am totally impressed with the mouse traps idea. What a great look behind your couch. You are one smart lady.
Emily Netz
I love the mouse traps! Great idea!
Kristin @ Simply Klassic Home
One of the most clever things I've seen in a long time!!! This is going to be a huge hit!
Debra @ Common Ground
Girl, you are too smart...mousetraps!!! love this so much, it fits perfectly on that wall, and that cabinet redo is amazing, you have so much "vision"!
Laurel Stephens
Your art board looks really great, Kristen. You are just so darn clever!!
Dawn
OK this is the cutest idea I have ever seen, I am going to have to find a place to use some mousetraps in. Love it, love it!!
Roeshel
So creative and clever, Kristen and the entire project looks awesome in your space. Beautiful job!
Allison
I love this!!! I never would have guessed you could make mouse traps so cute! Great job.
Sheila
Hi Kristen,
What a clever idea...I thing I may have to borrow it! your room is coming together so nicely, keep up the great ideas.
Smiles,
Sheila
20 North Ora
Oh Kristen - love the mouse traps - who woulda thought?? Great idea. Your family room is really taking shape.
Judy