

This post is sponsored by RYOBI, where you can become a member of RYOBINation and have access to all kinds of awesome free tutorials online! As always, all thoughts and opinions are my own.

I have something really fun to show you today.
I knew I didn't want to install just drywall on this wall in the kitchen anymore. Instead, I wanted to add some pretty woodwork. I opted to add vertical wood planking to the exposed back and sides of the cabinets. The plan was to install Beadboard as the backsplash and to the adjoining wall (tutorial tomorrow), so I knew the vertical planks would coordinate nicely with the vertical lines of the beadboard without being too matchy-matchy throughout the kitchen. I love how it gives the space such a custom feel without costing a lot.
~~~~~~
I picked up a few sheets of underlayment from The Home Depot, and I had them cut the boards to size to save me some time. Some were cut to the same size as the back of the cabinets, and the others I had cut into 6 inch strips for the planks. If you are wanting to do this to your cabinets, be sure to pick a wood that is both thin and paintable. Underlayment tends to splinter a little, so you will have to do a bit more spackling and sanding, but it is under $15 per sheet, which is really nice.
You will want to use a licensed electrician for this project.
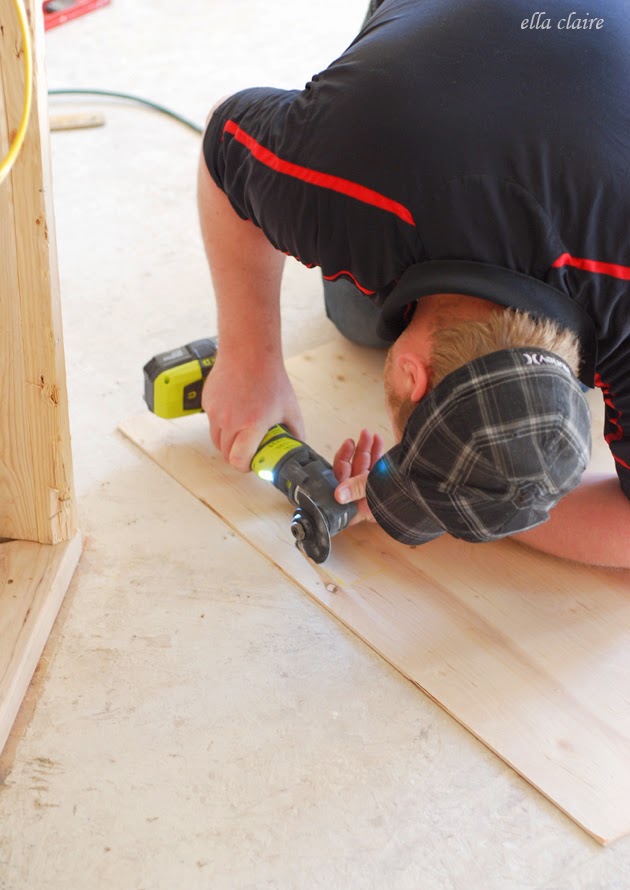
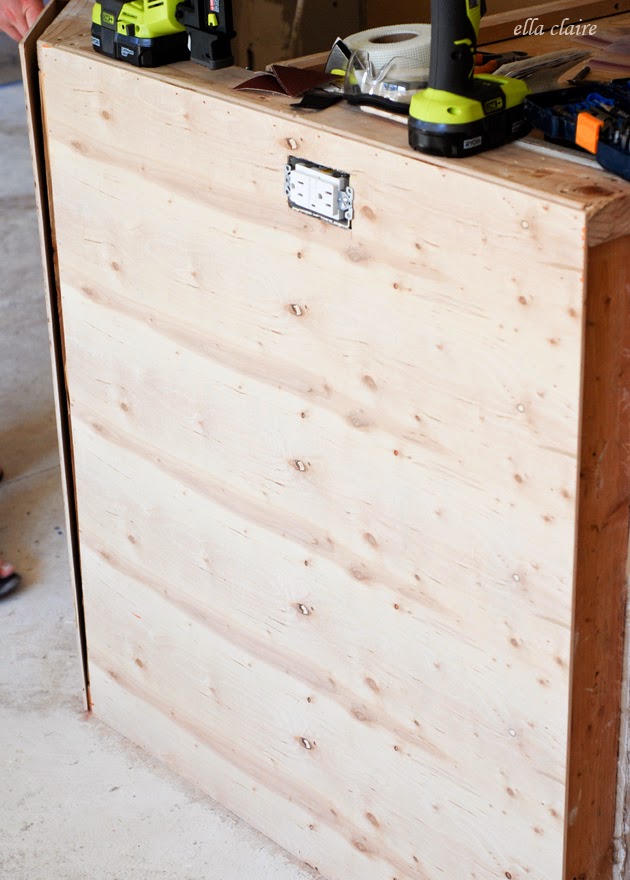
We used the RYOBI JobPlus with the rounded attachment head (included) to cut out the spaces for the outlets and it cut through the wood like butter.
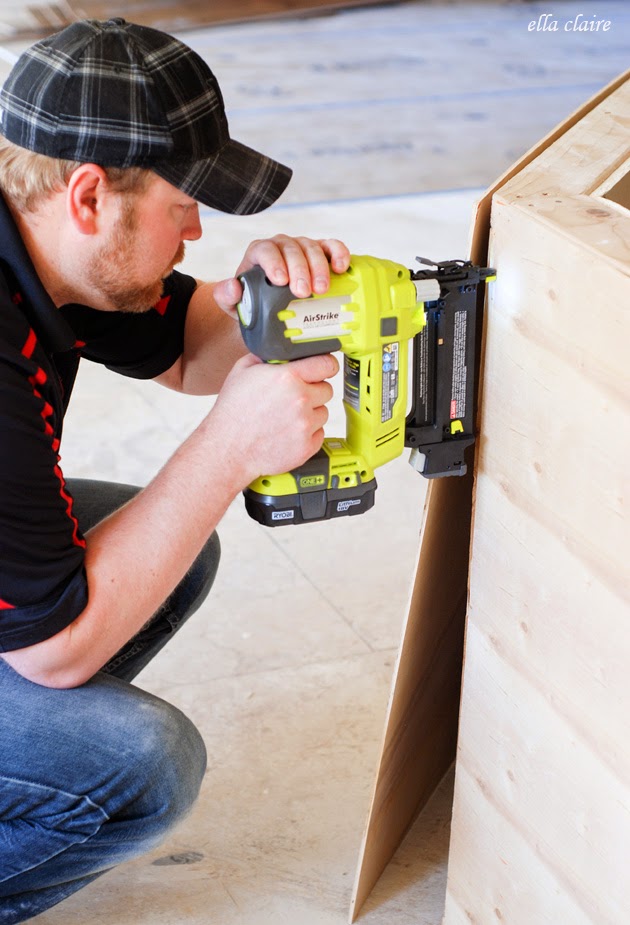
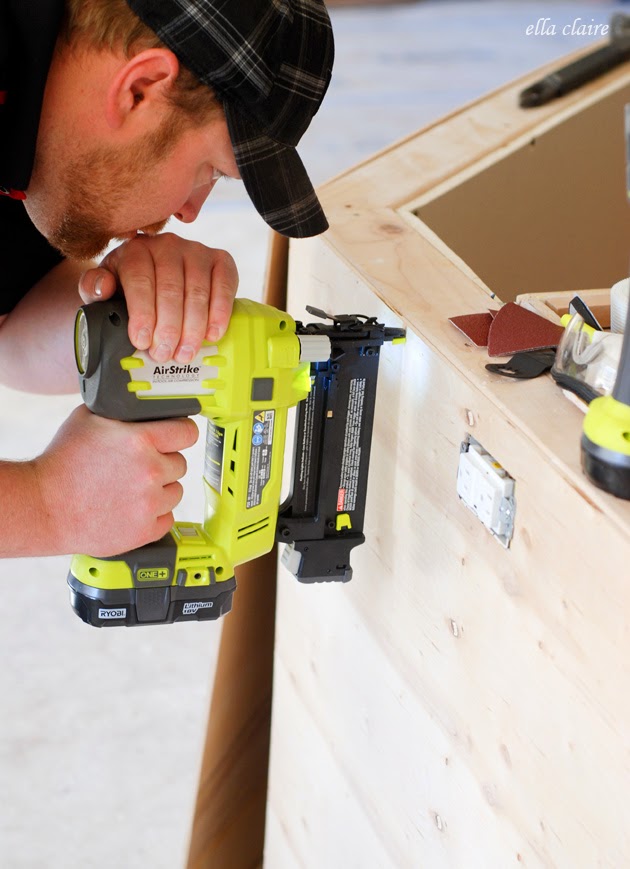
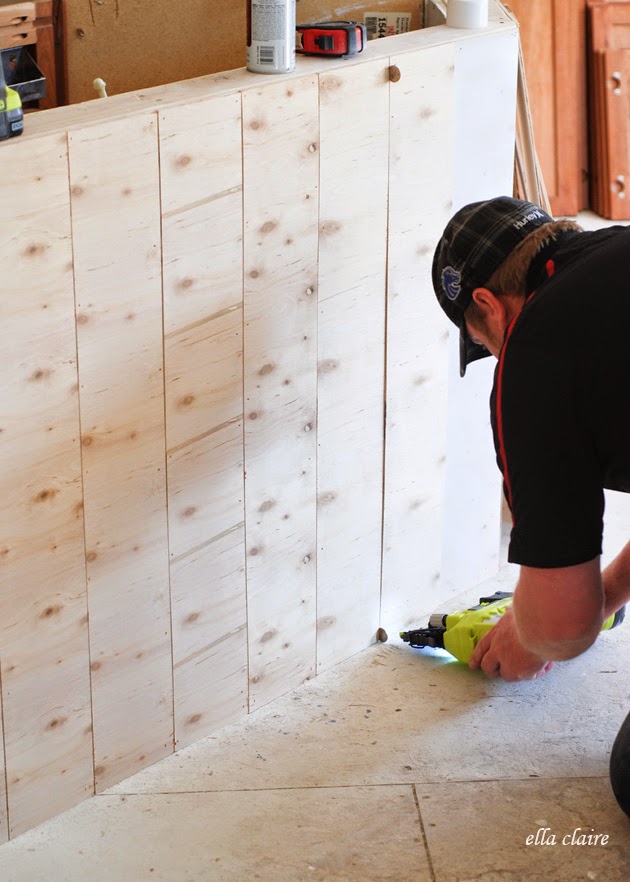
Then, we simply used the RYOBI Airstrike Cordless Brad Nailer to nail the panels in place. On a side note, I am completely blown away with how powerful this baby is...and it is CORDLESS! That's right, no air compressor! I think I am going to use it to build some tomato cages for my garden next.
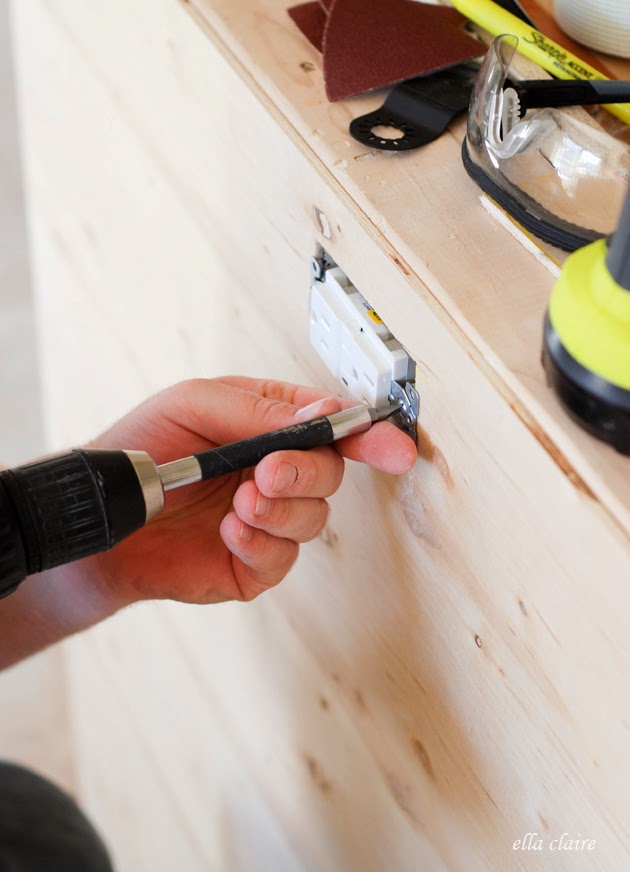
Once the panels were nailed into place, the outlets were installed to the outside of the panel.
Before installing the planks, we opened up the windows and primed the panels with a spray primer. I didn't want any of the wood peeking through as a different color when we painted the planks later.
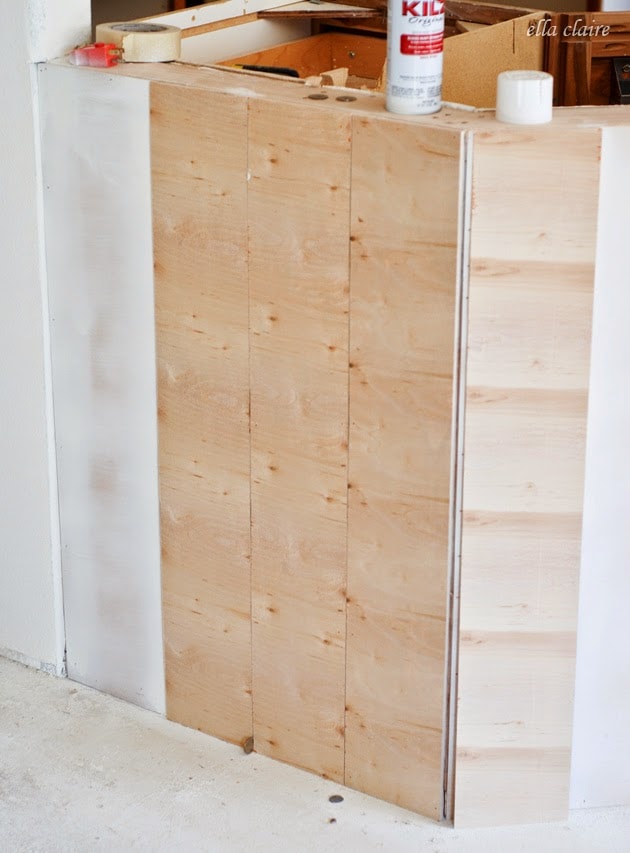
We started installing the planks in the corner most prominent from our family room. This made it so the prettiest planks were front and center, and the ones that would have to be ripped would be on the ends. It is a little detail that was well worth the time.
As you can see here, the left 3 are already installed and we were about to install the corner one.
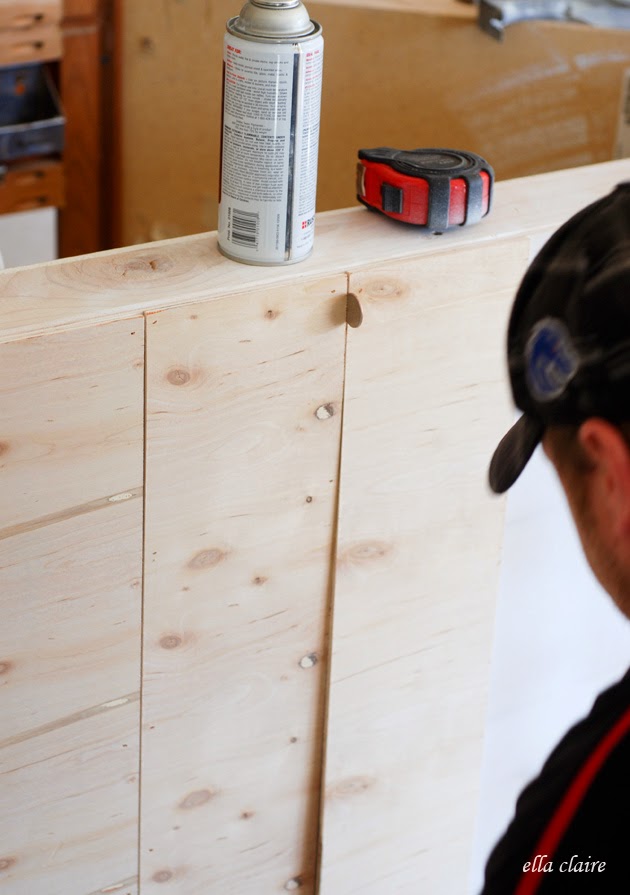
To install the planks, we used a level to get the first plank perfectly straight. Then we used quarters to get the correct spacing on each additional plank.
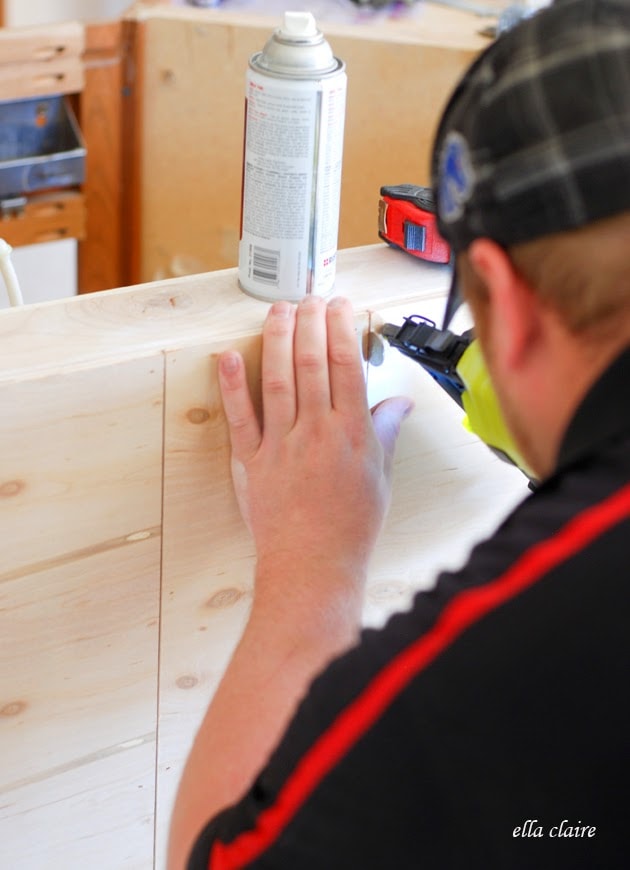
It was easiest, since they are vertical planks instead of horizontal, to tack the top of the plank in the upper left corner, then to put a quarter in the bottom and tack down the lower left corner. Then we just secured the rest of the plank with more nails.
This part went very quickly. The hardest part was ripping the end boards to fit. You can see that we did this before our granite was installed, but it can be done with countertops on as well.
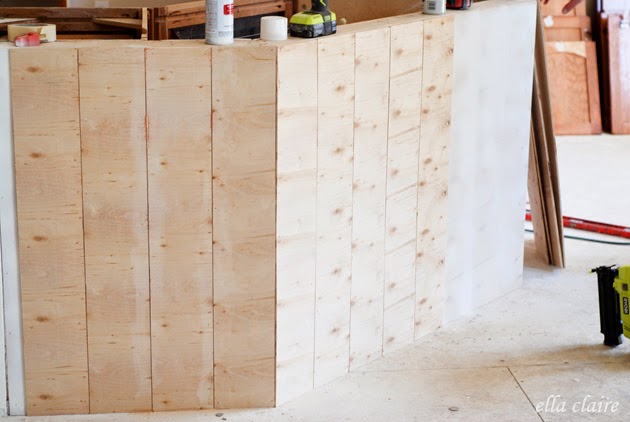
We planked this entire space as well as the exposed sides of the rest of the cabinets in the kitchen. We trimmed out the top using a small moulding.
Then we caulked the seams and filled all of the holes with spackle. I prefer the kind that starts out pink and turns white when it dries. Once the spackle dried, I lightly sanded them down. I also sanded the entire planks to make them nice and smooth and ready for painting. We will be having baseboards installed in this entire space in a couple of weeks.
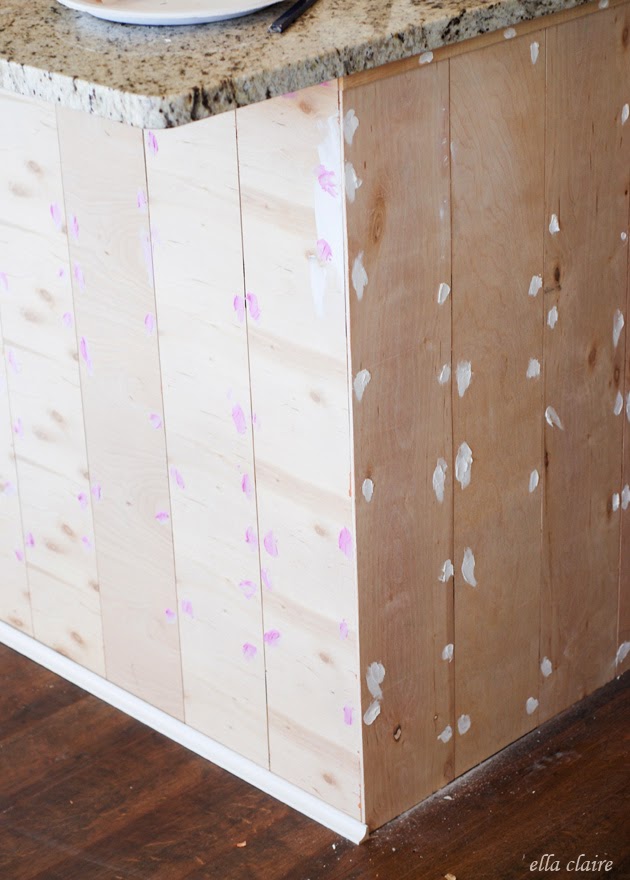
I caulked and spackled and sanded, over and over until I got it all looking really nice and pretty.
I hope you will come back next week to see the painted and pretty full reveal of the entire kitchen, including more lovely details of this planking. For now, here is a little peek of the primed planking next to the wall of beadboard (which I will be sharing more about tomorrow).
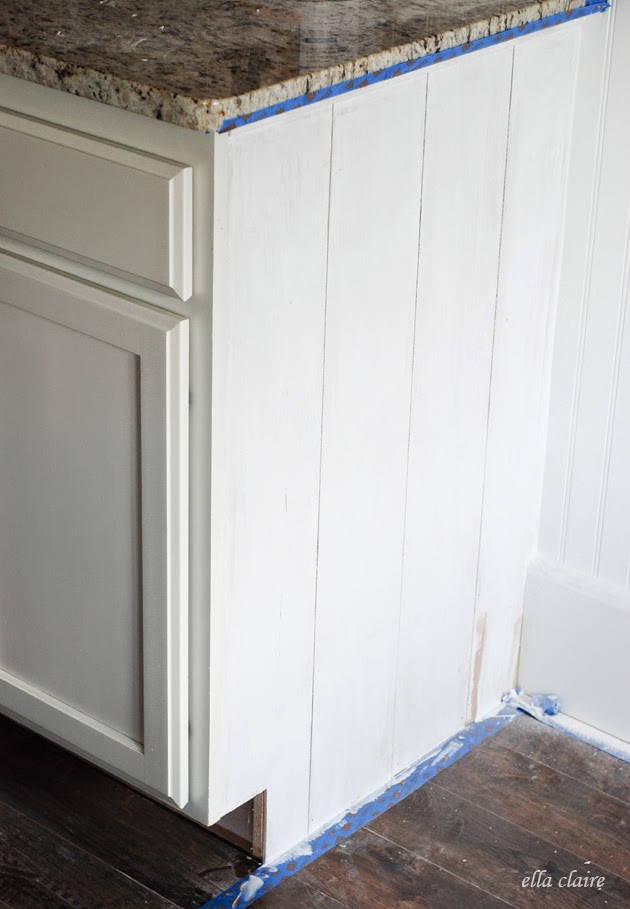
Isn't it pretty!? Wait until you see the full reveal next week! You won't believe the difference between the before and after pictures !
Lindsay
So darling! I love that you switched up by doing the planks. I love plank and beadboard anything 😉 I also have beadboard for my kitchen backsplash and love it. Your kitchen is looking SO awesome. I have always wanted a bright white kitchen.
Lindsay @ http://www.countrygirlhome.blogspot.com
Heather
I think the beadboard looks beautiful!
Kayly Nyman
Looks amazing so far!!