


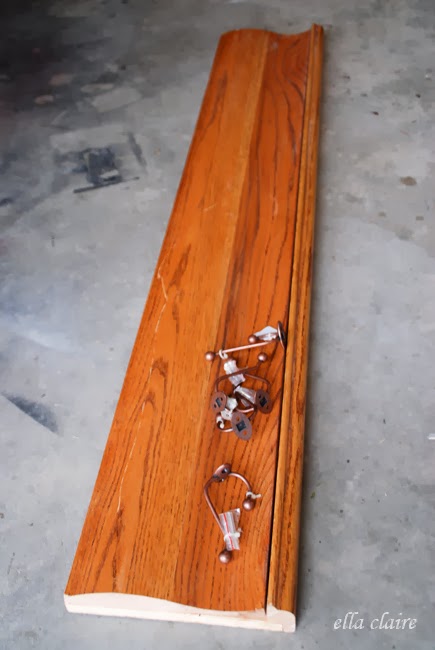
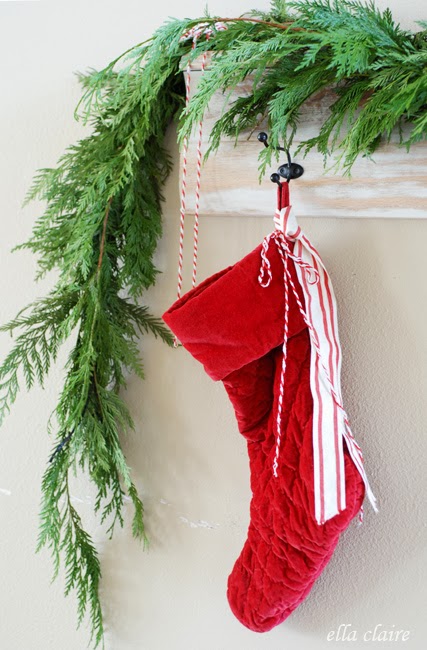
You probably recognize this little shelf from my Christmas Home Tour I shared a few weeks ago. A few weeks before that, I had decided to rearrange some of my furniture. I put the table from the entryway behind the couch, and the big chalkboard in our office and was left with a big blank slate. I bought a cute bench from a sweet girl off of Craigslist to put in the space, and then needed something to hang on the wall. I had this board in my stash that I had purchased at a secondhand store for $4. I am not sure what it is, or what it was used for, but I always thought it would be a pretty shelf. I also had these hooks in my stash, so the project came together pretty quickly.
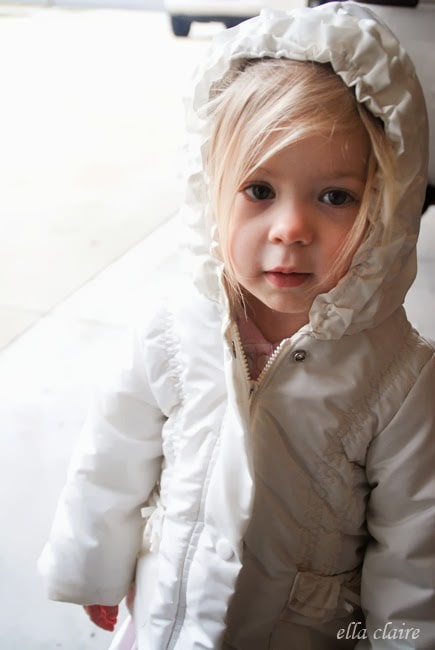
I grabbed my sweet little helper while the baby was sleeping and went out to the garage to get to work! Well, she actually played with her car and the doggie more than she helped, but hey...
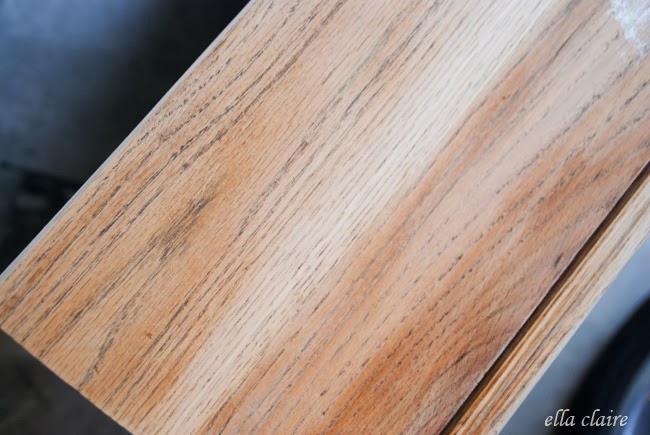
First, I sanded off the original finish.
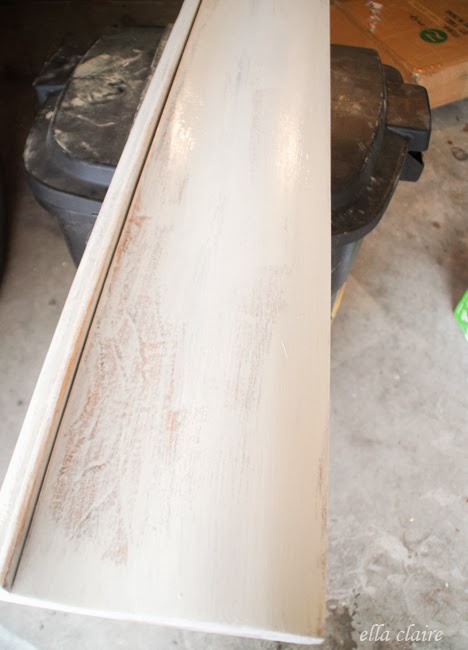
Then, I used my homemade chalky finish paint {recipe here} to put a few spotty layers on my board.
You really can't mess up this paint technique {See more detailed pics of my technique here} . Just do a couple of layers of paint, making some spots thicker and heavier than others. Some spots you should be able to see the wood.
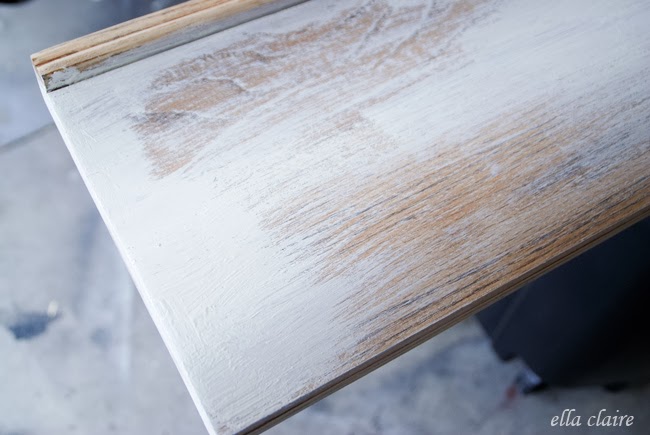
This is what the entire board looked like while it was drying.
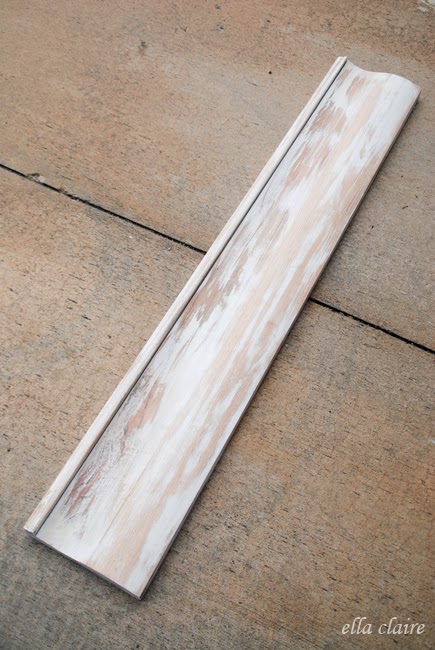
Then I sanded the entire board, focusing more on certain areas to give it that nice rustic, time-worn look. Depending on the look you are trying to achieve, sand more or less of the paint off of the board.
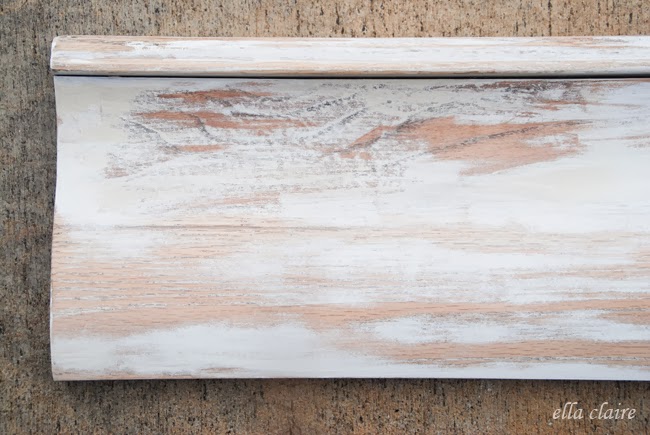
I left my board raw, but you can seal it if you would like. I will probably go back and use a clear wax to seal mine. You can also use a stain or a dark wax over the entire piece to give it a darker, more primitive look.
I spray painted my hooks black and screwed them evenly into my board.
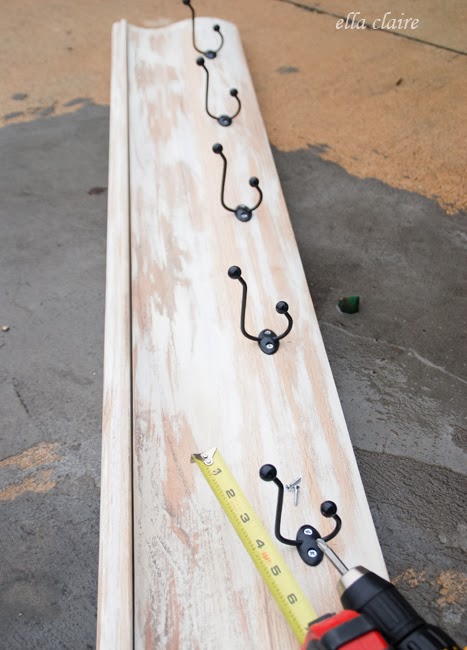
Once I had my hunky hubby hang it for me {this thing is HEAVY}, I went back and dabbed black paint over the hook screws using my finger so they wouldn't stand out as much.
I will take some pictures soon of the entryway without Christmas decorations so you can see the whole shelf in my home a little better.
{I know this picture is out of focus, but I had to throw it in there. Love those kissable cheeks!}
I guess this is my last post of 2013! Holy cow! Where did that year go!?
See you in 2014. I have SO MANY fun things to share.
Seriously, we are doing DIY improvements left and right.
xoxo
Roberta Colacino
What if I want 2 colors, say white with a hint of blue? I was thinking...paint the blue on first, then the white over it and gently sand some white off??? Never done this so it's all guess work and I was hoping you might have some experience. Thanks.
BossierGirl@theBeach
Thanks so much for sharing your information - and your daughter is adorable. Enjoy because you turn around and they are 'off to college'!!! <3
charmaine smith
This is too cool. I can definitely do this project, Thanks for the idea and the instruction how to. 😉
Learn about Pet Transport with TLC
kerrie of sea cottage
Your lil ella is the cutest ever! That finish is just what I love. ..driftwood-ish.
Marie Blackburn
Kristen I love your shelf hooks. What a cute little helper you have! Wishing you a happy and creative New Year and look forward to what you have in store for us in 2014!
Marie@TheInteriorFrugalista
Sarah @ Cozy.Cottage.Cute.
Very cute! I love those little hooks. 🙂
minwks
A very Creative, healthy and happy new year to all. Thanks for all the DIY throughout 2013.
Janine
Ps Yes it is wonderful to have your adorable little helper at your side.