

I am feeling a little giddy today because Cami from Tidbits is here to share something so genius that I know you guys are going to LOVE IT! She is so talented and creative!
~~~~~~~~~
So happy to be here! I have adored Kristen's style for some time now, so it is a thrill to be able to share a little space here on her blog.
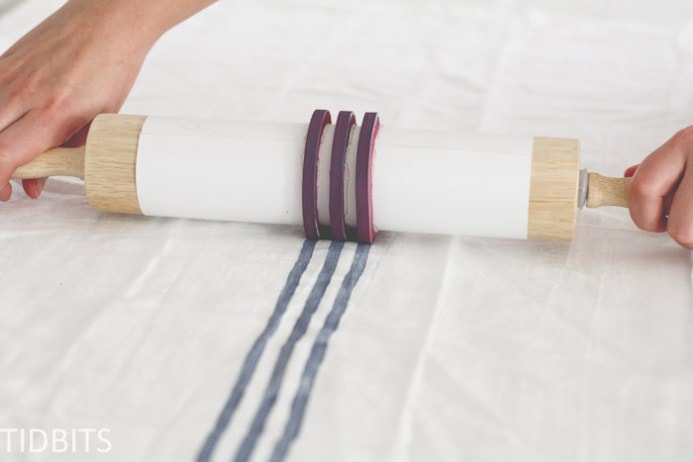
Today's project idea is really thanks to my good husband, who noticed I had a bit of an obsession with the grainsack stripe - in all its forms. One day, I was trying to think of a way to more quickly paint the stripes on a number of projects I was making, and he thought of a way to make a grainsack stripe stamp - out of a rolling pin! That meant no need to tape off my lines ever again, and painting the stripe was a thousand times faster.
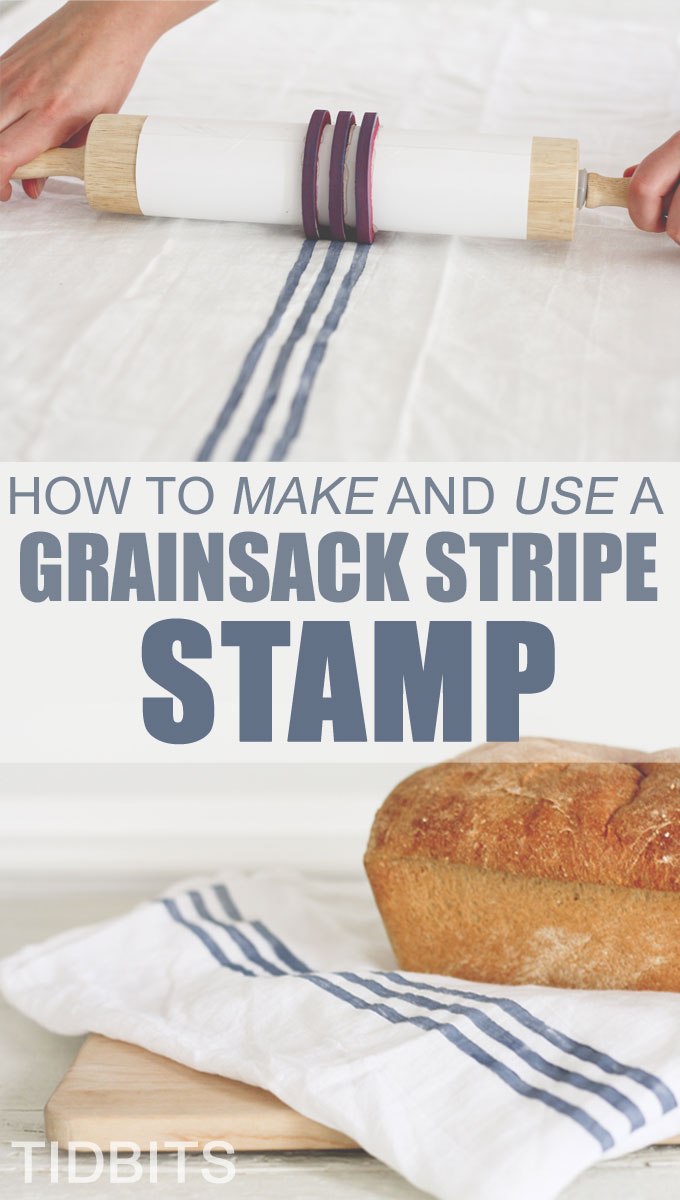
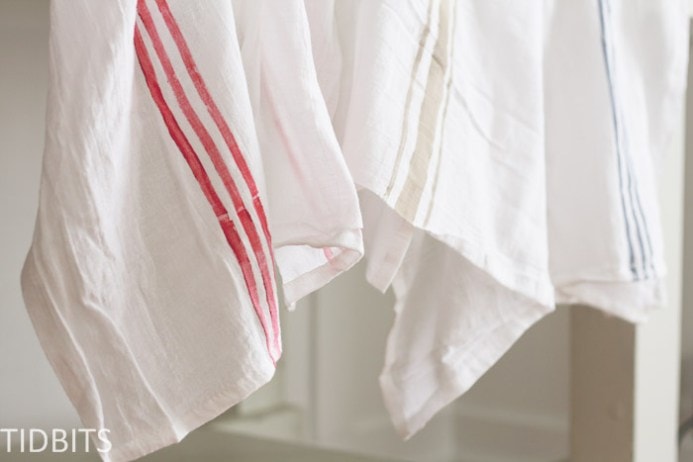
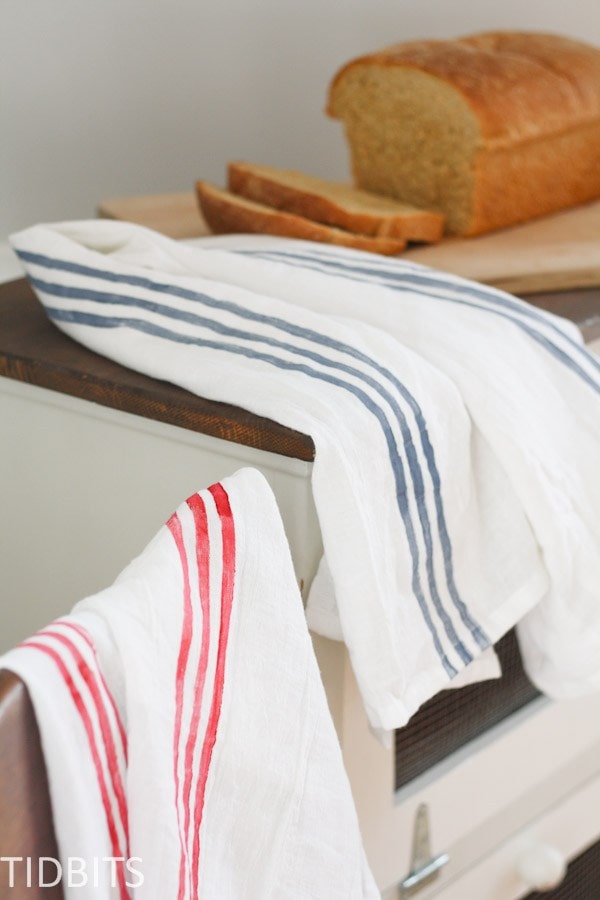
I've painted the stripe on some inexpensive flour sack towels, to show you just how easy it is to whip out the perfect grainsack stripe in a matter of minutes. You'll be adding this popular french style stripe to everything in your path!
I totally have 😉 I love the simplicity of the design, and have used it in many of my projects on my blog, TIDBITS. Here is a small round-up of all things grainsack in my house (links below).
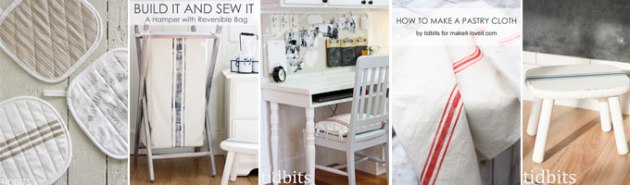
- French Inspired hot pads
- Hamper with reversible bag
- Office space
- 6 reasons why you need a pastry cloth, and how to make one
- Girls shared bedroom
And now I have a whole handful of flour sacks to add to the list!
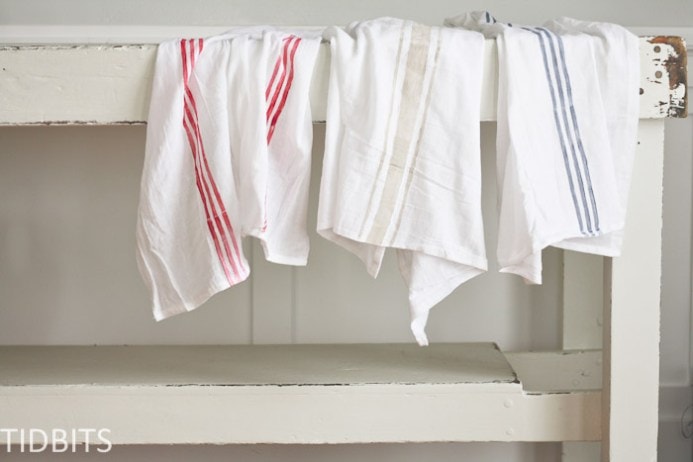
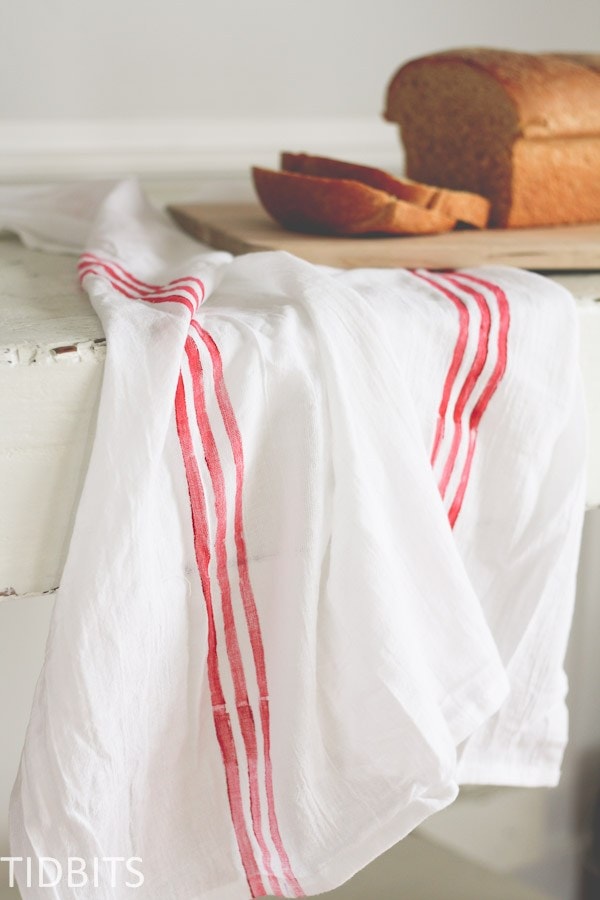
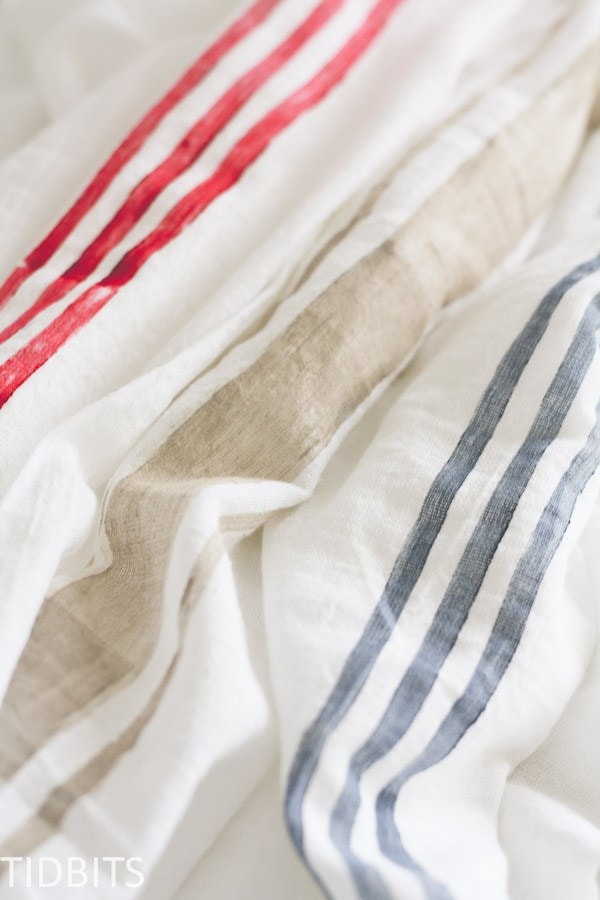
You can make the stripe any way you like. I've used the 3 stripe look in my projects, with all 3 the same thickness, or the center stripe wider than the outside stripes.
I love working with textiles, but you could also use the same stamp for paper, wood, or with whatever type of paint you need.
These flour sacks were so easy to add the stripe to and required no sewing.
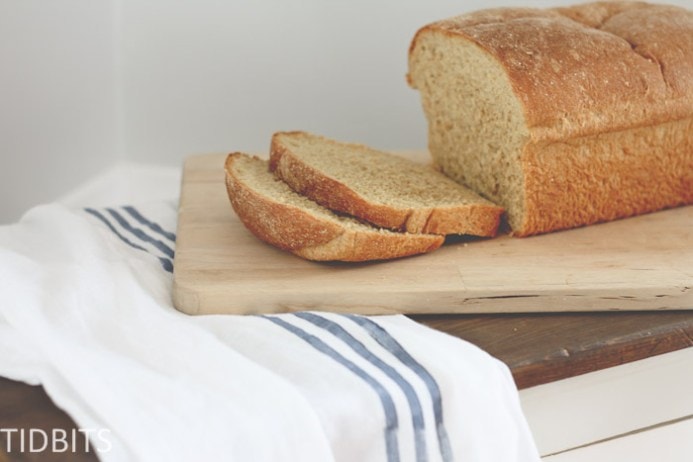
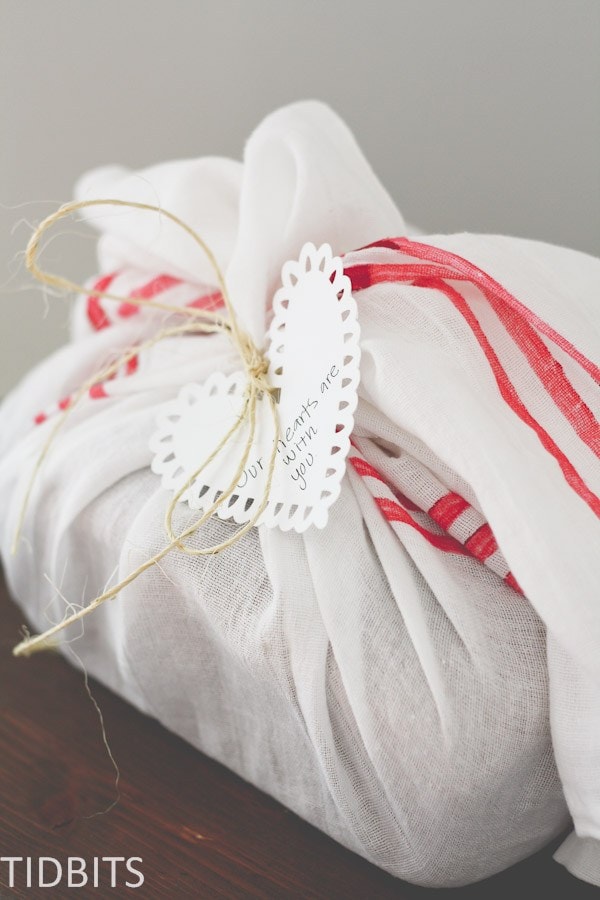
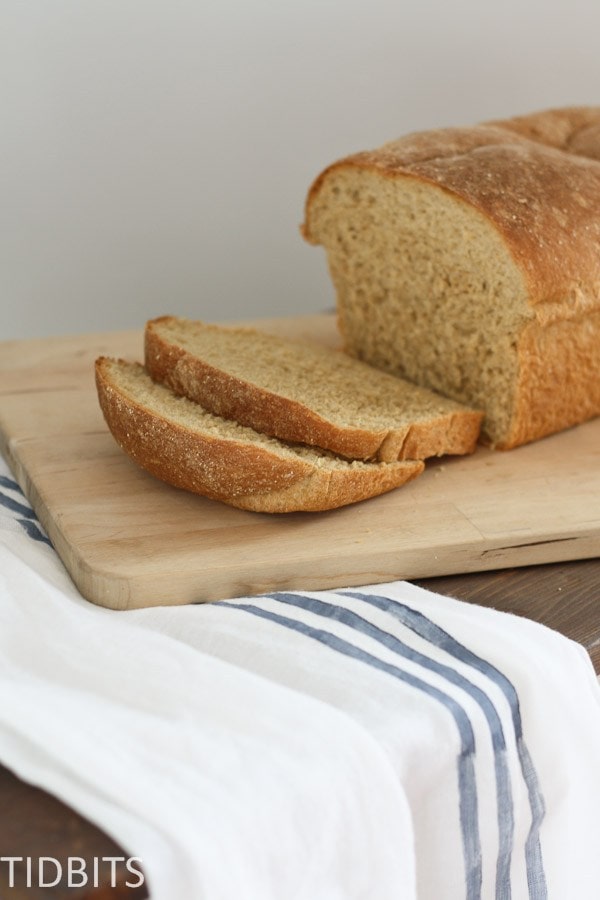
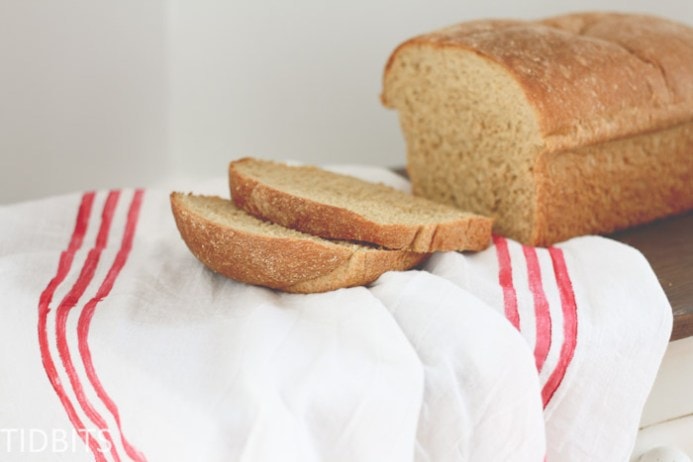
I even wrapped up a loaf of bread in the flour sack, for a personalized gift for a friend going through a hard time.
They look great hanging here and there in my kitchen as well.
So, toss the tape - and grab a rolling pin. Together we will grainsack stripe the world! (And what a better place it will be).
I will show you first how to make the stamp, and then how to use it.
Making your grainsack stamp
Materials:
- Rolling Pin
- You can buy a new one and designate it as your grainsack rolling pin, or use the one in your kitchen. I will show you how you can make the stamp so it doesn't ruin your rolling pin at all, and you can use it for your pastry's when you are done stamping.
- 1 Piece of cardstock paper
- Tape
- Hot Glue Gun
- 1 Rubber Stamp Making Sheet
- I found this at JoAnn's Fabric store, but I imagine any craft store will have it if they have stamp making supplies.
- Speedball Speedy Carve Block (aff link for your convenience)

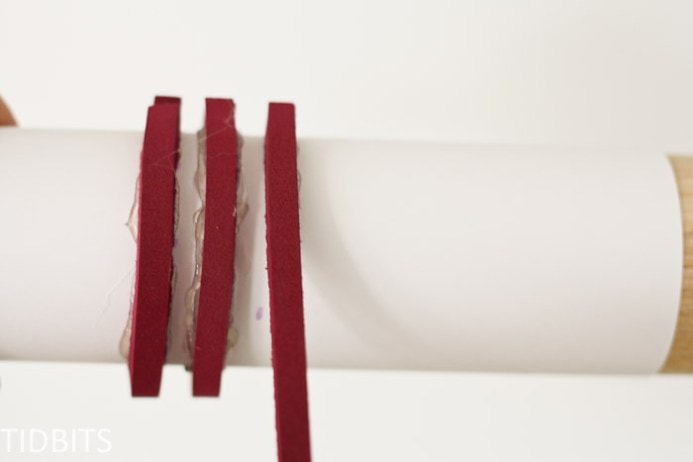
If you want to re-use your rolling pin, you will first need to cover the rolling pin with your piece of cardstock paper. Wrap the paper around the rolling pin, and overlap the ends slightly. Cut off any excess paper you don't need.
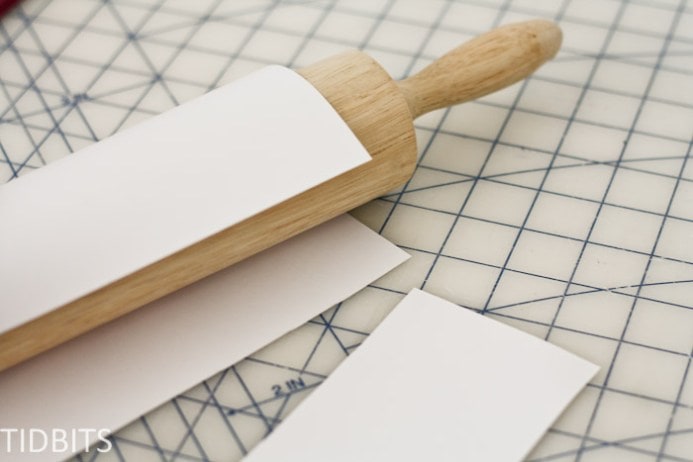
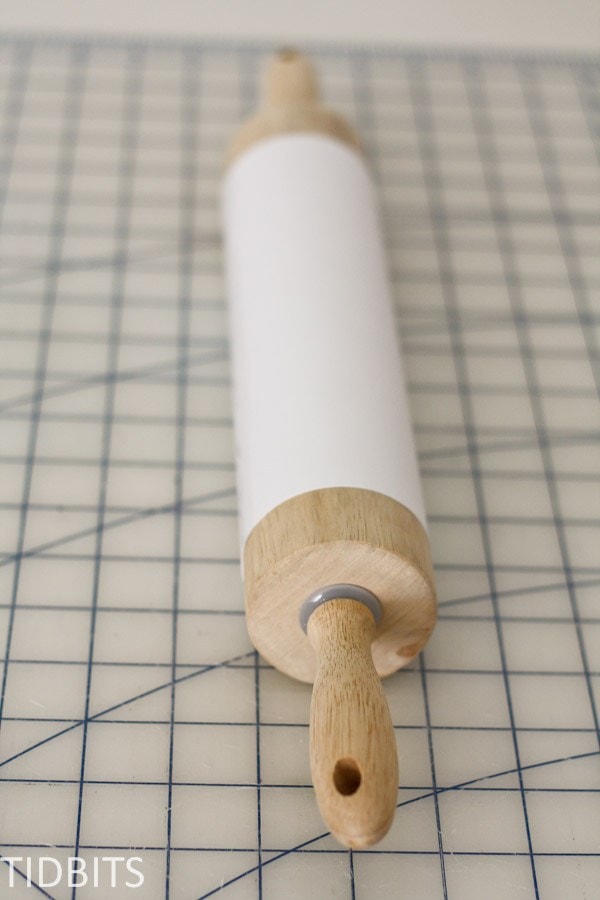
Be sure the paper is tightly fitted around the rolling pin, and tape the ends of the paper down. Now your rolling pin is covered and only the paper will get paint on it and you can simply remove the paper to have your rolling pin back.
The best way to cut the rubber stamp sheet is with a long ruler and a rotary cutter. This ensures a clean cut and straight lines. However, I am sure you could use any kind of blade you have available.
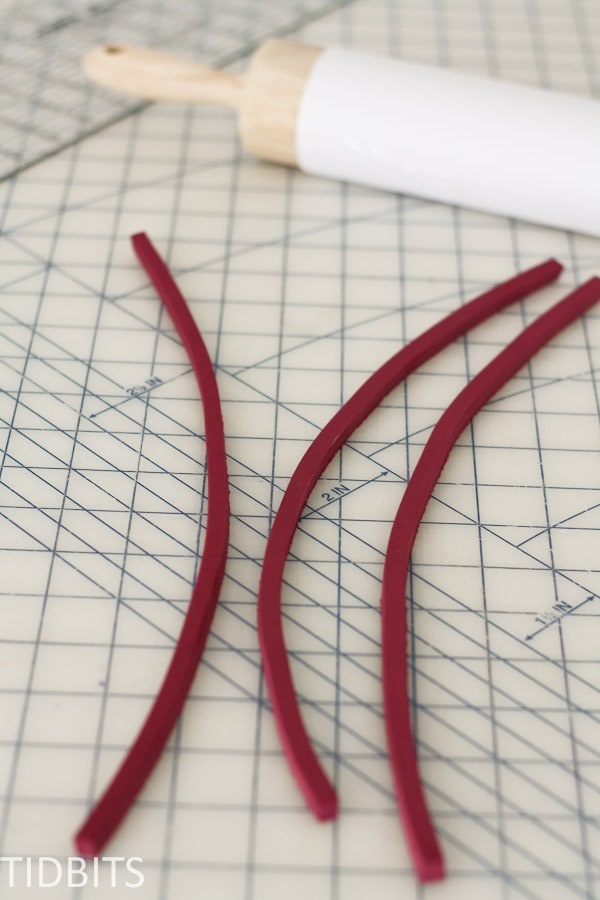
Determine what size and style of stripe you want, and cut the rubber sheet to that thickness.
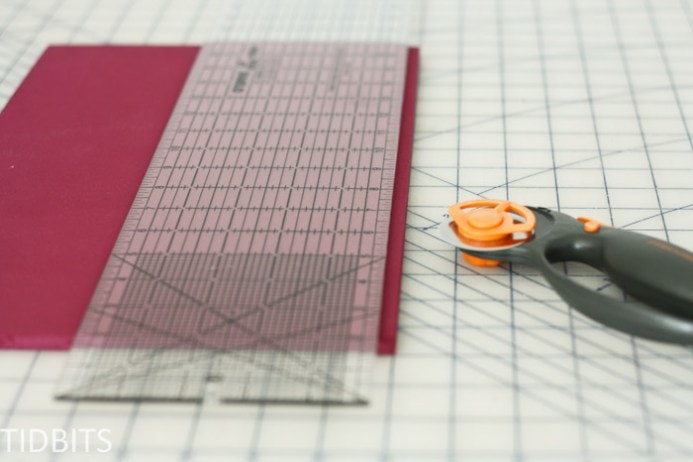
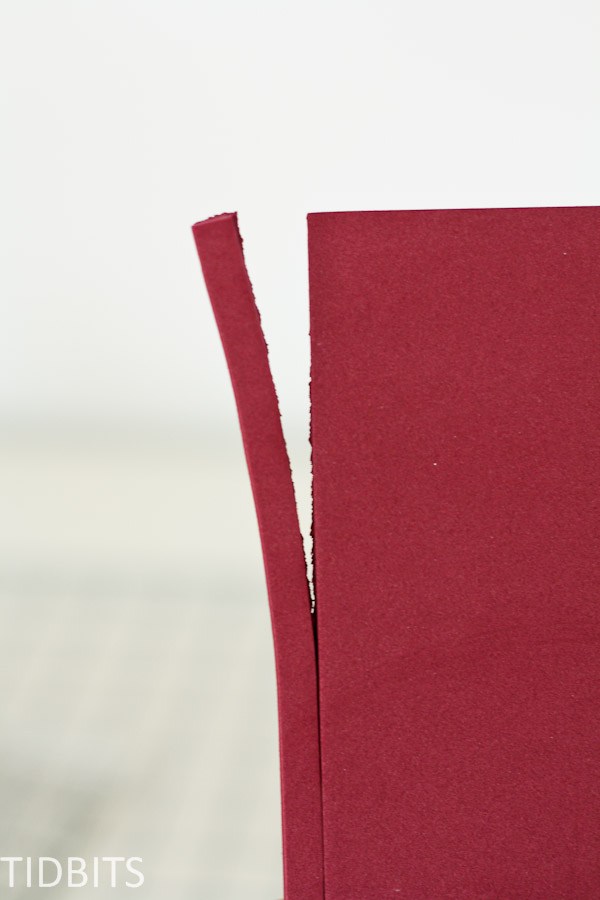
My rotary cutter will not slice through the whole thickness of the rubber stamp, but it makes a nice clean cut through most of it.
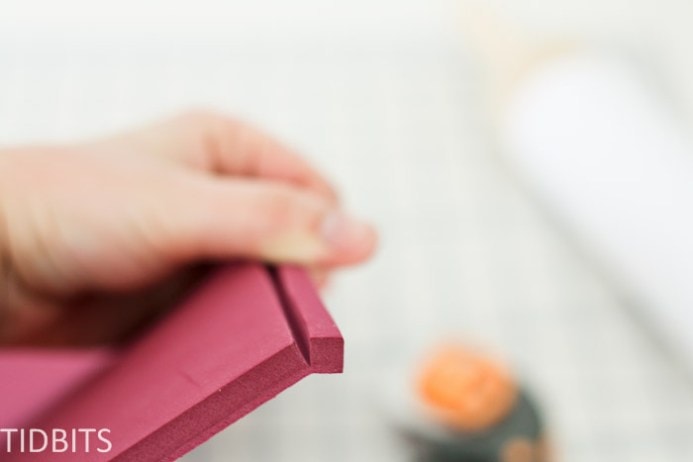
Then I just tare the rest off. The part being torn is a bit rough, but that doesn't matter at all. I will be gluing the messy tare side down and the clean cut end is used as the stamp part.
Cut enough of the rubber stamp for the type of stripe you are using.
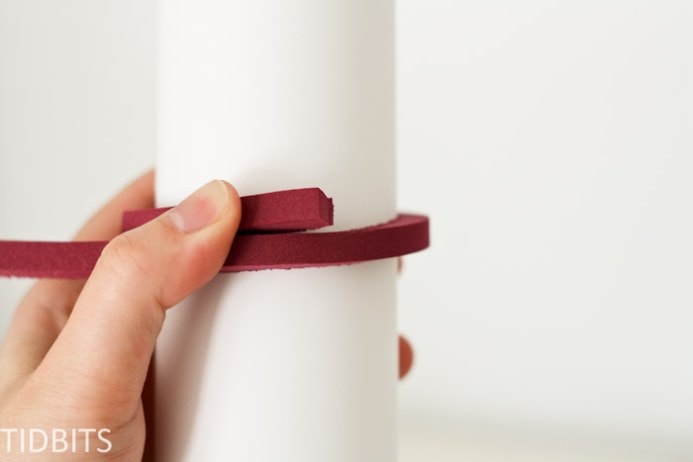
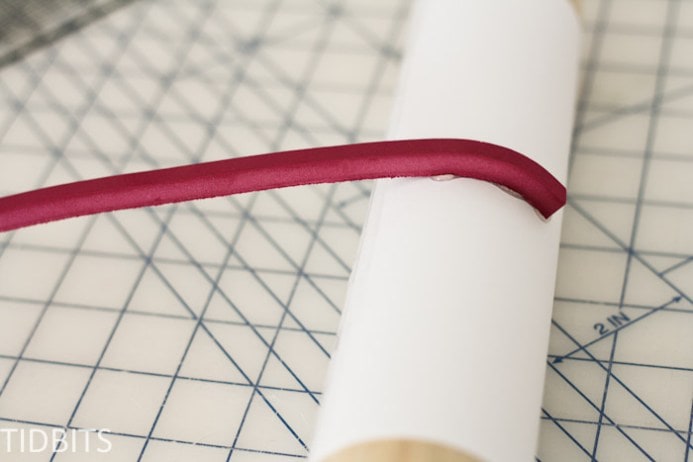
Next, you'll want to wrap the cut stripe around your rolling pin to determine how long you need it. Cut off any extra.
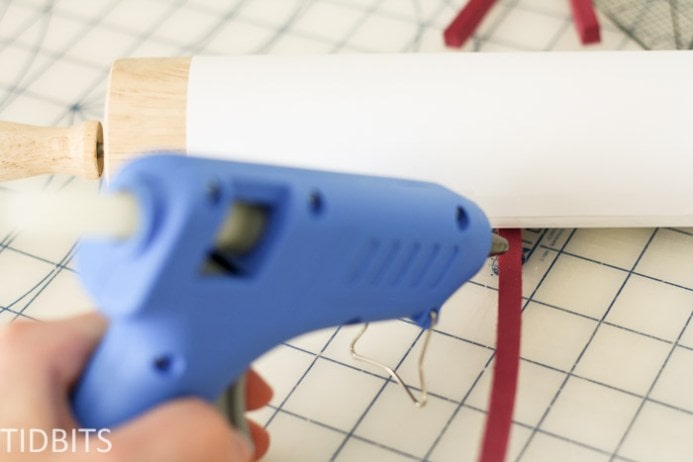
Working from approximately the center of the rolling pin, begin by hot gluing the rubber stripe down at one end.
Continue adding glue to bits of the rubber stamp and quickly adhering the stamp in place. You'll want to be sure you are keeping the stamp even all the way around.
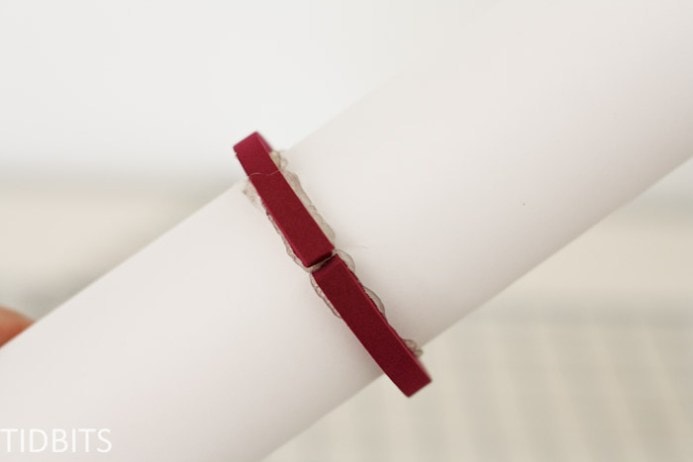
For my ends, I don't actually have them touching. It is a bit difficult to do, but I also found it is beneficial to have a start and stop place on the stamp, so that when you paint on the rubber stamp, you know where to stop and apply paint again so your whole project has the same thickness of paint through the whole stripe.
Once you have the center stripe down, use some type of measuring tool to mark lines evenly away from the first stripe, so you know where to place the second stripe.
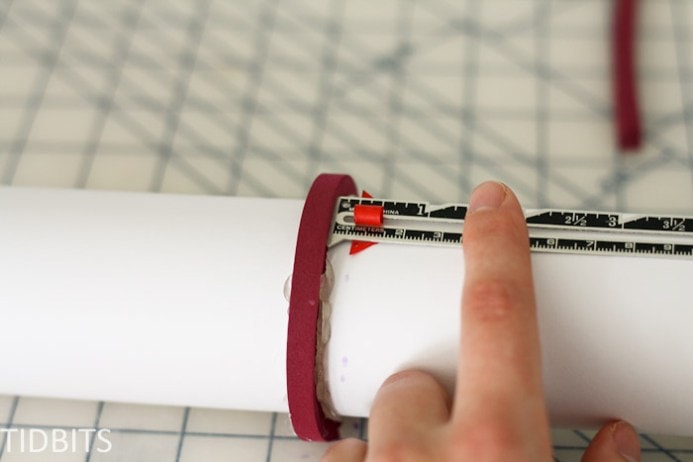
Then you can glue the remaining stripes down following your lines as a guide, and it will be evenly spaced all the way around.
I've made a couple of rolling pin stamps using the different thicknesses, as well as experimented with gluing the rubber stamp stripes onto a piece of foam board.
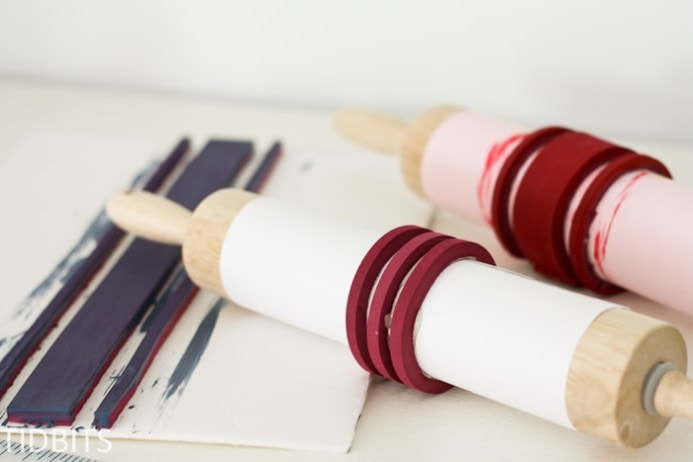
The foam board stamp works great as well and allows you to make the stamp a bit longer if needed. But I do like the rolling pin method the best as it is easier to see in front of you when stamping to ensure you are following a straight line.
How to Use your Grainsack Stamp
Materials:
- Paint of choice
- Flour sacks or any type of surface you wish to paint.
- Something to protect the table
- I use garbage bags
- Foam paint brush
- Grainsack rolling stamp
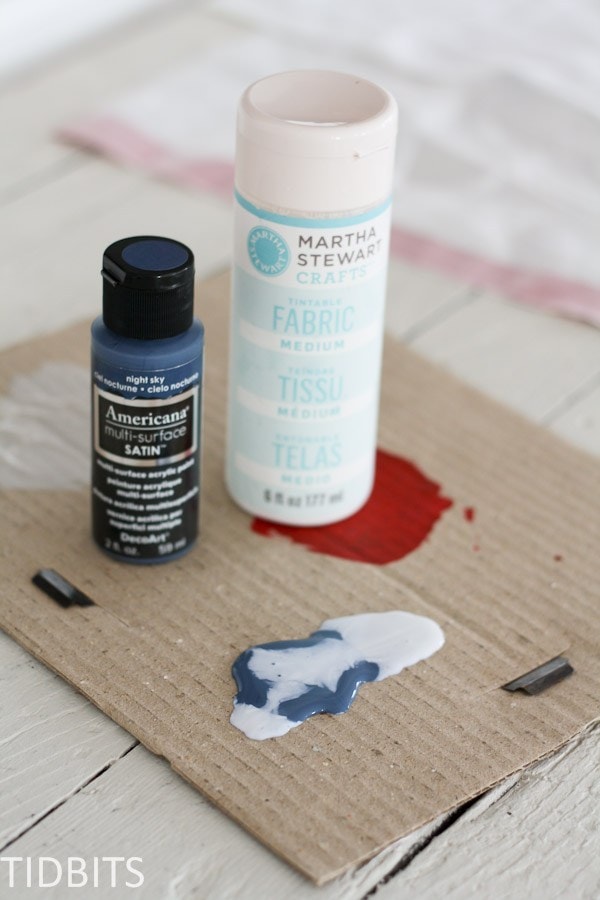
Prepare the paint you will be using first. For painting on textiles, I like to use up my acrylic craft paint stash, and add a fabric paint medium - like the Martha Stewart brand you see below. But you can also use any type of fabric paint.
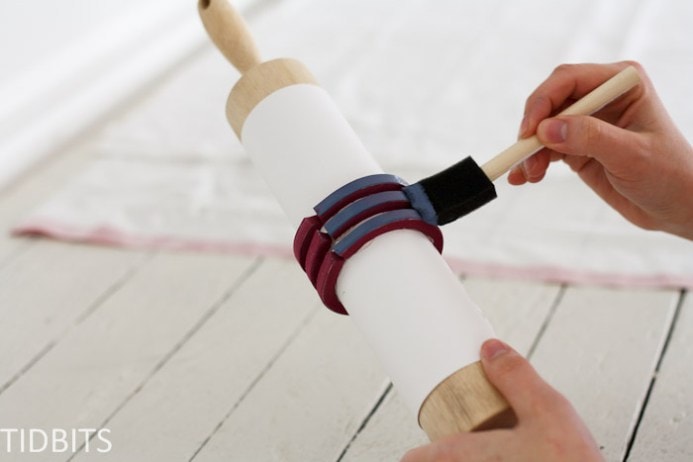
I have found it works much better to add your paint to the stamp with a foam brush, rather than rolling the stamp into the paint itself. Gives a more even distribution of paint to your project.
Before you stamp your project, you will want to mark the center line somehow to act as a guide for your stamp. For the flour sacks, I folded it down the center and used a fabric marker to mark the center line.
Starting at one of the ends of the stamp, roll the stamp down your fabric, stopping at the other end. Re-apply the paint around the stamp again, and continue to stamp from where you left off.
Easy as that! Once I am done with one color I use baby wipes to remove the paint from the stamp and use again and again - never to have to tape off my lines again!
I would love to have you follow me along through your preferred method - whether it be facebook, instagram, twitter, google+, or hop on over to my blog, TIDBITS, and subscribe by email.
Then you'll never miss a single grainsack project - because there are sure to be more!
Thanks for reading!
Sue
I like this idea. Thanks for that. But I have a shortcut for cutting and gluing the rubber bands. Did you know they make rubber bands specifically for rolling pins in sets so you can evenly rollout dough to the same thickness, I.e., 1/8, 1/4 “ thicknesses? Though it might be hard to get the card stock underneath them to protect your rolling pin. And you would have to buy two sets to get the three stripes since they come in sets of two. Just a thought for anyone that already has them but doesn’t use them for dough and a rolling pin that you only use for crafts!
Kristen Whitby
Great tip!! Thank you!
Cheryl
Wonderful idea. Instead of rubber sheets, you could use the tolling pin spacers (used for cookie dough). They already fit the rolling pins, are inexpensive and some in different widths.
Oh the possibilities. Thanks for being awesome.
Tevhide
Love it so much ı'll try tomorrow,thanks for sharing:)
Bonnie
Thanks for a really easy way to get this done, love it and thanks for sharing!
Jeanne Smith
I love this idea and think it would also look really good with wider stripes and using the torn edge for a different look.
Cheryl
Genius!!!!!
Shirley
I cannot believe what I have just witnessed here. Such an easy idea and could kick myself for not thinking of this myself. So freakin' easy and I cannot believe it was your husband that thought of it. I absolutely love this idea!!! I was very soon getting ready to work on some grain sack stripes and was dreading painting all those stripes...unbelieveably easy idea!! Thank you husband for your input! Thank you Cami too for sharing such a wonderful idea!
Comet
If you wanted to you could bevel the edges of the strips so as to not have the seperation---esp good for smaller projects or where you don't need the "line break". Also if you don't have a rolling pin you could use a piece of PVC or even a wine bottle!
Wonderful idea!!!! Our "local" RUNNINGS Shop had cheap "Flower Sack" towels in LARGE sizes--how come I didn't see this BEFORE I went there??? LOL !! (It's not exactly "local" actually!) Think Vermont Country Store sells them in a bundle tho. They are actually more local to me. Road trip!
Bonnie A.
Why not glue the stamp to the card stock first ...then you can be sure to have the right width and a straight line ...think it would be much easier ..than trying to wrap it around the roller and keeping it straight. Good idea ...love the stripes.
Cami Graham
Great idea! That could definitely work as well. Would love to hear if you try that out.
Cathie W
Do you have hints for lining up lines after reapplying paint?
Cami Graham
My biggest tip would be - be careful. I know, not very helpful. The rolling pin method does make it pretty easy to see your previous lines and where you should begin the next roll. That is why I love to use the rolling pin verses the stamp I made - as you can see in the instructions.
Shelly
Absolutely BRILLIANT!
Fantastic idea, great tutorial and beautiful photos - I'm inspired!
Thank you for sharing!
Louisa
Thanks for the awesome tip! I love that the piece of card stock can make it so that the rolling pin is not damaged. What a great idea! Thanks for sharing it!
Cami Graham
Yes - I did not want to ruin my rolling pins 😉 Hope you get a chance to try it out. It is so fun!
Mary Beth|Cupcakes and Crinoline
This is absolutely beautiful. I can't wait to try this myself. Pinning 🙂
Debra @ MsMoozys Open House
I really love this idea! I love everything grain sack but do not have much of it. Thanks again for sharing this great idea, have a great day. 🙂