

I am feeling a little giddy today because Cami from Tidbits is here to share something so genius that I know you guys are going to LOVE IT! She is so talented and creative!
~~~~~~~~~
So happy to be here! I have adored Kristen's style for some time now, so it is a thrill to be able to share a little space here on her blog.
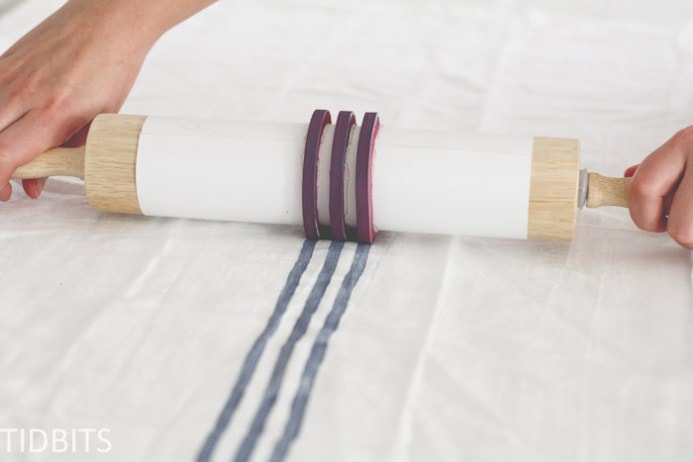
Today's project idea is really thanks to my good husband, who noticed I had a bit of an obsession with the grainsack stripe - in all its forms. One day, I was trying to think of a way to more quickly paint the stripes on a number of projects I was making, and he thought of a way to make a grainsack stripe stamp - out of a rolling pin! That meant no need to tape off my lines ever again, and painting the stripe was a thousand times faster.
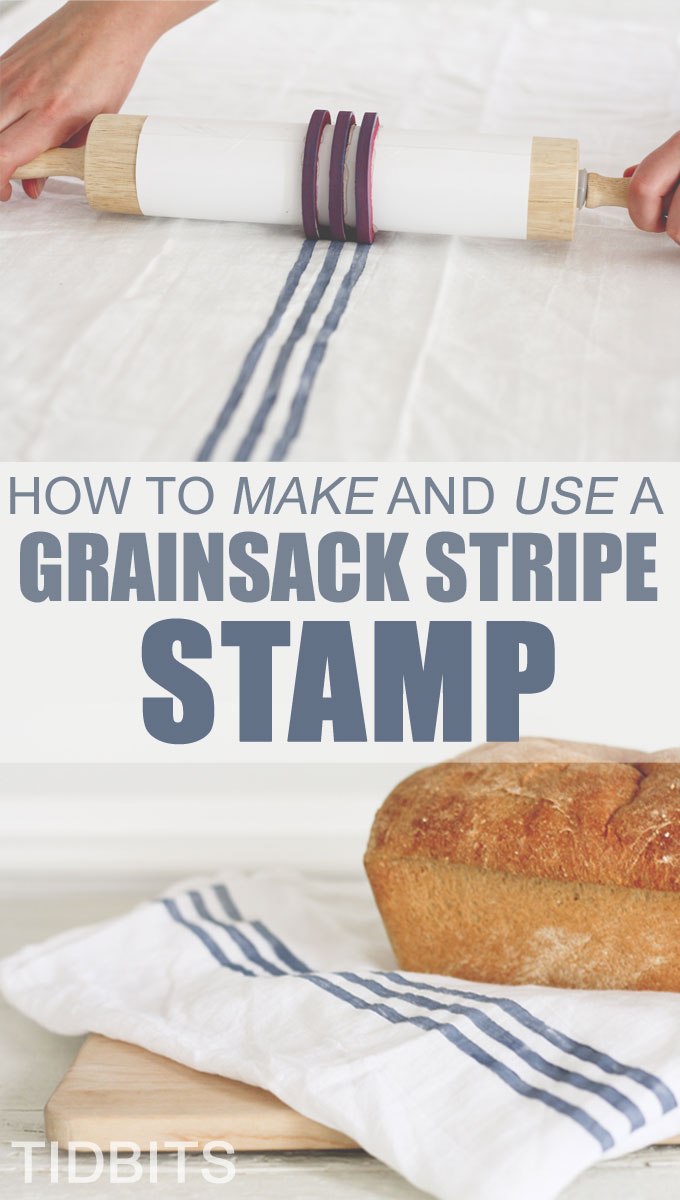
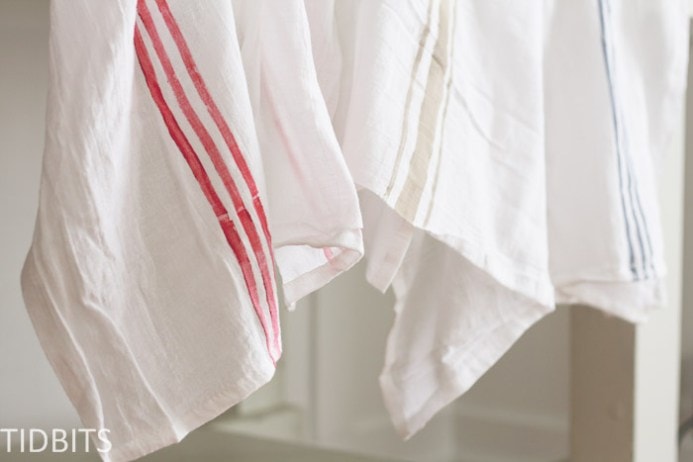
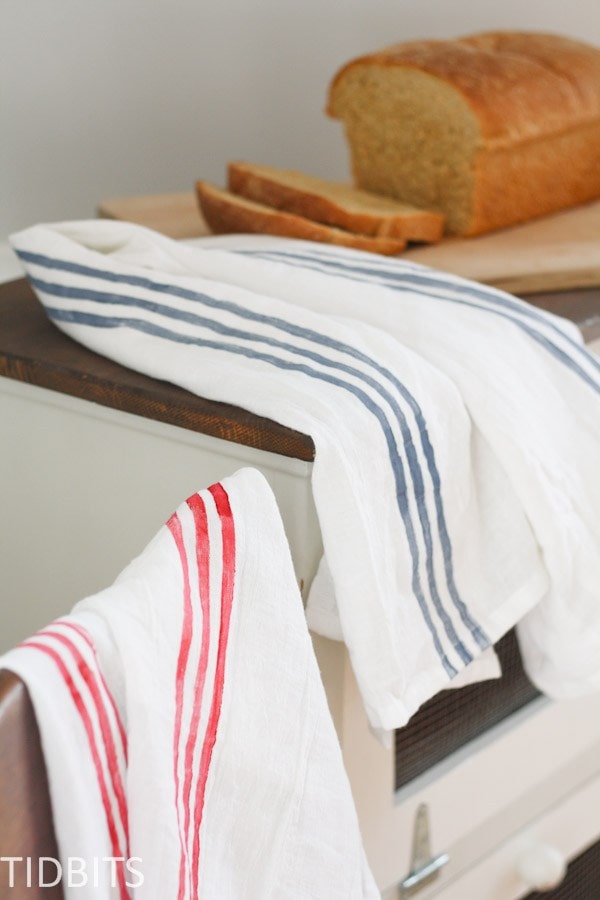
I've painted the stripe on some inexpensive flour sack towels, to show you just how easy it is to whip out the perfect grainsack stripe in a matter of minutes. You'll be adding this popular french style stripe to everything in your path!
I totally have 😉 I love the simplicity of the design, and have used it in many of my projects on my blog, TIDBITS. Here is a small round-up of all things grainsack in my house (links below).
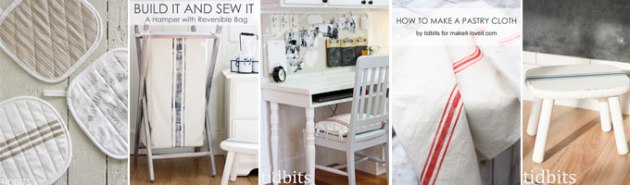
- French Inspired hot pads
- Hamper with reversible bag
- Office space
- 6 reasons why you need a pastry cloth, and how to make one
- Girls shared bedroom
And now I have a whole handful of flour sacks to add to the list!
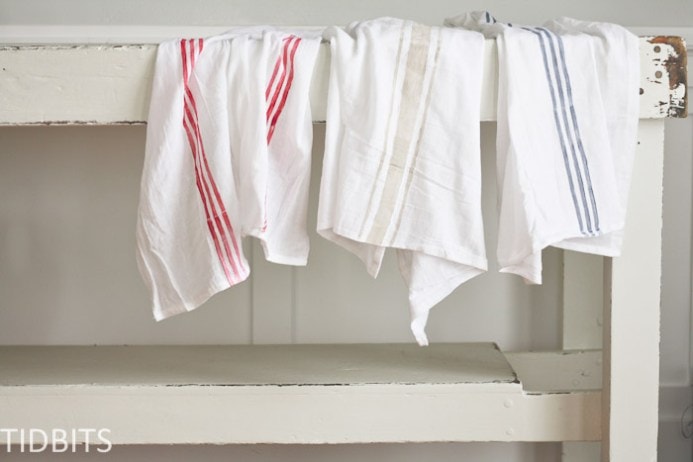
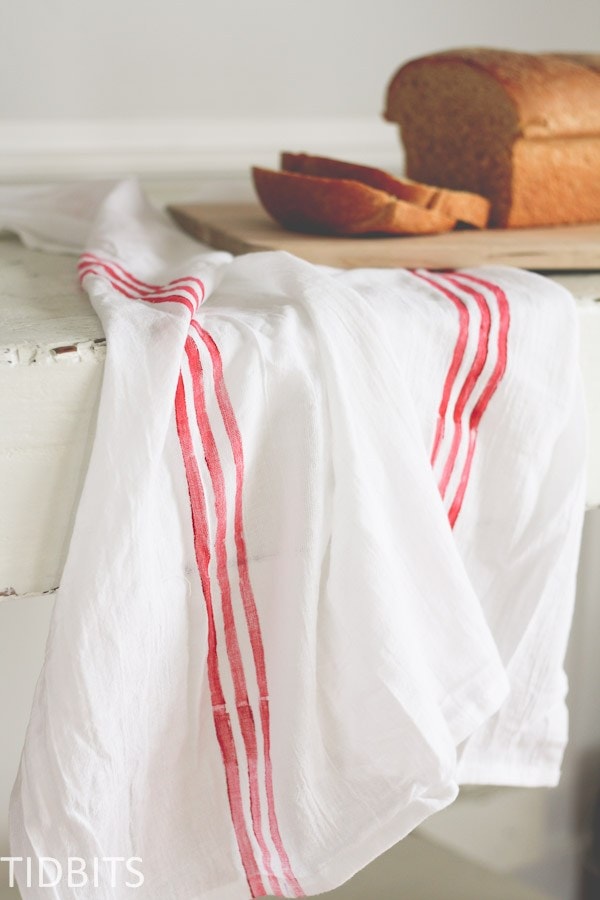
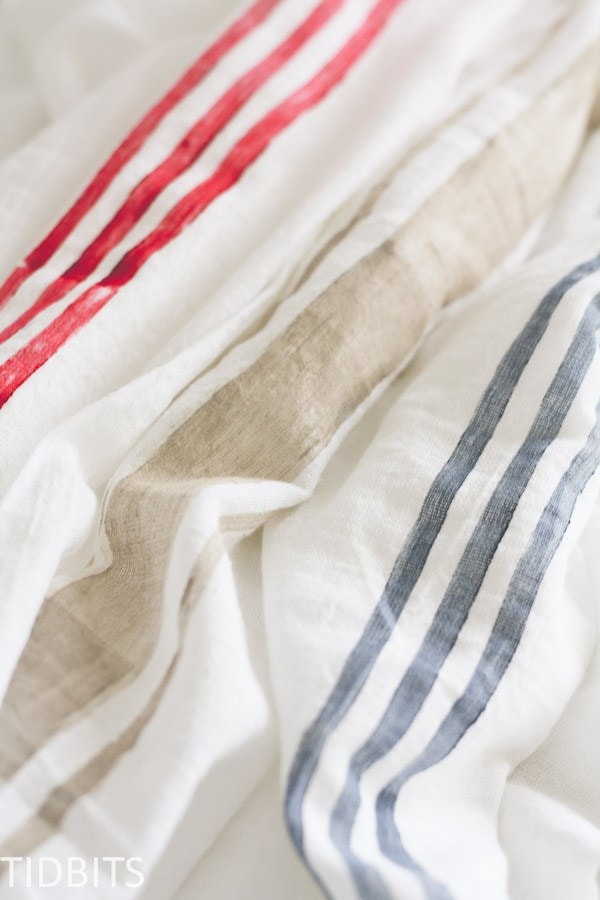
You can make the stripe any way you like. I've used the 3 stripe look in my projects, with all 3 the same thickness, or the center stripe wider than the outside stripes.
I love working with textiles, but you could also use the same stamp for paper, wood, or with whatever type of paint you need.
These flour sacks were so easy to add the stripe to and required no sewing.
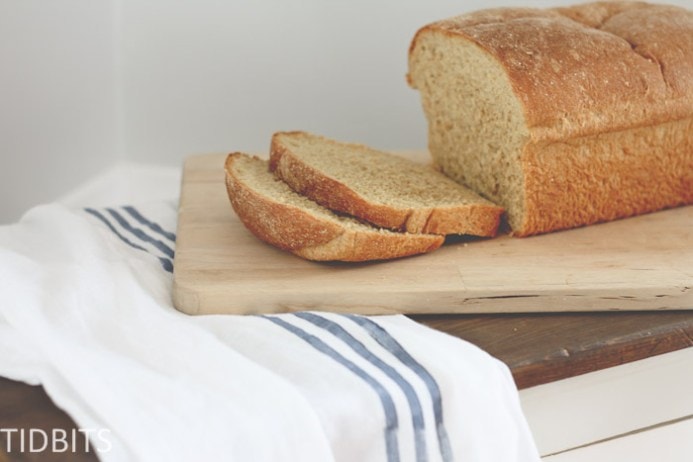
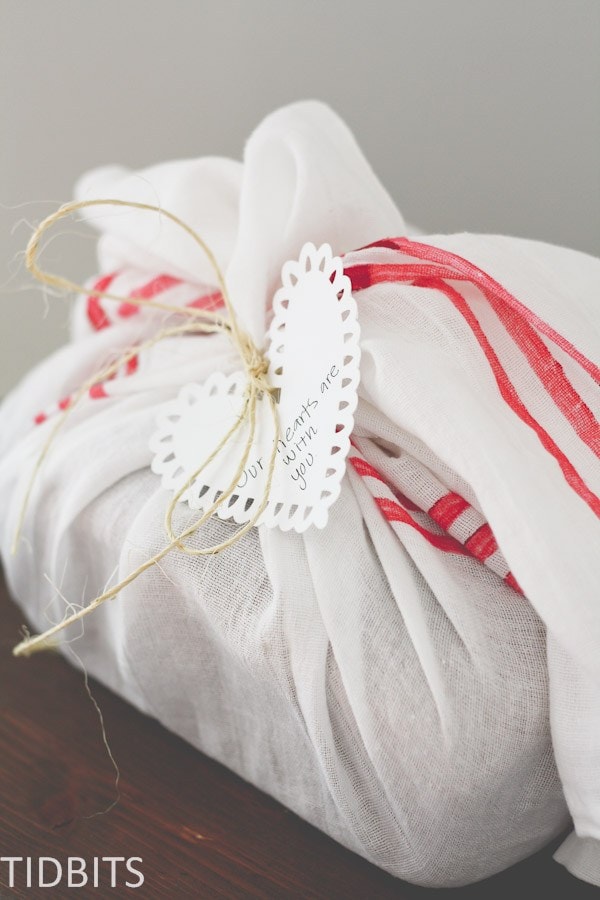
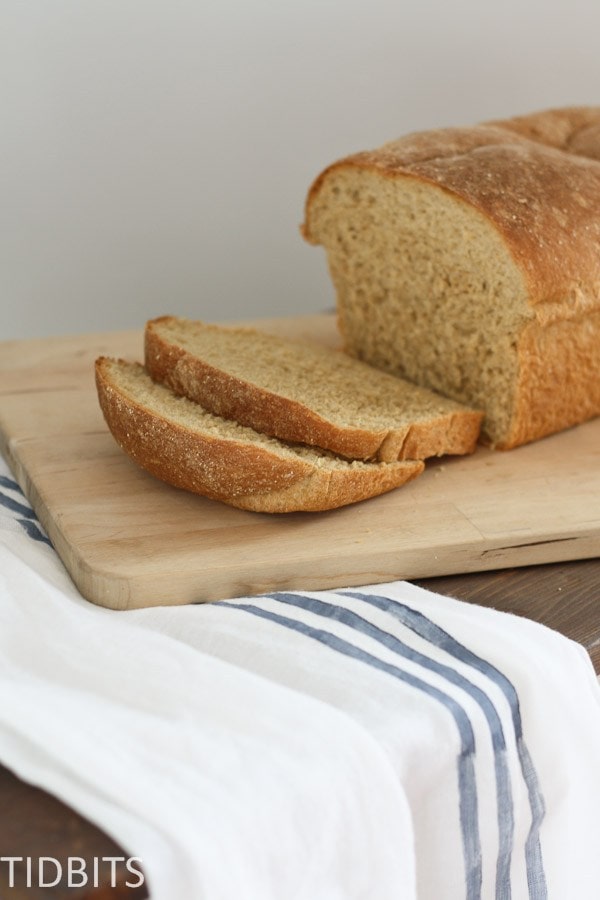
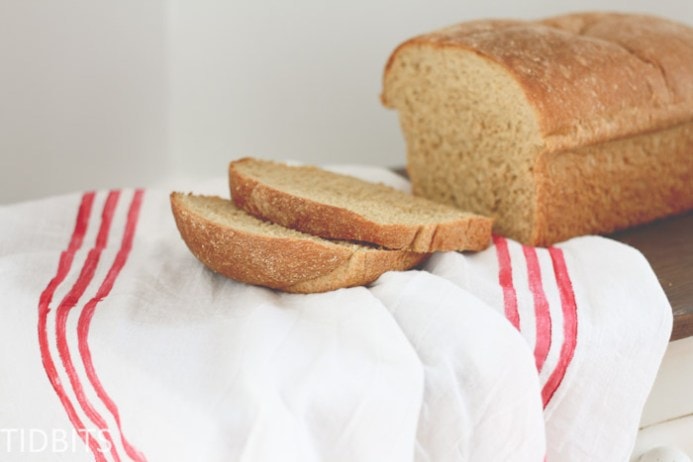
I even wrapped up a loaf of bread in the flour sack, for a personalized gift for a friend going through a hard time.
They look great hanging here and there in my kitchen as well.
So, toss the tape - and grab a rolling pin. Together we will grainsack stripe the world! (And what a better place it will be).
I will show you first how to make the stamp, and then how to use it.
Making your grainsack stamp
Materials:
- Rolling Pin
- You can buy a new one and designate it as your grainsack rolling pin, or use the one in your kitchen. I will show you how you can make the stamp so it doesn't ruin your rolling pin at all, and you can use it for your pastry's when you are done stamping.
- 1 Piece of cardstock paper
- Tape
- Hot Glue Gun
- 1 Rubber Stamp Making Sheet
- I found this at JoAnn's Fabric store, but I imagine any craft store will have it if they have stamp making supplies.
- Speedball Speedy Carve Block (aff link for your convenience)

If you want to re-use your rolling pin, you will first need to cover the rolling pin with your piece of cardstock paper. Wrap the paper around the rolling pin, and overlap the ends slightly. Cut off any excess paper you don't need.
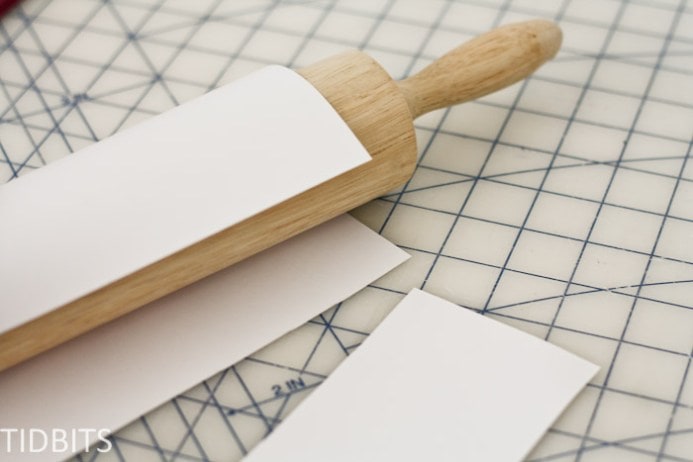
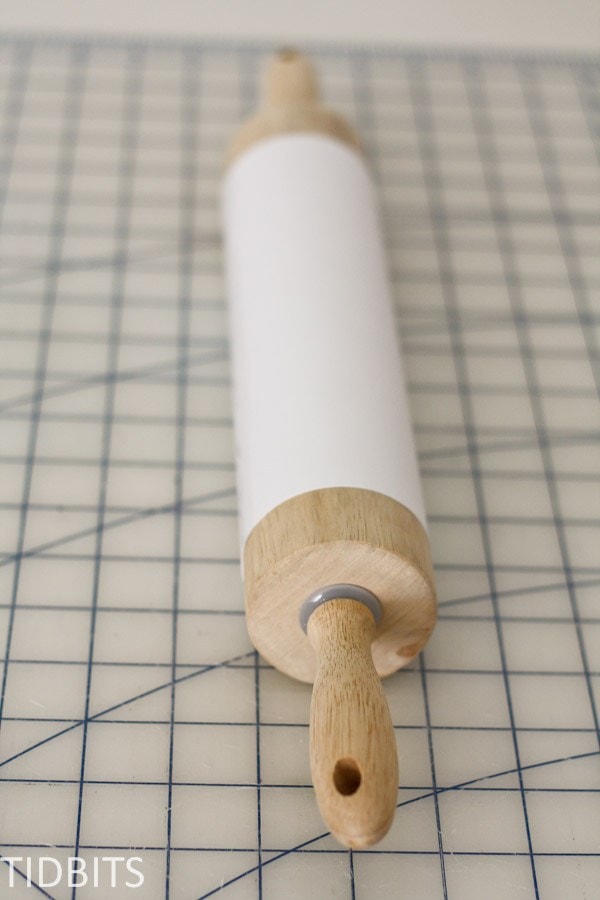
Be sure the paper is tightly fitted around the rolling pin, and tape the ends of the paper down. Now your rolling pin is covered and only the paper will get paint on it and you can simply remove the paper to have your rolling pin back.
The best way to cut the rubber stamp sheet is with a long ruler and a rotary cutter. This ensures a clean cut and straight lines. However, I am sure you could use any kind of blade you have available.
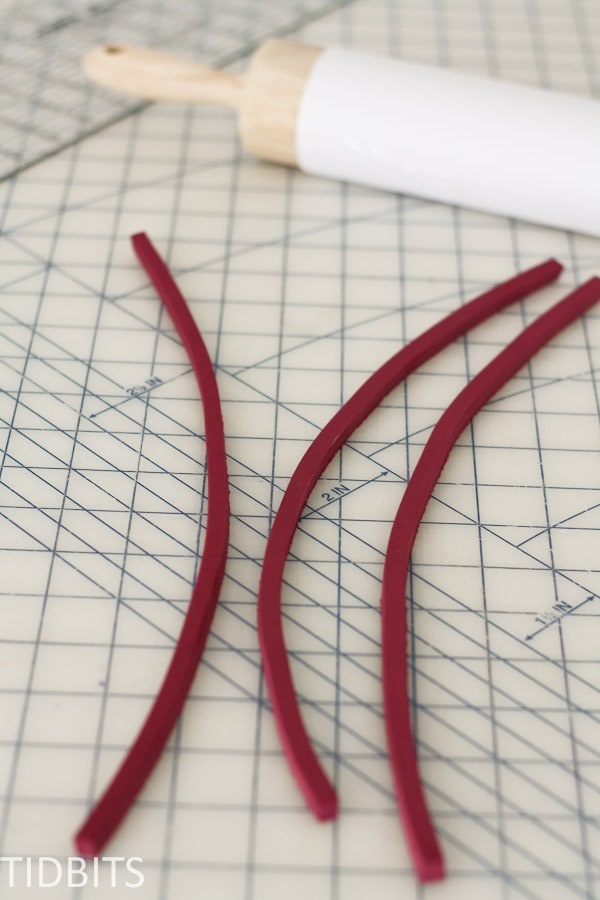
Determine what size and style of stripe you want, and cut the rubber sheet to that thickness.
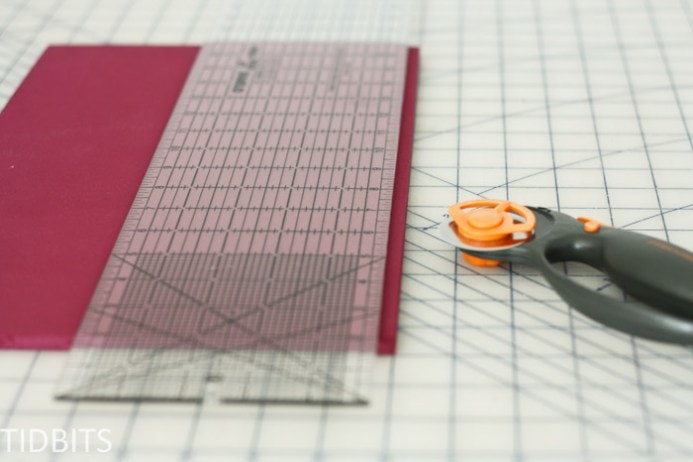
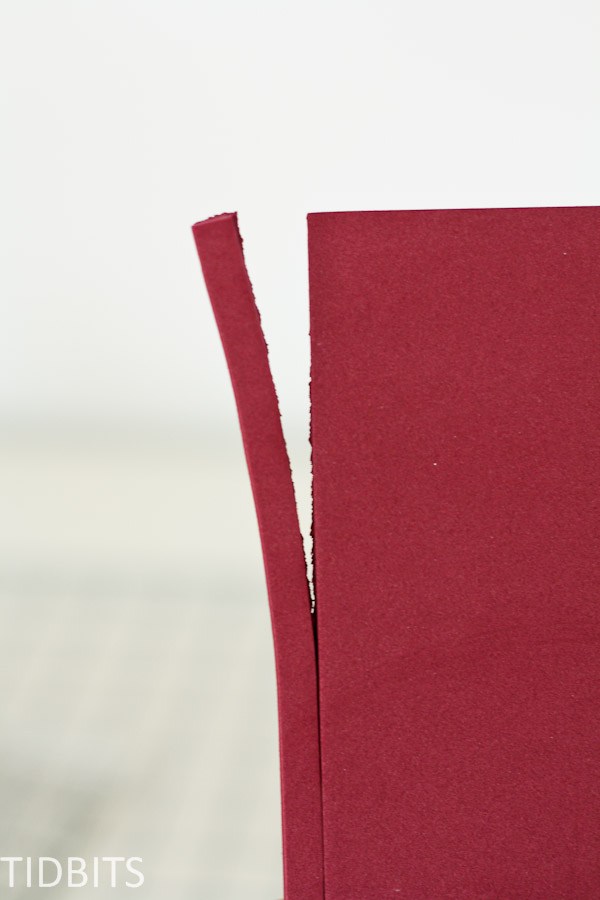
My rotary cutter will not slice through the whole thickness of the rubber stamp, but it makes a nice clean cut through most of it.
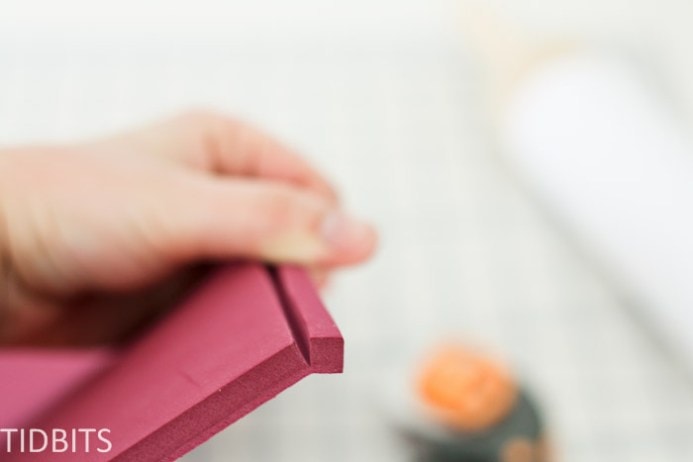
Then I just tare the rest off. The part being torn is a bit rough, but that doesn't matter at all. I will be gluing the messy tare side down and the clean cut end is used as the stamp part.
Cut enough of the rubber stamp for the type of stripe you are using.
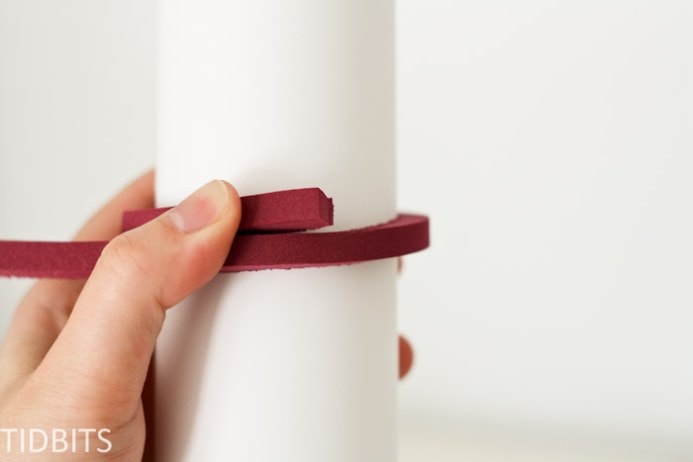
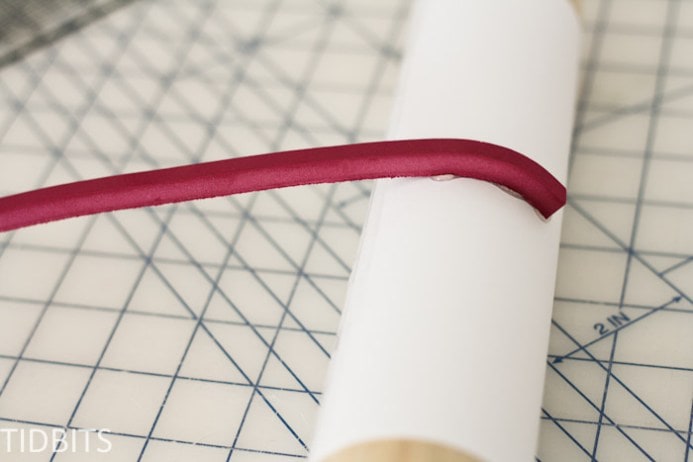
Next, you'll want to wrap the cut stripe around your rolling pin to determine how long you need it. Cut off any extra.
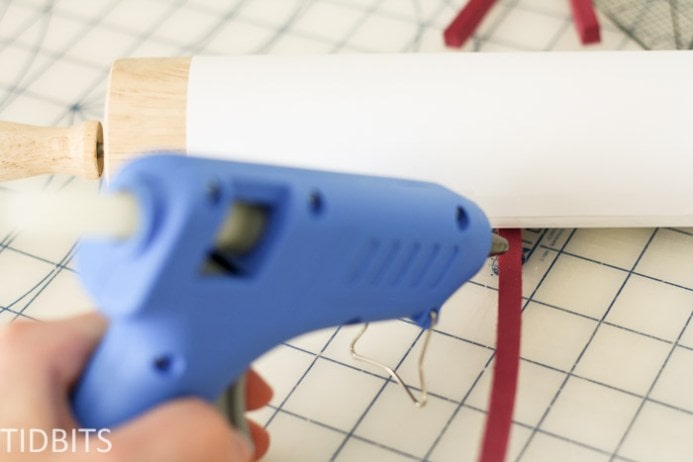
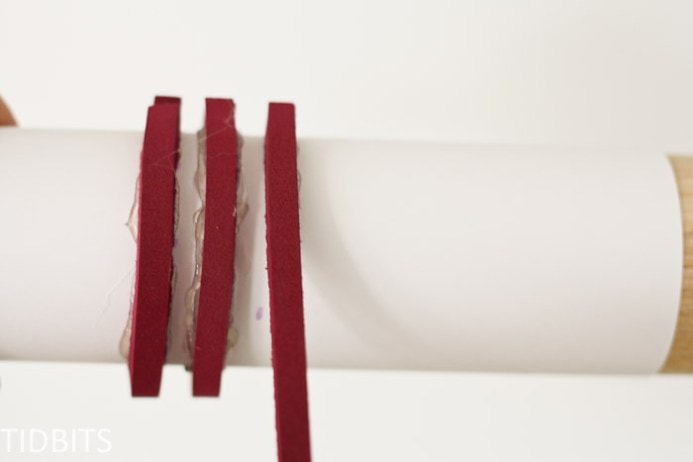
Working from approximately the center of the rolling pin, begin by hot gluing the rubber stripe down at one end.
Continue adding glue to bits of the rubber stamp and quickly adhering the stamp in place. You'll want to be sure you are keeping the stamp even all the way around.
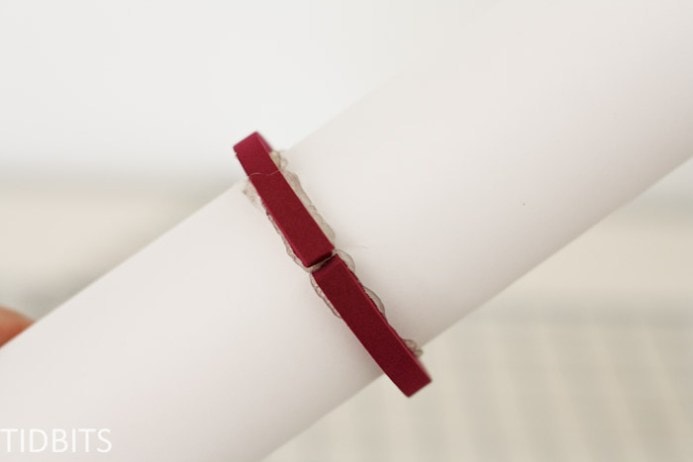
For my ends, I don't actually have them touching. It is a bit difficult to do, but I also found it is beneficial to have a start and stop place on the stamp, so that when you paint on the rubber stamp, you know where to stop and apply paint again so your whole project has the same thickness of paint through the whole stripe.
Once you have the center stripe down, use some type of measuring tool to mark lines evenly away from the first stripe, so you know where to place the second stripe.
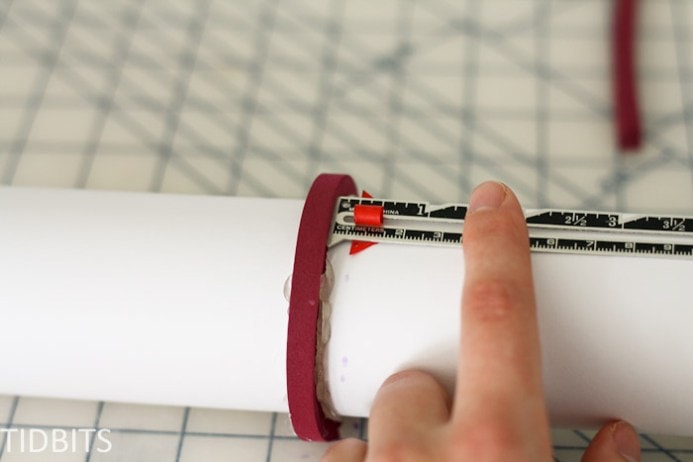
Then you can glue the remaining stripes down following your lines as a guide, and it will be evenly spaced all the way around.
I've made a couple of rolling pin stamps using the different thicknesses, as well as experimented with gluing the rubber stamp stripes onto a piece of foam board.
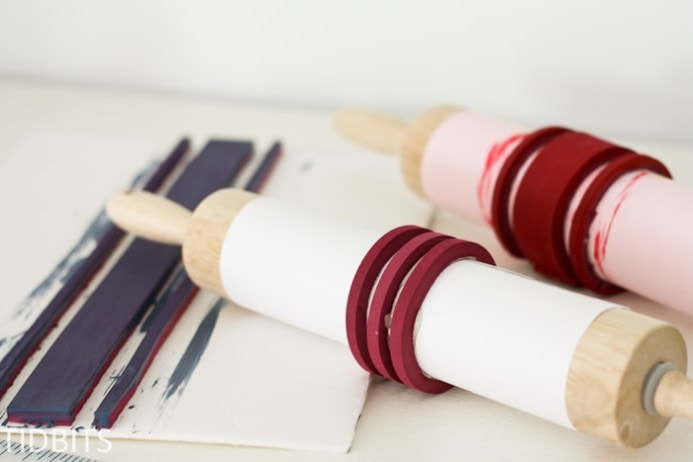
The foam board stamp works great as well and allows you to make the stamp a bit longer if needed. But I do like the rolling pin method the best as it is easier to see in front of you when stamping to ensure you are following a straight line.
How to Use your Grainsack Stamp
Materials:
- Paint of choice
- Flour sacks or any type of surface you wish to paint.
- Something to protect the table
- I use garbage bags
- Foam paint brush
- Grainsack rolling stamp
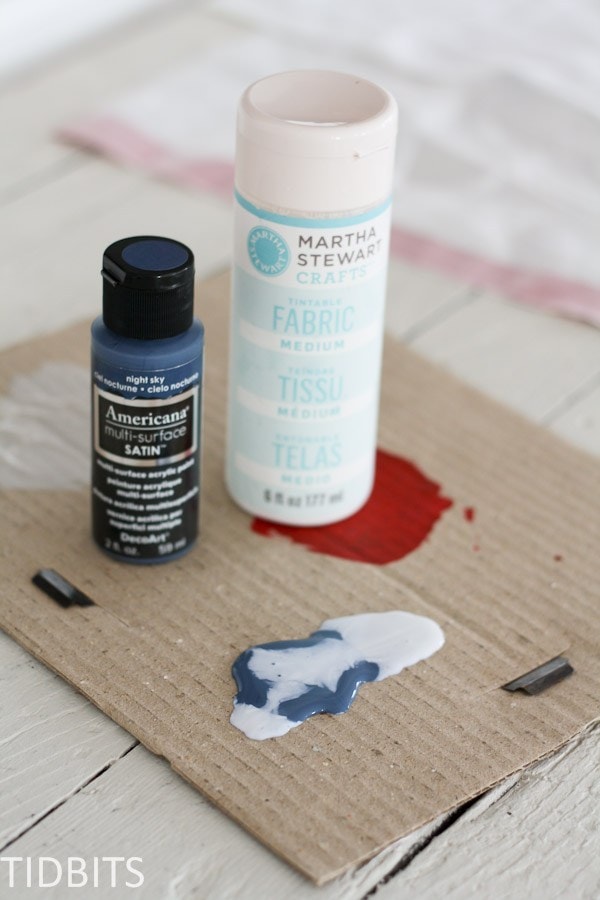
Prepare the paint you will be using first. For painting on textiles, I like to use up my acrylic craft paint stash, and add a fabric paint medium - like the Martha Stewart brand you see below. But you can also use any type of fabric paint.
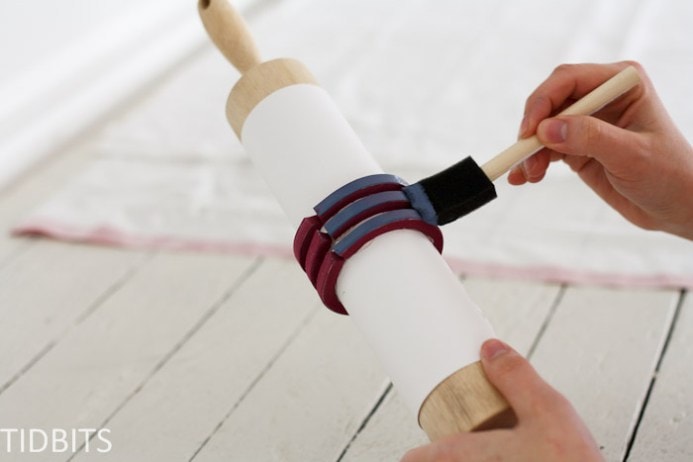
I have found it works much better to add your paint to the stamp with a foam brush, rather than rolling the stamp into the paint itself. Gives a more even distribution of paint to your project.
Before you stamp your project, you will want to mark the center line somehow to act as a guide for your stamp. For the flour sacks, I folded it down the center and used a fabric marker to mark the center line.
Starting at one of the ends of the stamp, roll the stamp down your fabric, stopping at the other end. Re-apply the paint around the stamp again, and continue to stamp from where you left off.
Easy as that! Once I am done with one color I use baby wipes to remove the paint from the stamp and use again and again - never to have to tape off my lines again!
I would love to have you follow me along through your preferred method - whether it be facebook, instagram, twitter, google+, or hop on over to my blog, TIDBITS, and subscribe by email.
Then you'll never miss a single grainsack project - because there are sure to be more!
Thanks for reading!
Beth F
Do they wash well?
Cami Graham
I have actually not tried to wash the flour sacks I made for this post. I gifted them all away. However, I have washed flour sacks before. The fibers definitely are prone to shrinkage, but I think they are even more beautiful after wash. They look a little more worn and loved. As for the paint process I used - 1/2 acrylic and half fabric medium - it washes wonderfully! I've washed my pastry cloths time and time again and my stripes are still on there and get softer with every wash. Hope that helps!
Kathy
I love this!!!! This is the best thing ever! I am going to make one. I am always painting stripes and this will make it so easy. Thanks!
Kathy
Cami Graham
So glad this could be helpful for you!
Jenn @ My Fabuless Life
This is SO brilliant!! I can't wait to try this!
Doreen
This is brilliantly creative! Now, where is my rolling pin?!
Angie @ Knick of Time
What a brilliant idea! Thanks so much for sharing it Cami!
Nancy Carr
Just found you and have now signed up for your blog. Thank you.
Lisa at celebrate creativity
Cami! What a fantastic project. Perfectly illustrated step-by-step tutorial too.
I have quite a few rolling pins (I collect them) and it's good to see that I can wrap the pin to protect it.
You've totally created a versatile tool and it really does have the look of grain cloth. Your other projects using the stamp turned out beautifully.
food stamps on hold 2013
Embossing allows such items to carry key personal knowledge that will
not be eroded and can face up to general put on and tear and the passage
of time.
JudeB
WOW! What a brilliant and SIMPLE idea! I shall definitely be pinning for future reference. Thanks SO much for sharing.
Judi in the UK
Cami Graham
Thank you very much! Pinning is always appreciated!
Jennifer @ Town and Country Living
Genius idea!!
Susan
This is genius! I love making grain sack on textiles and you just made my life a lot easier! Love your blog!
Cami Graham
Easier is right! Glad to know another grainsack enthusiast!
Kevin
You are truly amazing.
Cami Graham
That is truly appreciated 😉
Ellen
That is pure genius and I love a good grain stripe! I will certainly be saving this post for future use.
On a side note I have an old pillow case from my great-great aunt whose name was Ella and it has a hand stitched monogram on it. I would love to send it to you & your little Ella if you would like. It seems like something you would treasure.
Emmie Capson
This is genius! I love it!
Cami Graham
Ahhhh.....thanks!
Sandi
In-genius!I would probably make a royal mess though. ha! At first I thought you had put rubber bands around the rolling pin. hehe
Blessings!
Cami Graham
If only they made rubber bands thick enough - that would be an awesome idea! But, I really didn't have much of a mess at all. Much cleaner than taping in my opinion.
Emily@The Wicker House
I am seriously doing this! What an awesome idea! So Clever! I never knew about that Martha Stewart paint medium, good to know.
Thank you so much Cami for sharing.
Cami Graham
Yes, Martha thinks of everything! Thank Emily!
Erin
Absolutely love this idea and will definitely be making these! Thanks for sharing!
Cami Graham
You're welcome! I was hoping others would be thrilled with the idea as well. I am certain you will make some beautiful projects with the stamp!
Kirsten
GENIUS! I love those grainsacks so much - cannot wait to make some! This is one of those tutorials you see and smack your forehead going, "Why didn't I think of that?!" Thanks for sharing!
Cami Graham
Haha! Sometimes it just takes a man to think of things in a more simple way. I thought the same thing when he mentioned to use a rolling pin. Duh! Glad I'm not the only one with a grainsack obsession.
Doreen @ Hymns and Verses
Kristen - so glad you introduced us to Cami! She's gained a new fan!
Cami - you and your hubs should win a DIY Award of the Year for this!!! So amazing and really useful! One that will drive traffic to your blog for years!! Thanks for sharing with us!! I can't wait to make one of my own!
Cami Graham
Doreen - you are so very sweet! I'll tell the hubs he has been nominated as a DIY'er. He'll get a kick out of that 🙂 Thank you for your very thoughtful comment!
Juliana @ Te Amo Too
Wow! That's a great idea! I'm definitely pinning it!
Cami Graham
Thank you! Pinning is always appreciated!