

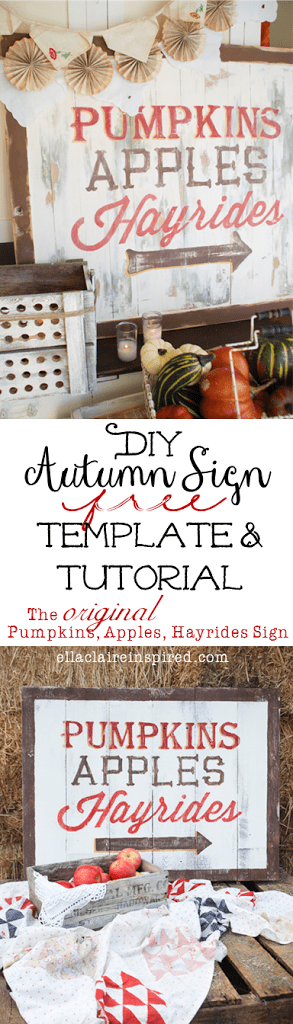
I put a little tutorial together for the "Pumpkins Apples Hayrides" sign that I posted about {here} in "6 DIY Autumn Decorations Under $6." I took some of the tutorial pictures late in the evening and some in the middle of the night, so you will have to forgive the picture quality.
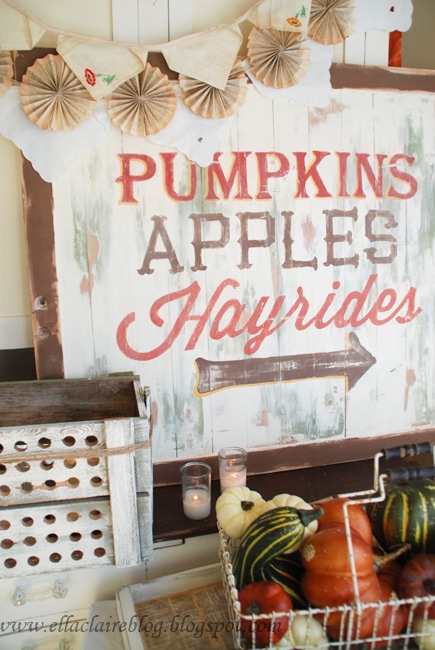
To start, you will need to find some kind of large board. I got mine {2 of them, actually, which appear to be some kind of cupboard doors, maybe?} at a yard sale for free, but you could use whatever you can find. I think that nailing a bunch of boards together would give a similar look to this one. I used the 2nd one in the pictures below to show the painting technique since I painted this sign in the middle of the night.
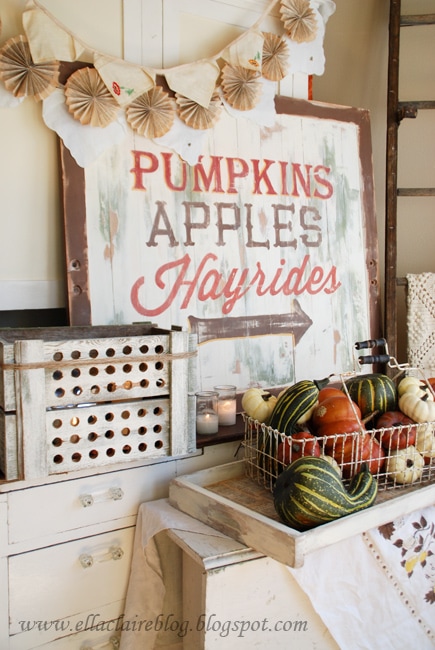
This painting technique is one that I use when I want to achieve the look of layers of timeworn paint. There is probably a better way to do this, but this is my own little funky way, and it works for me :).
First, mix some homemade chalk like finish paint {that I love} using this recipe {I doubled this}:
1 cup flat latex paint
1 Tbs. unsanded grout
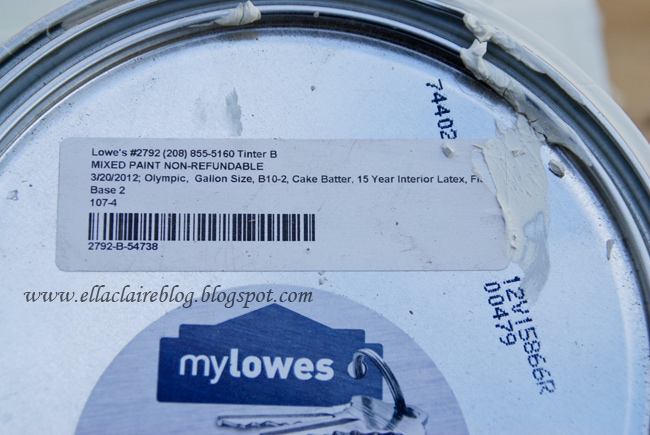
I used my favorite paint color. It is called "Cake Batter" from Lowes... but you can get it mixed anywhere that sells paint. I love this color. It is kind of an antique white, and I have painted many things with it over the years, including most of the furniture in my home.
After making the homemade chalk paint, paint a layer on your board. It doesn't have to be perfect, and mine certainly wasn't.
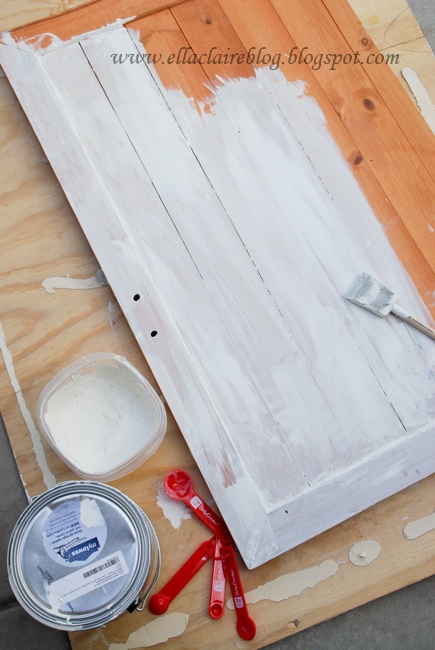
Once you are finished painting your first layer, leave the rest of your chalk paint open to the air so it will thicken up a bit. Let the first layer dry completely.
Next, grab a paint color that you want to layer on your sign. It doesn't have to be chalk paint, but it can be if you want. I chose this green "oops" paint color, but you can use whatever you want. When I refinished the lamp {here}, I used a taupy brown and a little red to layer. Brush it on {I use sponge brushes, by the way} unevenly all across your board. You want to go heavier in some places and lighter, or no paint at all, in others. With this layer, try not to leave many globs of paint anywhere.
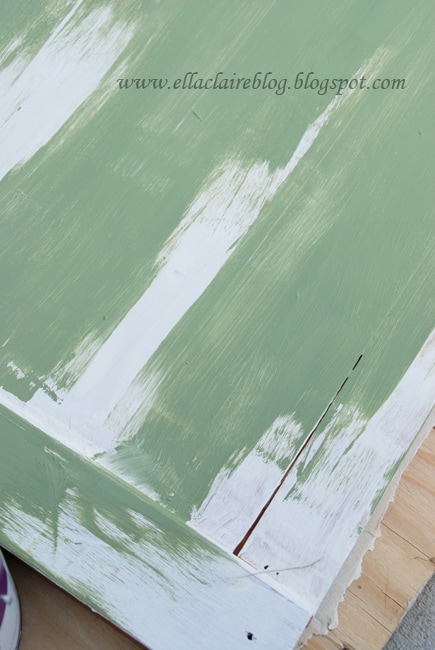
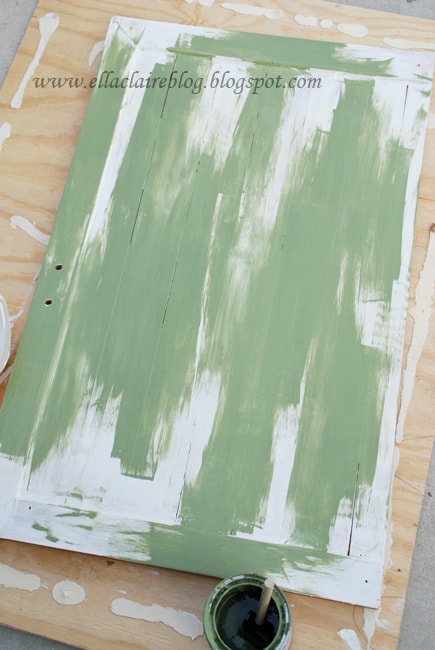
Wait until this layer is completely dry before proceeding.
Next, grab your chalk paint again. By this time, it should have thickened as it sat. For this step, I glob my chalk paint on very generously. It makes it look really pretty when distressed.
First, paint over the areas where the chalk paint is still exposed, overlapping, and semi blending into {green} the areas around it. Leave bits of your second layer {green} showing.
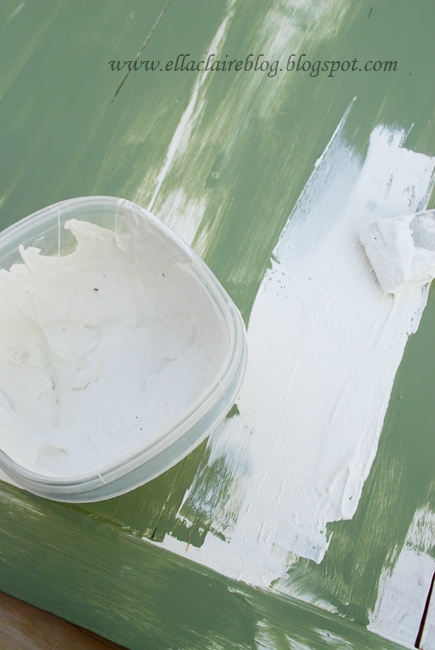
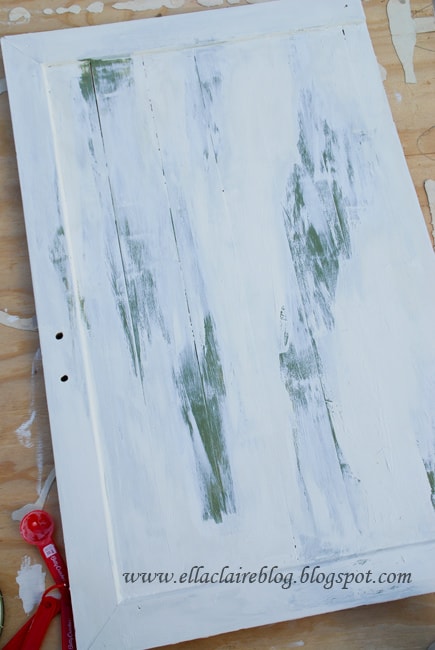
Here is a close up of how I "semi blend." Notice that the chalk paint is pretty thick, even globby, in some areas. All of this contributes to the patina in the end, so slather away!
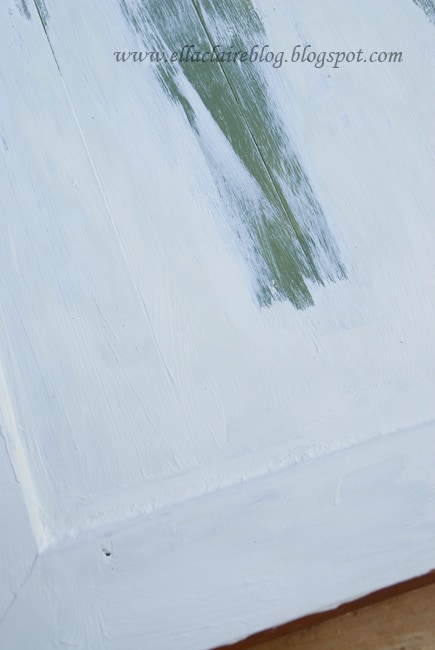
This next part is my favorite! I love distressing. And, with this project, it is extra fun because it exposes all of the fun layers.
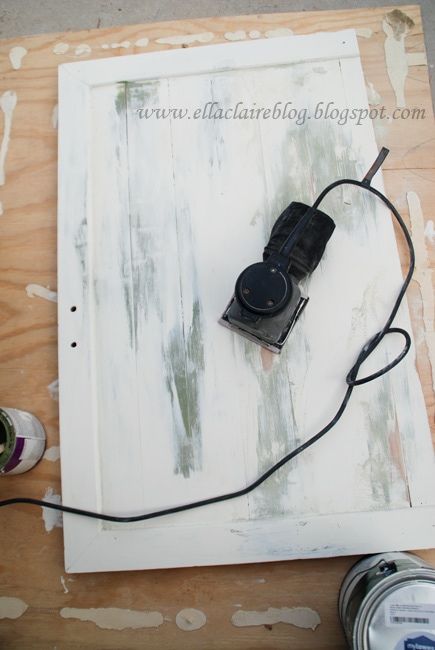
I use a finer grit sandpaper and a palm sander. Start in the areas where your second layer {green} is exposed and sand, not pushing too hard, and moving your sander in a circular motion outward. This will smooth out some of the top layer and expose more of the second, as well as some of the wood. Just keep sanding in circles until it looks how you want. Keep in mind that it doesn't have to be perfect since you will be painting words over the top of it.
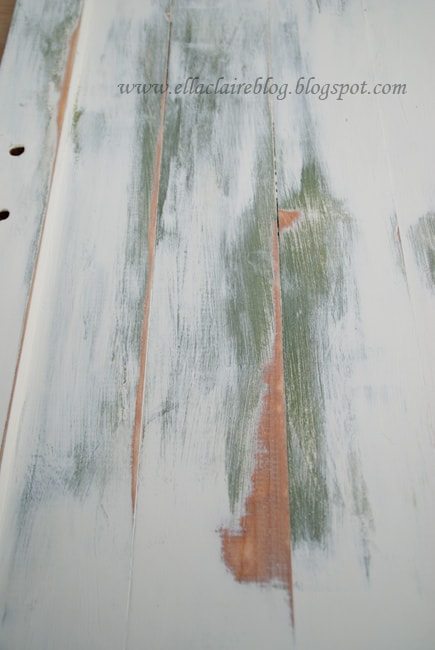
Here is a spot before:
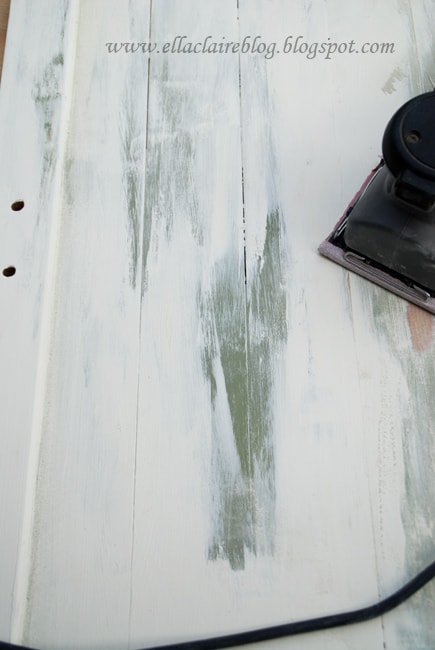
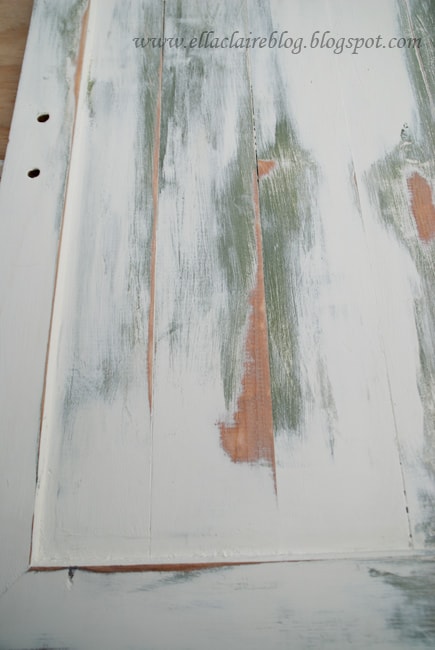
And here is the same spot after:
Sand away some of your edges, and corners as well, to mimic aging.
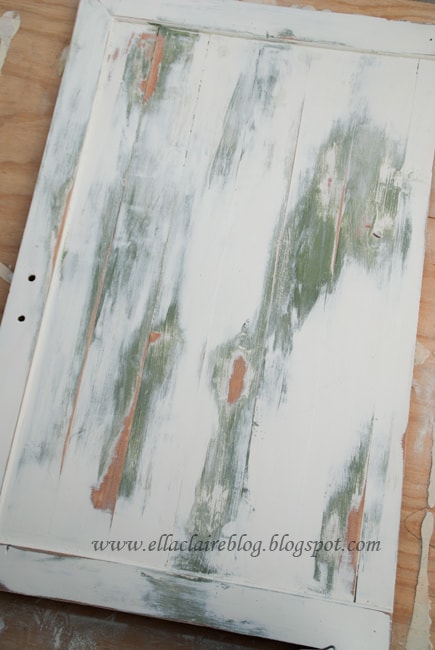
And here is the finished result!
Okay, now that the base painting is out of the way, it is time to paint the words on your sign. If you want to make this particular sign, feel free to use this graphic for your own personal use. It is my gift to you :){This template is for personal use only. Please be respectful of my work. It is not to be sold in any form.}. Just copy and paste it into your own document and adjust the size {by adding as a picture to a document, and pulling the corners to stretch} accordingly.
I wanted my sign to be pretty large so I ended up blowing this up to be pretty big-- 9 pages big! Then, just print it off and tape all of the pages together. Center your image on your board, and tape it down to the board.
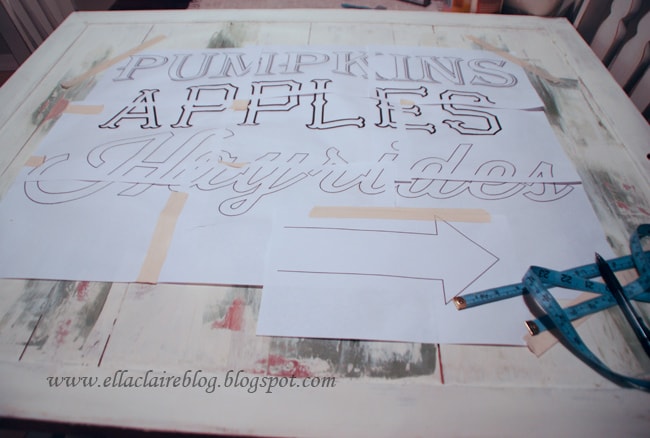
I don't remember where I learned this technique, but I have been using it for a long time and it works well. Go over all of the letters with a ballpoint pen, pushing really hard. This makes an indentation in the painted finish underneath.
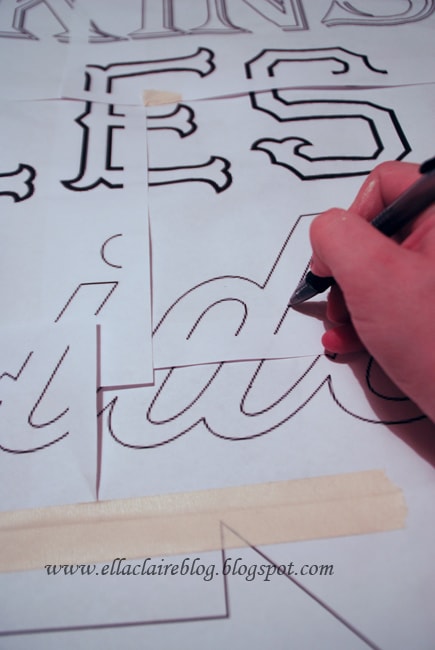
Go over the indentation with the pen to make an outline that you will be filling in with paint.
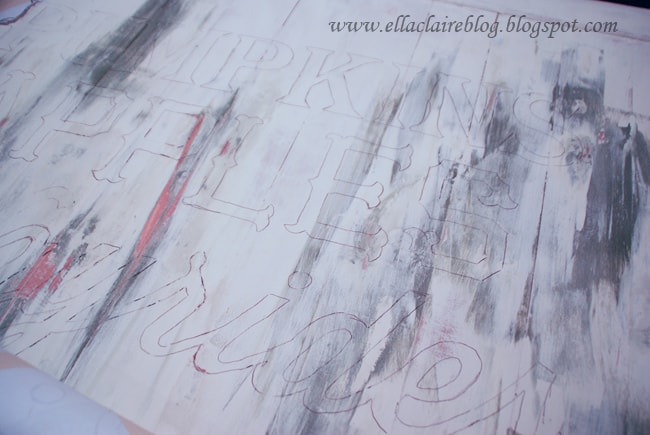
Next, just use a small paintbrush to fill in the letters with paint. It doesn't have to be perfect since you will be distressing it. For my sign, I used red {Ceramcoat, Tomato Spice}, orange {Americana, Georgia Clay}, and brown {Folk Art, Coffee Bean}. Then I highlighted "Pumpkins" and the arrow with a mixture of a yellow with a tiny bit of brown and orange.
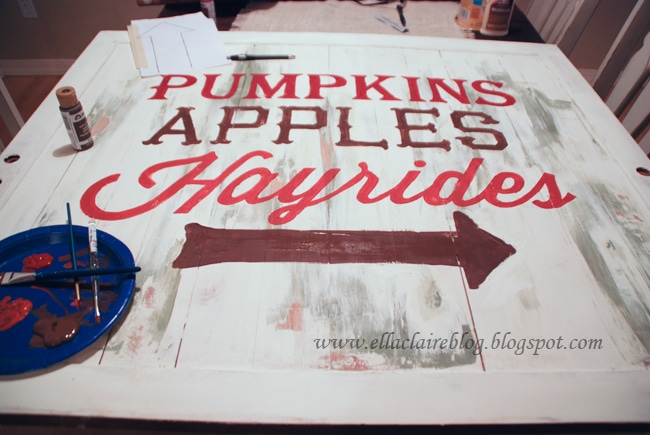
When you are finished painting, just take a sanding block and distress your words a bit.
Clean off your dust, and you are finished!
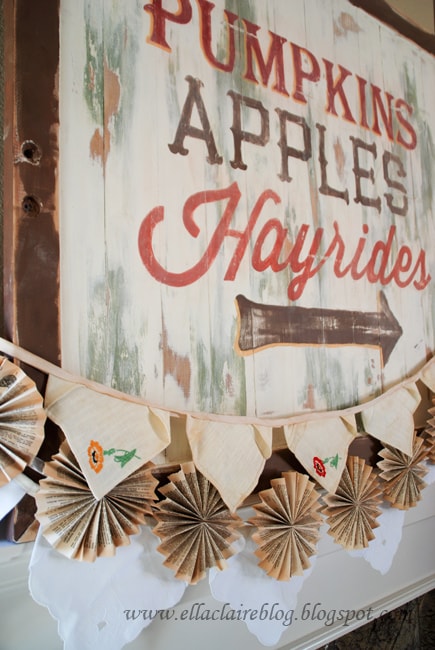
Not too bad, right!?
Let me know if you have any questions.
There will be two more tutorials that I promised that will be coming up this week!
Happy Monday!
Karen
I love love love this sign.
Kristen Whitby
Thank you so much Karen!
john willim
best home security systems
Found your blog excessively interesting indeed. I really enjoyed studying it.
Samion Eric
Really very informative content is here, thanks for sharing such info.check page rank
David Otunga
Wowww… quite cool blog you have!!!!pure green coffee extract
Aimee Hughes
I have a quick question for you in regards to your chalk recipe! I was so excited to try it, but when I did it came out very clumpy. The first time I mixed the grout directly with the paint which resulted in gross dry clumpy paint. The second time I tried I mixed the grout with water first, and then paint and at first it was okay, but as it started to dry (very very quickly) it was almost a paste it was so thick. I only used 1tbs of grout! Any ideas? (Ps. I used rustolum painters touch in a dark red, something like this: https://www.homedepot.com/p/Rust-Oleum-Painter-s-Touch-32-oz-Gloss-Colonial-Red-General-Purpose-Paint-2-Pack-1964502/202058545)
Lexie
Thank you!! I was just trying to figure out how to do a Farmer's Market sign. This is so dang helpful. xo
Miss Becky
I love this tutorial!!!! Great work!!!!
jenniejones
Such a cute sign I decided to make one for myself!! Thanks for the wonderful ideas! I had one question for you - when you distress the letters how do you avoid getting colored dust all over the sign? When I sanded mine I got red paint dust all over and it doesn't wipe off - just sort of smears into the board. Is there a way to prevent that?
Marzia F.
wonderful!!
Kristin @ My Uncommon Slice of Suburbia
I absolutely love this sign!!!
XO
Kristin
Linda @ Itsy Bits And Pieces
This is such a great looking sign, Kristen! Thanks so much for the wonderful tutorial, too!
cynthia at herlovelynest
Kristen, this is just too wonderful! Kelly Rinzema (thelilypadcottage) pinned this today and I just fell in love with it. great work!
Kristen @ It Comes Full Circle
Kristen, this is really gorgeous! Thanks for sharing your chalk paint distressing technique. I paint signs, too and I'm always looking for new things to try! Beautiful job!
linda-neff.com
Lovin' it! Thanks!
cherith wagner
I absolutely love your style!! I'm so into DIY and decorating and you have such good tutorials. Love your designs and ideas! Thanks for sharing.
My best friends blog
I really want you to come style my entryway for me!
Jonathan Park
We just had a wall removal in perth and accumulated a lot of wood trimmings. I guess there's a lot of creative ways to put them to good use. This sure is one of them.
Liz Call
I absolutely love your sign and had to make one of my own. I posted it on my blog with a link back to your beautiful original. Thank you for the inspiration!
https://lizziejanebaby.blogspot.com/2012/11/harvest-sign.html
Larissa @ The House on Harrison
Oh my gosh! I love this! I've been wanting to mix up my own chalk paint to try, and this looks like a good project for it. Thanks so much for the tutorial. This is awesome!
LeAnne
Thanks for your tutorial. What font did you use for 'Pumpkins'? I saw the other two fonts on your favorite font post, but I don't think the font you used for 'Pumpkins' is listed.
Thanks!