

Add charm to any window with this easy DIY window box. A Spring project that can be done in an afternoon and easy enough for anyone to do.
Window Box Supplies:
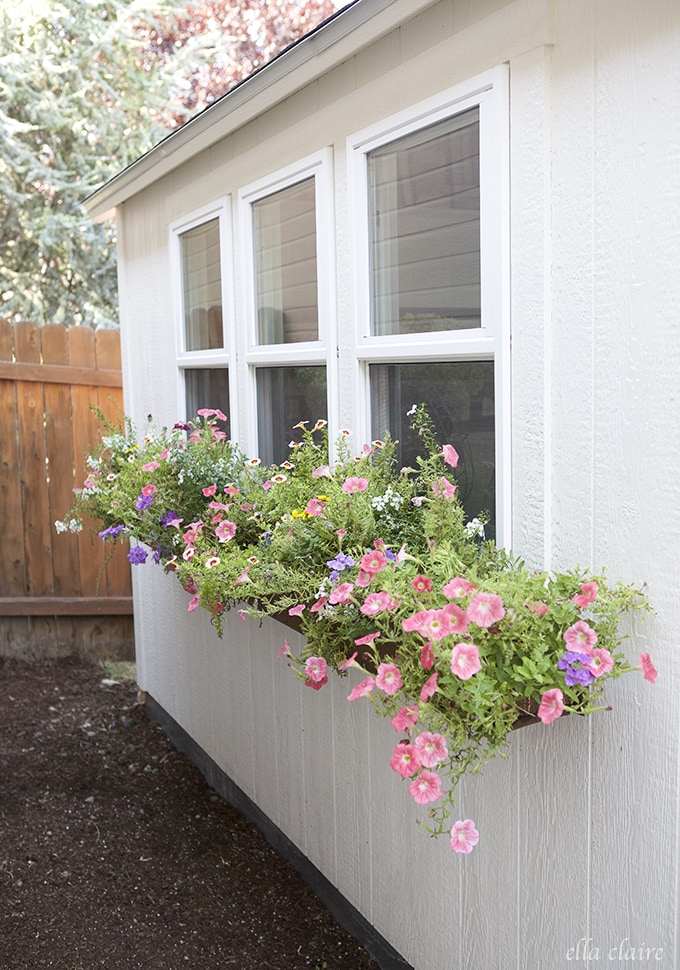
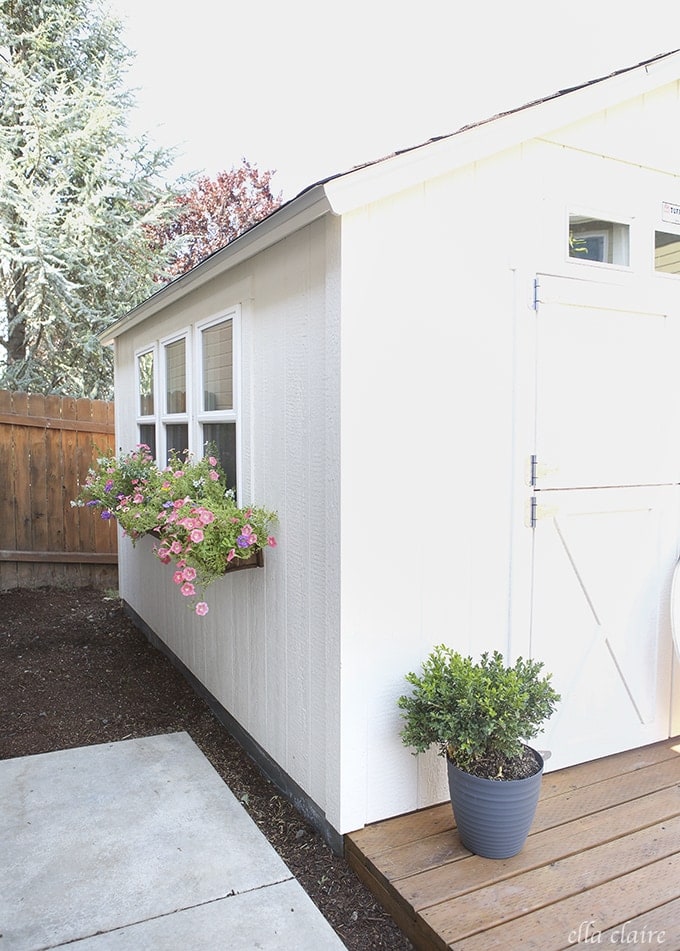
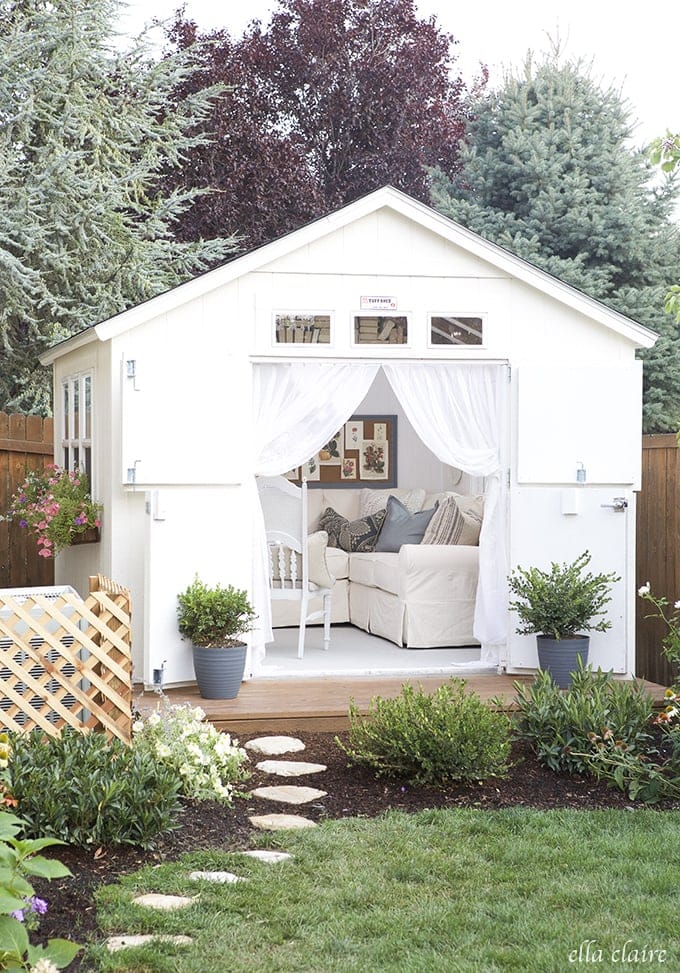
One of the things that I loved about my She Shed was the light and bright windows and I knew that I wanted to build window boxes to accentuate them and dress them up. It was actually a super quick, easy, and inexpensive project that I think made a big impact on the look and feel of the shed!
The supplies I used:
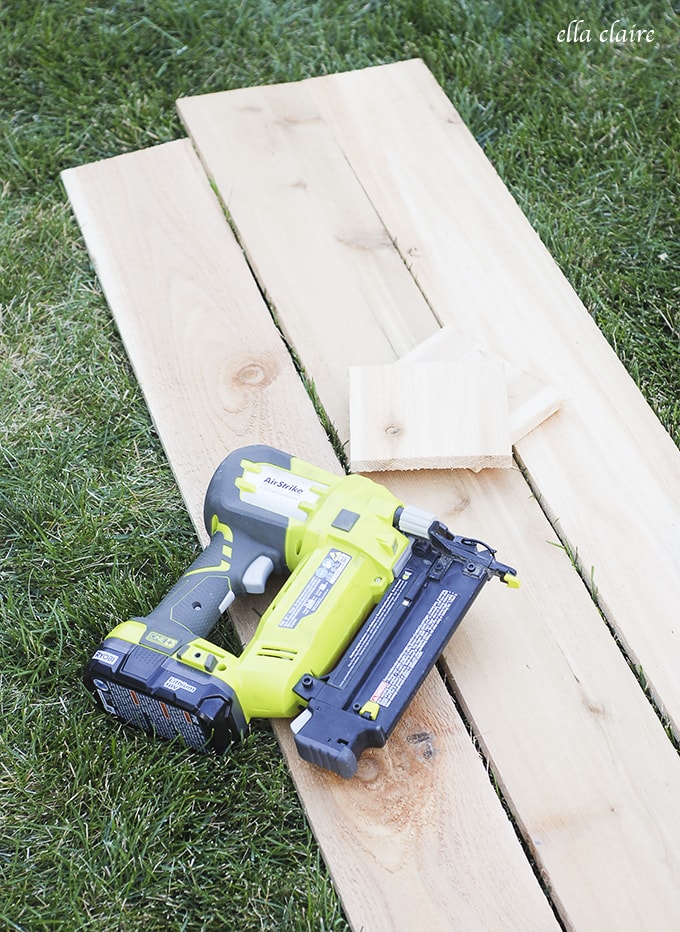
- 5.5" x 5 ft. Cedar fence pickets (3 per window box)
- Nail gun with finish nails (I love my Ryobi Airstrike)
- Outdoor screws
- Drill
- Saw
- Stain & sealer
2 Window Boxes, Less Hassle
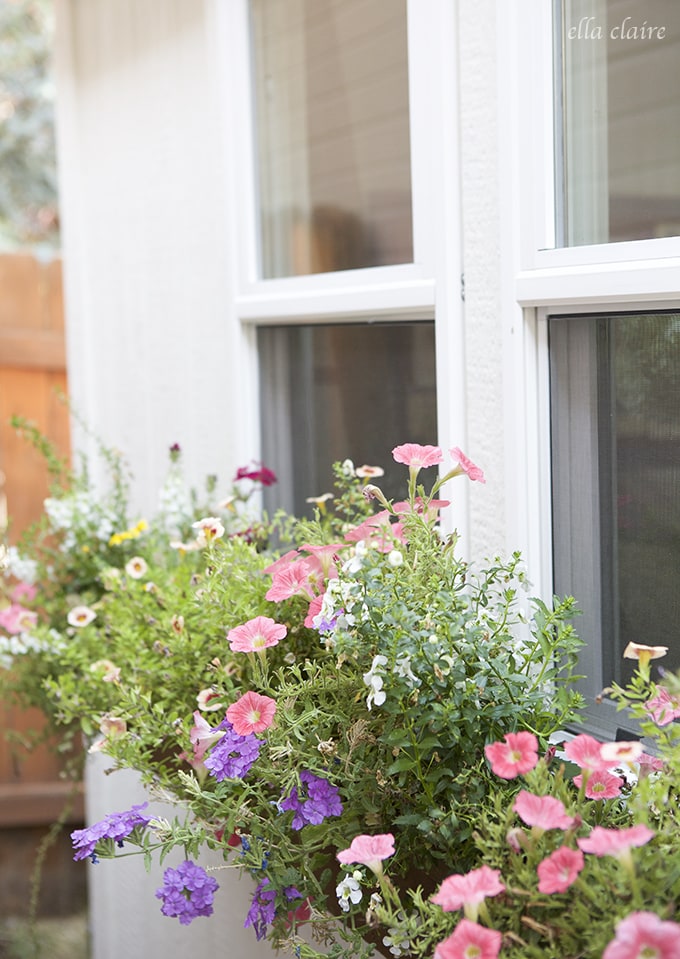
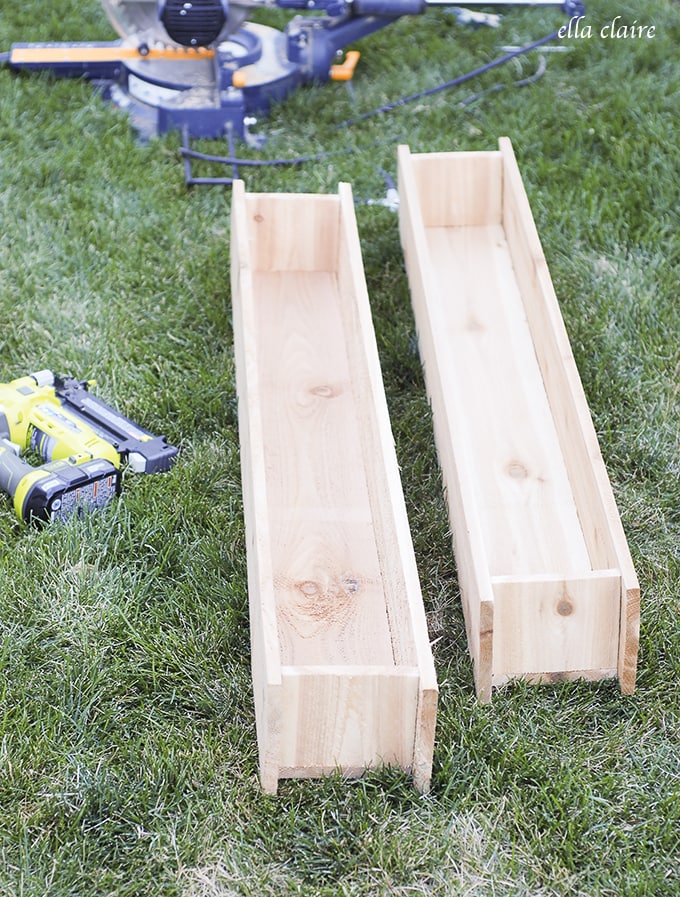
I put two boxes together under the 3 windows, butting them right up against each other in the middle to give it the look of one very long box. I did this so I could use the standard, cheap fence pickets and because it is easier to work with two lighter boxes as opposed to one big, heavy one. Once the flowers begin to trail over the side, you can't even see the seam.
DIY Window Boxes In 4 Steps:
STEP 1 - Measure
First, I measured how long I wanted my window box and cut 2 cedar fence pickets down to that length. Mine are 4ft exactly. I cut the bottom board 2" shorter- so 3ft. 10". With the scraps, I cut the end pieces which were 4.5" tall by the 5.5" standard picket width.
STEP 2 - Nail Boards
I used my Ryobi Airstrike to put my boxes together and then reinforced the entire box with screws. I started by attaching my small side pieces to the bottom piece of the window box.
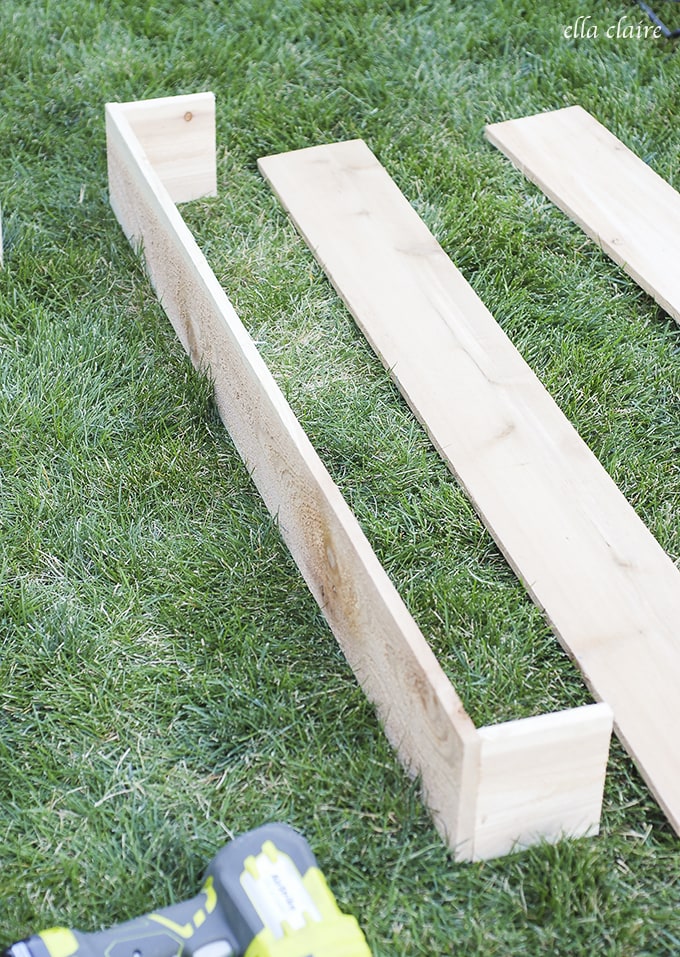
STEP 3 - Attach Sides
Then I laid it on its side and attached one of the sides, making sure it is centered and flush with the bottom piece like the picture shows below. There should be a little overhang on the sides and not the bottom.
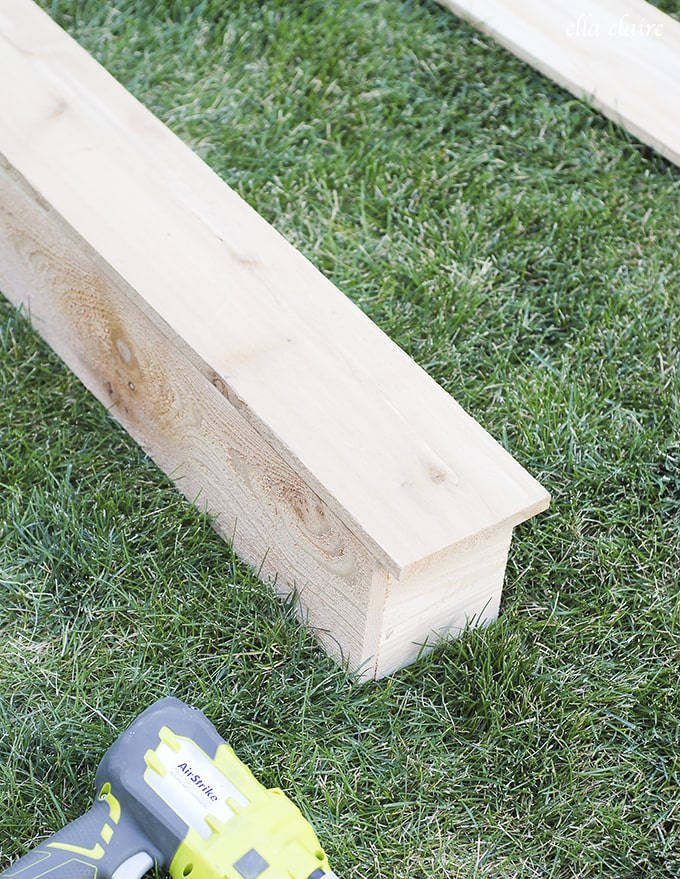
Then I flipped it over and attached the other side.

This is how they look when they are finished.
STEP 4 - Drill Holes For Drainage
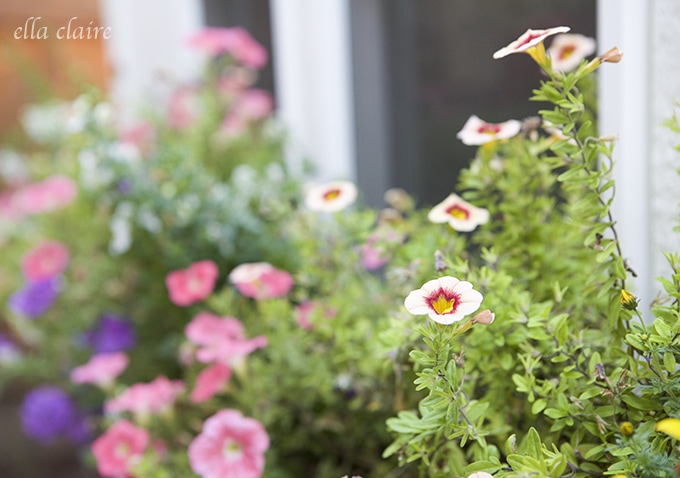
We reinforced each of the boxes with screws and drilled holes in the bottoms so they would drain properly. I stained and sealed them, and then my hubby hung them on the shed by screwing them, with heavy duty outdoor screws, into the trim under the windows and into the side of the shed. Then I just filled them with various annuals.
Super quick, easy, and inexpensive- my kind of project!
Other She Shed Posts and Tutorials:
Handpainted "Garden Tours" Sign
Jen
Love this!! I ordered the wood!! Can you tell me how they have held up? My boyfriend thinks we should put a liner in them but I can't find one that will fit. Hes making it more complicated lol
Thanks.
Kristen Whitby
I'm so excited for you! They will wear in the element just like any other wood product, but if you wanted to add a liner, I would use the plastic kind that comes in rolls so you can cut it to size and staple it in place.
Amy
Thanks. I’m gonna give this a try. Wish me luck. Have yours held up well?
Bev
Did you use liners for the boxes ?
Kristen Whitby
I didn't, but it would certainly help to extend their life.
Shawnna
It looks oh so cool!! love it girl!