

It has been so fun having a bunch of contributors sharing guest posts while I have been having time with my sweet new baby. I hope you have loved them as much as I have. I am constantly amazed by the talented women I get to meet through this little blog of mine, and I am so thankful for their willingness to share their gifts with us! Today, I'm happy to have Amy, from the gorgeous shop, A Stylish Design, sharing a tutorial for a fun flower petal tree skirt!
~~~~~~~~~~~~~~~~~~~~~
Hi Everyone! I'm Amy, owner and creator of A Stylish Design, where I create hand-made products to celebrate life's special moments.
We're in full swing with shopping, baking and of course, holiday decorating.
After creating a new holiday stocking line in our store, I had to create new stockings for my family of course, but found that I could not find a tree skirt that I liked.
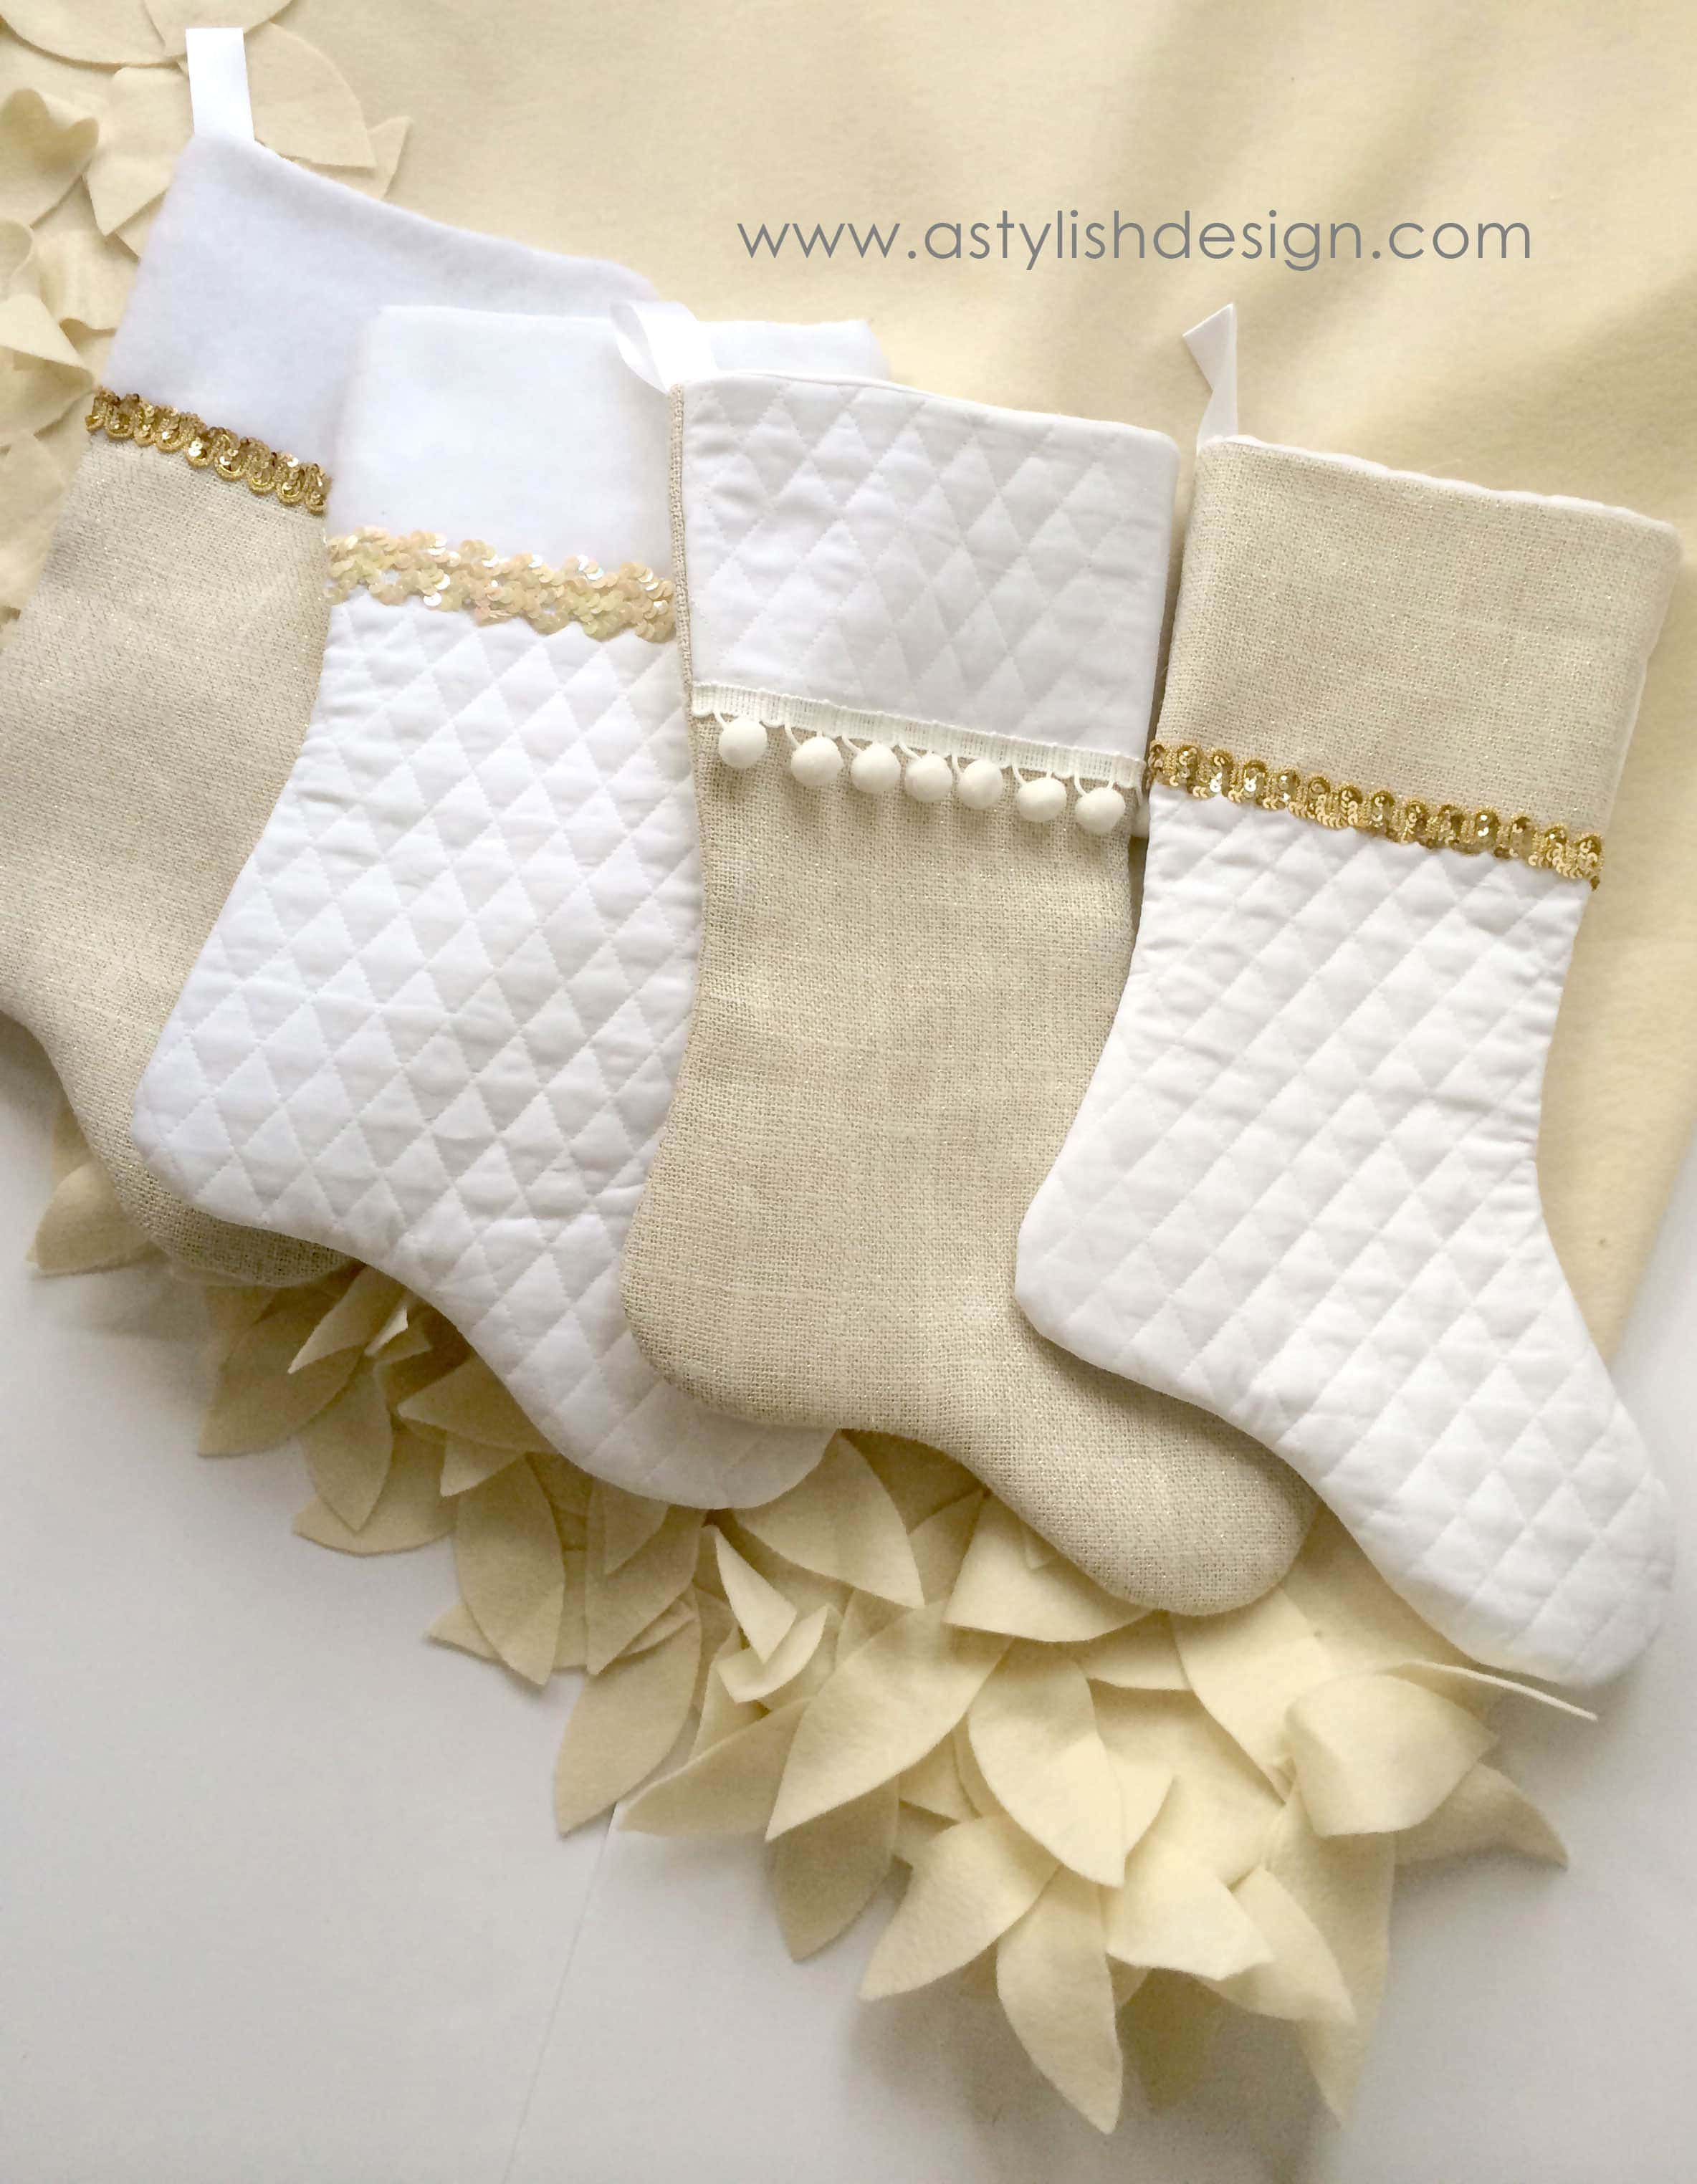
Rather than spend a fortune on a new one, I decided to create one to coordinate with the stockings I had created. I choose to use felt to create the tree skirt.
Felt is an inexpensive fabric to use, especially when you stack coupons (Joann's sale + coupon) = Score! Plus, I did not want to have to iron every year when I took out of storage so using felt was perfect!
I have a very large tree so my tree skirt had to be extra large, even so, $10 worth of felt fabric was all that it took! I already had fabric scissors and a hot glue gun.
SUPPLIES TO CREATE A FLOWER PETAL TREE SKIRT
* felt fabric for skirt (if choosing another color for your petals you will need extra for this)
* glue gun / glue sticks
* sharp scissors
* measuring tape

Cut your circle to the desired width
*The easiest way I found to do this is start with a square. Measure from the base of your tree out to where you would like the tree skirt to end. I prefer mine to extend a little past the width of my tree. Take note of that measurement.
1) For example, if you measure 60 inches out then you will need a 60" X 60") square.
2) Fold the square in half at the middle vertical line for a rectangle of (30" X 60")
3) Fold the rectangle in half for a (30" X 30") square
4) From center, use your measuring tape to measure out half of your circle diameter, which in this example will be 30"
Also, make a small circle for the base of your tree by measuring the width or tracking with a can or bowl on the corner where folds meet
5) Open your skirt and cut one side for the opening of the skirt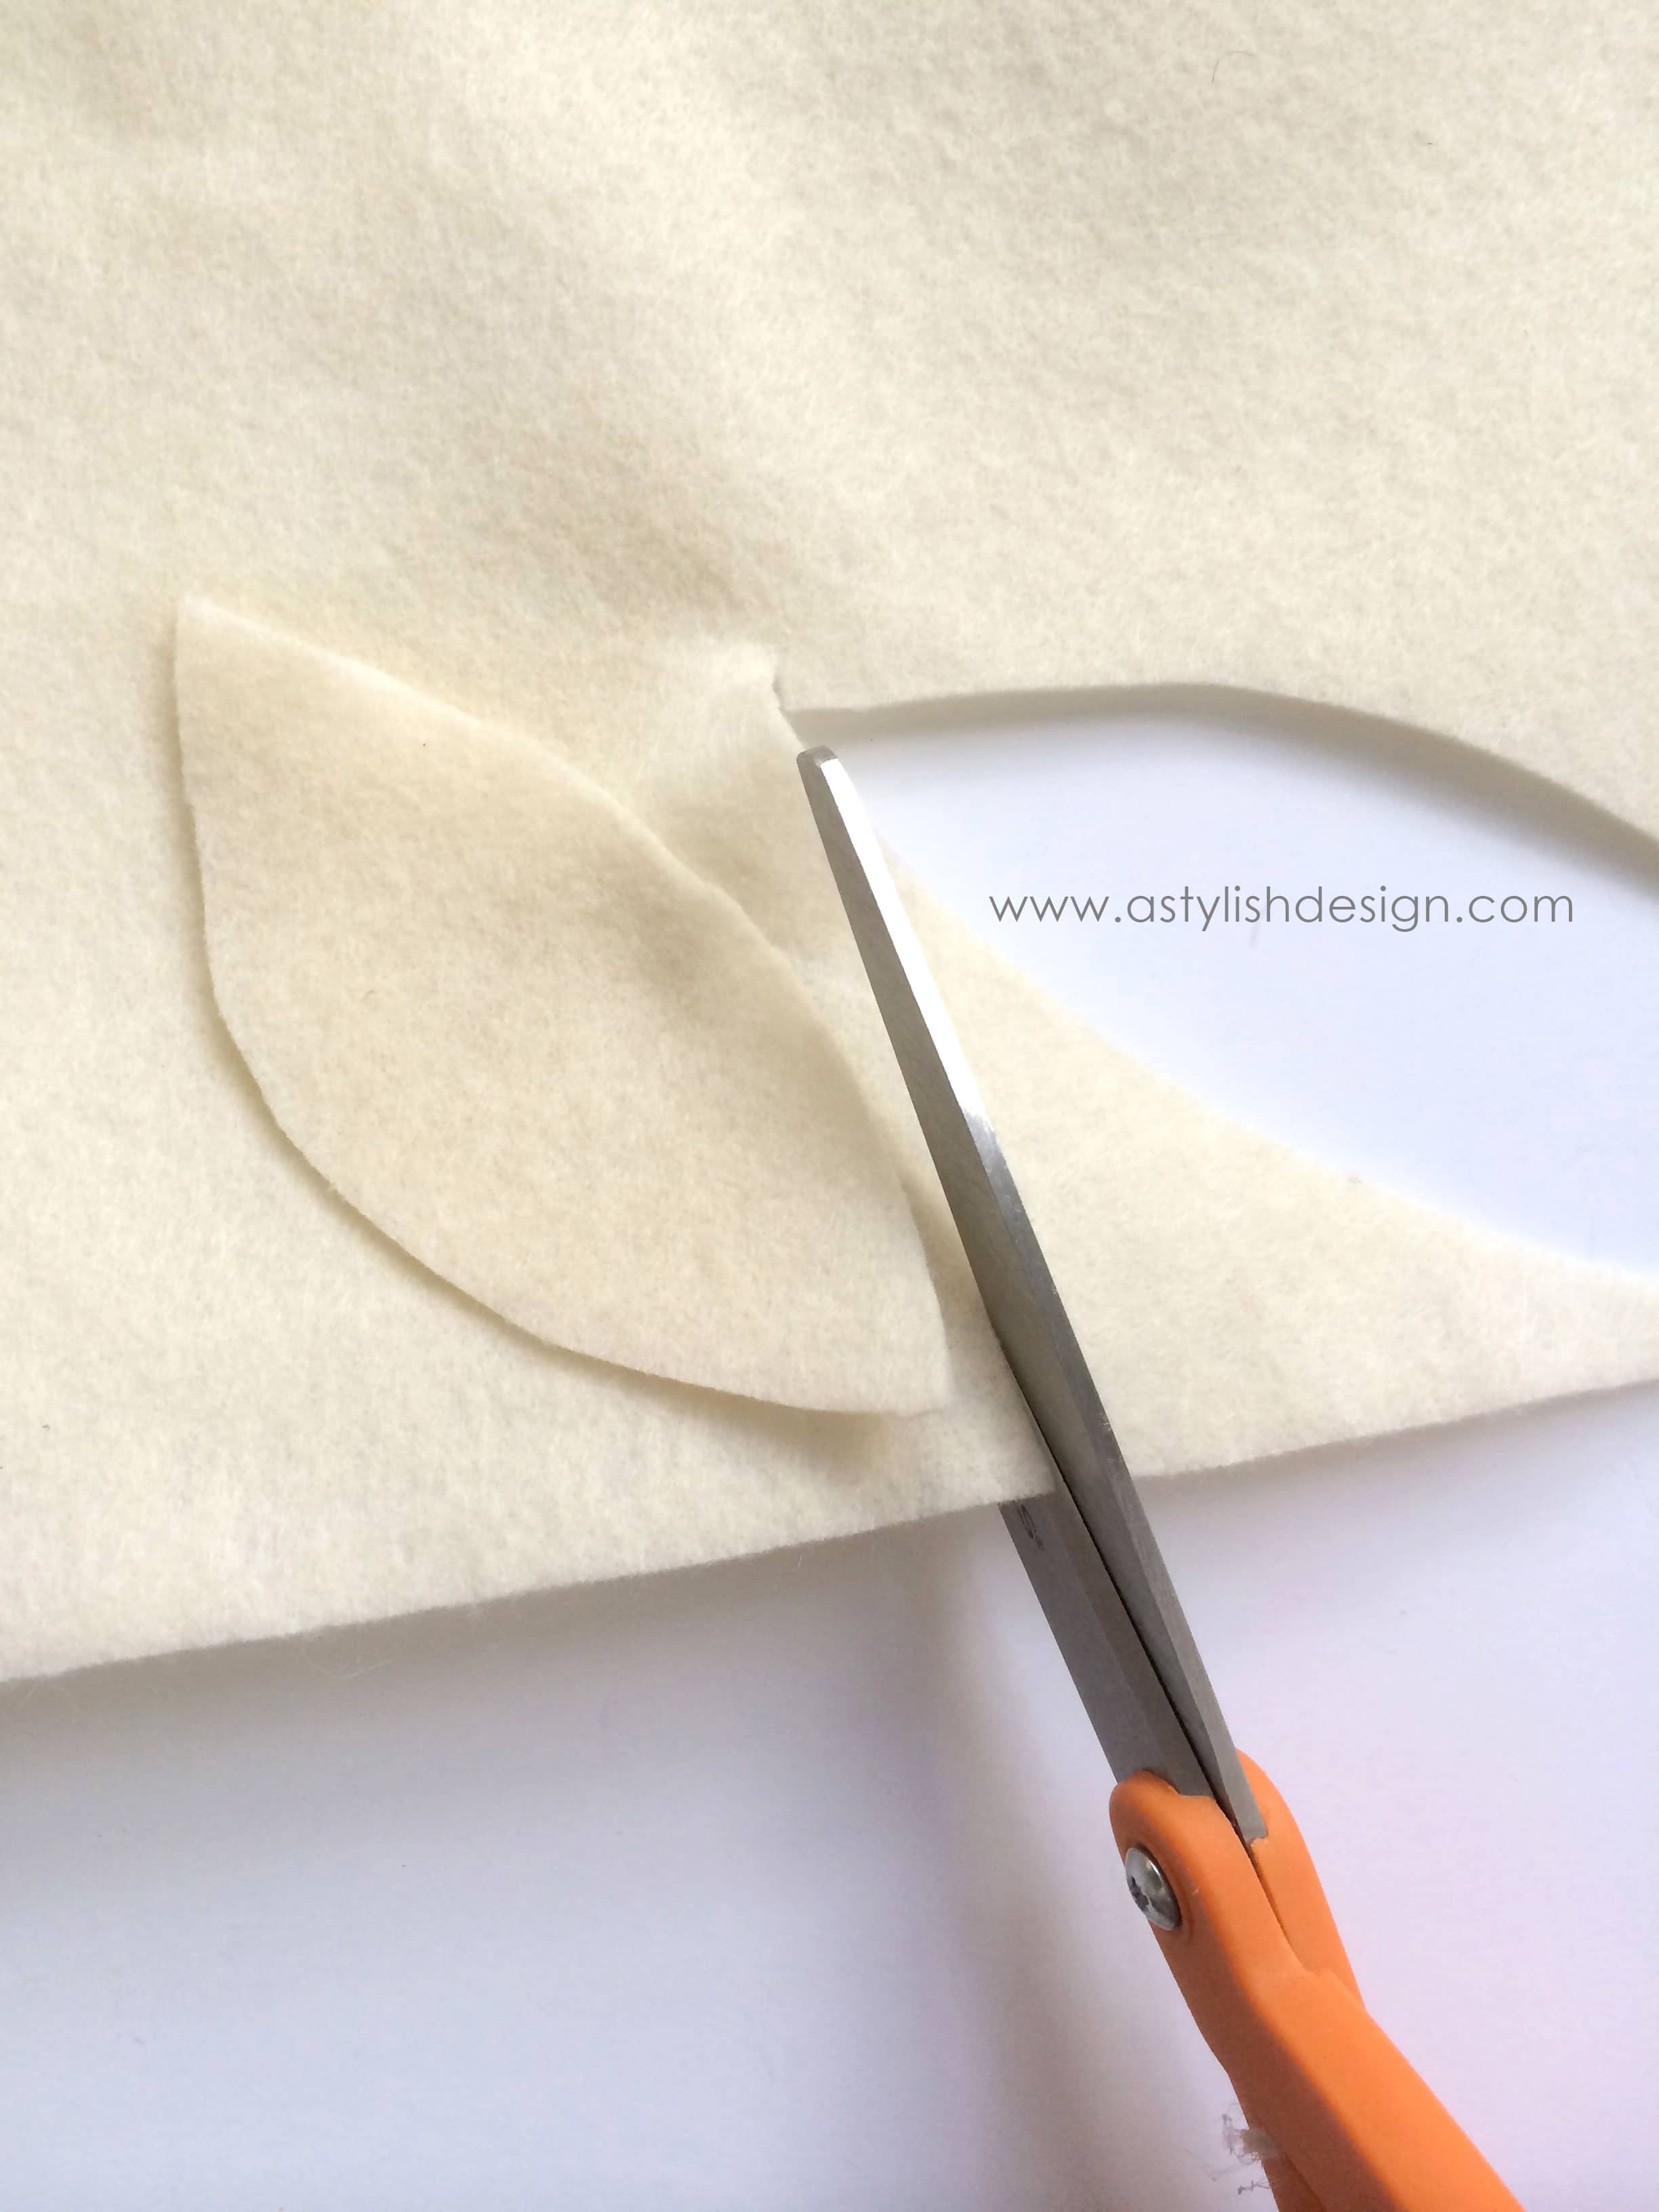
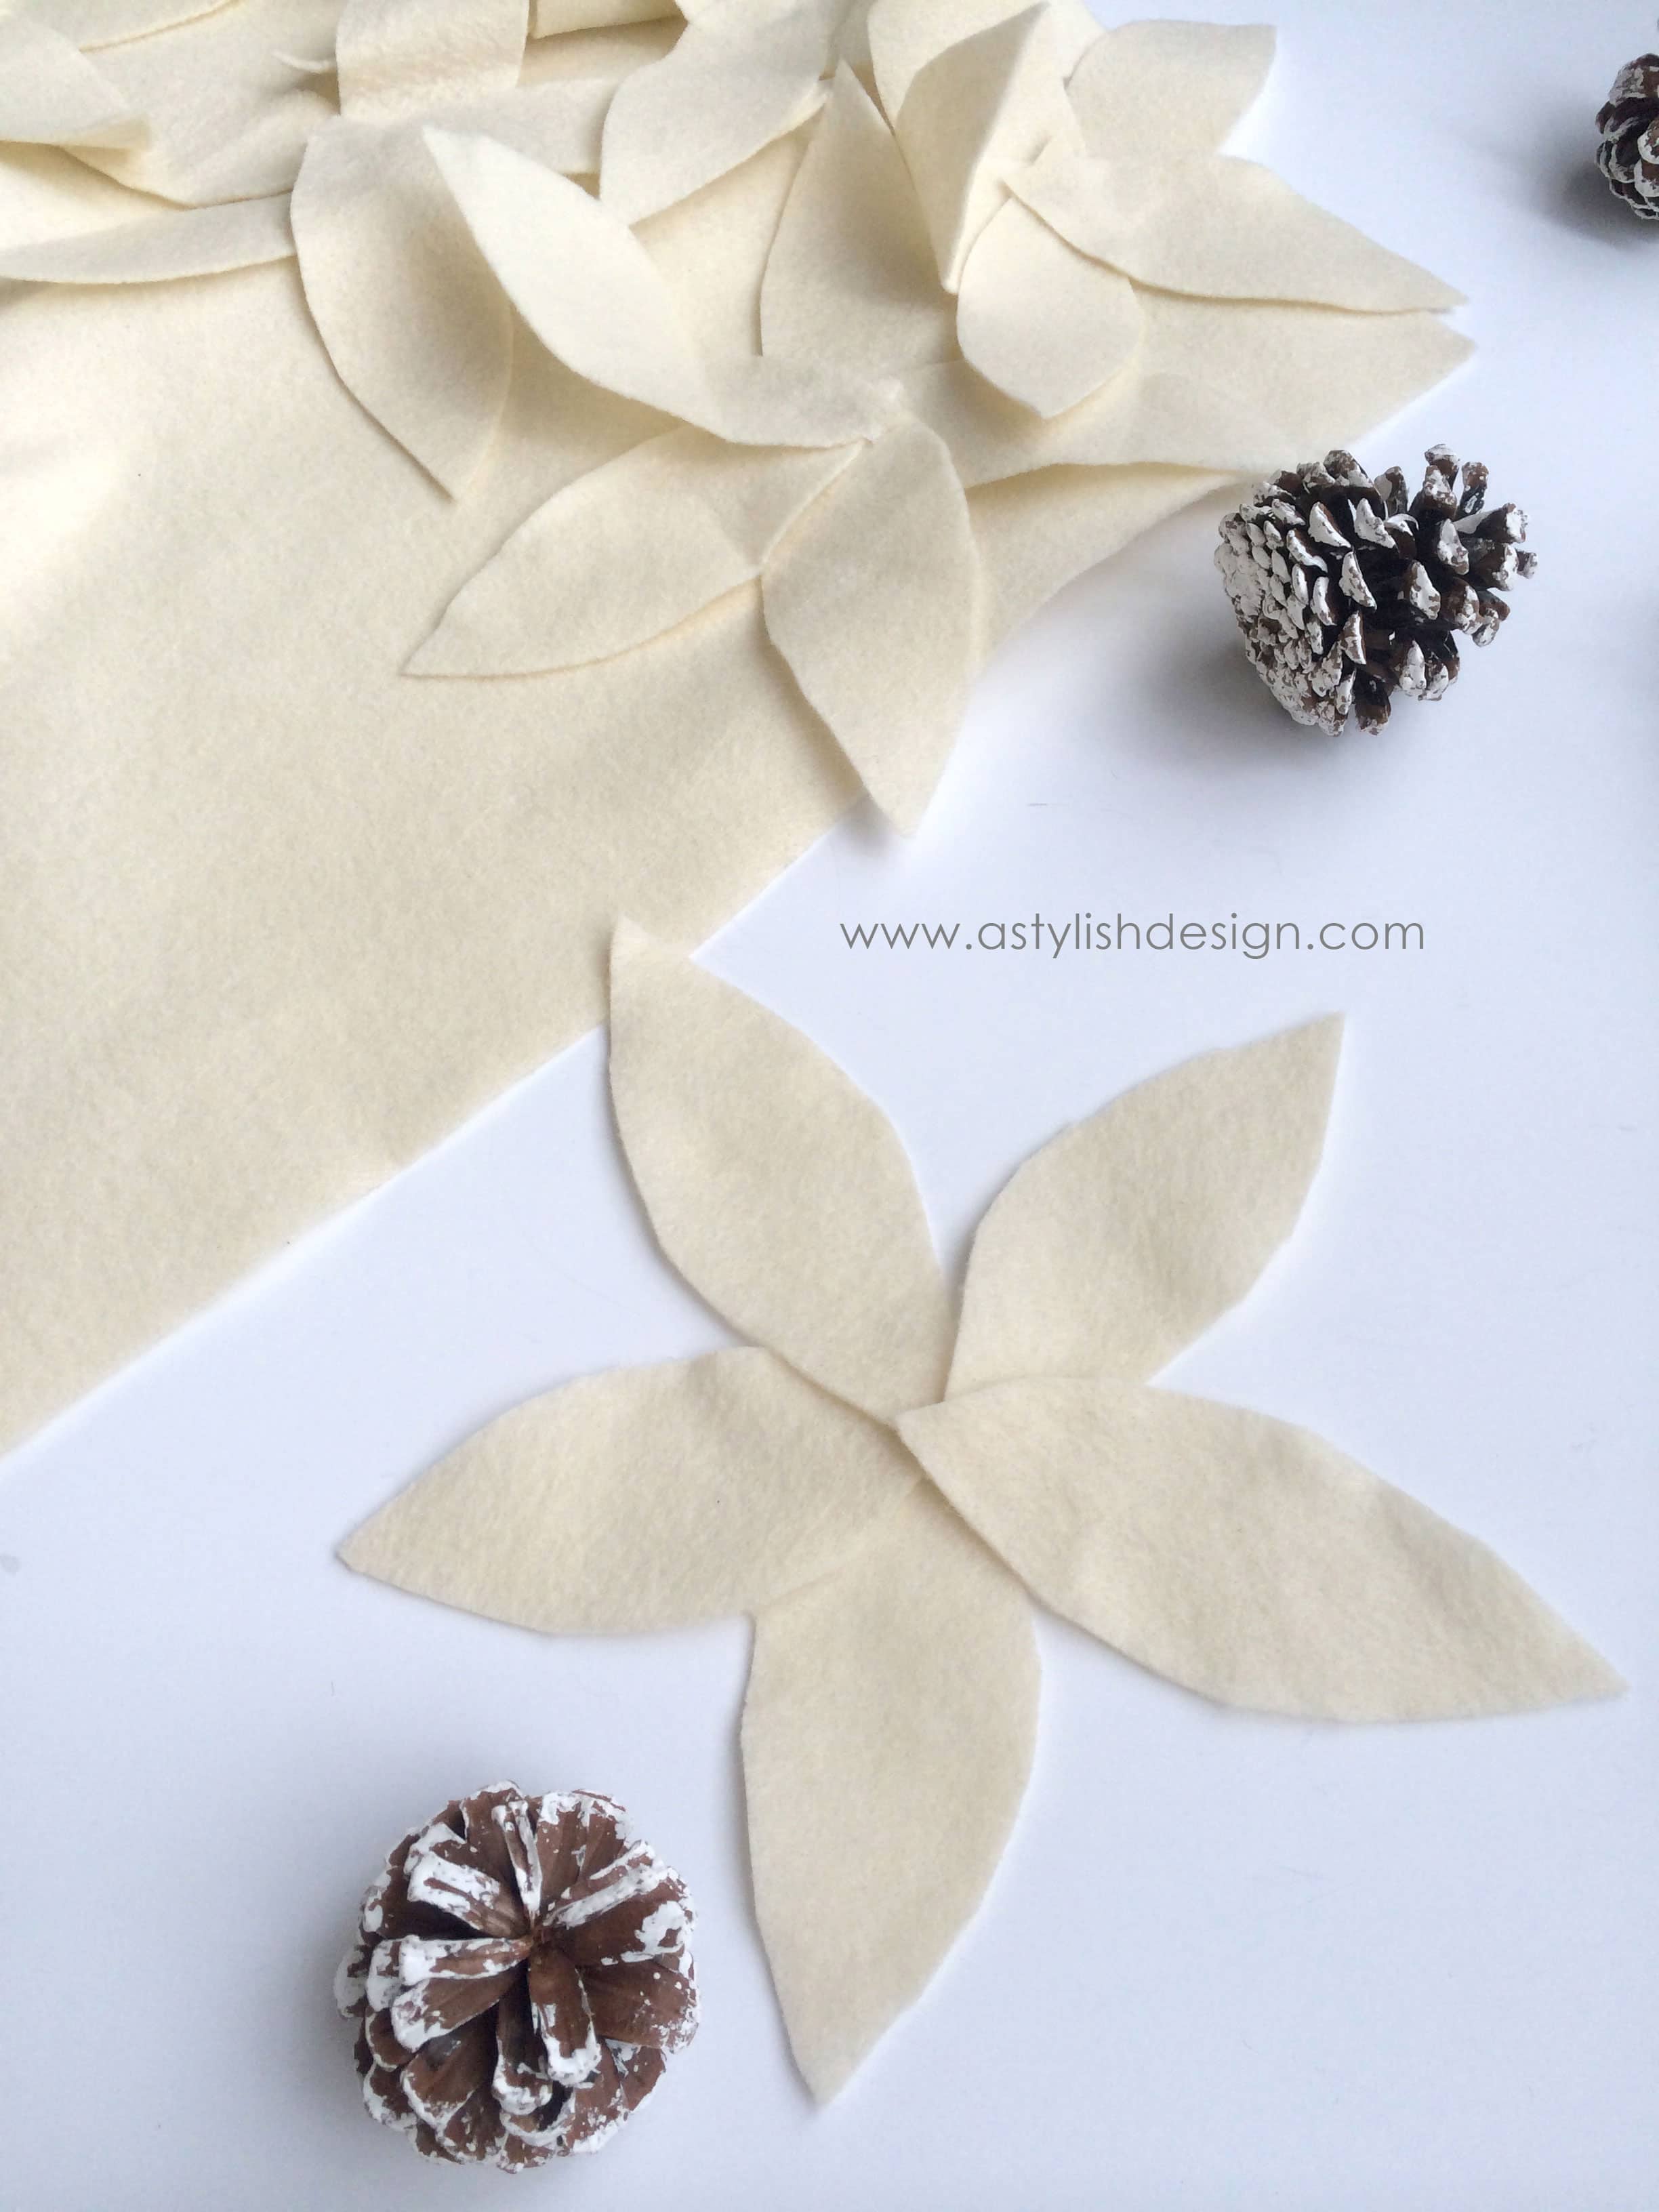
Next, create a petal shape and size that you like. Because my skirt was so large, I made my petals 5" X 2"
You can vary the sizes of the petals too!
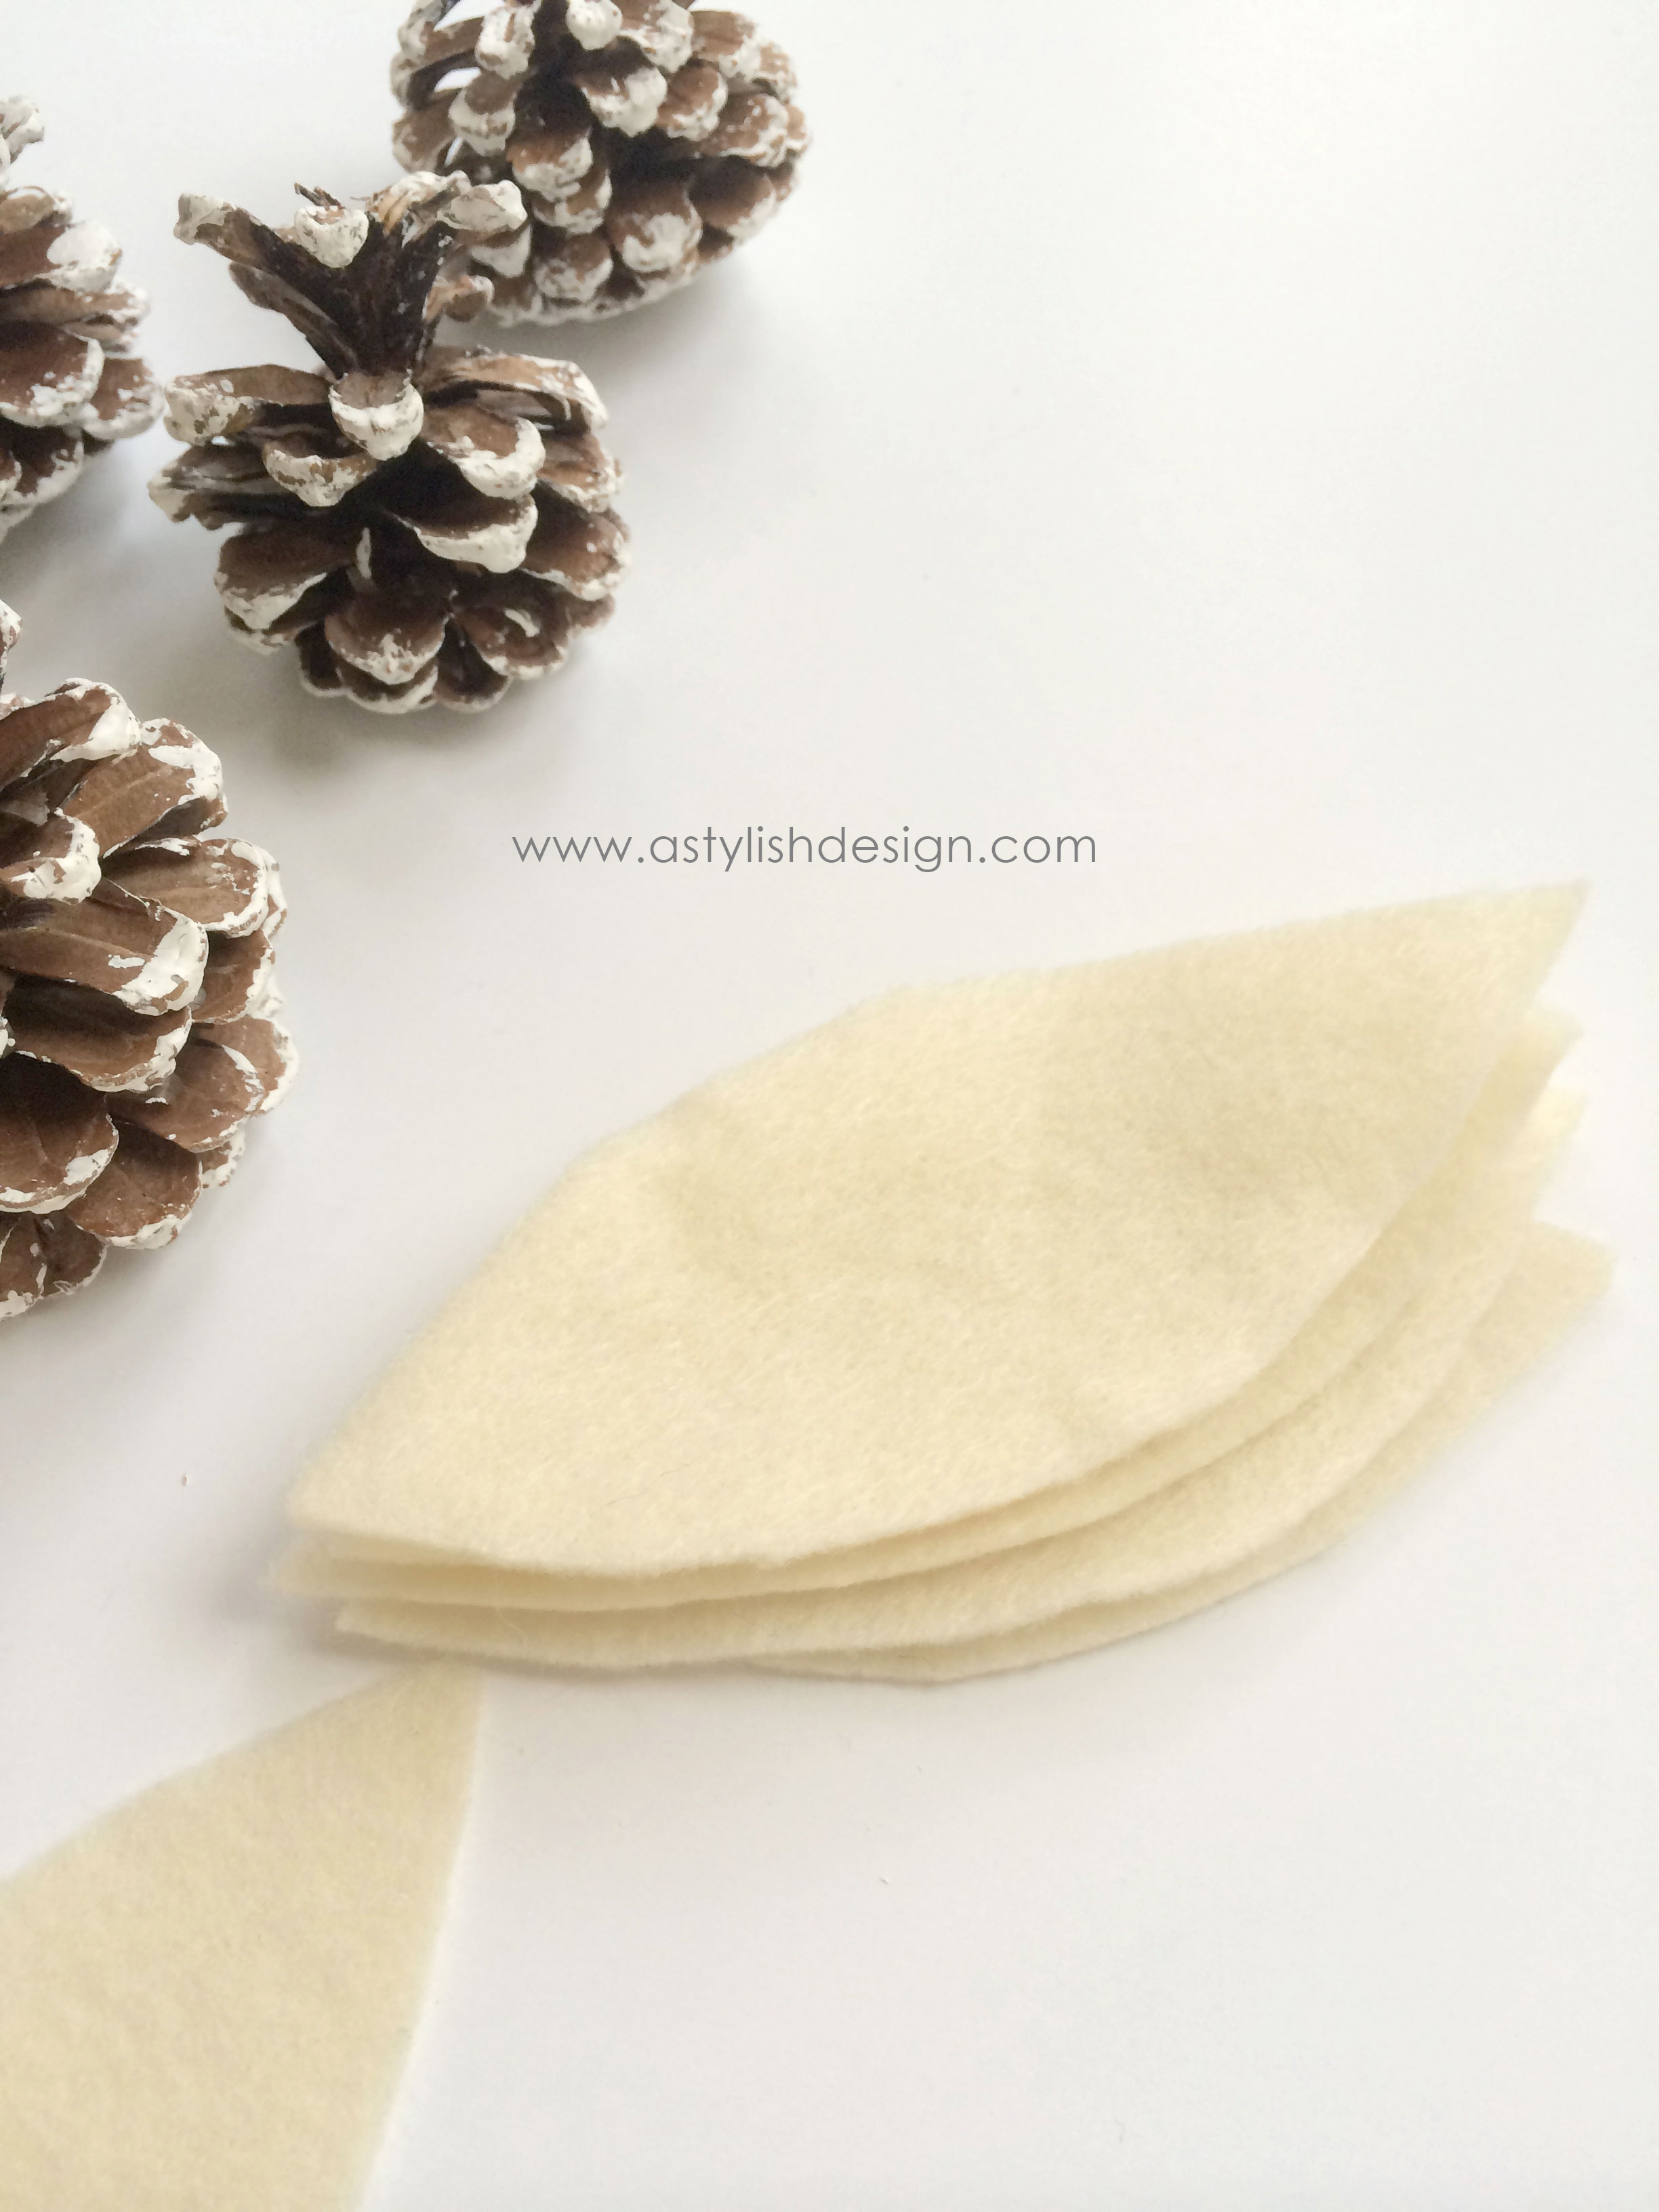
You can mix and match colors for the actual skirt and petals. I decided to use all ivory for both in hopes I can use year after year as I tend to overhaul my color/theme for holiday decorating every few years. Anyone else have this problem?

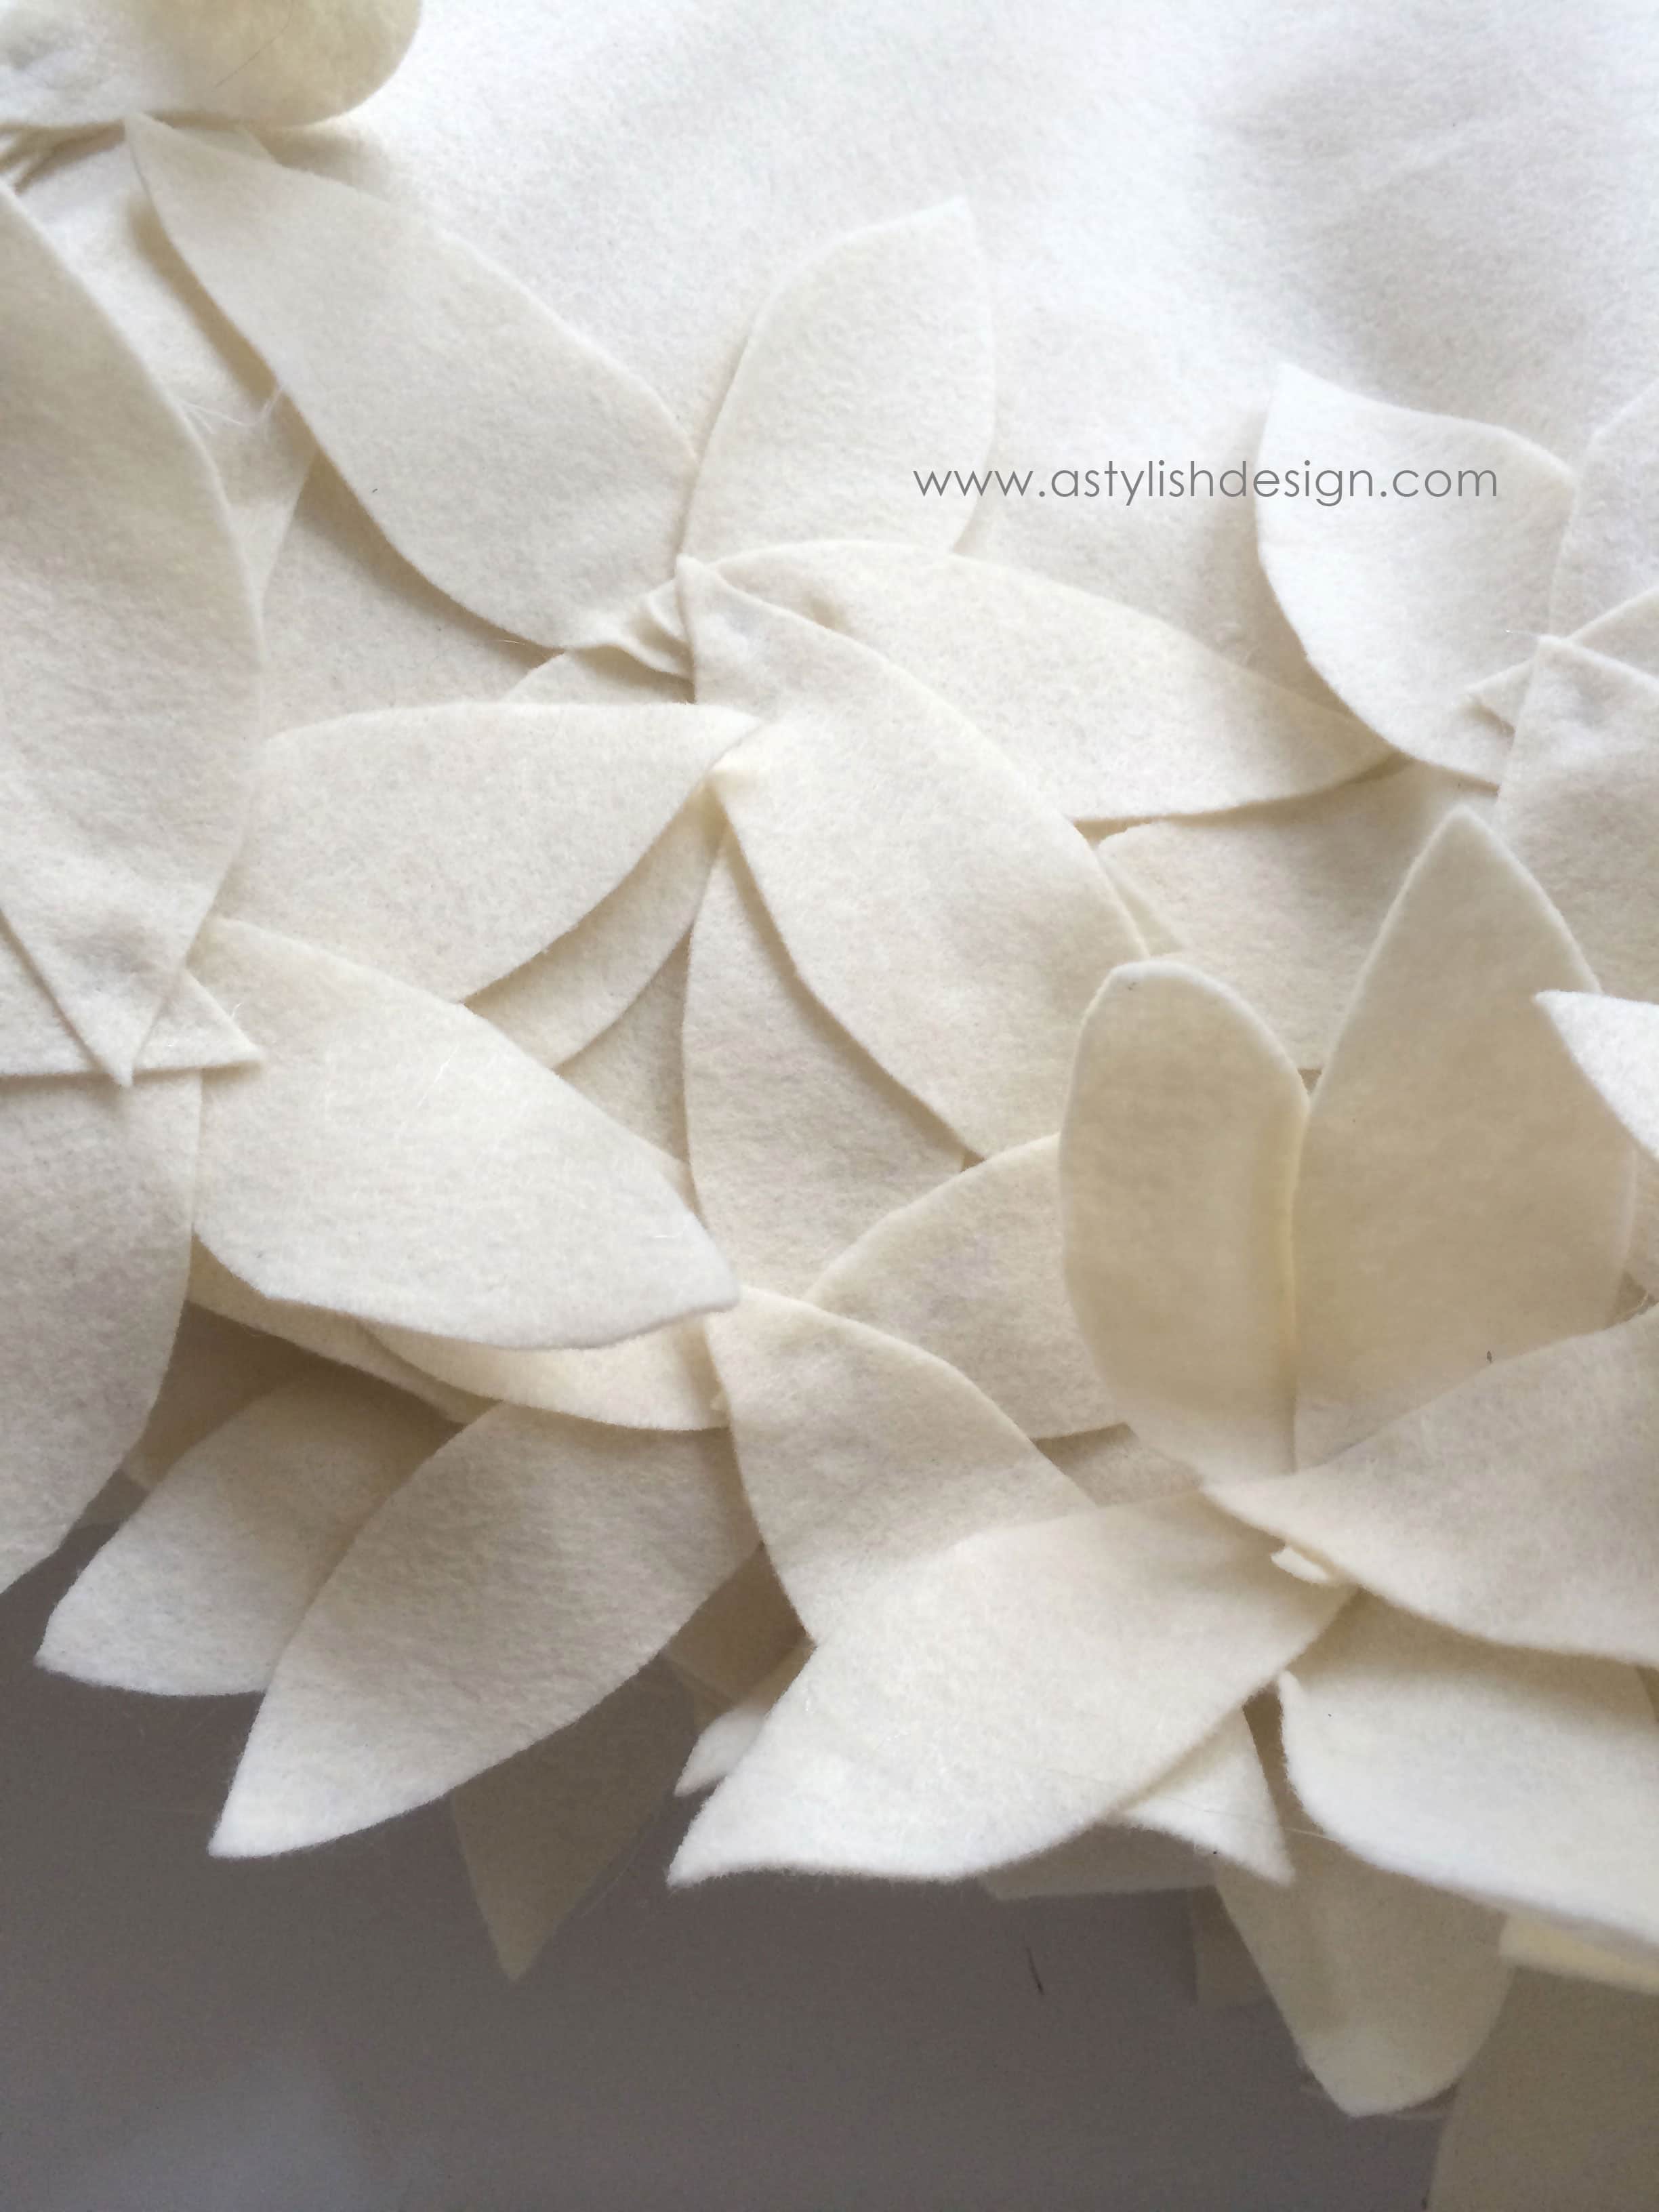
Once the petals are cut, heat up your glue gun and arrange a pattern that is pleasing to you to create a flower shape
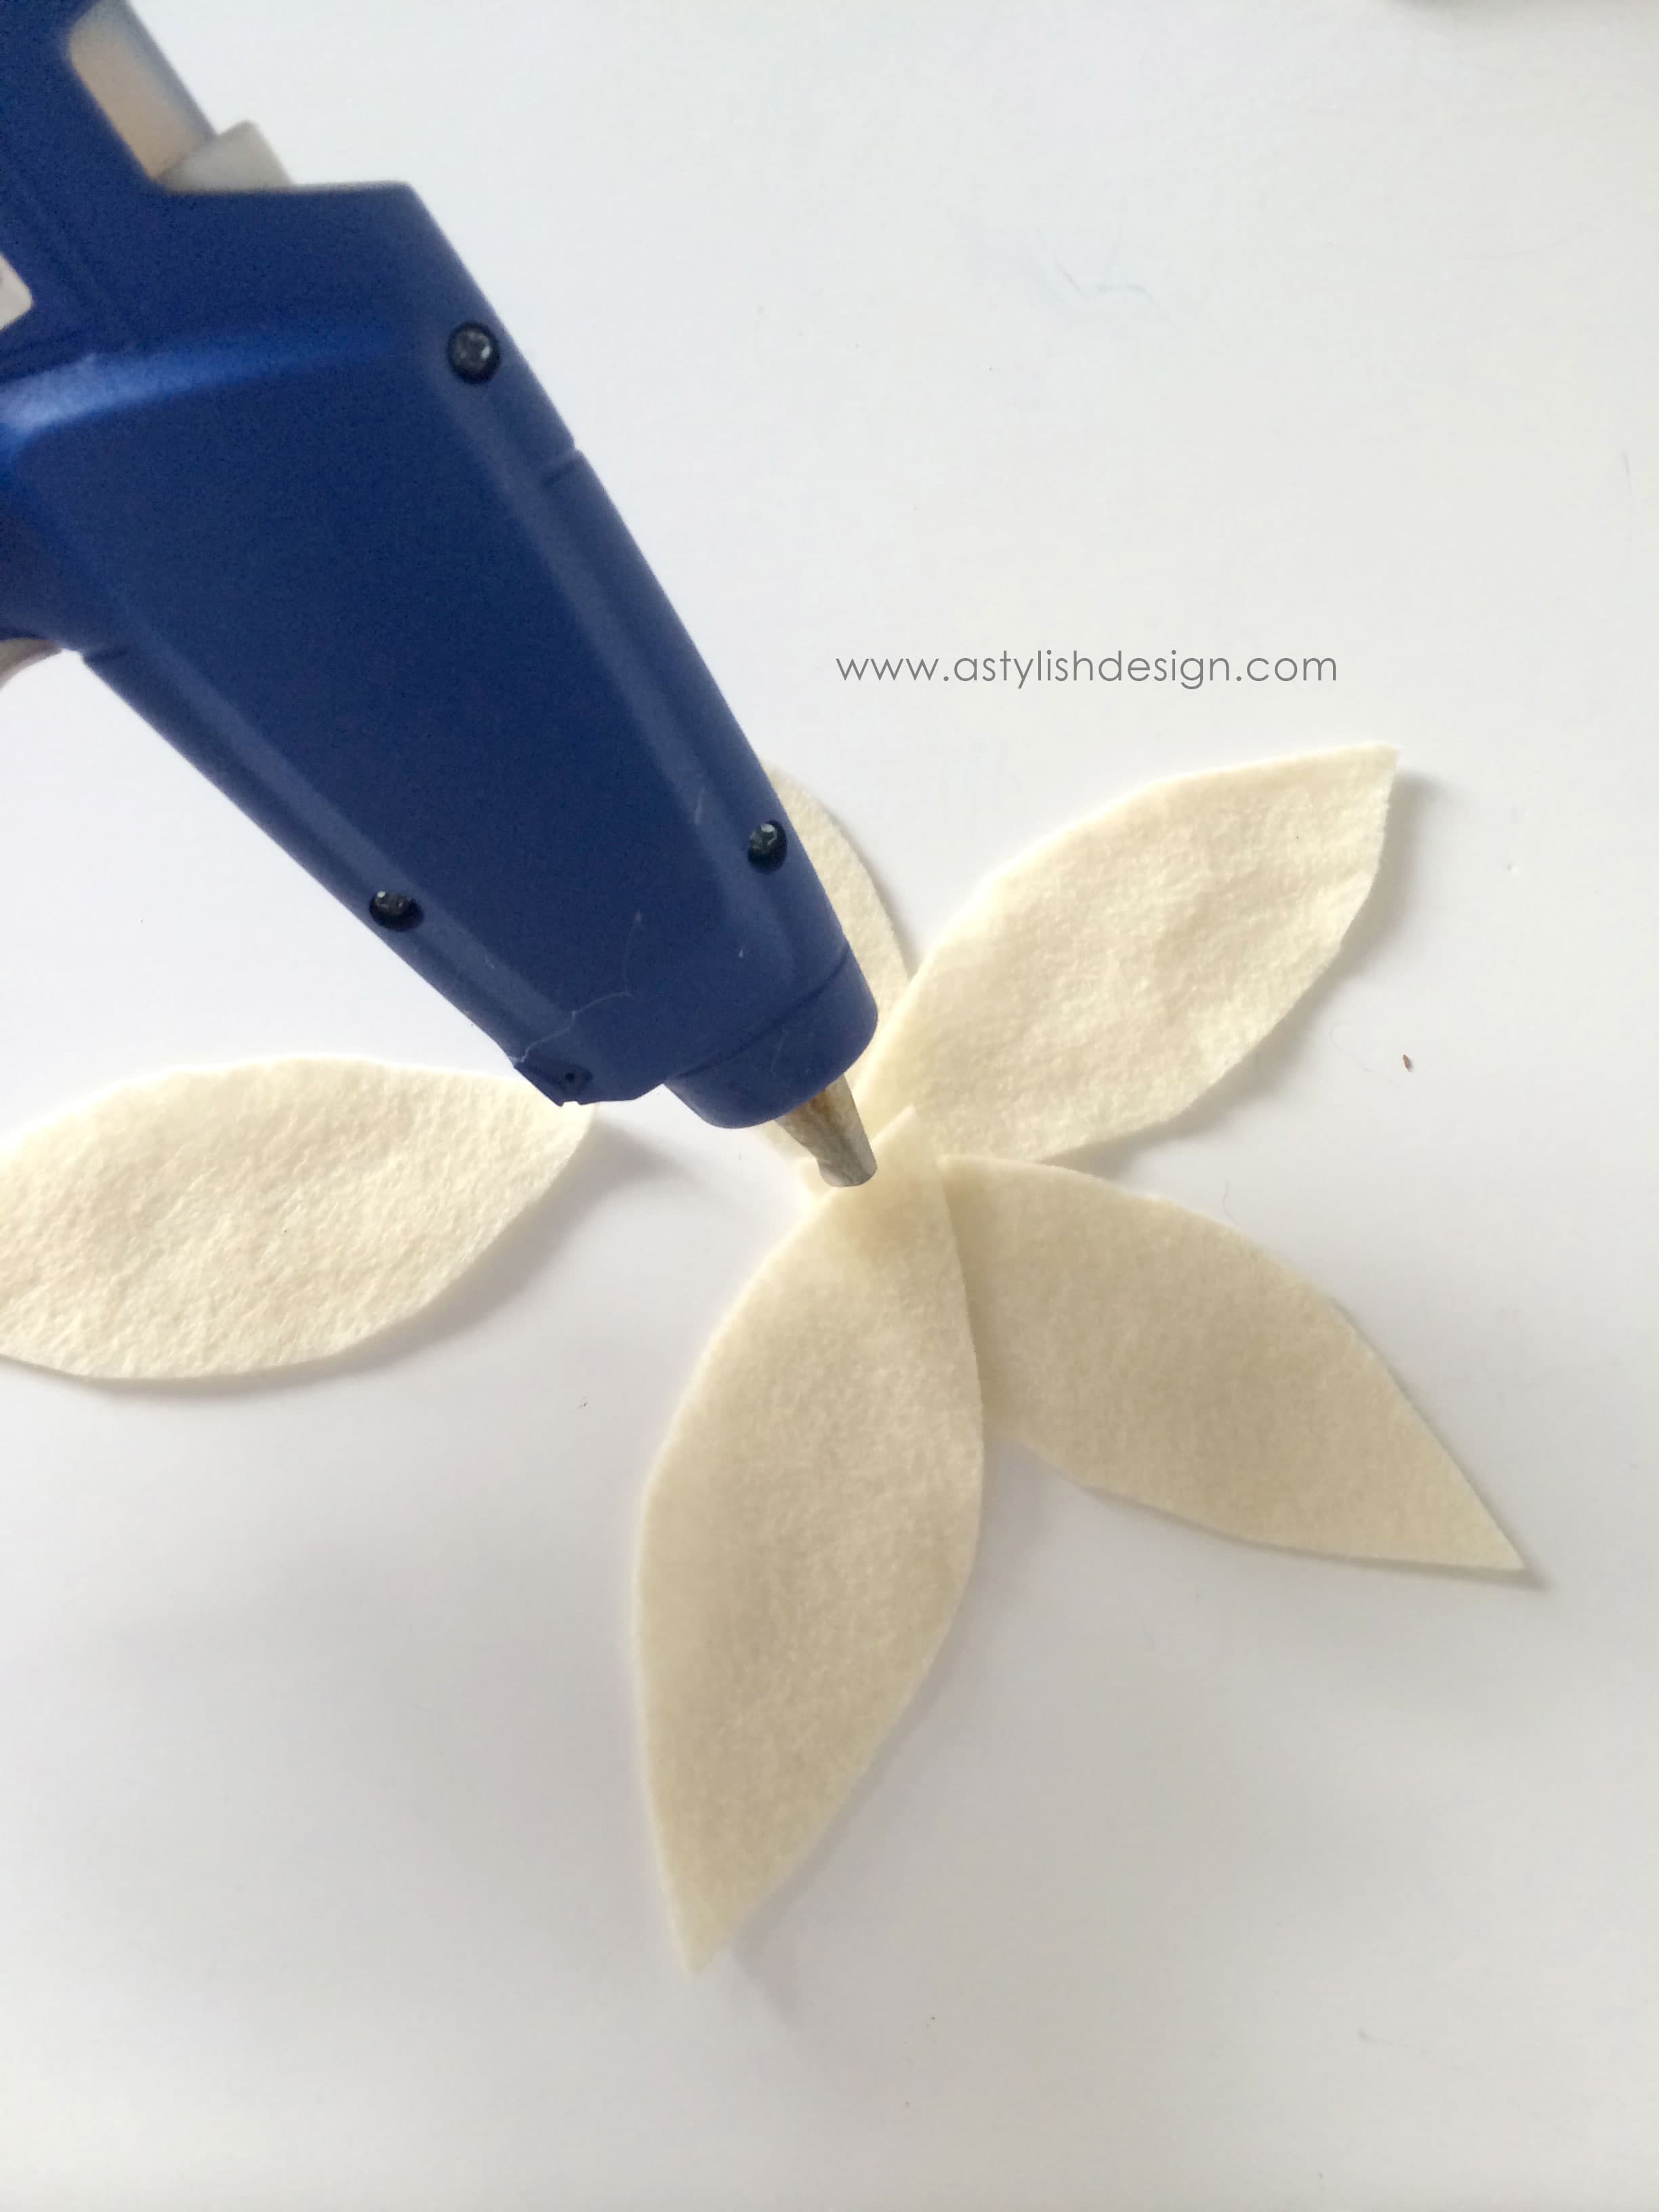
Using the tip of one petal, add a drop of hot glue and place another corner from the second petal on top, creating your flower. I used 5 petals to create my flower shape. Here is where you can vary sizes, colors etc.
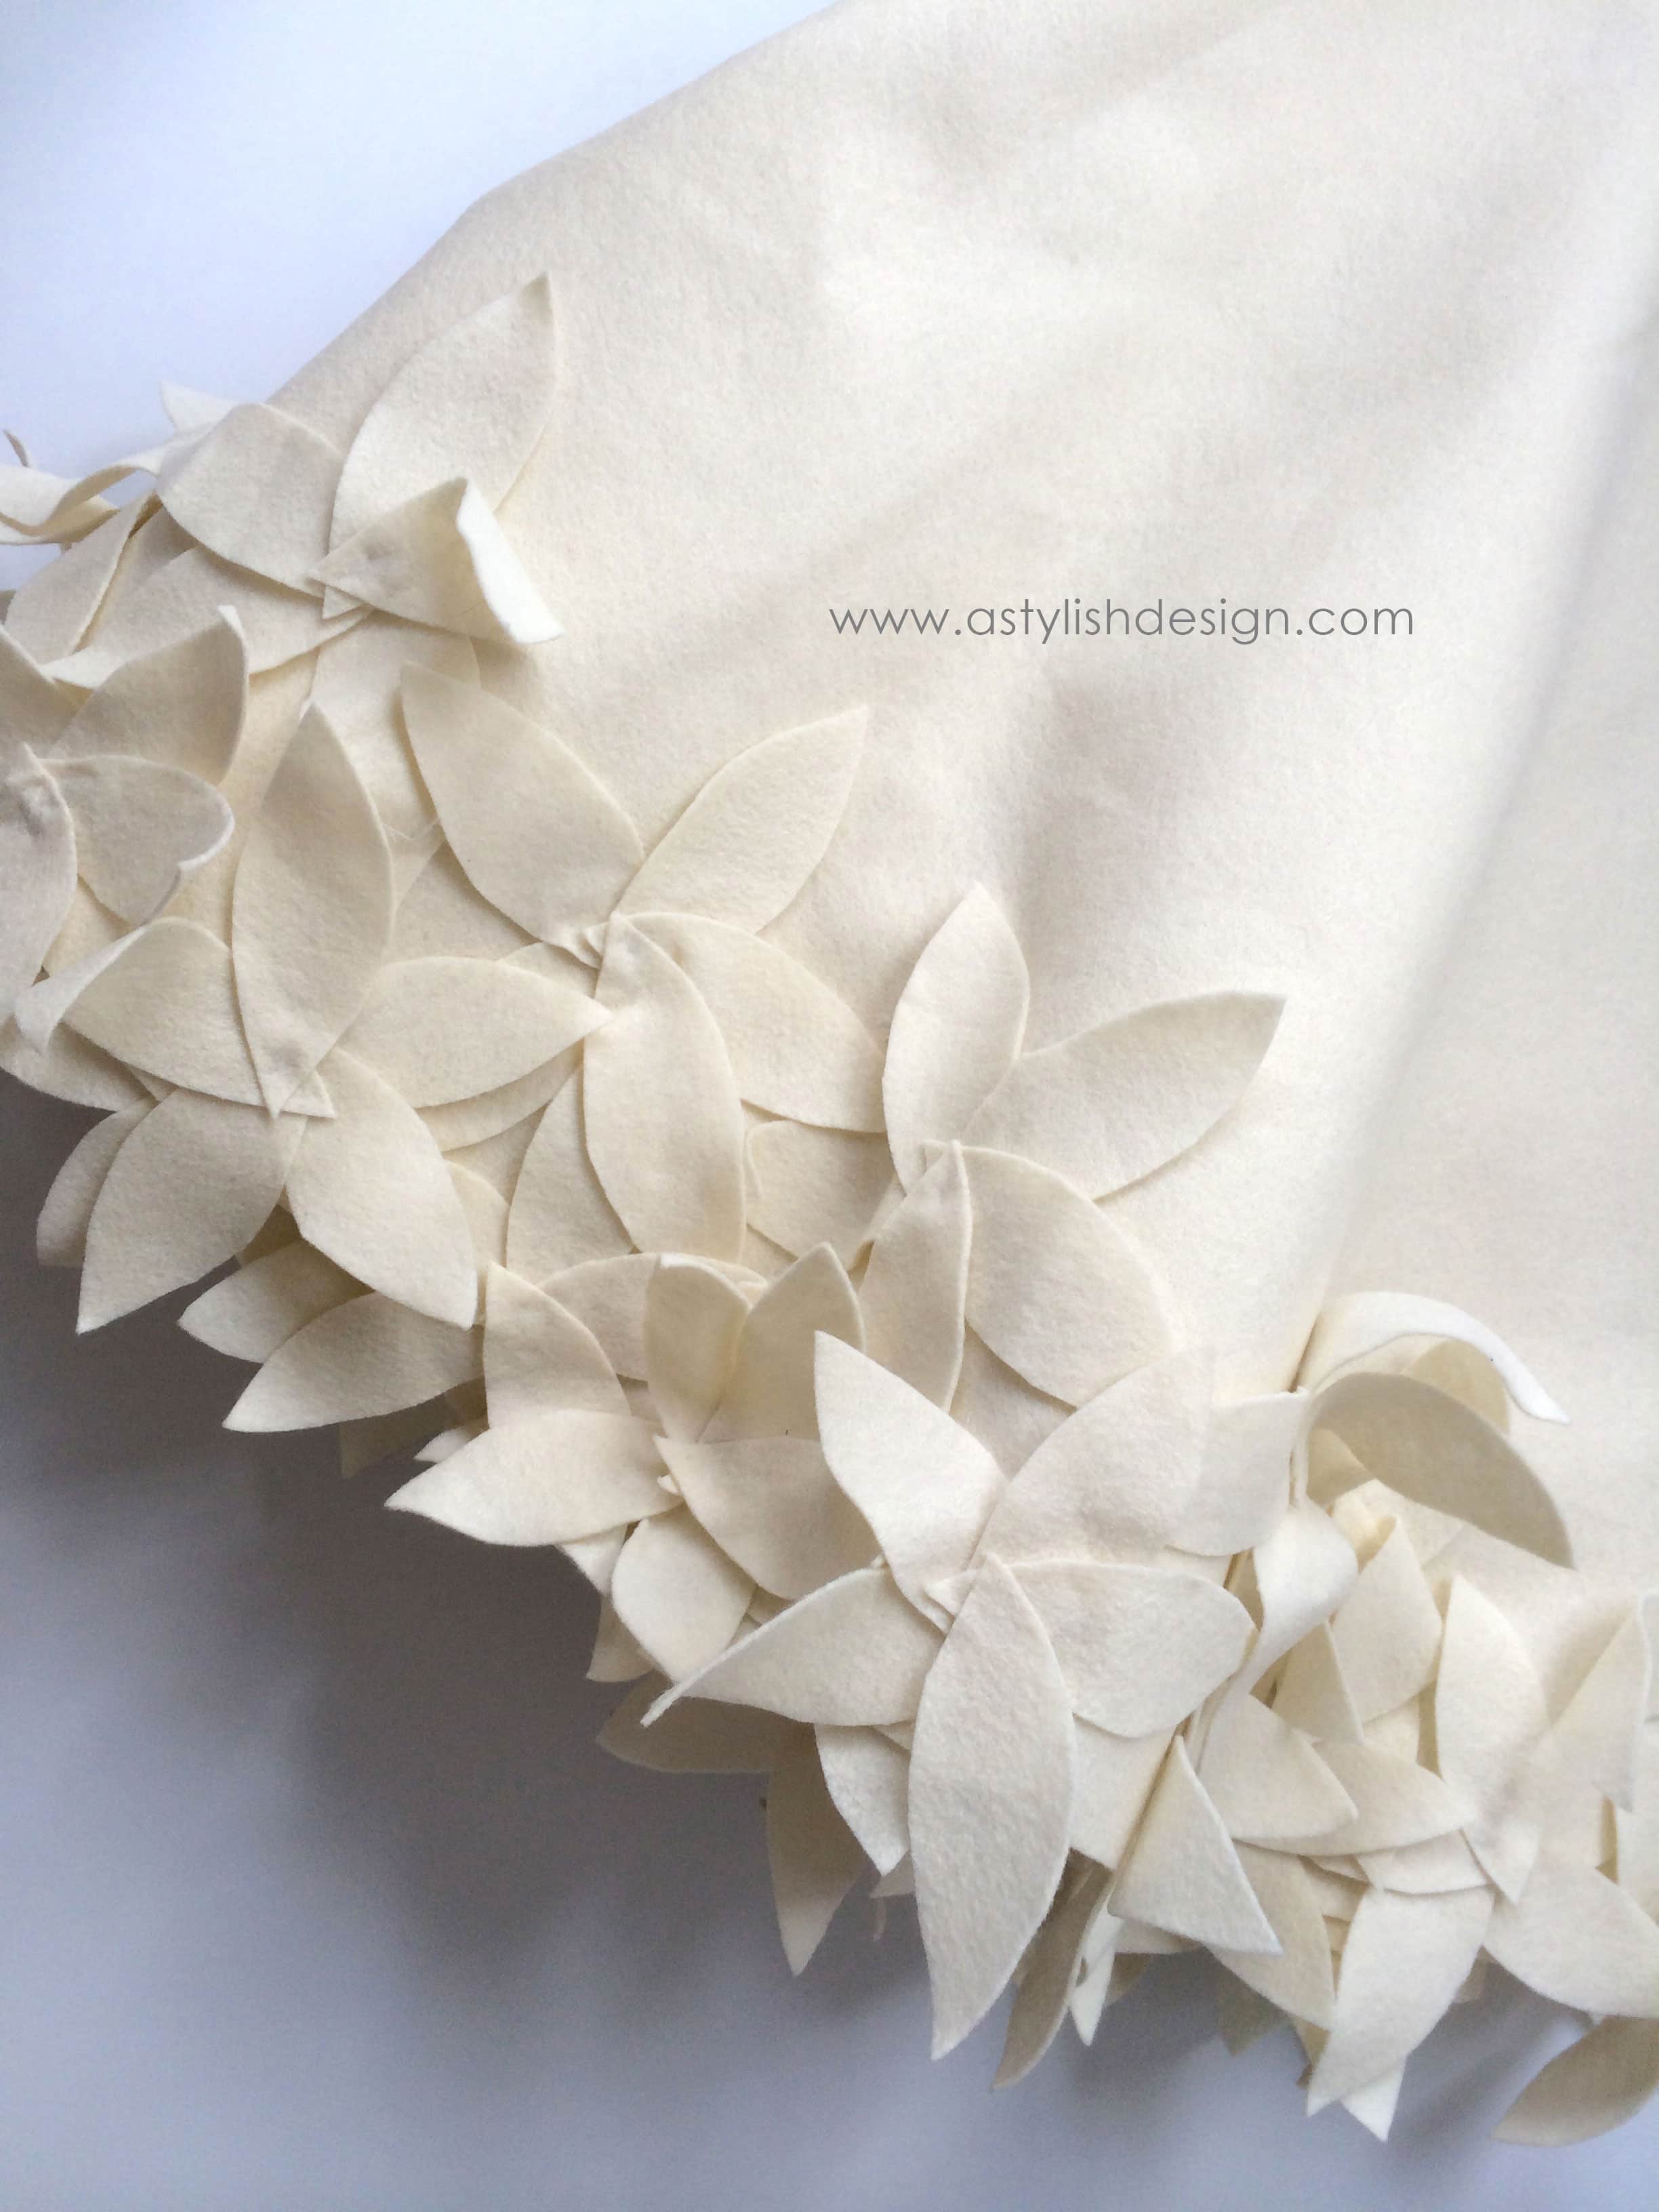
Now you can begin laying out a row of flowers and glue them around the base of the tree skirt
I chose to do 2 rows to make it extra full

This could take awhile so pop in a classic holiday movie. I promise it will look amazing once you are finished!
Now step back and admire your fabulous tree skirt you just created. You'll be the envy of all of your friends and family!
I'd love to have you visit us at A Stylish Design where we celebrate all of life's special moments, by creating hand-made, custom products.
Including holidays, home decor, gift-giving and all special events.
Follow along with us on Social Media:
Instagram | Facebook | Pinterest
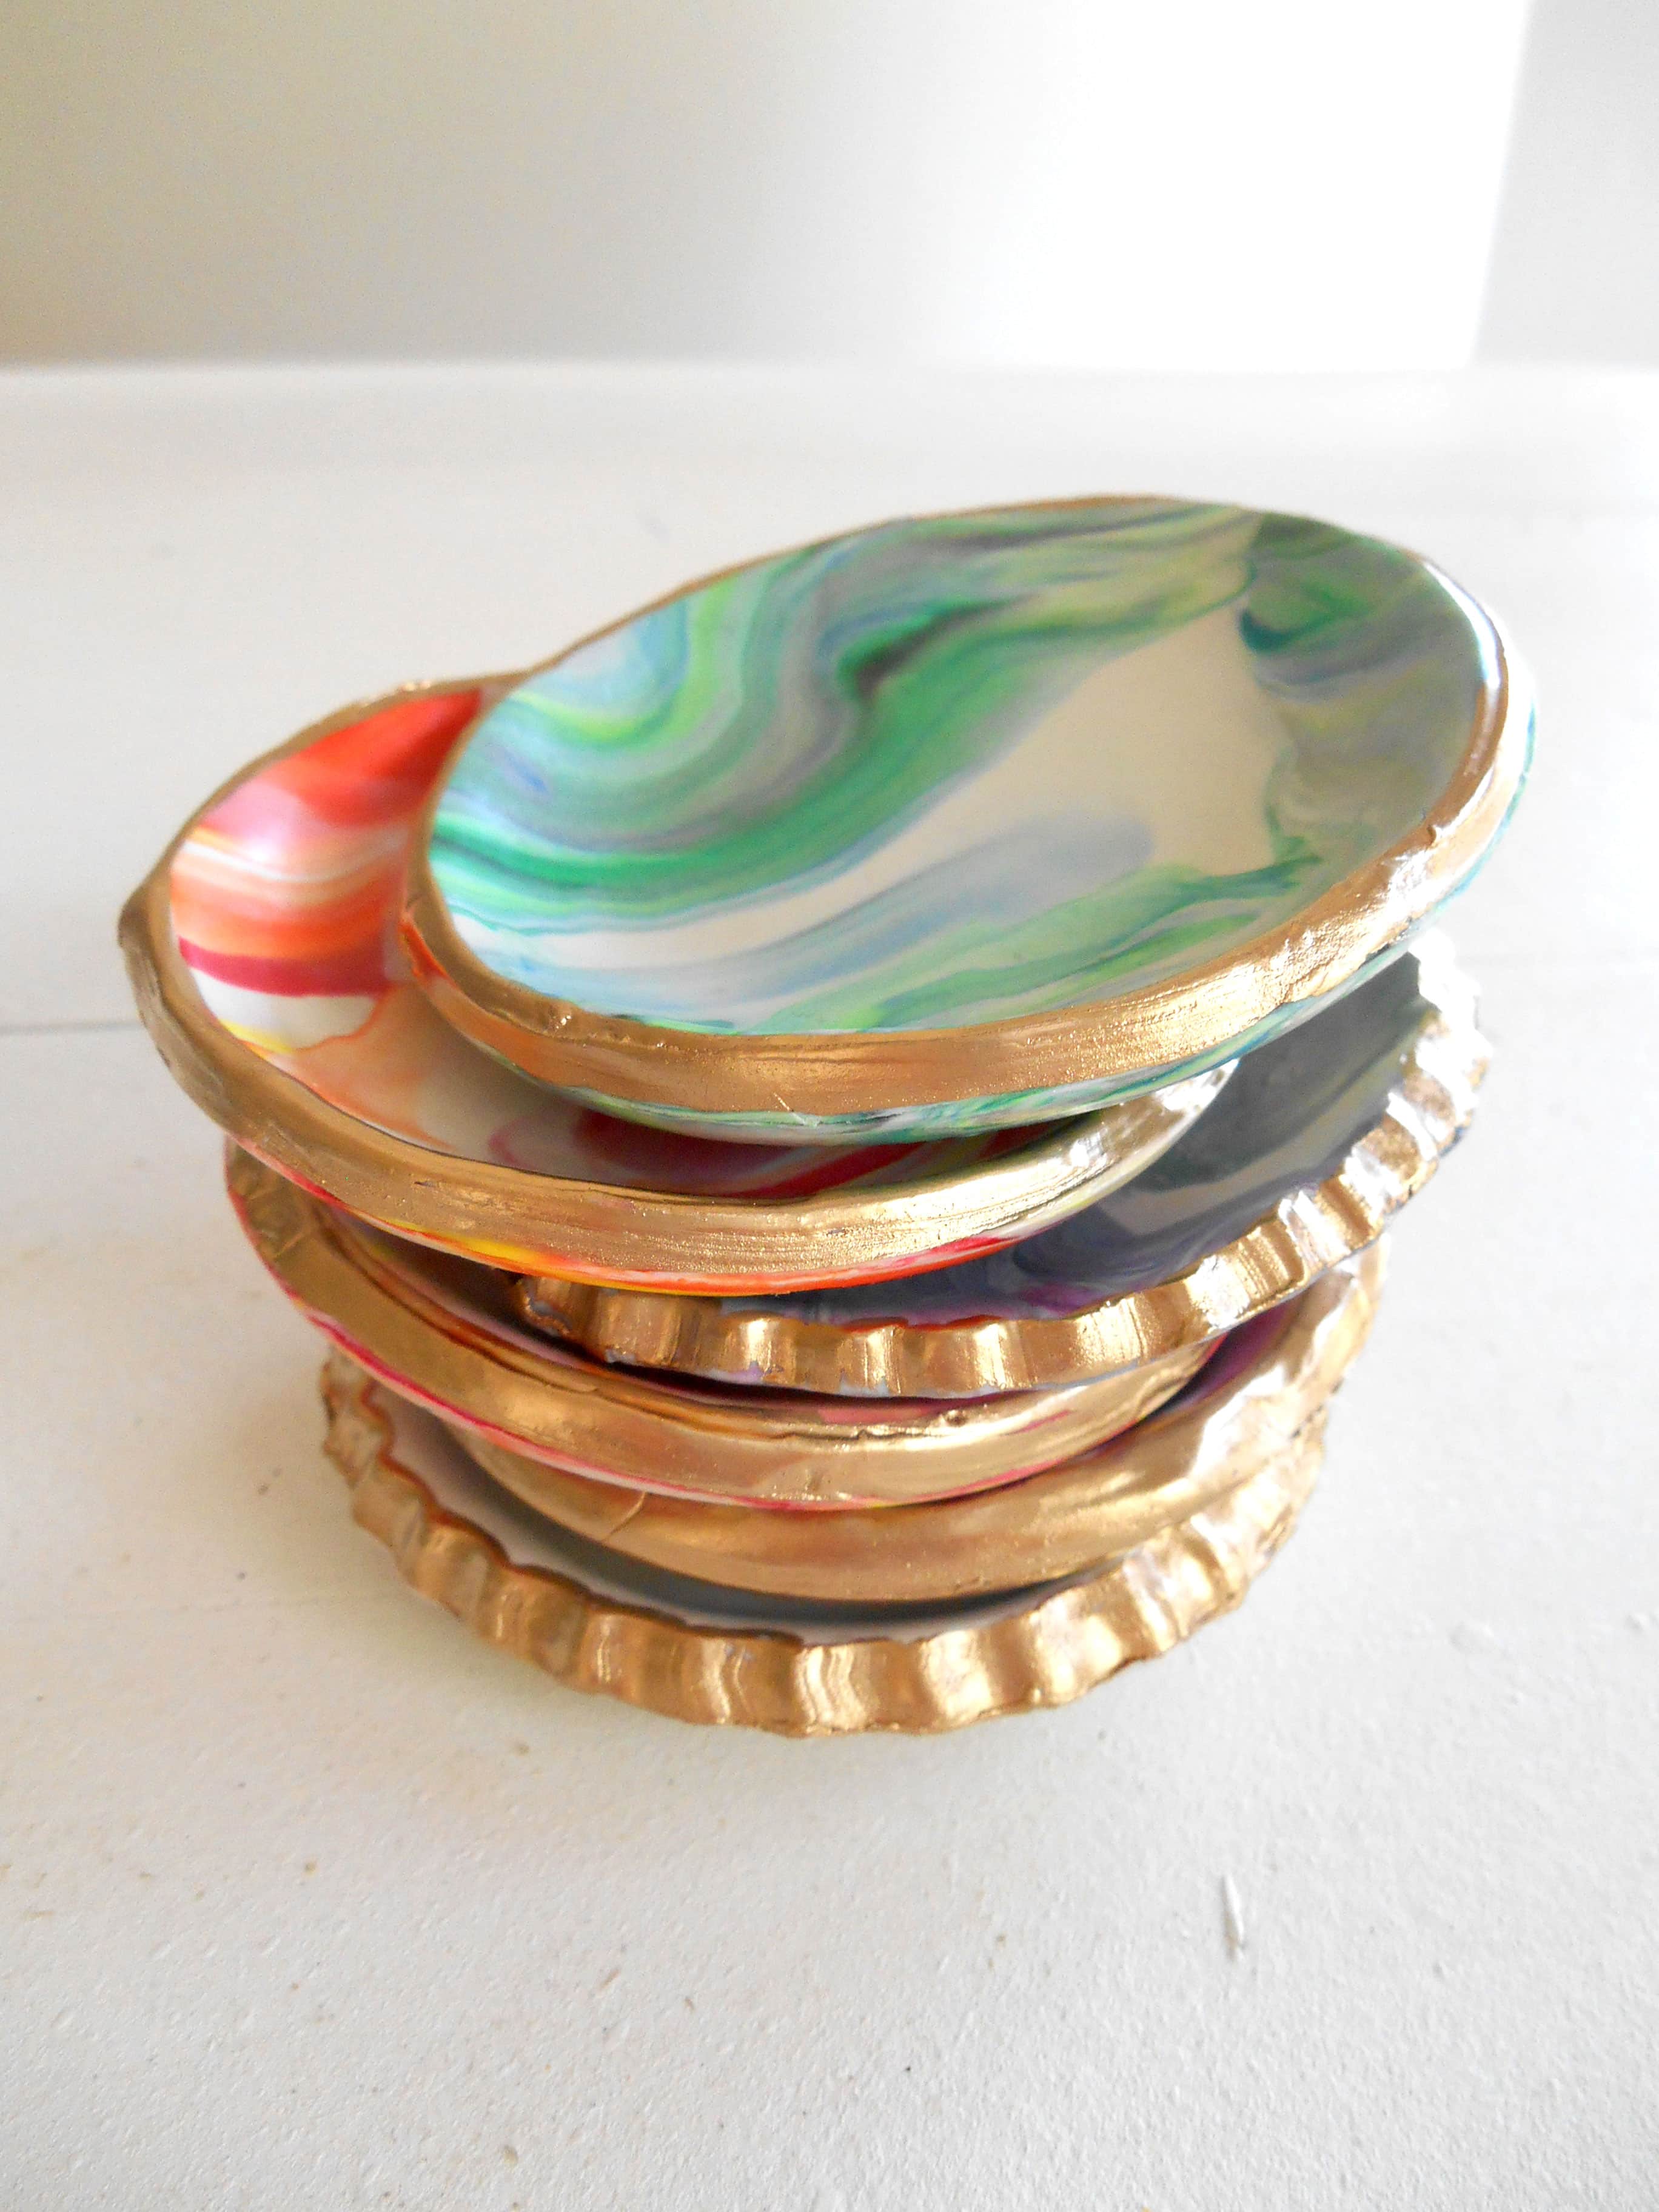
If you liked this post you may also love:


Hope to have you all visit soon and thanks for having me Kristen! It was fun 🙂
Cheers,
Amy
Terriea
Very festive creation and inspiring.