

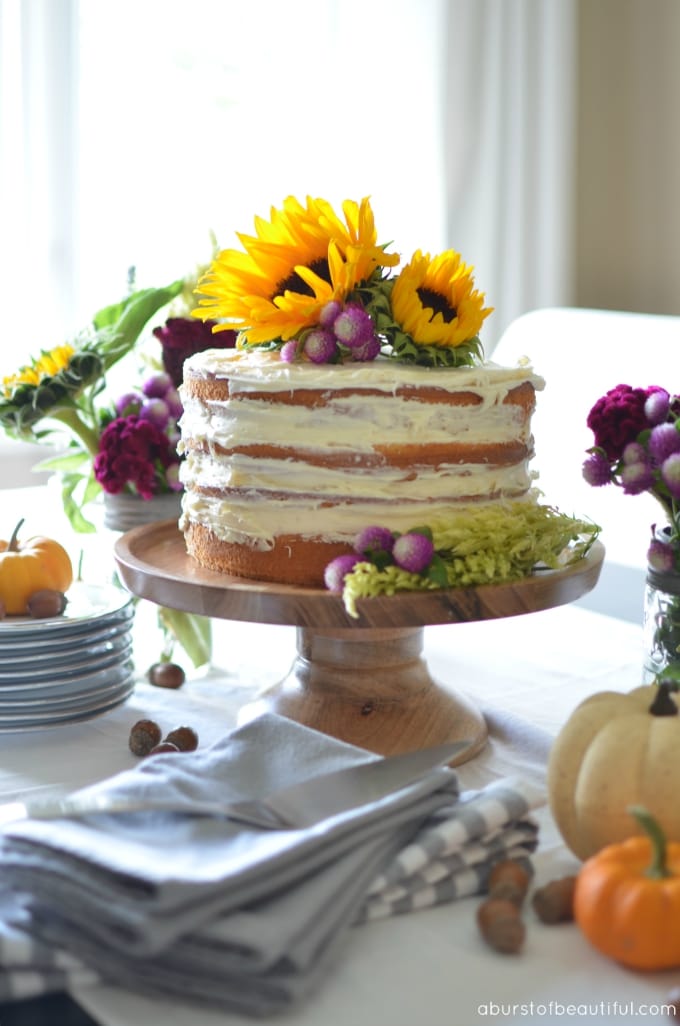
Hi Ella Claire readers, it's Alicia from A Burst of Beautiful and I am so grateful to be back today sharing one of my favourite projects yet - a DIY Fall Naked Cake.
I adore Naked Cakes. I think they are just so pretty, unexpected and whimsical.
I've been wanting to try my hand at creating a naked cake for a while, and as my husband's birthday rolled around this year I decided it was the perfect opportunity to make one. I have to admit, once I let him in on my plans he was mildly disappointed to find out what a naked cake actually was...
I was a little intimidated in the beginning, baking is not one of my strengths (it is definitely my husband's forte). But I wanted to make something special to celebrate his birthday, so I pushed past my reluctance and started baking.

It truly was one of the easiest baking projects I've attempted. I used a simple box mix and store-bought icing. I know it's kind of cheating, but I wanted this to be as easy as possible. If you're a whiz in the kitchen you can certainly use your own favourite cake recipe instead.

Supplies:
- 2 boxes of cake mix (or your favourite cake recipe)
- 2 containers of frosting
- 2 3 x 9 spring-form cake pans
- Cake stand
- Parchment paper (or floral tape)
- Seasonal blooms
Instructions:
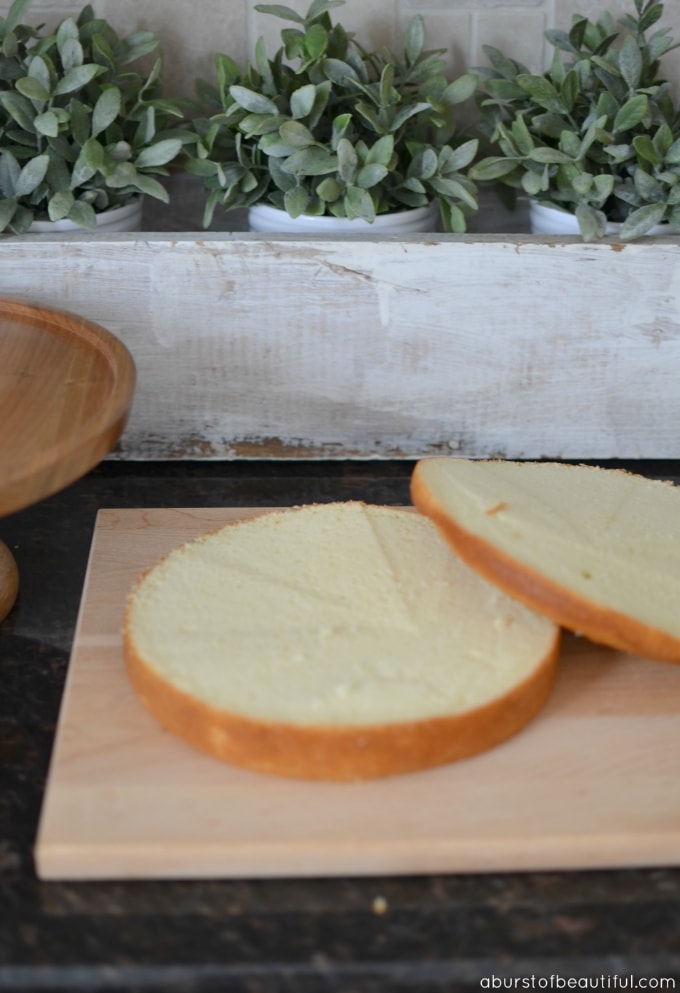
Prepare two cakes as per box instructions (in 3 x 9 spring-form cake pans) and allow to cool on a wire cooling rack.
Once the cakes have cooled it's time to start cutting. If the cakes did not bake evenly you will need to slice the tops off to create a flat surface. Next, carefully slice each cake in half length-wise.
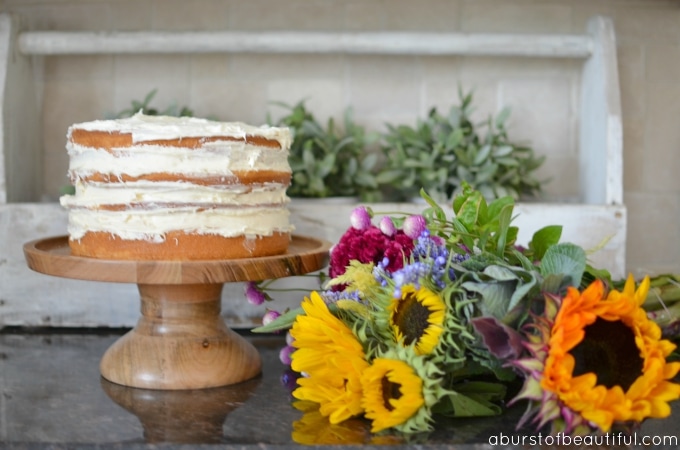
Now it's time to assemble your cake. Place one layer of cake on your cake stand and apply a generous layer of frosting on top. Add your second layer of cake and continue the process until you have added all four layers of cake and frosting.
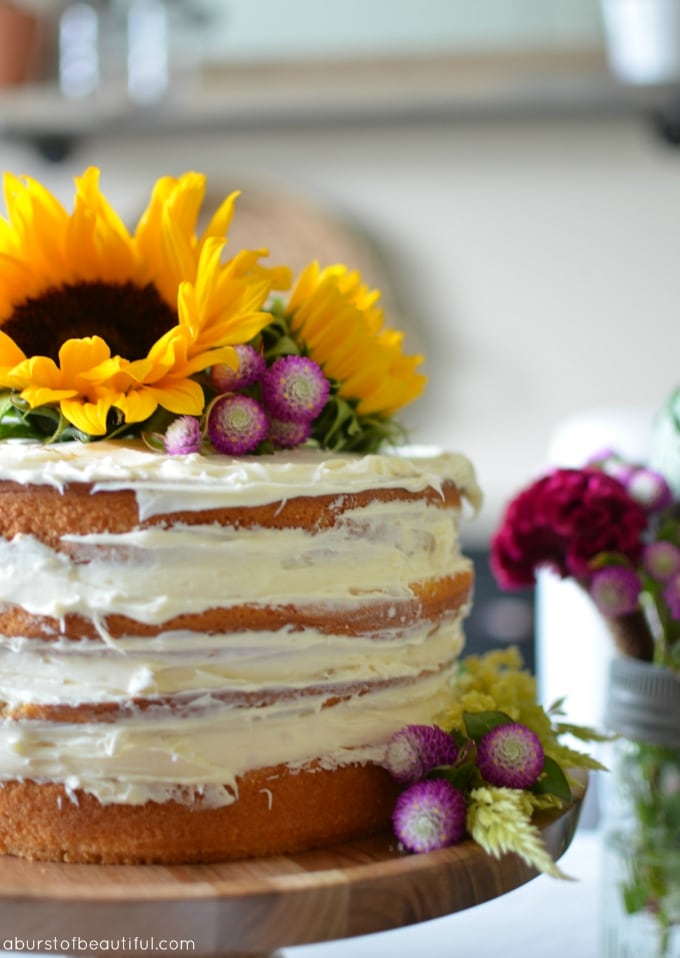
Next, fill in any gaps with extra frosting and make sure your cake looks even. Then smooth the icing around the sides of the cake with a knife (I found it worked best to hold your knife in place and slowly spin your cake stand in a circle), this will give the frosting that nice wispy effect.
Now comes the fun part...flowers! I didn't want to put the flowers directly on the cake, so I cut a small piece of parchment paper in a circle and placed it on top of the cake. I've also heard that wrapping the ends of the flowers in floral tape works well. Before I started working with the flowers I ran them under water to wash away any dirt or bugs that may be hanging around.
Arrange your flowers and greenery on the top of your cake. I also added a few flowers to the cake stand for an extra pop of colour.

The end result is a show-stopping centerpiece for any fall inspired table. You can get all of the details on how I set this bright and cheerful tablescape here. Or drop by to see how these beautiful blooms inspired our fall decor this year in our fall home tour.
You might also enjoy:
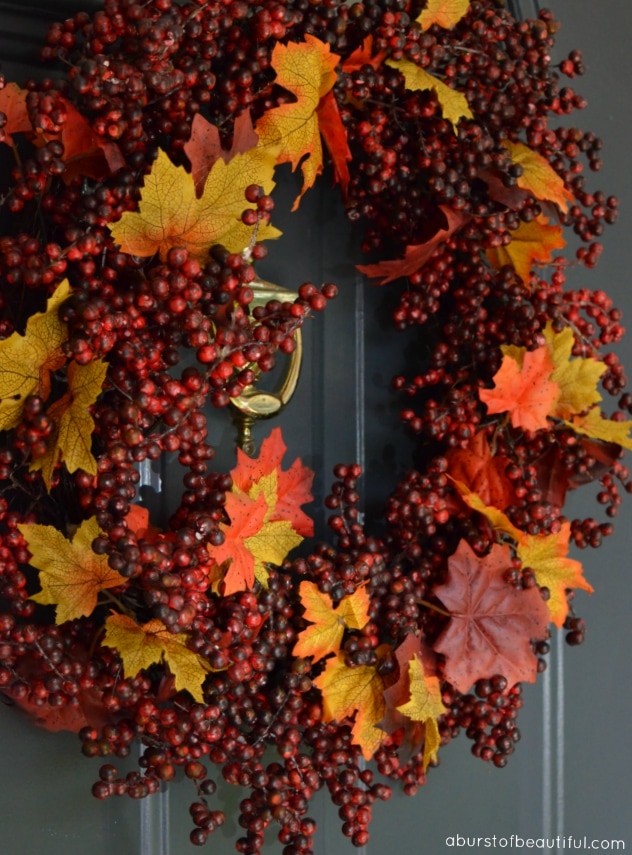
Early Fall on our Porch

Our 2015 Fall Home Tour

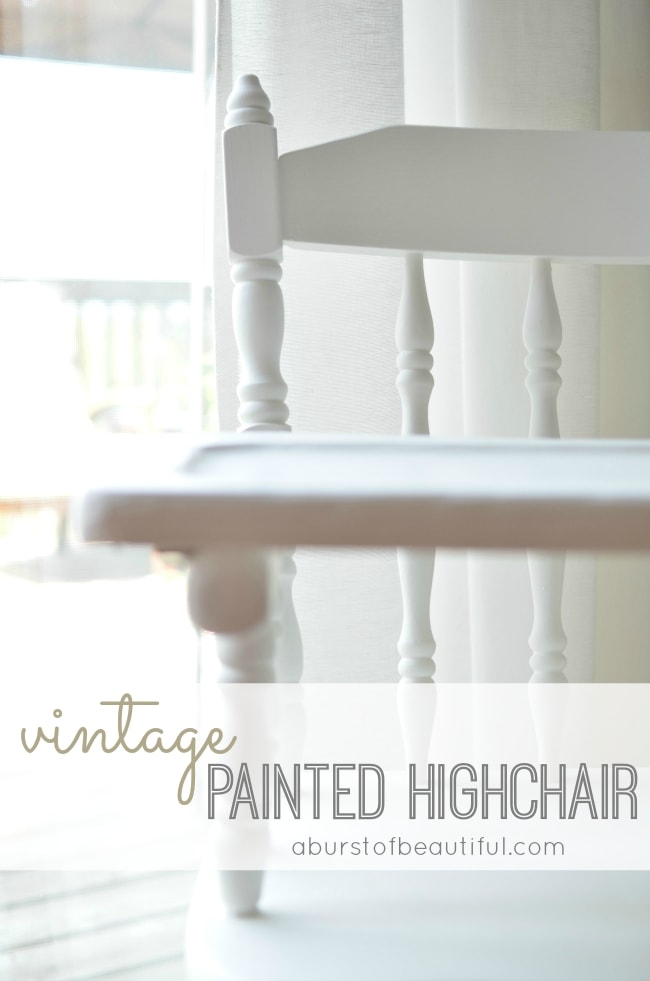
DIY Painted Vintage Highchair
Join Me on Friday Features Linkup
Absolutely wonderful presentation, yet so easy, I love the addition of fresh flowers, perfect cake and a great addition to my Friday Features Linky Party this week.
I would love to have you stop by and add other posts, if you like.....
Have a great weekend!
Karren
Theresa @DearCreatives
Stunning cake. Thanks for sharing at the Inspiration Spotlight party. Pinned & shared. See you again soon.
Quinn Caudill
Nothing wrong with a few shortcuts and who doesn't like things naked. Great Pics. Pinned! Thanks for sharing with us at #Throwback Thursday link party. Please join us again tomorrow and invite your friends.
Kim
That looks sooooo yummy!!!
Shawnna
Great tips on the cake! And the pics are so pretty of Alicia's house!