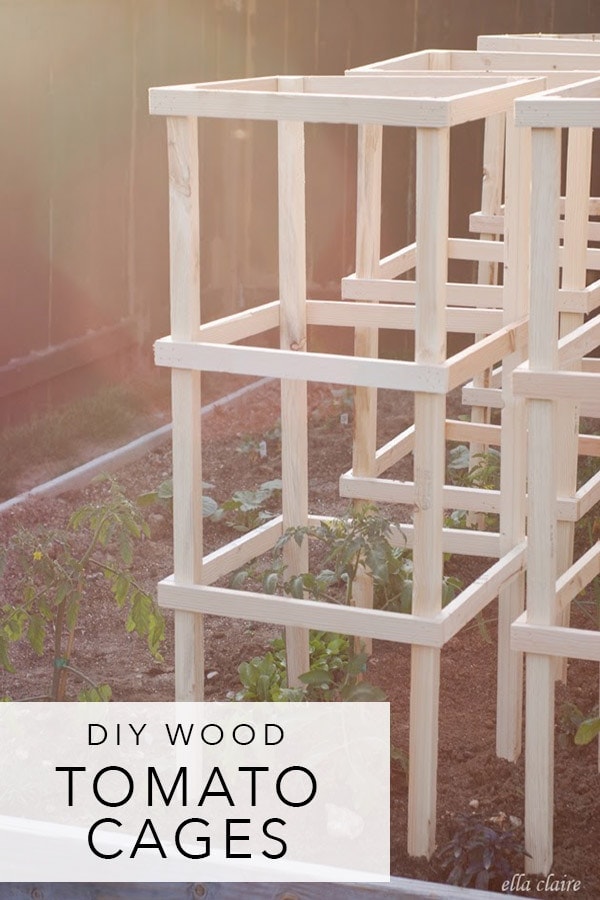
Still going strong after 7 years of use, these DIY wood tomato cages are easy to build and provide a very beautiful and functional, sturdy support for garden tomatoes! This is the ultimate guide to build tomato cages that are the perfect size, shape, and inexpensive design for growing big, healthy tomato plants.
One of my favorite things to grow in the garden is tomatoes! We love eating them fresh out of the garden and I love using them in many different salads and recipes. My kids spend many of their summer days digging and playing in the garden while eating tomatoes straight from the vine.
Before we dig in (see what I did there?) to the ins and outs of these sturdy DIY wood tomato cages, you will need a garden area or box- you can see my tutorial for building the easiest garden boxes. If you want some of my best tips, you can get my 10 Tips for Gardening here.
Wire or Wood Tomato Cages?
In years' past, I always struggled with wire tomato cages. I tried different types and had even purchased the sturdier ones, but toward the end of the summer when the tomato plants got big, they would inevitably take a nosedive. They drove me NUTS! I usually ended up jury rigging them with whatever rope, twine, wire, etc I can find, to anything nearby to keep them upright. It looks.... well, interesting. More like some kind of redneck obstacle course than a garden.
I was determined to figure something out that both looked nicer and functioned better. I had seen some wood ones at a local nursery and I really loved the look of them and how sturdy they were. They were pretty expensive, so I decided to try to build my own and I really loved the way they turned out!
I made a couple of structural changes. to mine. I wanted the legs of mine to go. into the dirt for stability, so I adjusted the measurements of the support wood accordingly. Also, I used less bulky wood to give the tomatoes more room. My result ended up being the perfect size, etc. for my tomatoes!
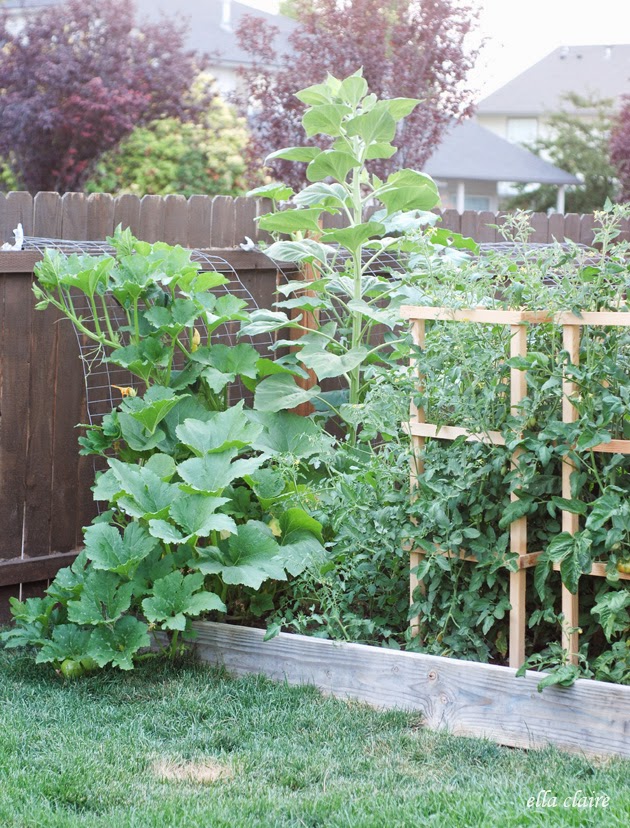
7 years later and I still love and use them!
Purchasing and Preparing Tomato Cage Supplies
When gathering and purchasing the supplies for your tomato cages, there are a couple of things to keep in mind.
Should my materials be weatherproof?
This one might be a no-brainer, but when you are looking for materials, your cages will last the longest if you use ones that are waterproof/ water resistent/ made for the outdoors.
What kind of wood should I use?
I used plain old cheap pine for my cages because it was inexpensive and that is what I was going for. If you have the budget, cedar will last much longer and is better for the outdoors. With that said, I have been using these for 7 years and they are still going strong. They would probably last even longer if I covered them or moved them into the garage over our long Idaho winters. We have had to tighten a screw or reinforce a board here and there, but nothing huge yet.
Should I seal the wood?
I didn't seal the wood on my tomato cages, although that would help to extend their life. I allowed my wood to gray in the elements because I liked the look of the gray wood against the greens. If you do seal your cages, be sure to use an outdoor formula that is safe for garden use.
Wood Tomato Cage Supplies List
(Note: This List is per one tomato cage. If you would like to make more than one, you will need to adjust the list accordingly)
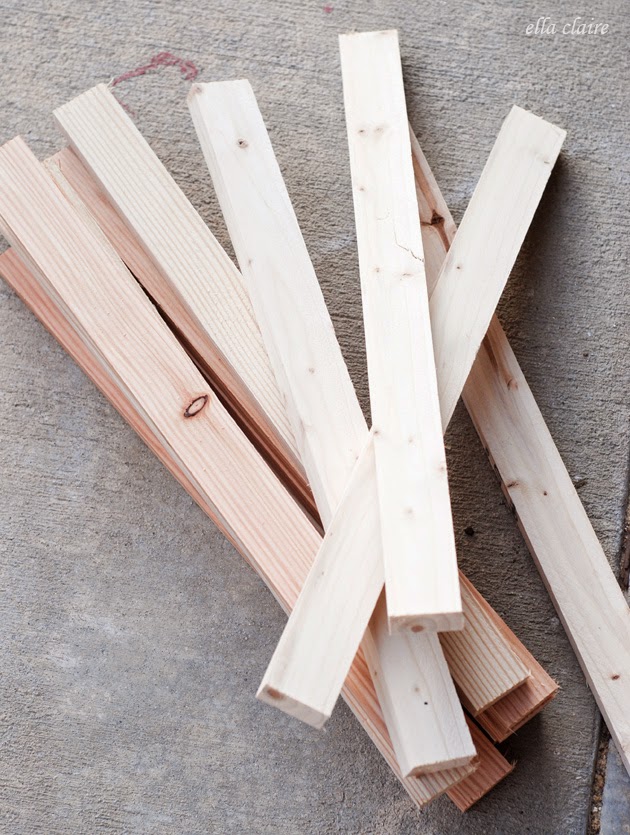
- (2) 2x2x8' boards, cut in half
- (3) 1x2x8' boards, cut into the following sizes:
- (6) 1x2x18"
- (6) 1x2x19.5"
- Nail gun and/or screws (my favorite nail gun, favorite impact driver)
- Measuring tape (we love this one)
- Saw (we love this one)
- outdoor wood sealer or paint of choice (optional)
Building DIY Wood Tomato Cages
Once you have gathered all of your supplies, it is time to build tomato cages! They come together easily if you have all of your supplies ready to go.
I made 6 of them, so I did mine assembly line style. I made all of my cuts first, then moved on to asssembly, etc. which made the project go by very quickly. Start to finish, it took me under 2 hours.
Cut the Wood for your Tomato Cages
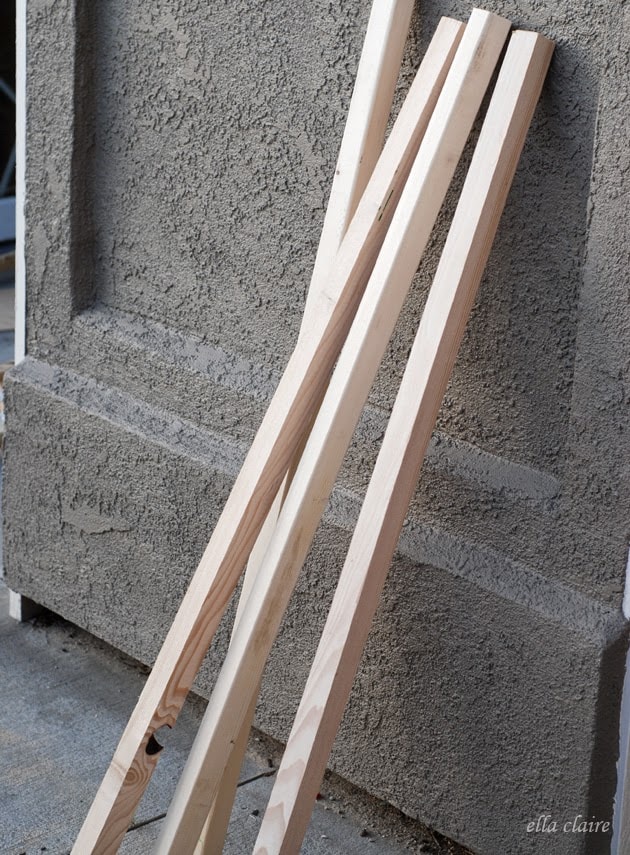
First, make all of your cuts using a table saw. Be sure to wear the proper safety equipment. You will be cutting your 1x2s so that you have 6 that are 18" and 6 that are 19 1/2" long. The 2x2s are a little easier since you just need to cut them in half (4ft each)
Assemble 2 Sides of the Tomato Cage
Begin by laying out 2 of the 2x2 poles. My fancy work surface here is my driveway- I was trying to hurry and snap these pictures before I lost my last ounce of daylight.
Secure the 1x2x18"s to the poles as you see below. They are 15" from top of board to top of board (see picture below). I used my nail gun mostly for ease. I had so many to build that I needed it to be quick. I put a few nails at each point for durability. We did end up reinforcing all of them with outdoor screws as well.

Repeat with the second set of poles as well.

Attach Cross Boards
Attach your 19 1/2 " pieces so they overlap the other 1x2x18s as pictured below. Again, start from the top and work your way down so they match up perfectly with the pre-built sides.
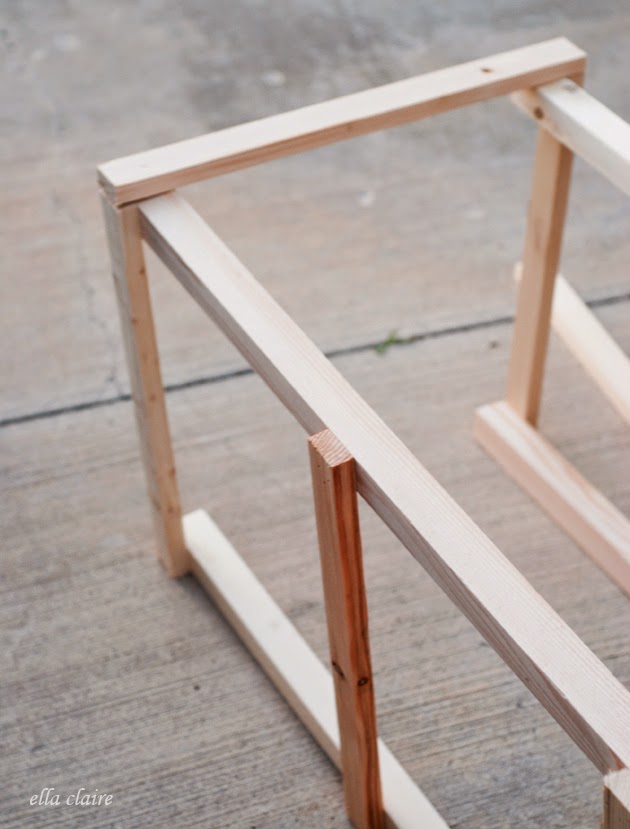
Repeat
Once you have attached all 3 of them on the one side, turn the cage over and repeat on the other side.
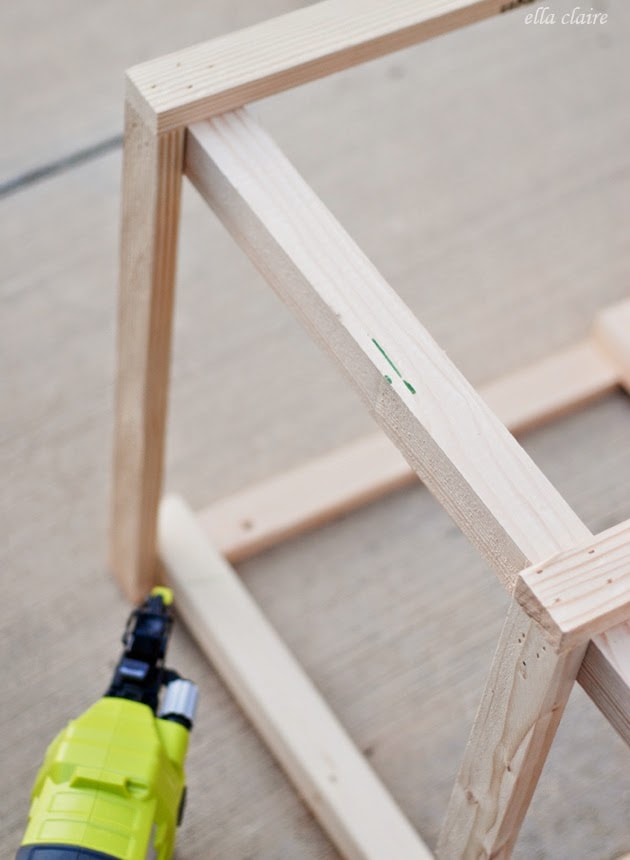
And you're finished!
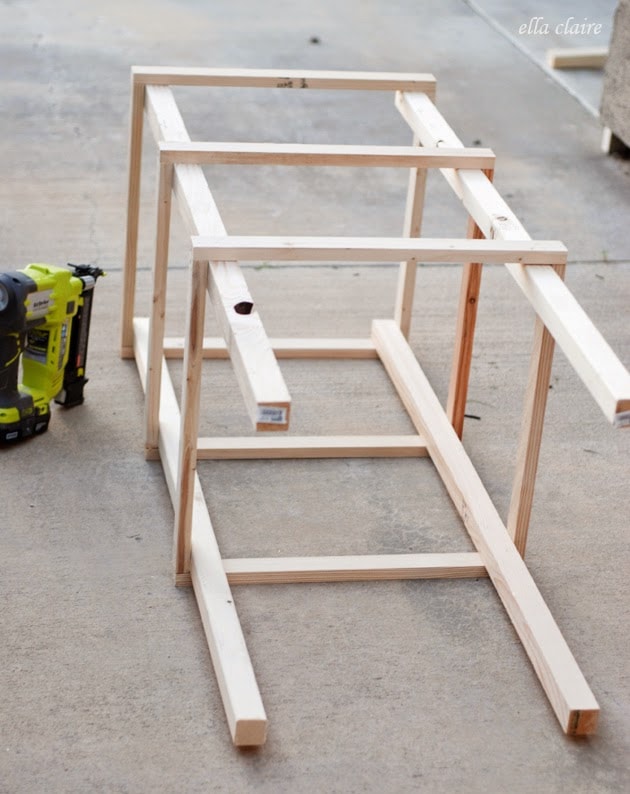
Apply Paint or Sealant
If you choose to paint or seal your tomato cages, now is the time. If you really want to make things perfect, you could use a wood filler to fill in the holes, but I was going more for speed than for perfection, so I didn't do any of that.
I love them! They are so easy, and so much sturdier.

Growing Tomatoes in Wood Cages
Because I plant my garden in my DIY garden box (the easiest to build ever, if you need one), tomatoes are actually really easy to grow and keep up with. I with I could add a garden box over by my She Shed, but it just doesn't get enough sunlight over there.
When using wood tomato cages in the garden, keep the following tips in mind:
- First, when I add my cages to the garden, I bury each of the legs of the cages down a few inches into the dirt, and press the dirt firmly around them for support.
- Second, I make sure to plant tomatoes far enough apart that they will receive enough sunlight, etc. I usually do a quick google search or use the tag on the plants for reference.
- Third, as the plants grow to each rung of the cage, I carefully lift their branches and set them over the crossbars so they are well supported. I do this a few times a week. Using extra string and wires is an option, but I haven't ever found it necessary. This only takes a few seconds and training your plants in this way helps them to grow healthy with a big yield. Assuring branches aren't laying on the ground prevents plant disease and rot as well.
- Fourth, and most importantly, I follow all tomato growing guidelines on the little tags that come with the plants. It is important to follow instructions for water and fertilizer for all of the plants in your garden.
I hope you enjoy building your wooden tomato cages! They are really simple to build, beautiful to look at, function the best, and are completely worth the effort.


Robyn
Just bought all the supplies for these and your beds! Can’t wait to make and plant. Thanks for sharing!
Kristen Whitby
How exciting! Happy gardening!
Sharon
Hi. I like your idea for tomato trellis. Gonna use it but I am wondering how you keep the plant upright during growth. I know there are many interior branches that can sag from weight that may not be long enough to stabilize on outer wood frame. I am thinking of putting a 2by4 inch wire cage on each 15 inch platform band that surrounds the trellis to feed branches through or string them up till they are long enough to feed through. What are your thoughts on it?
Kristen Whitby
I just continue to train the branches of the plants up into the horizontal slats as it grows. If you can consistently do that, you shouldn't need any extra supports.
M Lucas
I've made supports like this, out of 1" x 1" and 2" x 2" wood, for years and, even though it is untreated wood, they have lasted several years. Some variations: If you use screws and wing-nuts to fasten the sections together, you can take them apart for storage during the winter. Also, you can drill an extra hole at the top and connection two flat sections with wire as a hinge for an A-shape support.
Jackie Kern
Try these they are so much better than the metal cages that for me in the past have never been tall enough and have fallen over. We made wooden cages a couple of years ago. We have since resized them as my heirloom tomato plants just were getting too big for them.. My plants right now are already 8 foot and we need to make them bigger. The one thing we found with these type of cages is that it kept the deer out. We think it is because they can't get in and turn around and it scares them. All I know is they are sturdy and work!
Dilek Boran
Definitly the best, Thanks!
Deborha Smith
I love your tomatoes cages. Something different from the wire cages. Thanks for sharing and I will build some for my tomatoes and peppers.
~Bettie
Those are beautiful cages. I've been trying to decide how I want to trellis or cage my tomatoes. I have 16 tomato plants in the garden so I need an affordable option. This could be just what I need. Thanks for sharing.
Kayly Nyman
I am absolutely making some of these for my tomatoes this year! My gram has a similar style - her include cross pieces so it looks like lattice work. Lovely!
Jennifer@The Chronicles of Home
Great idea! I'm trying tomatoes for the first time this year. The wood cages are so much prettier than the wire ones too 🙂
Dawn
Does the plants need to be tied up as they grow?
Greg Moore
$8.50 in lumber great Had to put two side together around plant . plant was 4-6 weeks old works good