

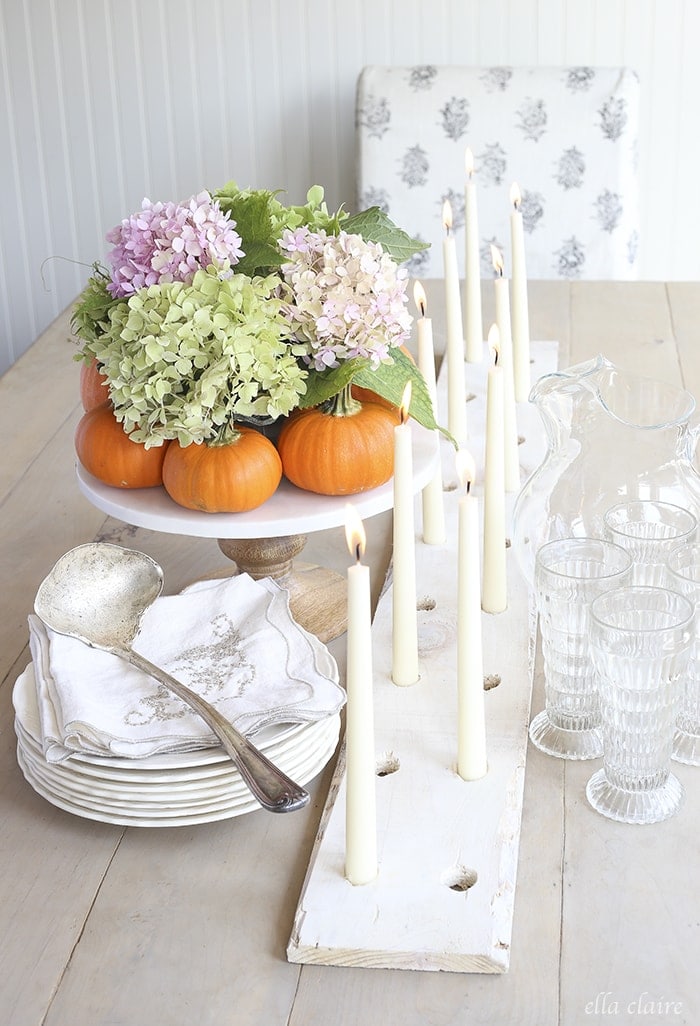
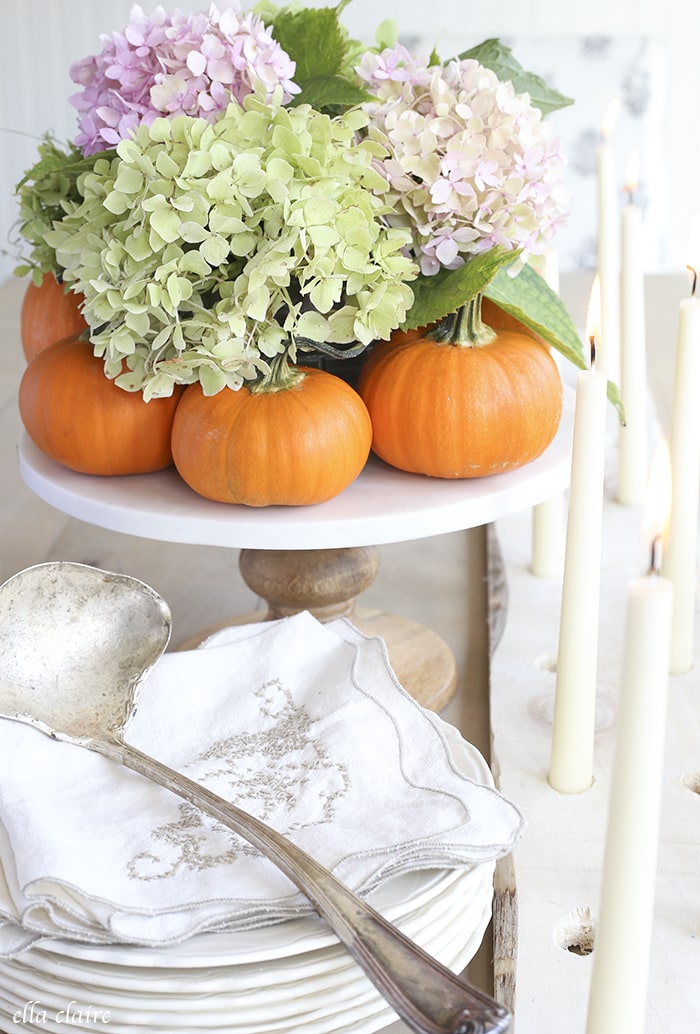
I already shared this Fall centerpiece, but I thought I would share a fun tutorial for this easy DIY rustic candle holder. I always like to add new little touches each year to my holiday decor and I appreciate pieces that can transition with the different seasons. This candle holder is perfect for that!
When I saw this rustic candle holder on Pinterest, I knew I wanted to make one for my table. Unfortunately the pin is mis-linked, and I couldn’t find the original source, so if you know the source, please share it with me!
Anyhow, it was a fun and easy project, and I am so happy with the result! It was also really inexpensive- under $5 including the drill bit!
First, I started with a cheap cedar fence picket. I searched through the pile at the hardware store, and picked the really rough one that no one would actually want to put on their fence. I wanted the character of the knots and gnarled edges. Of course, reclaimed wood would have been gorgeous, but I didn't have any on hand.
I cut my board to the size I wanted, 46″, which was a nice long runner while still leaving plenty of room on the ends of the table for place settings.
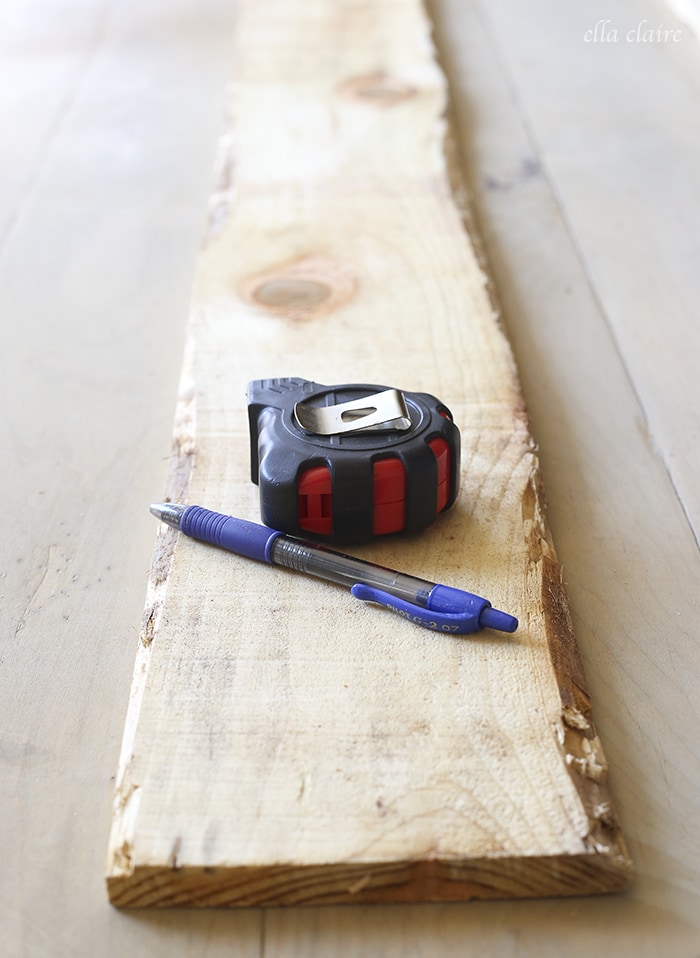
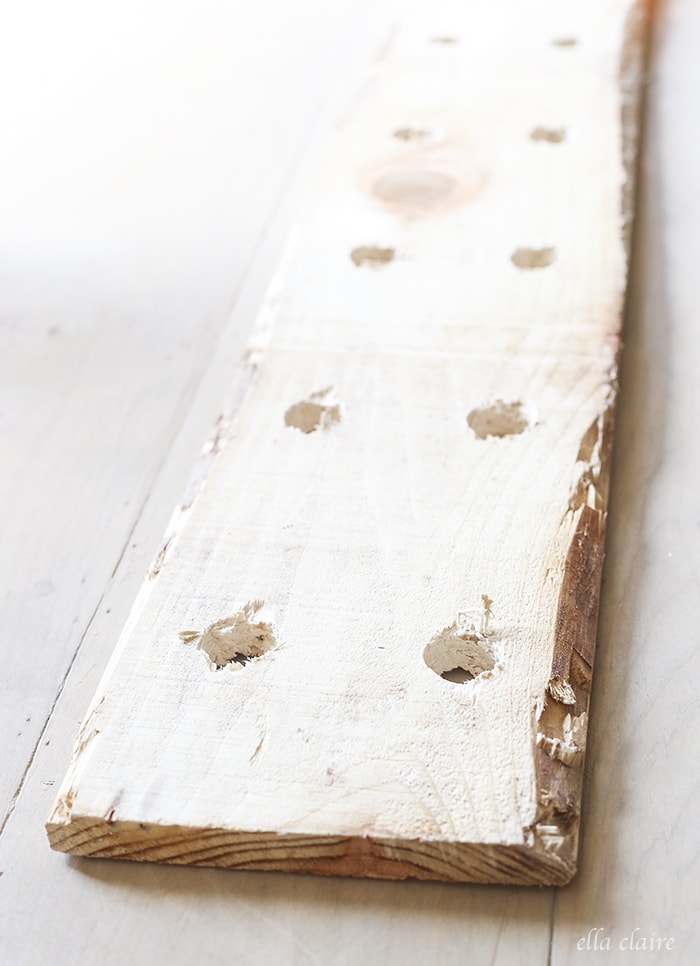
I placed marks 3″ inside from the right and left end, 1 1/2″ from the top and bottom edges, to mark my first set of candles. Then I marked a set in the middle (23″ from edge). Then I marked each in half, and then half again. So, in the end, I had 9 sets of 2.

I used a 13/16″ spade bit that I picked up at the hardware store while I was there to make all of the holes. It is important to drill straight down, and all the way through the board. Tip: take the taper candles you will be using to the store with you to make sure you are getting the right size bit and err on the side of going slightly smaller instead of bigger. You want your candles to be snug in their holes.
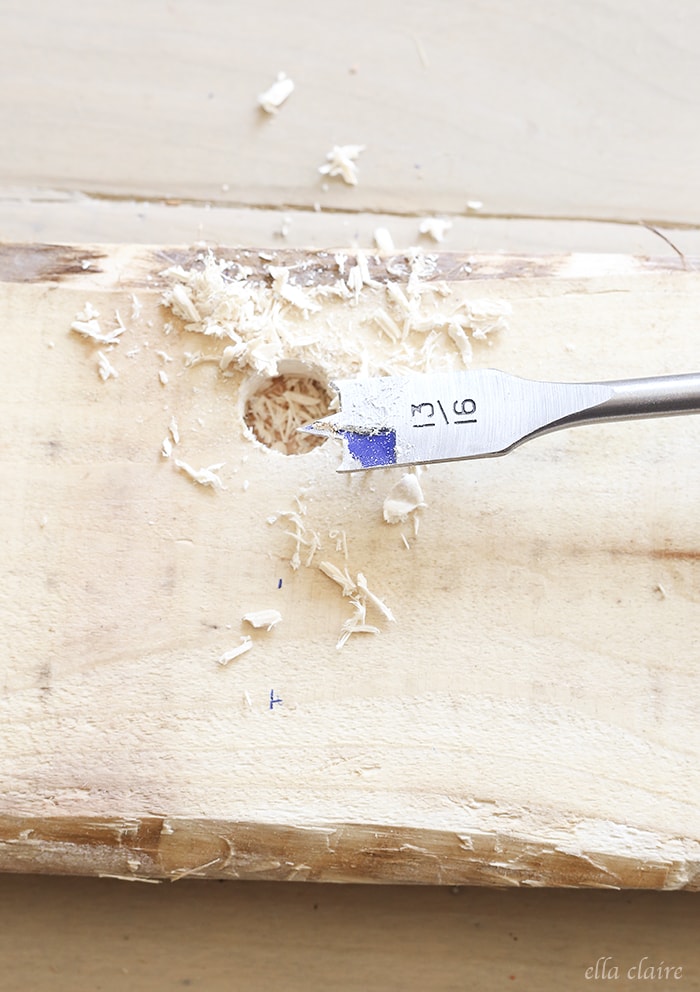
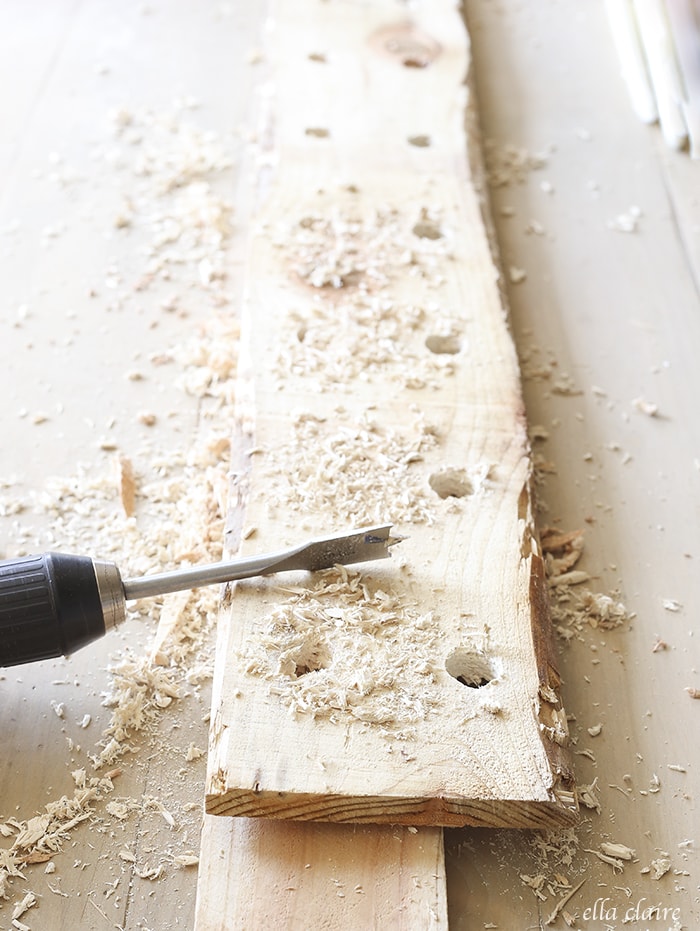
When I was finished, the holes were a little rough, and definitely needed a some light sanding.
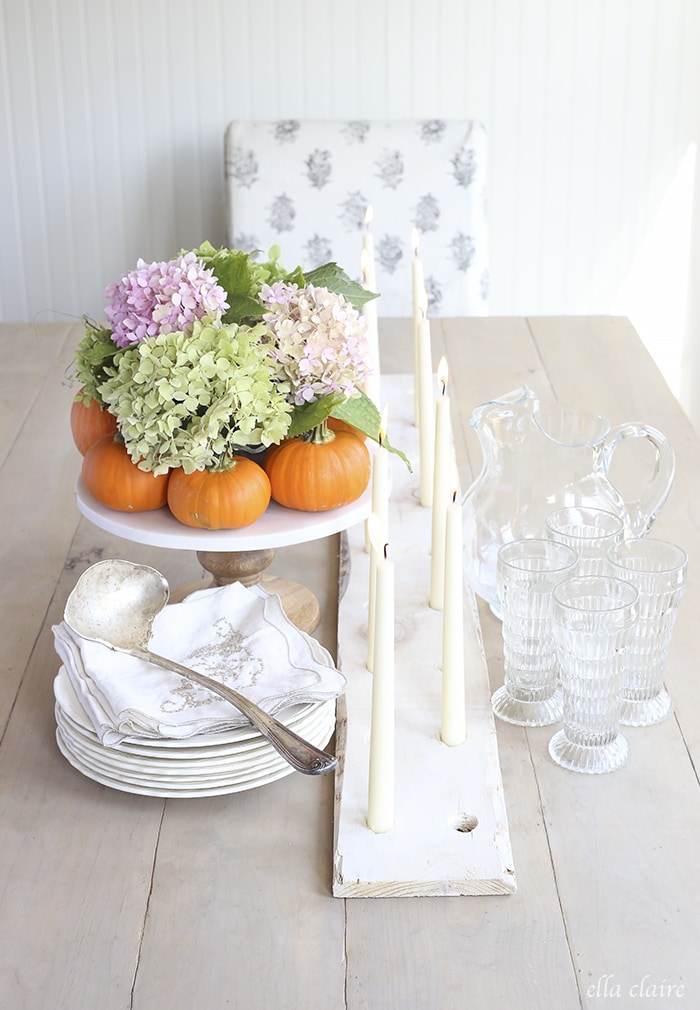
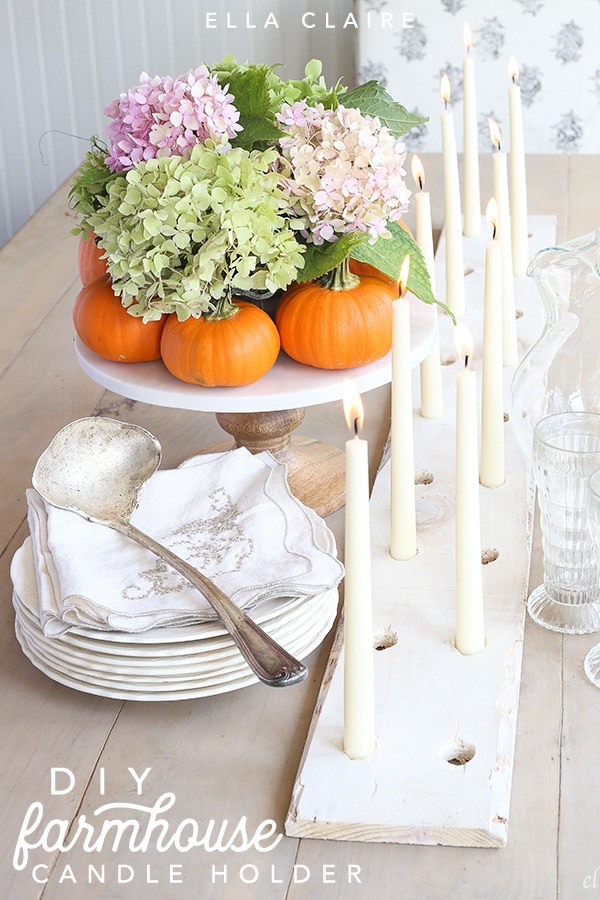
After a light sanding, I decided to whitewash my board with some paint I had on hand (mixed with water). I think it would have been really pretty stained as well. I stuck some of the taper candles that I had on hand (originally bought in packages of 4 from Walmart) into the holes and I was finished!
I love the way it turned out! I think it will be perfect for holiday family dinners!
Of course, as with any other candle holder, you don’t want to light this baby and then head to the grocery store or anything. It should only be used with supervision. The candles were really tight and secure in their holes, and I burned them down for a while without any issues.

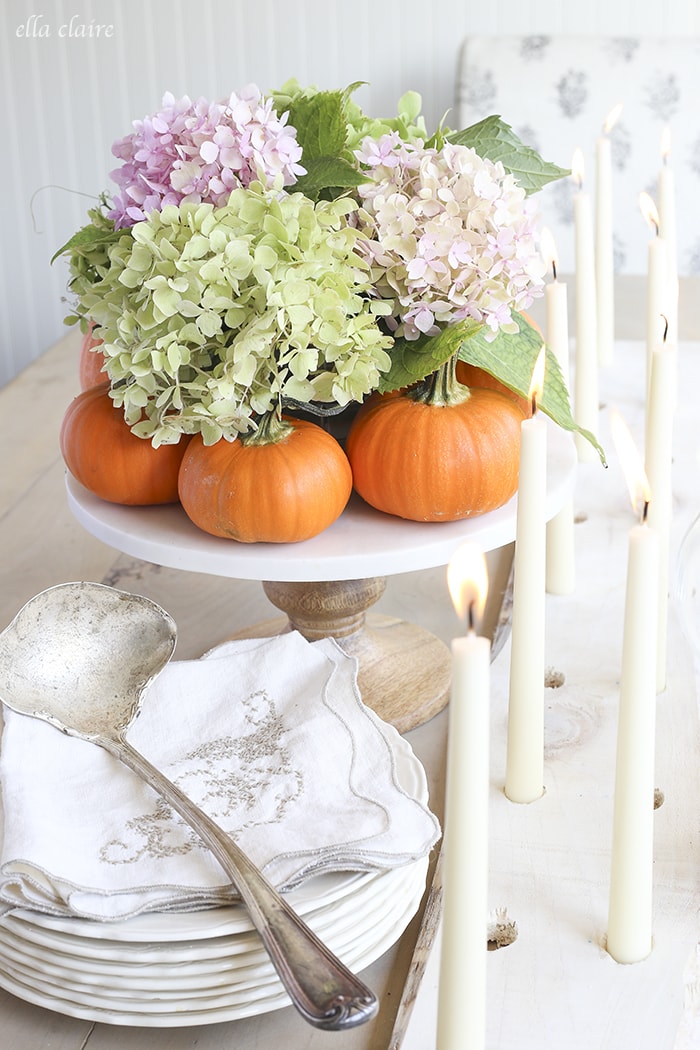
I look forward to using this a lot in the next few months! By the way, you can see the tutorial for this hydrangea and pumpkin Fall centerpiece HERE. You can see a version with white pumpkins HERE.
Debra
Gorgeous! We have a really long table and I always feel like I over clutter it to get a lengthy centerpiece. This is a great simple alternative I can make to fit. Thanks so much for sharing!
Marie
This is absolutely stunning! What a beautiful table!
Michelle James
This really looks amazing. Who would have thought that a beat up fence piece could look so good. I love your blog!
Andrea @ Life Love Larson
Absolutely love the simplicity of this! Perfect for all occasions and holidays!
Linda
Very nice. Just lovely hydrangeas, too.
Kim @ Sand & Sisal
Two words..... simply beautiful! 😉
ok....four words.... love it!
Michelle @ A Dish of Daily Life
What a lovely idea! Pinned...I'd love to try making it this fall!
Meredith @ The Palette Muse
I love this, it's so gorgeously rustic! I would never have thought to use a fence picket, but now I'll have to give it a try. Your pics are amazing! Pinning...
Nellie
Your vignette is beautiful and unique. Neat candleholder.............
Very different colors togehter..............
Blessings, Nellie
laura@duke manor farm
I just love this! my wheels are spinning. Your pictures are always soooo pretty!
Shawnna
so pretty!! Great job!