

I have been making plans for my yard and garden these past few days and I love this beautiful idea for DIY raised label herb pots from Lisa at Celebrate Creativity!
~~~~~~~~~~~~~~~~~
Greetings blogging friends! This is Lisa Tutman-Oglesby here and I'm back with a fun project to add a little color to your small-scale garden.
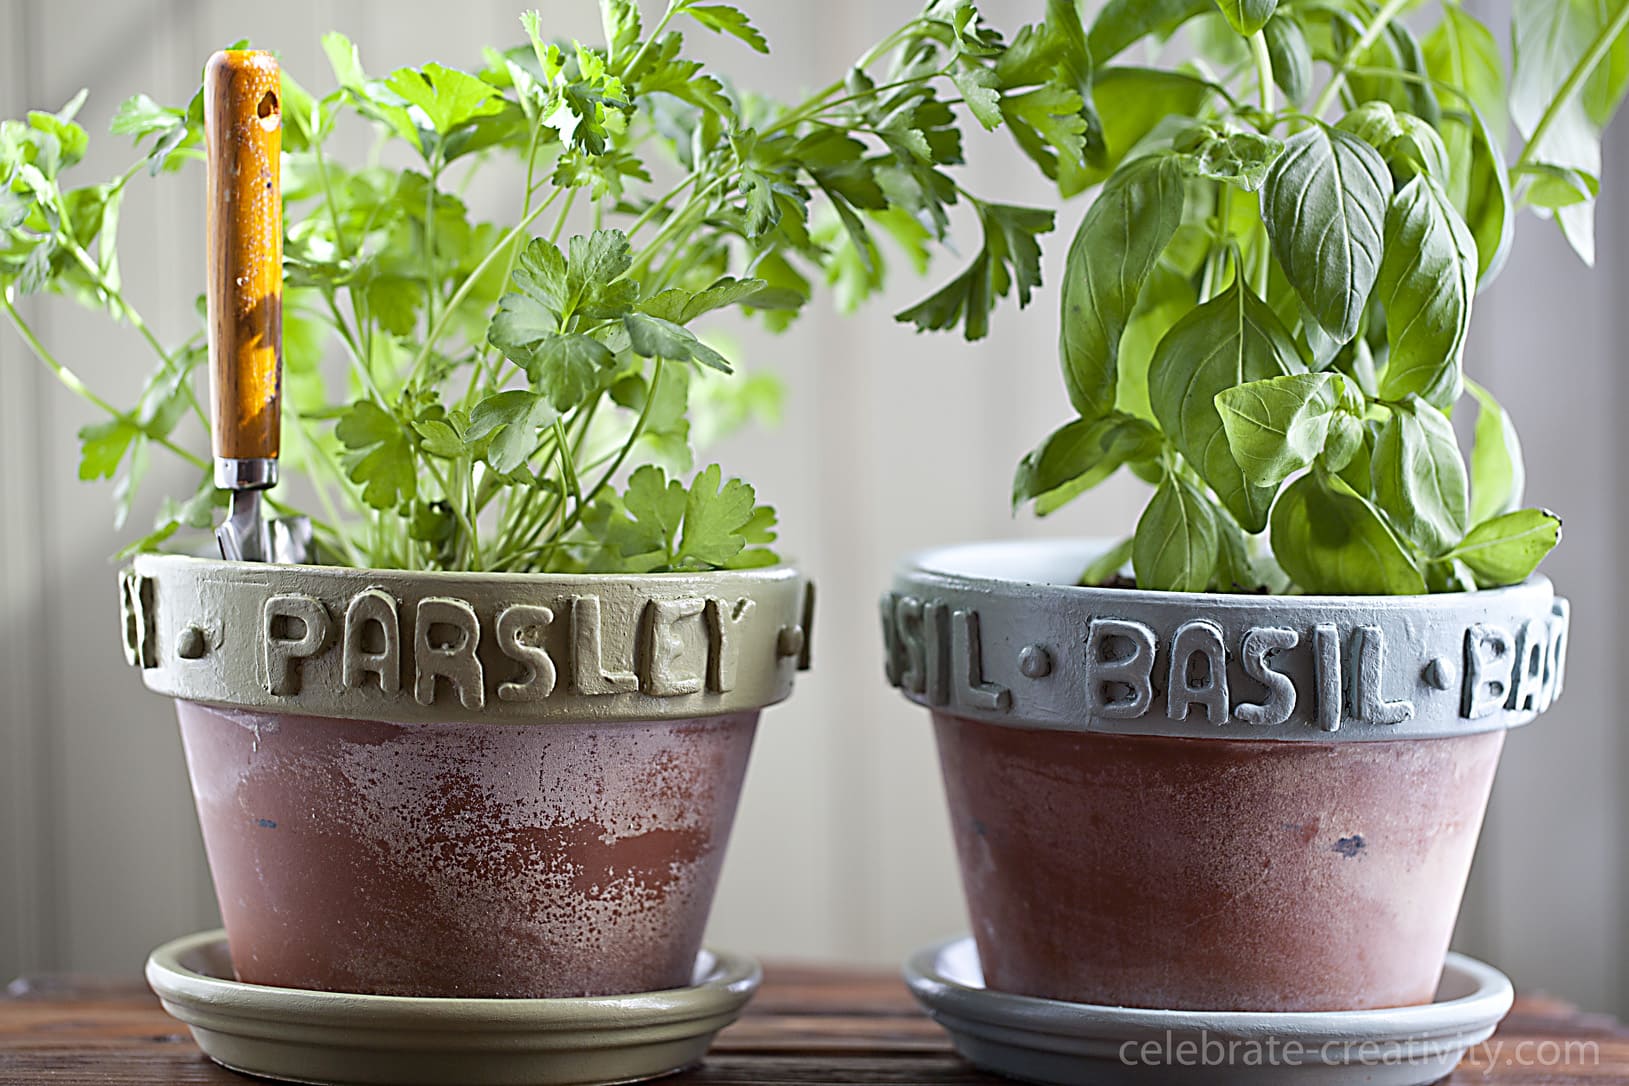
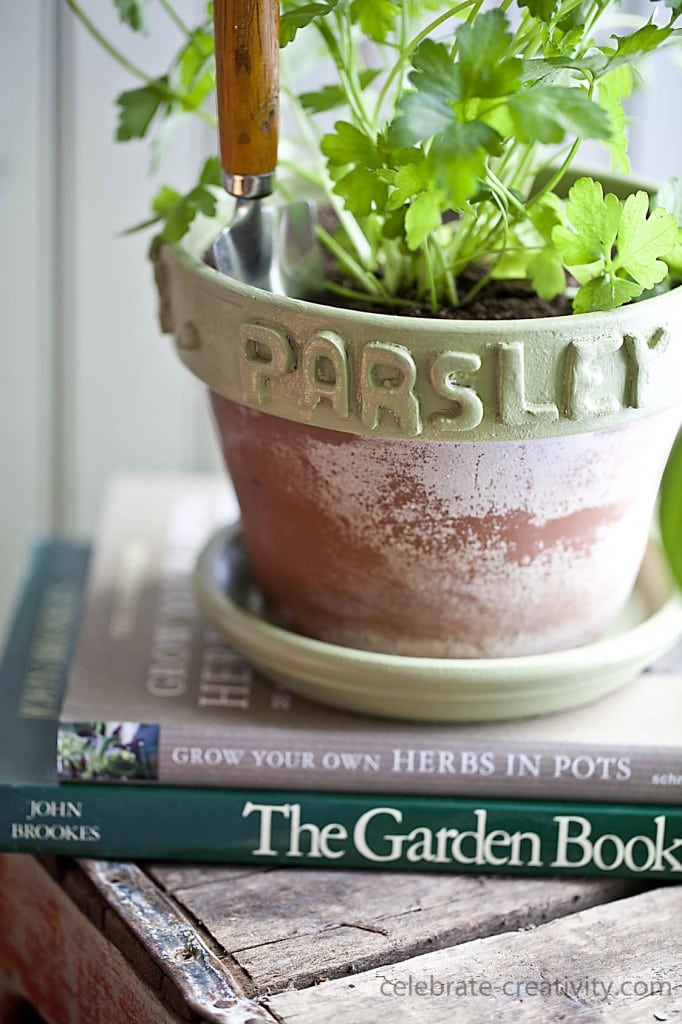
These raised-label herb pots can be personalized as you please to identify your favorite herbs and at the same time, add a bit of whimsy to your gardening efforts.

Once you start adding these clay letters to pots, it may be a little hard to stop.
You may end up with labeled pots for every herb in the book.
Here's what you'll need for this project: lightweight paper clay, mini alphabet cookie cutters and Terra cotta flower pots.
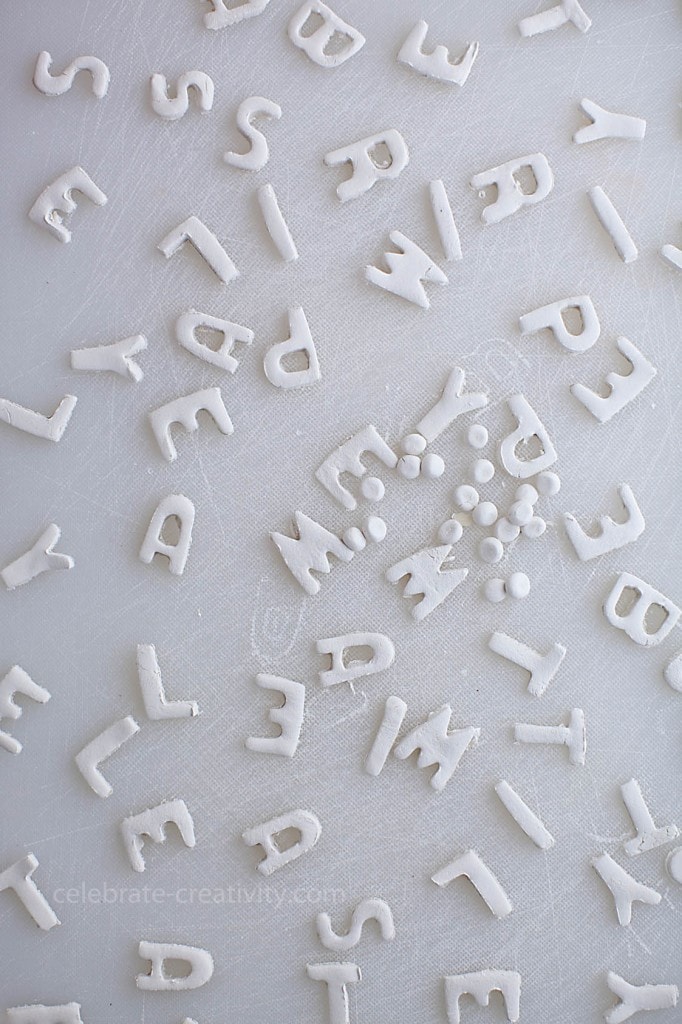
Pinch off a couple of inches from the clay block, roll it in a ball and then use a rolling pin to flatten the clay to about a 1/2-inch thickness.
Use the cookie cutters to create the clay letters. Allow the letters to air dry for about 10-15 minutes.
Lightweight paper clay dries very quickly and you don't want the letter to dry out completely because then they'll be too hard to inflexible to fit around the slightly curved side of the Terra cotta pot.
While the letters are still slightly damp (and still flexible), apply a small amount of glue on the back and carefully place the letter on the clay pot.
You will still be able to move the letters around at this point so, gently adjust the positioning of the letters so they line up with each other evenly.

You could just add one label, but I love way the lettering looks when it is positioned all the way around the pot.
Use a few dots of clay to separate the words.
You will need to plan your spacing out so that all the words and dots are evenly arranged around the rim.
Remember, the letters are still flexible at this point so push them into position so that it all lines up the way you want before you leave the project to dry overnight.

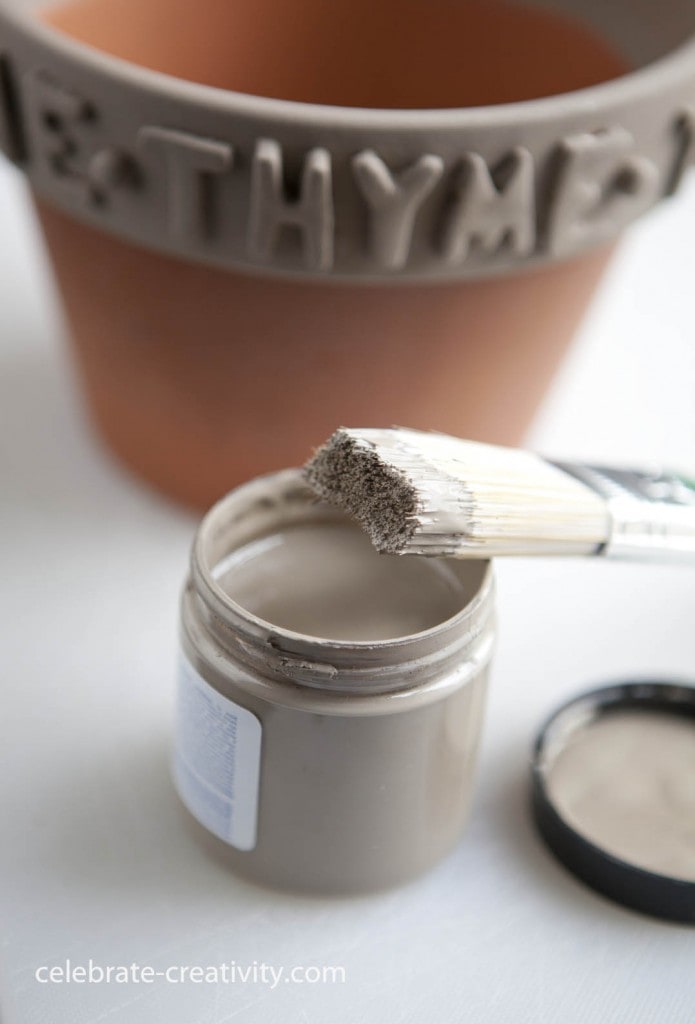
I used several colors of chalk paint for my pots but you can use any acrylic craft paint for this.
You'll also need a small amount of paint sealer which you can find at any craft store.

Once the letters are completely dry and hard to the touch, apply a coat of paint and allow to dry.
You'll most likely need to apply several coats of paint.
Use a bristle brush instead of a sponge brush so you can really get into all the nooks and crannies of the letters.
Allow the paint to dry completely overnight before adding a sealer.
Sealer is available in matte and glossy finish.
I opted to apply a glossy sealer to play up the contrast between the now-colorful rim and the roughly-textured terra cotta pot.
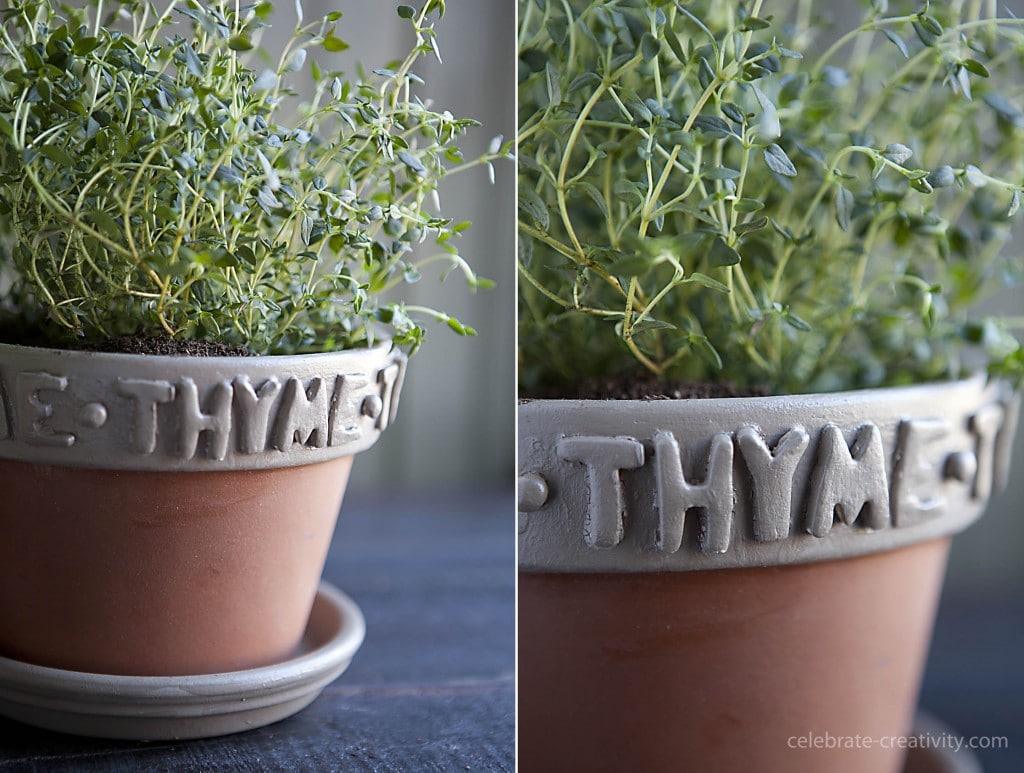
If your terra cotta pot has a small water tray, I recommend painting that as well to match the color on the rim and also give the entire pot a more planned-out presentation.
Now, how pretty are these pots?
These raised-label herb pots would make a lovely gift for the garden lover in your life.
Can you picture a trio of these beauties sitting in your kitchen window?
I don't know about you, but these pots just make me smile.
Bring on gardening season!

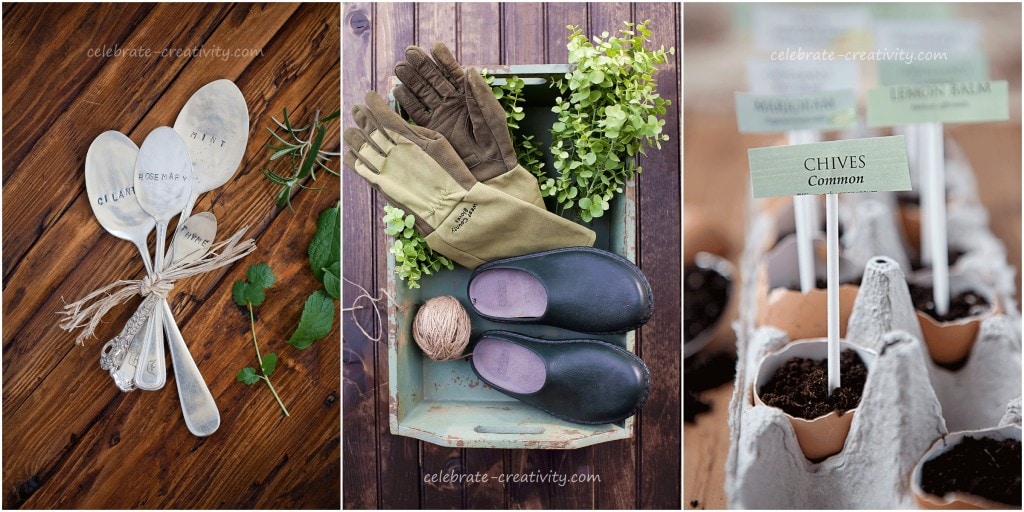
If you love small scale gardening as much as I do, you may enjoy seeing a few more of my herb garden projects by visiting the links below.
Jody
Great post. I am experiencing some of these issues as well..