

Hey y'all, it's Holly from Love The Tompkins back again with all of you lovely Ella Claire readers to share my latest DIY project~ a fun Greek Key Planter!
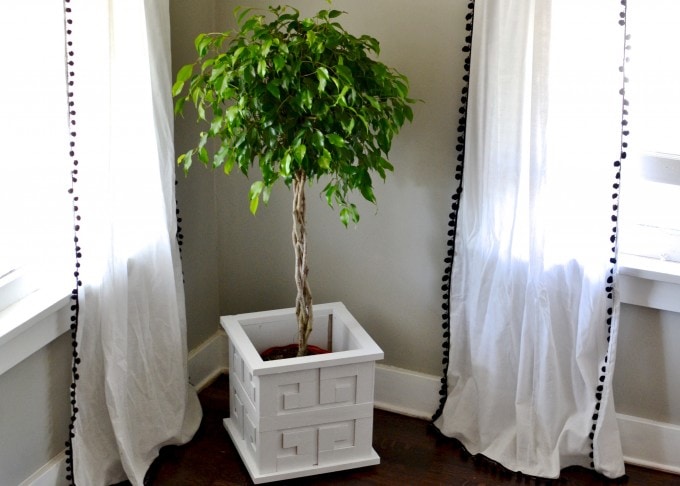
I'm not sure about you guys but here in Kansas we have been experiencing some lovely spring weather! Whenever the temperatures warm up and the hardware stores start putting out their plants I get the itch to sprout a green thumb. This spring I wanted to bring a bit more of the outdoors, in. I whipped up a cute little greek key planter that is the perfect home for a little indoor plant life and I want to tell you all about how I did it!
Supply List
Wood Glue/Construction Adhesive
Nail Gun/ Brad Nailer/ Trim Nailer and Nails
Caulk or Wood Filler
Paint of Your Choosing
2 Pieces of 1" Plywood Cut to 11" w x 12" h
2 Pieces of 1/2" Plywood Cut to 12"x 12"
1 Piece 11"x 10 1/2" Pine ( or plywood)
4 Pieces of 2-3" 1"x 2" Trim
4 Pieces of 14" 1"x 2" Trim
4 Pieces of 10 3/8" 1"x 2" Trim
2 12" Pieces of 2"w Lattice Strips (also called kraft board)
2 12 1/4" Pieces of 2"w Lattice Strips
16 5" Pieces of 2"w Lattice Strips
16 3 7/8" Pieces of 2"w Lattice Strips
16 2 5/8" Pieces of 2"w Lattice Strips
16 1 1/2" Pieces of 2"w Lattice Strips
4 1 1/2" Pieces of 1"x 1" Square Dowel
I know that the cut list seems a little extensive but I'll go step by step and the cuts are really simple to make, there are just a lot of them! Also, this is a project that I totally tweaked along the way- there is tons of room for error, no one can mess it up!
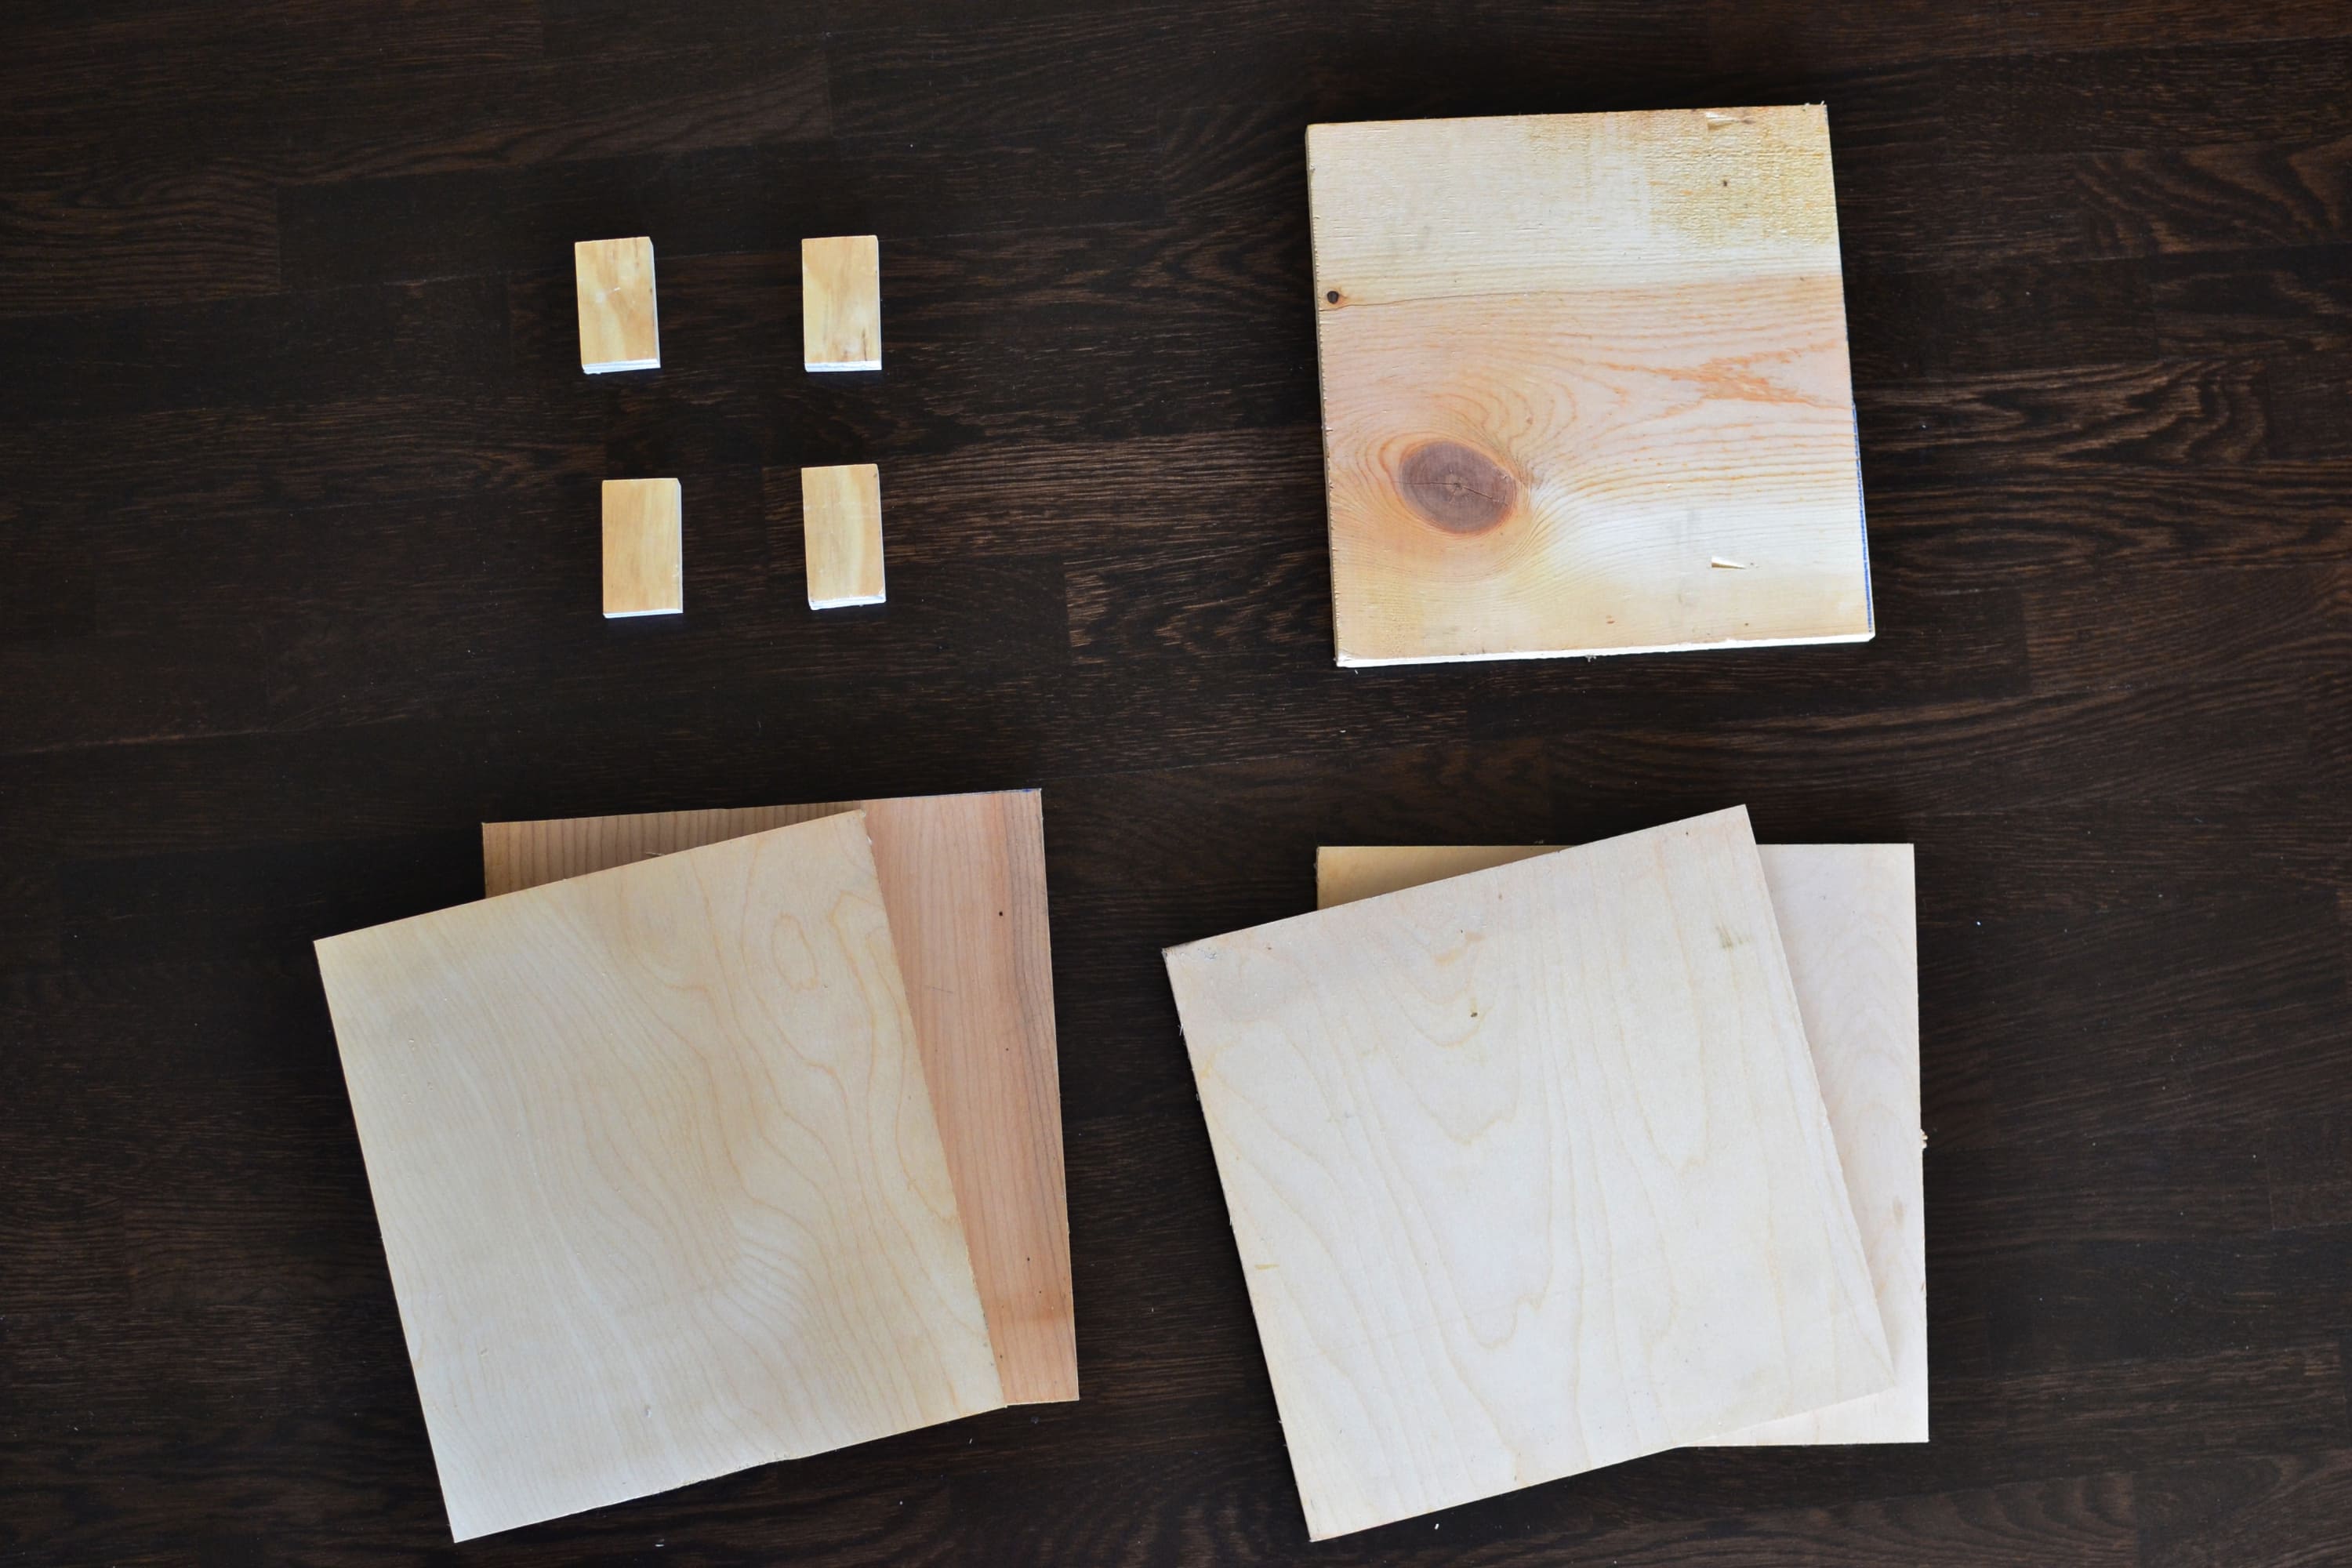
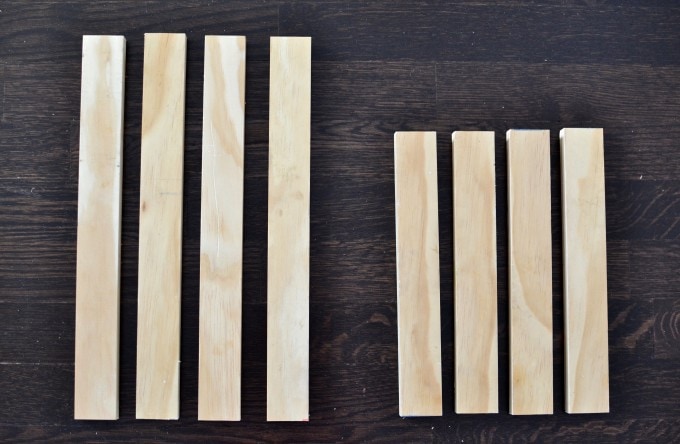
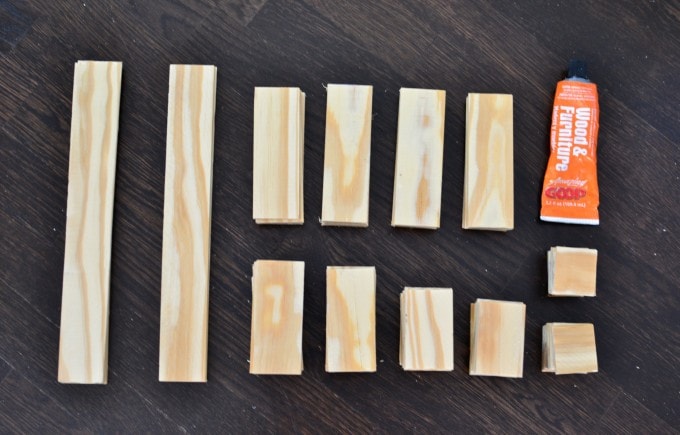
This is the first group of wood you'll be working with and it will make up the body of the planter. These are the cuts pictured,
2 Pieces of 1" plywood cut to 11" w x 12" h
2 Pieces of 1/2" plywood cut to 12"x 12"
1 Piece 11"x 10 1/2" pine ( or plywood)
4 Pieces of 2-3" 1"x 2" trim
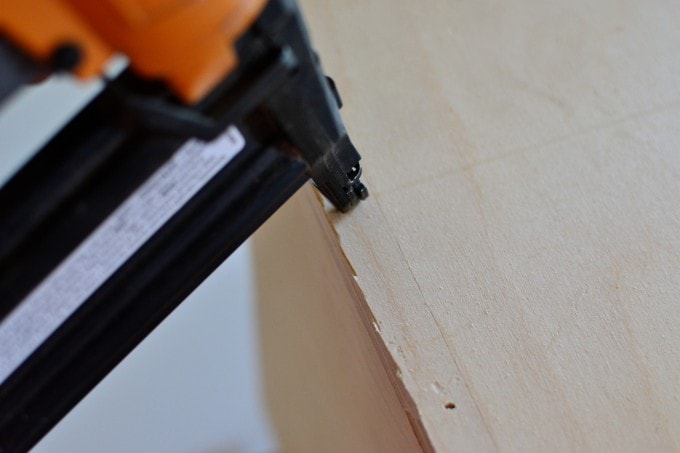
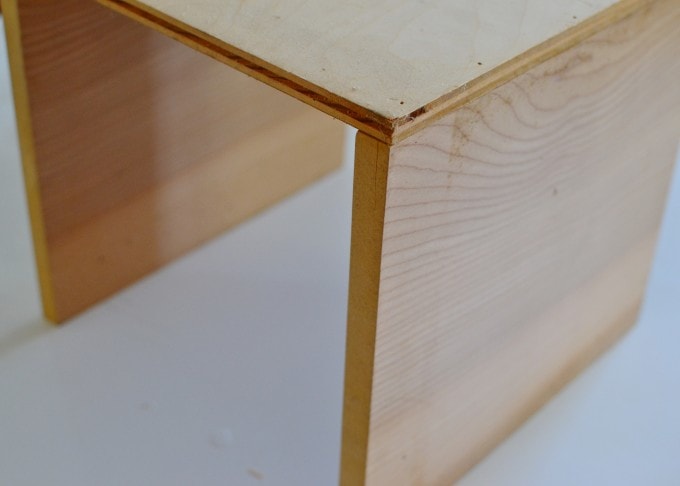
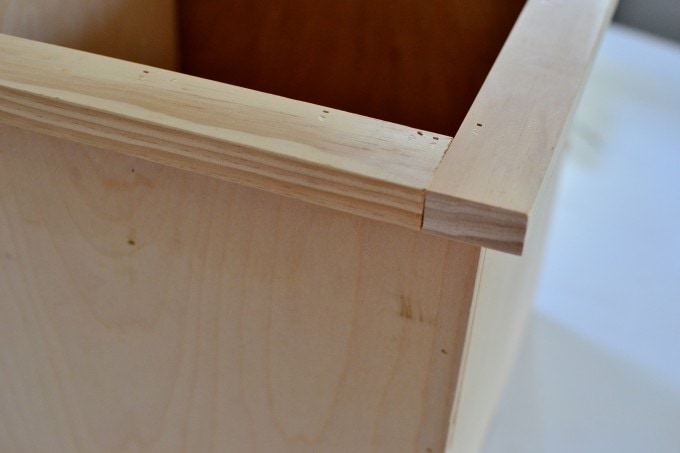
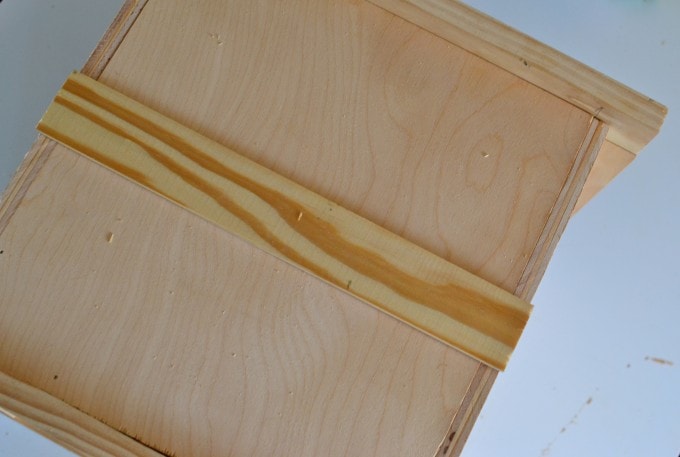
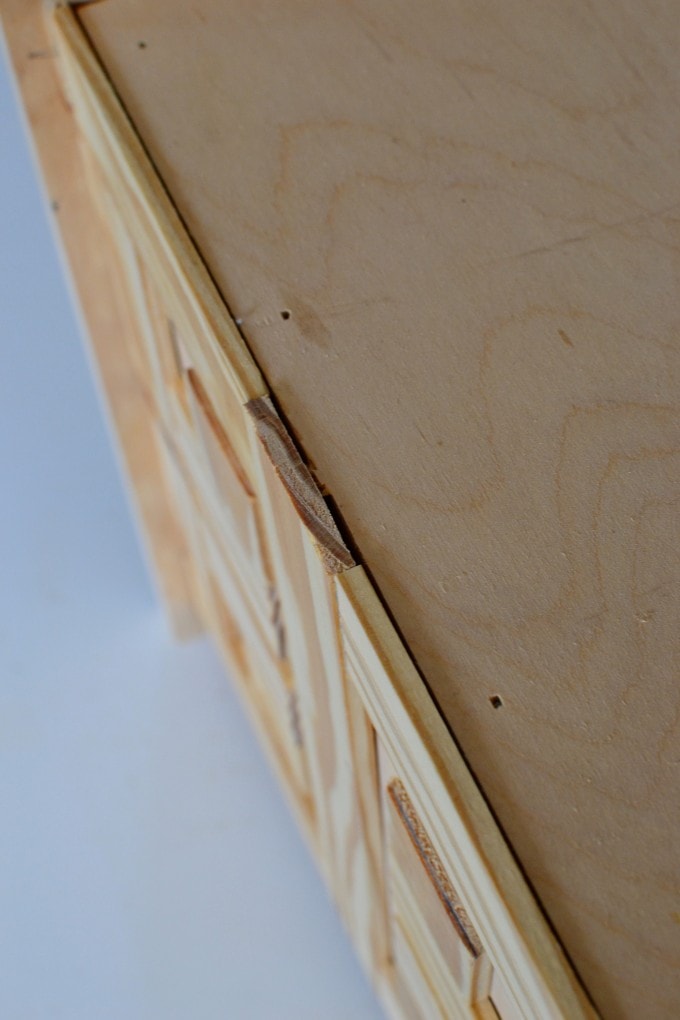
Each side of the planter box needs to be 12"x 12". You will need to take one piece of the 1", 11"w x 12" h plywood and butt the edge of the plywood against the inside edge of 1 piece of the 1/2", 12"x12" plywood and nail it in place. The edge of the 1" plywood should be covered by the 1/2" plywood and this will create the first corner of the planter box.
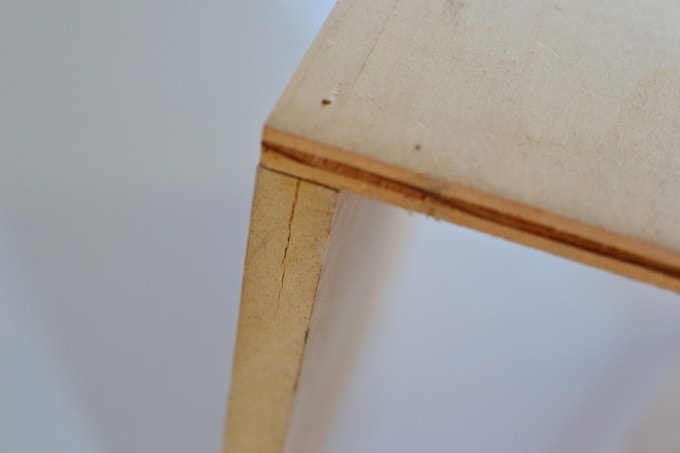
This is what your corner should look like.
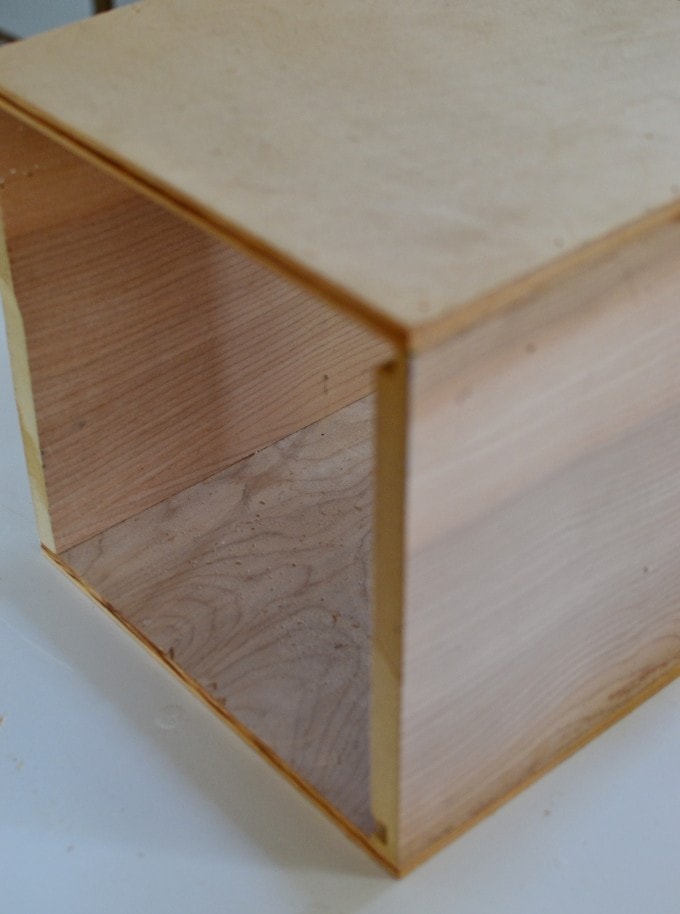
Next fasten the other piece of 1" plywood to the other end of the 1/2" plywood to form a table shape.
Then the second piece of 1/2" plywood can be nailed to cover both exposed edges of the 1" plywood, creating a box shape.
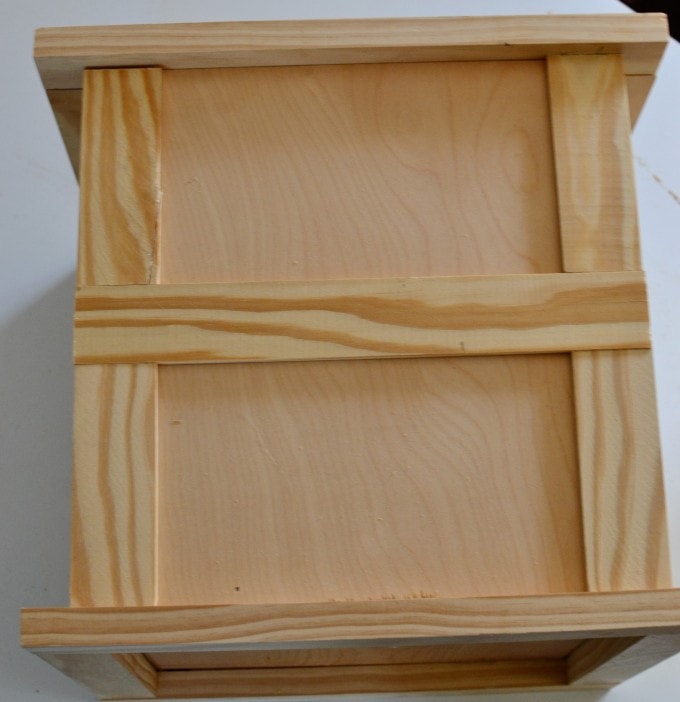
This is where the piece of pine comes into play (and it doesn't have to be pine, it can really be any kind of 1-1/2" thick scrap wood). The measurement is approximate and can be tweaked, as I had to shave off the tiniest bit to wedge my piece into the bottom of the box.
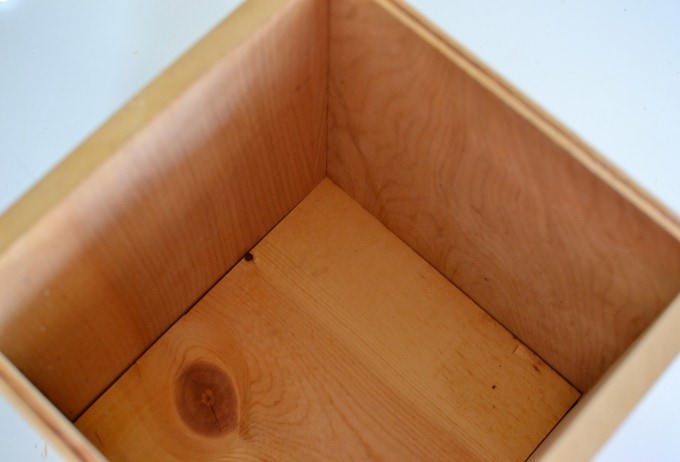
Once you have cut the bottom piece to fit, let the piece sit in the bottom of the box and nail around the bottom edge of the box to fasten it in place.

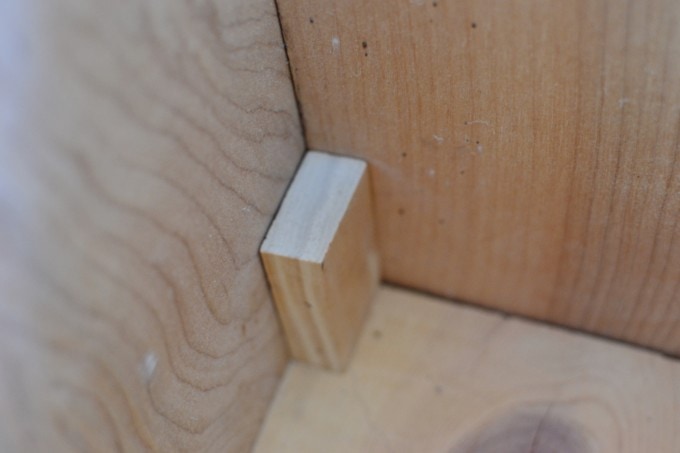
Then you will use the four pieces of 1x2 trim and nail then vertically into each corner to act as a support for the bottom and corners.
*Tip: I put a nail up through the bottom into each of these corner supports and one from both sides of the corners.*
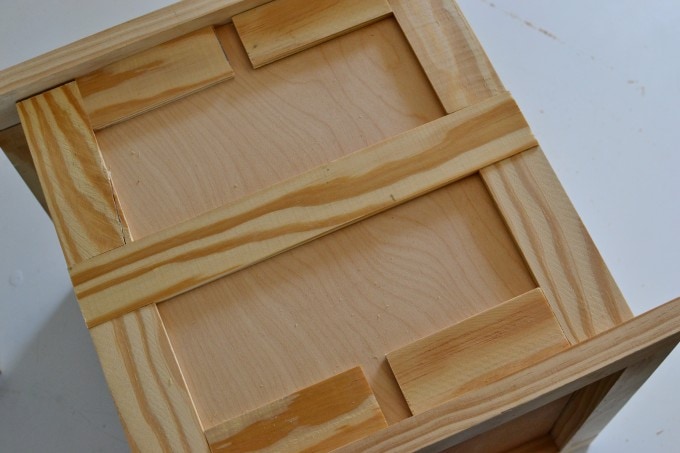
These next cuts are the top and bottom ledge trim for your planter box.
These cuts are as follows...
4 Pieces of 14" 1"x 2" trim
4 Pieces of 10 3/8" 1"x 2" trim

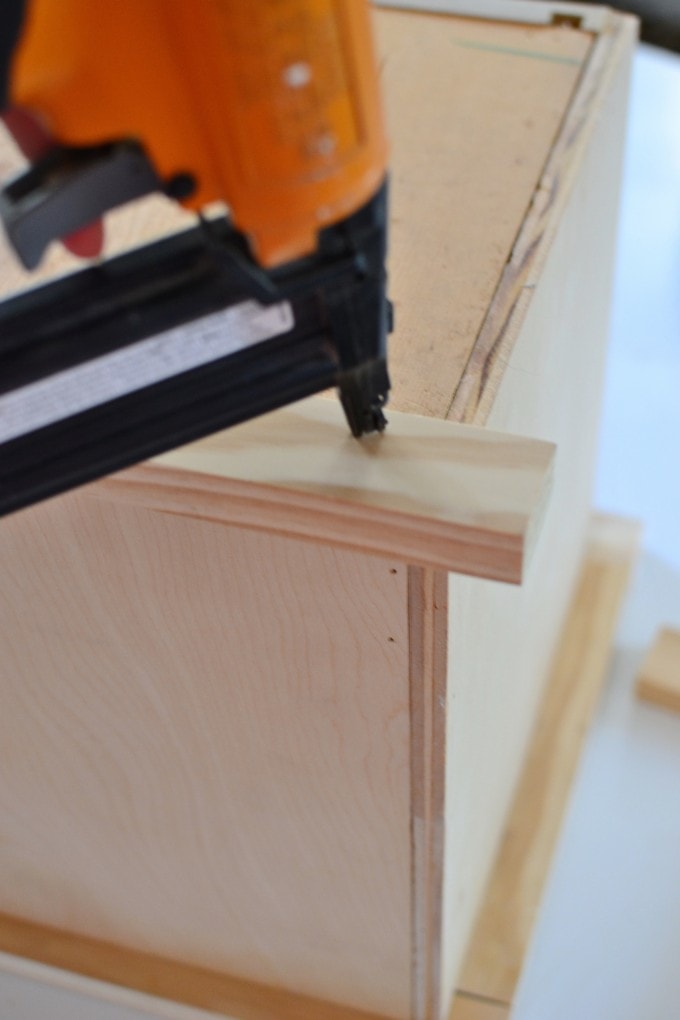
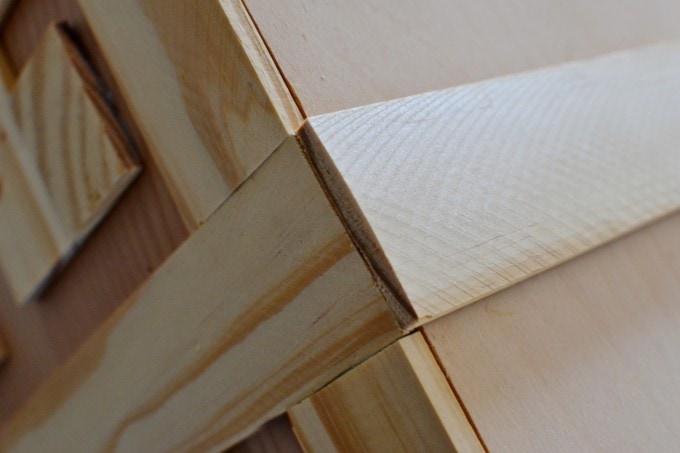
Center and nail down one of the 14" trim pieces to the top ledge of the box, covering the raw edge of the plywood.
Then a 10" trim piece should be added to the adjacent edge, with it's end butting against the previously placed trim. Continue to do this with the two other pieces of trim for the top ledge. The top and bottom of the planter should each receive 2 14" pieces and 2 10" pieces.
Next the box should be flipped over and trim applied to the bottom in the same fashion.
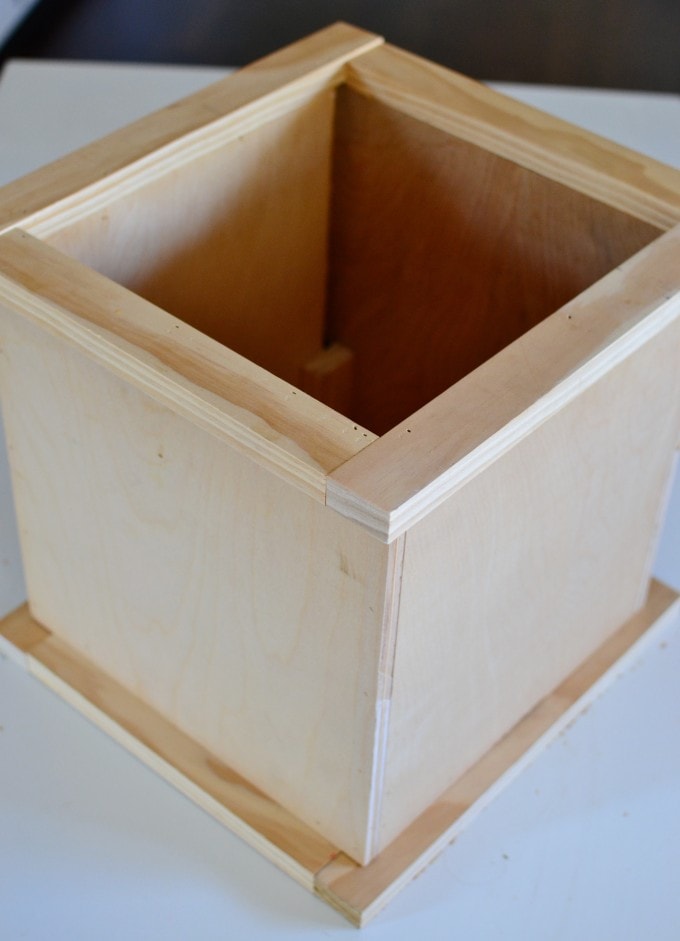
The Planter is starting to take shape! the next step is to cut the greek key trim pieces and apply them to each face of the planter.
The toughest thing about this part of the project is just being patient through this list of wood cuts and here they are...
2 12" Pieces of 2"w lattice strips (also called kraft board)
2 12 1/4" Pieces of 2"w lattice strips
16 5" Pieces of 2"w lattice strips
16 3 7/8" Pieces of 2"w lattice strips
16 2 5/8" Pieces of 2"w lattice strips
16 1 1/2" Pieces of 2"w Lattice strips
Using wood glue attach one of the 12" lattice strips horizontally across the middle of one face of the planter.
Next glue 4 of the 5" pieces of lattice strip to the planter to make an H shape.
Glue 4 of the 3" pieces to create E shapes.

Next glue the 2" pieces to make C's.
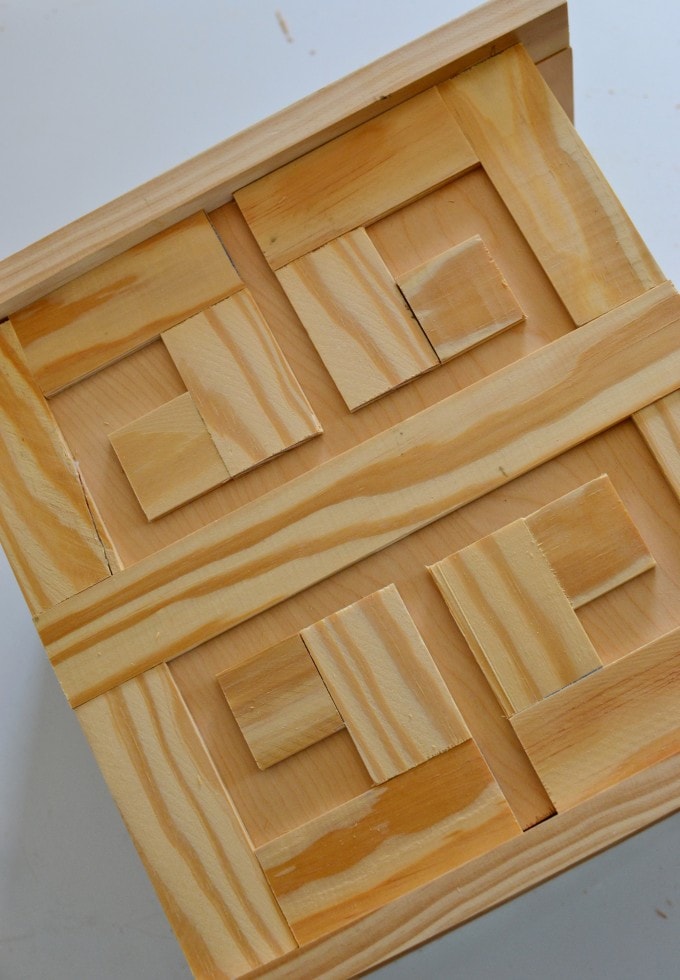
Gluing down the 1" pieces of trim will complete the greek key design for this side. Next you will need to turn the planter over to the exact opposite side and complete the design just as this side was completed.
Now that both sides are completed if the planter is turned to the side, both edges of the planter will look like this. When the trim for the next two sides are added make sure to butt the side trim up against the edge of the existing trim to create a nice edge, just as was done with the plywood.
The two slightly longer pieces of lattice strips will be used for these remaining two sides. Next the four pieces that form the H will be added, making sure that they too cover the edge.
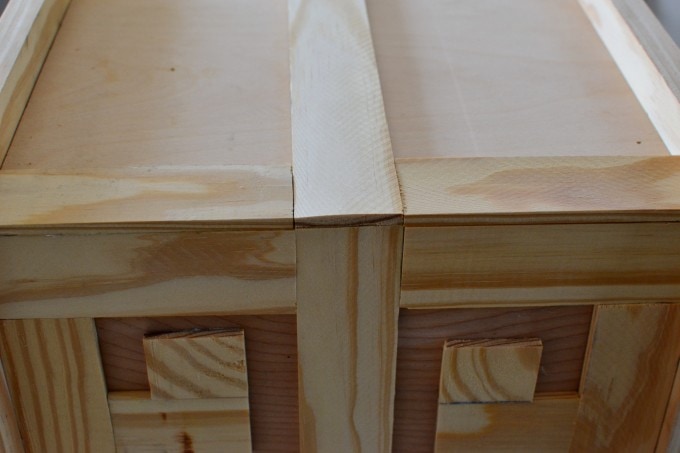
After the H pieces are in place, complete the trim in the same manner as the other sides.
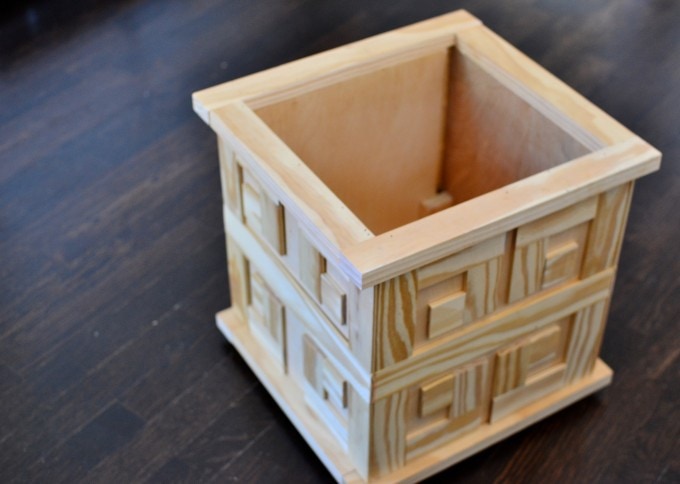
The planter should begin to look like this.

At this point we are almost at the finish! Yay!
I wanted to add some little feet to the planter so I cut 4 - 1 1/2" pieces of 1"x 1" square dowel.

Turn the Planter upside down and add one "foot" to each corner.

Once again I used my trusty little nail gun and fastened the feet into place.
Now you can turn the planter right side up and admire your beautiful work!
Now it time to paint this bad boy! My planter is going in my living room so I decided that I just wanted to spray paint it white, that way it can really POP against our grey walls and dark hardwood floors.
* This is just a tip: know yourself and your paint, if small cracks and imperfections bug you, use caulk or wood filler to remedy those problem areas before you paint. Also note that sometimes thicker paints will cover these areas and make them less visible while thinner paints like spray paint may enhance an issue.*
Once again I turned to my trusty can of white spray paint to get the job done. This is my favorite.

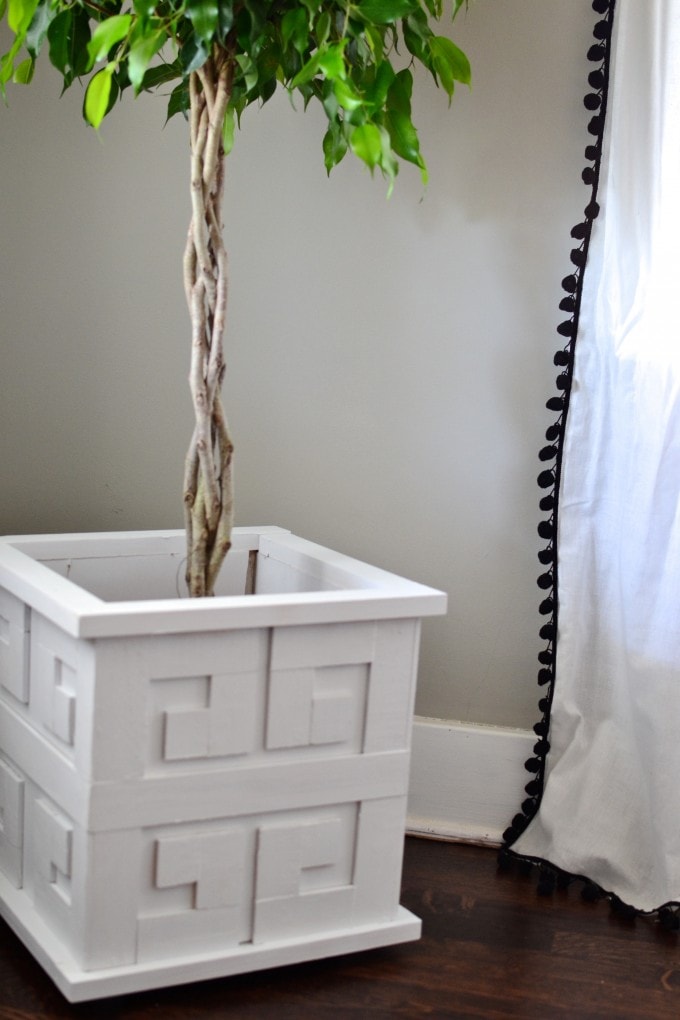
After the paint is all dry you have the sweetest little planter for a new plant addition to your home!
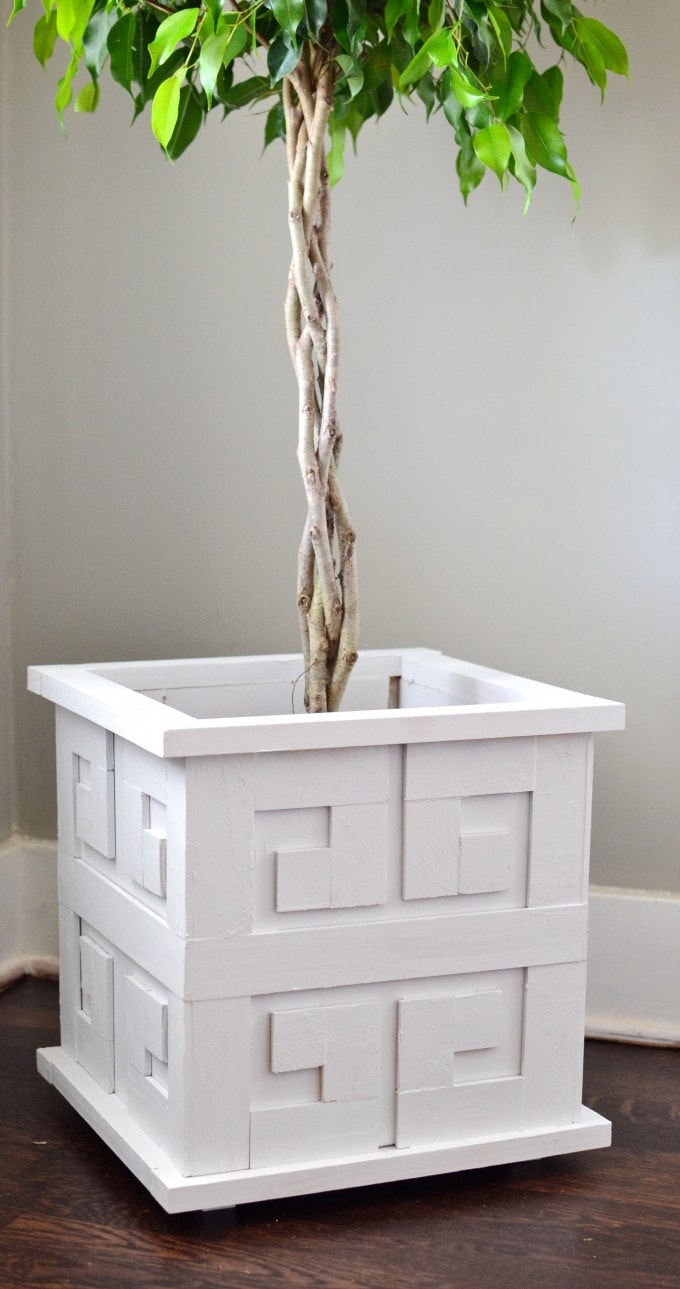
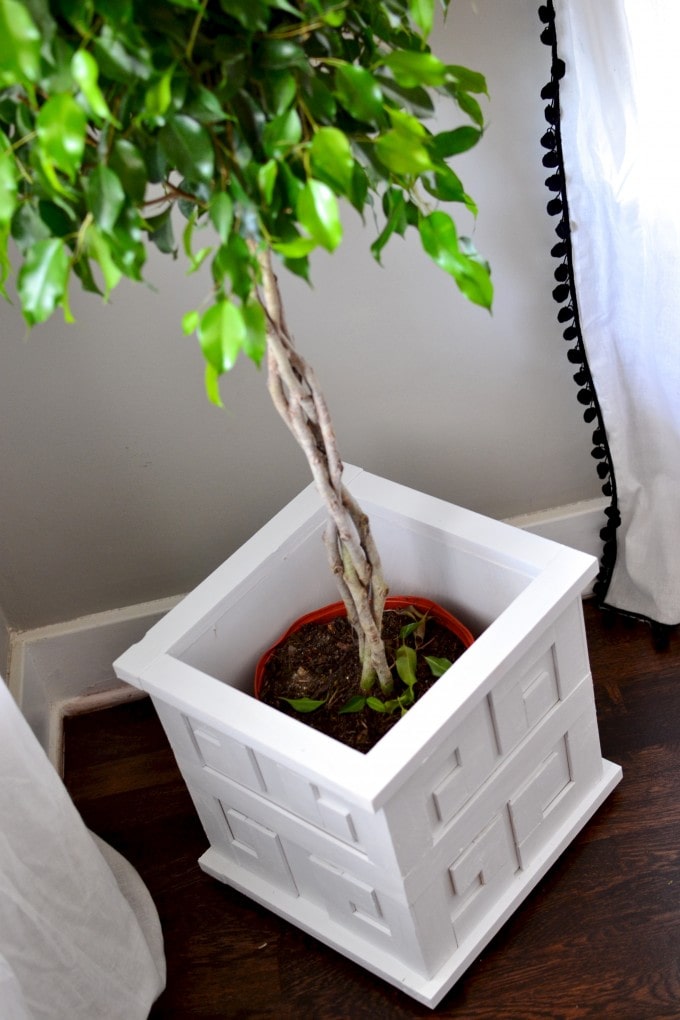
This was the perfect addition for our space! What about you, could you see your house rocking this cute preppy accessory?
BIG thank you always to Kristen for allowing me guest post on the Ella Claire blog today! Thank you to YOU for letting me be a part of your day, hope you'll come and visit me over at Love The Tompkins.


DIY Golden Urchin , Jazzing Up Basic Gourd Lamps
Shawnna
Oh I love it!! SO cool!!