

Holly from Love The Tompkins has such a great tutorial for you today! I am so thrilled to have her creative, lovely little self here to share her fun ideas. This girl is a DIY genius!
~~~~~~~~~~~~
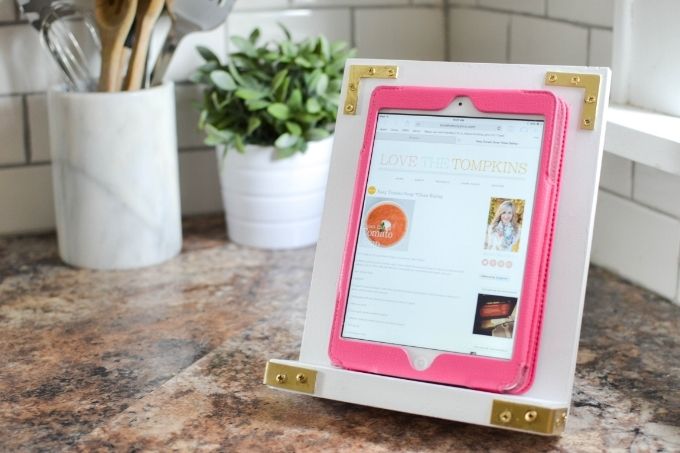
Hi y'all! I am so over the moon to be sharing with you on the Ella Claire blog today. I've whipped up a little tutorial that has proven to be so handy in my kitchen and I'd bet you could use one too, from my kitchen to yours a DIY campaign furniture inspired iPad rest.
I don't know about y'all but as far back as I can remember I have been obsessed with cookbooks, however since good ol' Pinterest came along, my cookbook usage has taken quite the back seat to my handy little iPad with my Pinterest "Food" board. Inspired my love of vintage preppy campaign furniture I created the perfect iPad rest for my kitchen. Here's how it's done...
Supply List
1/2" or 1" plywood or white wood
1"x 2" trim
Wood Glue
Clamps
Spray Paint
Trim Nailer ( Optional)
Flat Corner Braces (2)
Corner Braces (2) - The link is to a 2" brace- I used 1.5", but is not available online.
Drill or screw driver
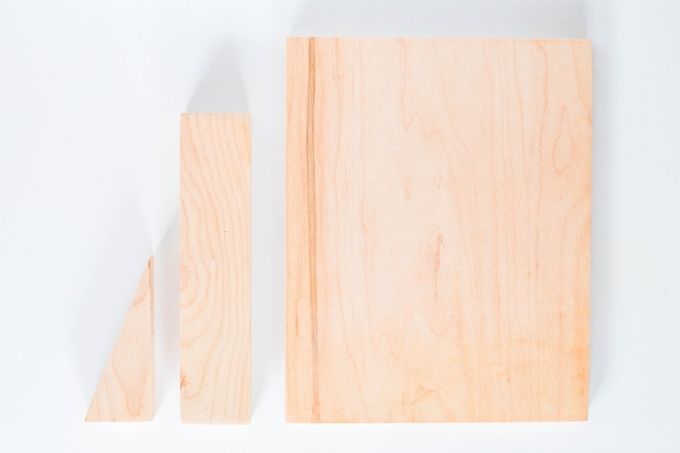
First you will want to make your wood cuts
From right to left
I cut my plywood 7 3/4" wide, 9 3/4" tall. I have an iPad mini- I wanted 1" border around my iPad when it was sitting on the rest. If you have a full sized iPad or other tablet you can measure 1" around your tablet to determine the size you'll require.
I cut a 7 3/4" piece of the 1"x 2" trim
For the last piece I again used the 1"x 2" trim - cut a 4" long pice and then cut diagonally lengthwise to achieve a triangle shape.
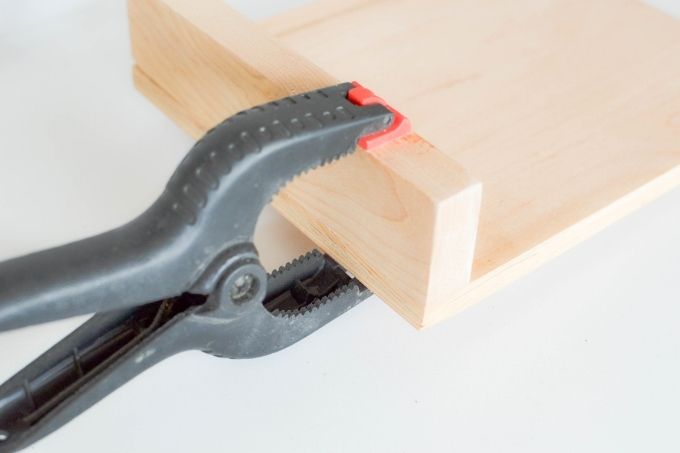
Next I glued the 7 3/4" trim piece to the bottom of the plywood- this will be the ledge that the iPad will actually sit on. I clamped the two together for nailing and drying purposes.
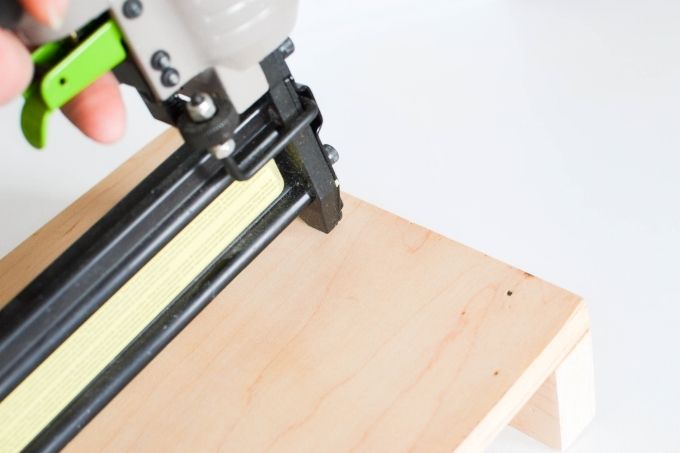
I then used my trim nailer to secure the ledge piece to the plywood- this is totally optional, you could opt to just glue the pieces together.
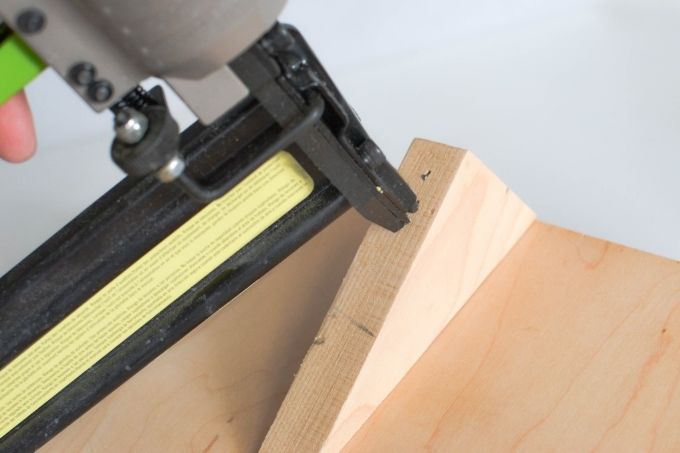
Next you will want to glue and or nail the diagonally cut piece of trim - this piece will act as the stand for the entire rest. It is very important that you position the trim on the back at the very bottom of the plywood, it will be at the same end of the plywood as the ledge, just on the other side of the plywood. The cut edge of the trim will be the glued edge and the thick part of the triangle will be the bottom. This allows the iPad rest to lean back just enough .
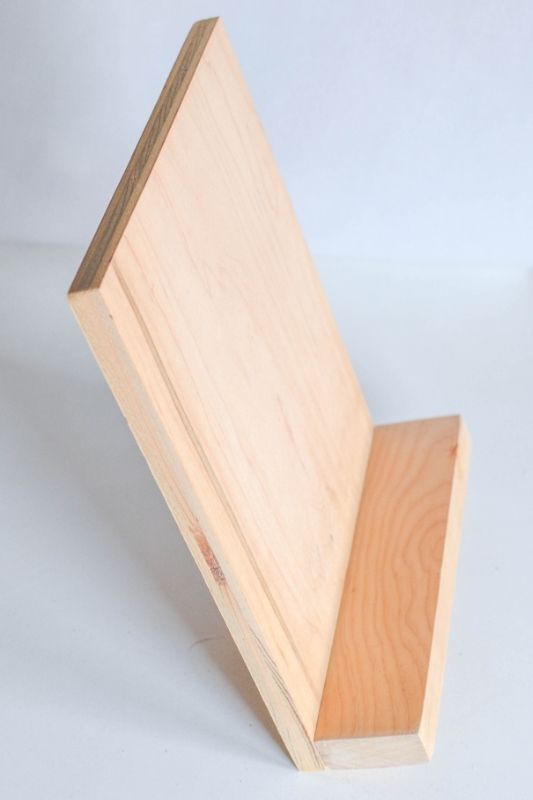
This is what your iPad rest should resemble after the construction phase.
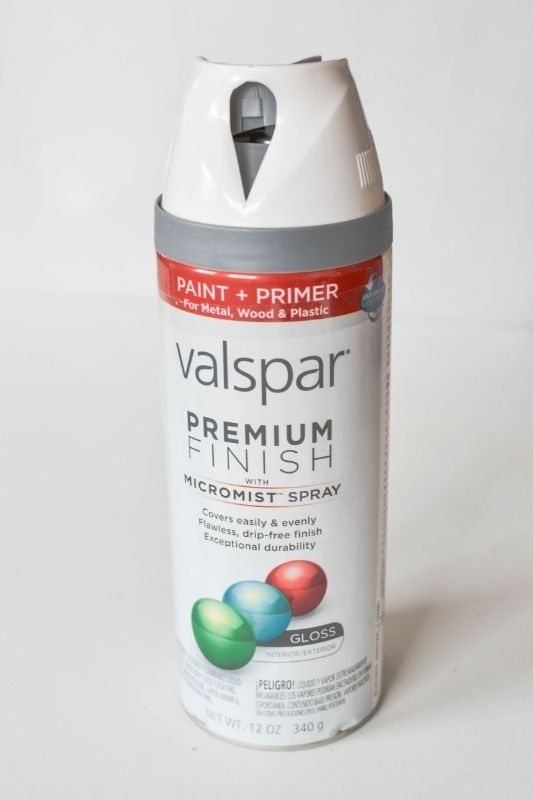
Next it's painting time! This is my favorite spray paint ever, I highly recommend it! I spray paint everything, it's my favorite form of painting and my best tip for you is multiple thin coats allowing the paint to dry completely between coats.
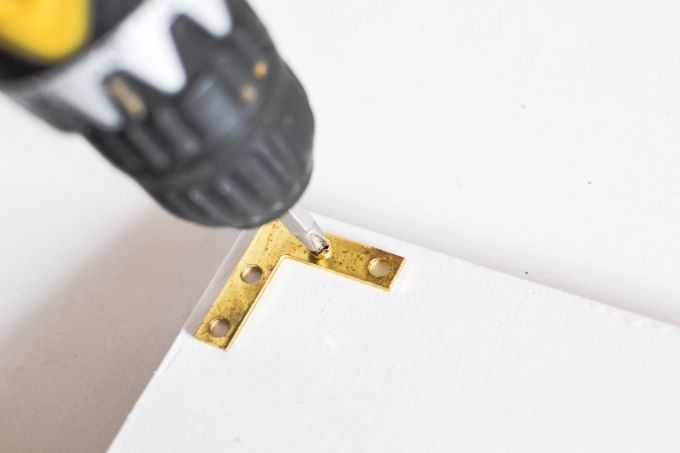
Once the paint is completely dry you can screw on the corner braces. I screwed one flat brace in each upper corner and the bent corner braces on each both frontal corners of the ledge.
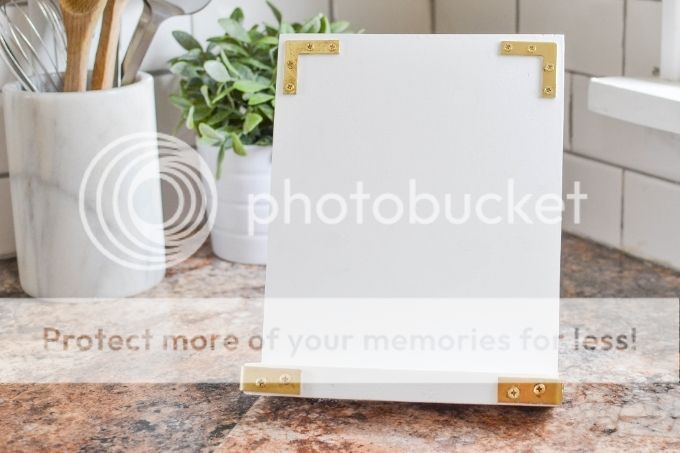
Voila! There you have it, a super cute campaign iPad rest!
I love how practical the iPad rest is. It's super versatile and can be made to fit anyone's specific style, I think it'd look amazing with some bold punchy colors!
I hope my little project has inspired you, if you're looking for some more inspiring projects I'd love for you to follow me and hop on over to Love The Tompkins!
Have a fabulous day,
Holly
Facebook / Twitter / Pinterest / Instagram / Bloglovin
Built-in Bench/ Build A Faux Fireplace / Counter to Ceiling Subway Tile & Open Shelving
temizlik firmaları Ankara
Hello friends, its great piece of writing regarding cultureand fully explained, keep it up all the time.
Emily
Oh my Gosh! I love this so much! And Yes, this would come in so handy in my kitchen. Thanks for sharing!
Emmie Capson
I love this idea!
Michele
What a great idea! I adore campaign inspired pieces, and this one looks cute and easy. I, too, tend to use my iPad for recipes now, so I think I'll have to try this project. Thanks for sharing!
Lisa at celebrate creativity
Hi Holly, this is so much better than trying to prop up an IPAD up on the counter using cookbooks-lol.
Easy to follow tutorial and your stand turned out beautifully.
Love your nail gun too Now, that's something I'll have to think about adding to my toolbox.
Enjoy your day!
Lisa