

Hello Ella Claire readers, I'm Cindy from diy beautify, where I share thrifty ways to beautify your home and bring beauty to your ordinary.
I am a huge fan of Fall, it is my very favorite time of the year! This year I decorated my home simply by using my favorite things and some items from nature (see HERE).
Most of the items in my home are either pieces I created from scratch or refurbished, like these Goodwill sweater pumpkins, this 'hello Fall' burlap pillow and the painted pumpkin pillows that I'm sharing today. My design on a dime style has produced a home that's warm and unique. You can read more about how I add warmth and personality to my home right HERE.
I'm smitten with all the soft colors of the Cinderella pumpkins. Last year I painted a pumpkin topiary and this year I decided to try my hand at painting pumpkins onto fabric and making my own removable pillow covers.
These pillows were created using canvas drop cloth fabric. I picked up a drop cloth from Lowes for around $10. I don't do anything special to prep my drop cloths other than washing in hot water and drying well. I like the oatmeal color of the fabric (although I know others like to bleach theirs), it works well with the neutral decor of my home.
Rather than buying new pillow forms, I used the drop cloth to make a pillow cover for existing pillows. I love pillows but don't have the room in my home to store a ton of them. Rather, I make removable cases that I can switch out with the seasons. If you don't know how to sew, look for pre-made pillow cases at a craft store. You can insert a piece of cardboard inside (to protect the back) and paint the pumpkin using the directions below.
After measuring the pillow form I'd be covering, I cut my drop cloth about 2 inches larger to allow for sewing it together. I had a large square to work with.
Supplies to Paint a Pumpkin Pillow
- drop cloth cut to size
- something to cover your table with
- acrylic paints
- fabric medium if you want to be able to wash your pillows (I didn't use)
- craft brushes in a variety of sizes
- water (to clean brushes)
- paper plate (or paint palette)

If you also have a pumpkin that you love, you might just prop it up nearby as a reference point.
Before we get started...I feel you might need a pep talk! You may have never done much painting before...but you can do this! No two pumpkins are alike and your painting is going to be unique! Don't worry about it, just try it and have fun! There are really no rules. You will find that your paint will spread and blend better if your brush is wet, that's why I recommend a glass of water nearby. Pretty much every time you load your brush with paint, just dip it into your water first.
Instructions for Painting a Pumpkin Pillow
Step 1:
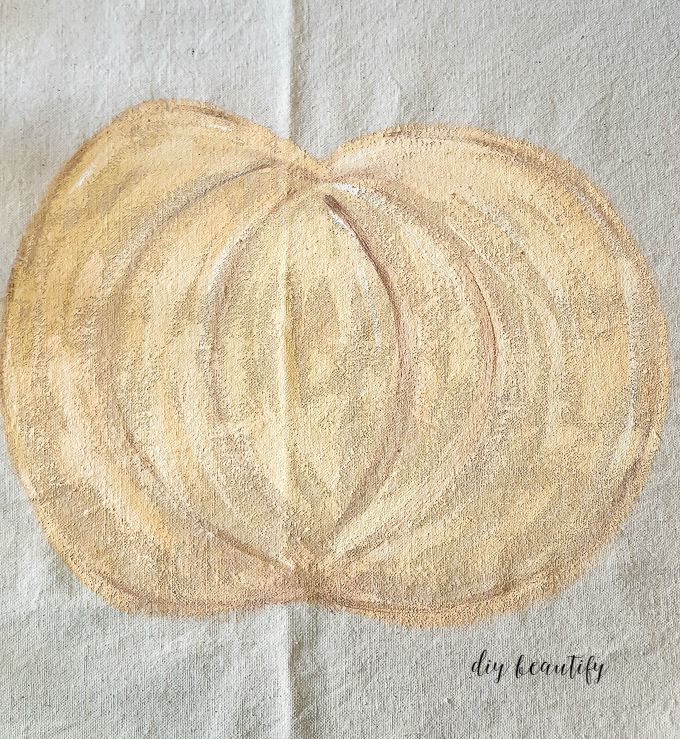
Lay your fabric flat and try to visualize a pumpkin on your fabric. Squirt several colors of acrylics onto the paper plate. You want to have a ready palette once you get going. I love mixing colors so that's what I did but if you're not comfortable with that, find a few colors at the store that you like and use those.

Oops, look at that, I got a blog of orange paint smack dab in the center of my pumpkin...not to worry because I'll be painting over it! Just try not to get any paint outside of the pumpkin shape and you'll be good!


Step 6:
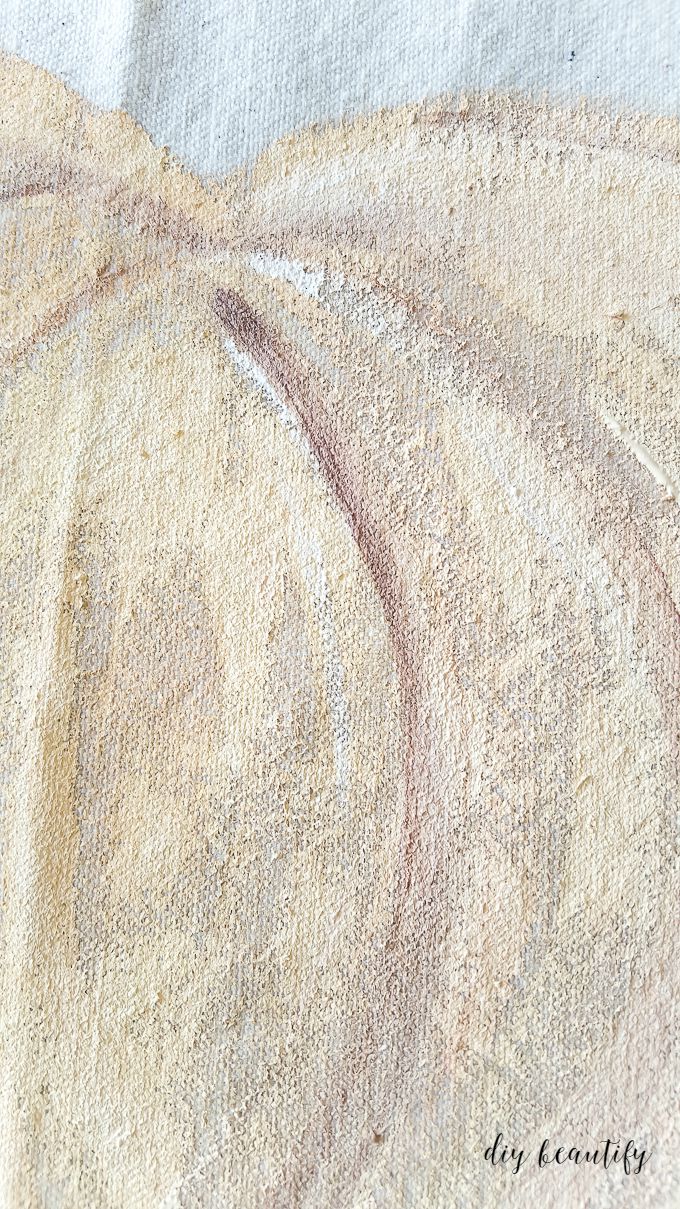
Add more shadows and highlighting. Switch to a brush with a fine tip, dip in water, then into dark brown paint. Lightly drag it along the segments and outer edges of the pumpkin to better define them. Do not worry if you get it too thick. Just go back over it with a wet brush dipped in your base color and blend it in.
Add white highlights as well.
Here's a close up. Blend and define. But don't overthink it!
Step 7:
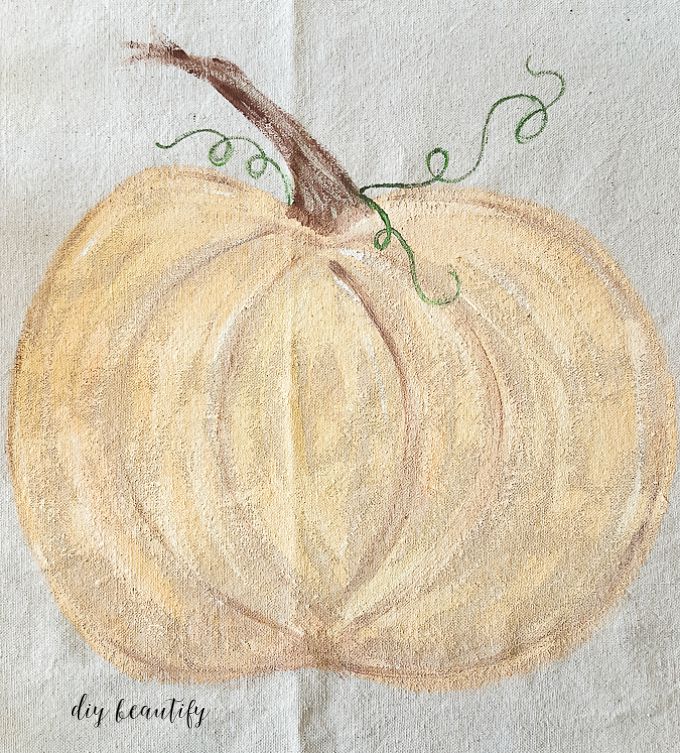
Paint the stem. Load a wet brush with water and draw the outline of your stem. It can be short and fat, tall and skinny, curved or straight. Remember, you're the artist!

Step 8:
Fill in the stem with more paint. Leave a little of the drop cloth showing through for natural highlights or add a little white paint.

Step 9:
Add a few tendrils or even leaves with green paint. You should now have a completed pumpkin! Yours will be different than mine, but remember...each pumpkin is unique. Just head to a pumpkin patch and take a look. Some are downright weird looking! See the beauty in yours.
You can now turn your painted pumpkin into a pillow case. I'll be sharing more details of that process on my blog, diy beautify soon.
Here's a green one I painted.

It wasn't centered on my fabric so I painted a larger one behind and to the side of it.

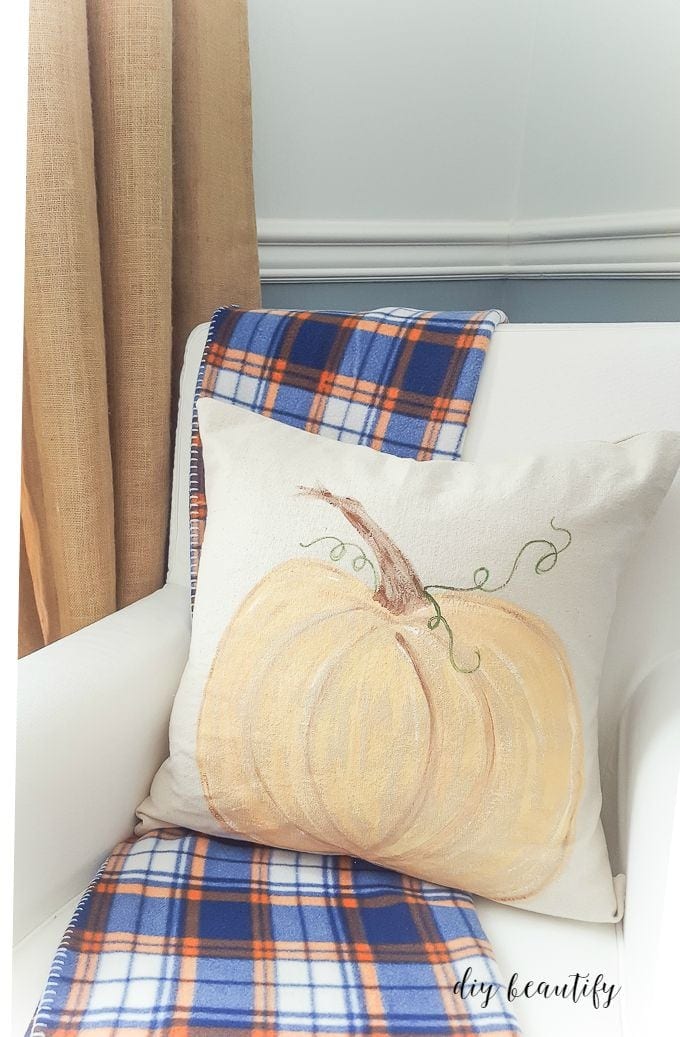
This is how the completed pillows look in my home.
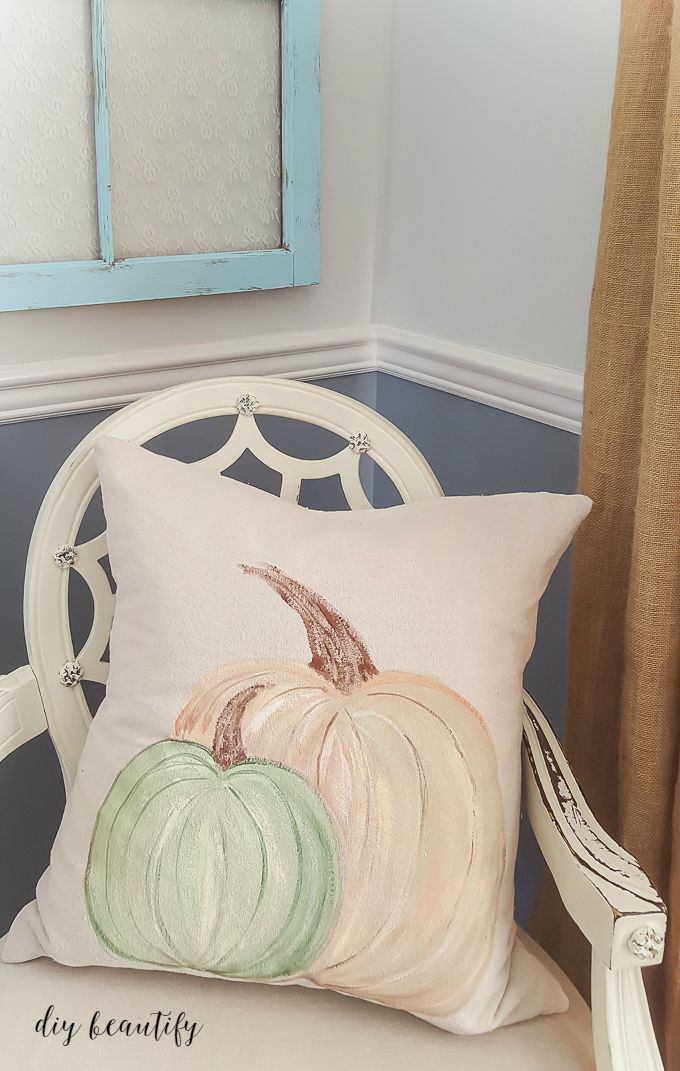
I can't decide where I like them best.
I've never 'taught' anyone to paint before, so I really hope my pictures and instructions were clear. If you do hit a snag or need more details, please don't hesitate to contact me. My contact info is available on my blog (HERE).
Here are some more projects that you might love:
Farmhouse Modern Laundry Room Reveal for under $200
I hope you come for a visit real soon! Thanks for having me, Kristen!
bringing beauty to the ordinary,
Follow me on Pinterest, FB, G+, Twitter,
Leave a Reply