

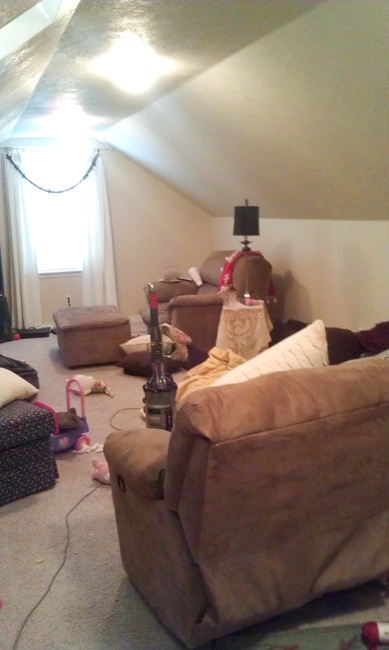
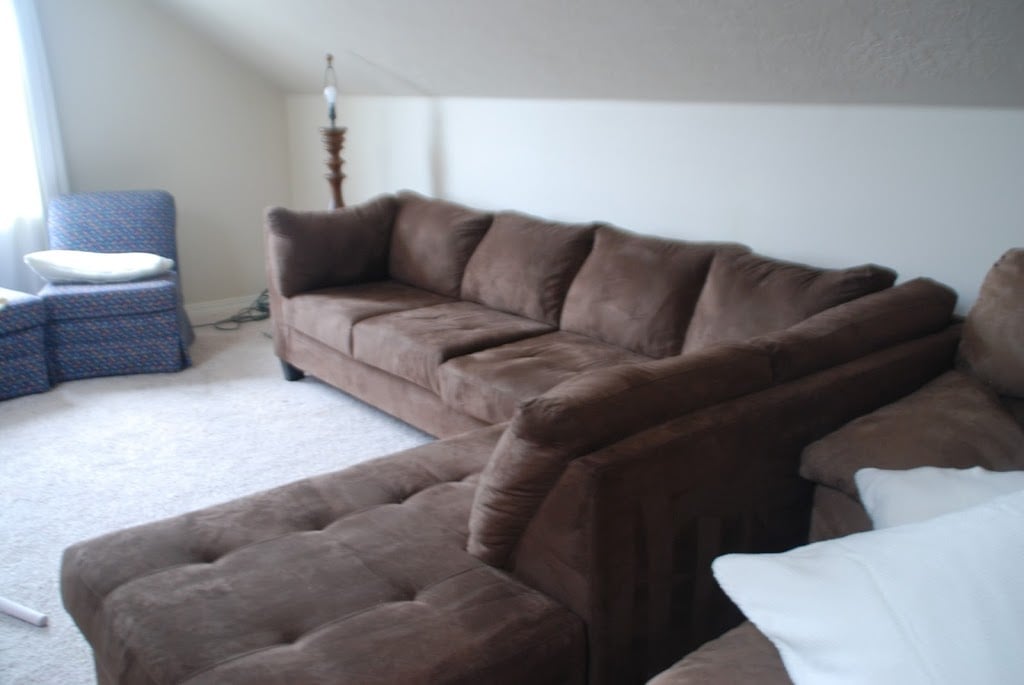
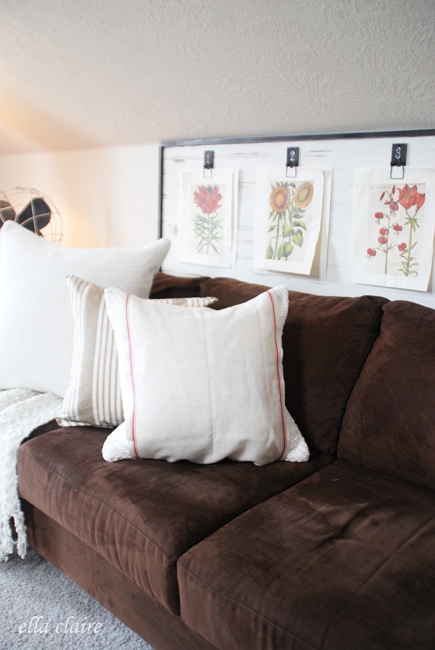
This is right after Christmas, and it looks like a bomb went off in here. I am still searching for my other before pictures, but I thought you would get a little giggle out of this. Here are our old couches from my hubby's bachelor days.
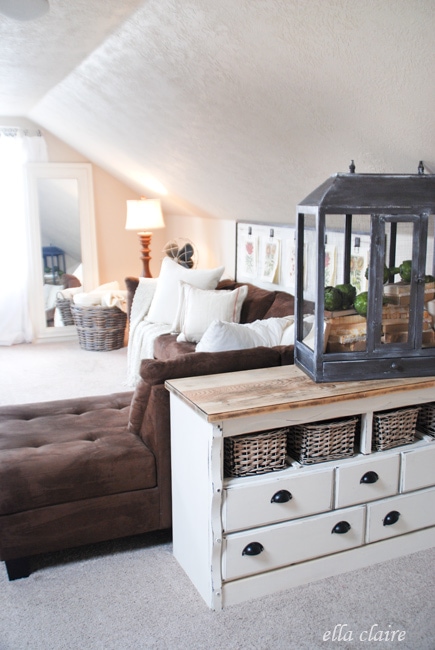
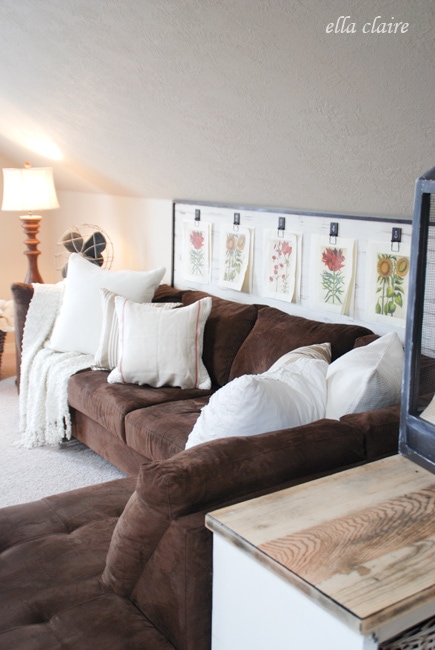
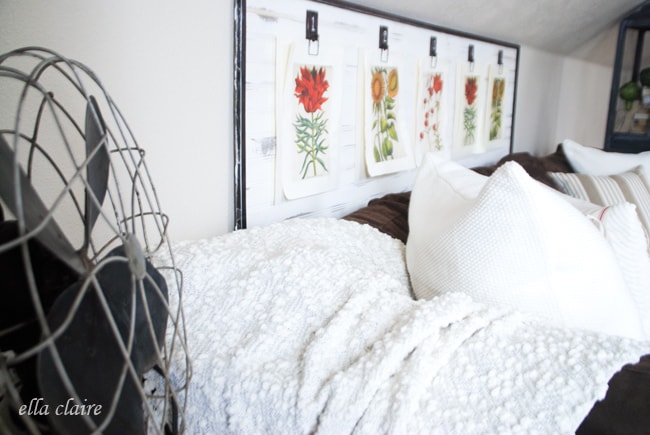

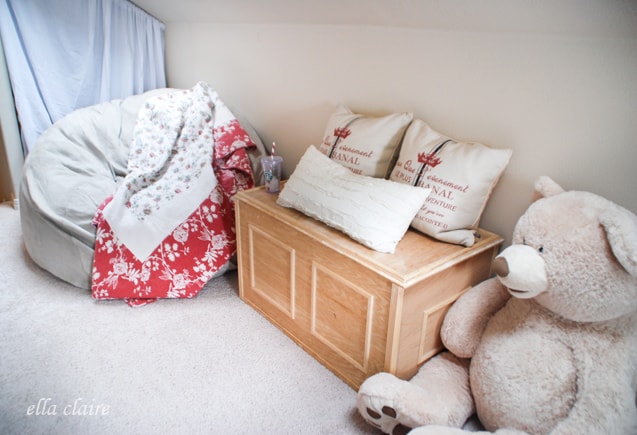
I wanted this space to be so warm and inviting and comfortable for my family to just hang out.
Here is a view from the stairs. (We got a new TV that we haven't put up here yet... I want to mount it on the wall so it is out of the way) As you can see, it is a HUGE room. It is the length of our 3 car garage, to give you an idea.

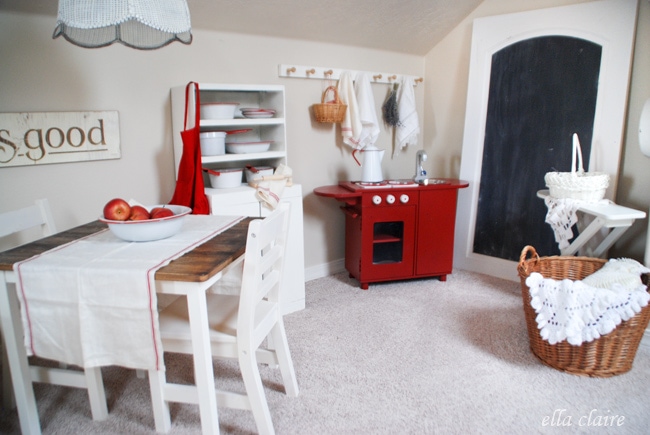
Since the room is so massive, I wanted to split it up into two different spaces. The first would be the family room, and the rest would be a fun playroom for Ella.
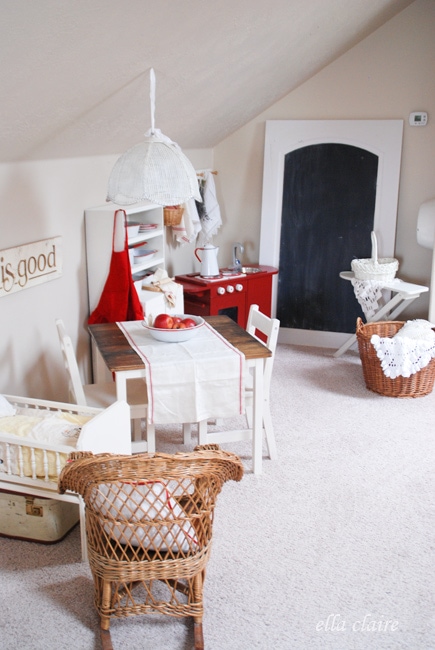
Ella loves the massive chalkboard on the back wall. She loves to draw. I will post all of the details and tutorials as well as the before and after pictures of each piece next week. You won't believe what some of these things looked like before I painted them!
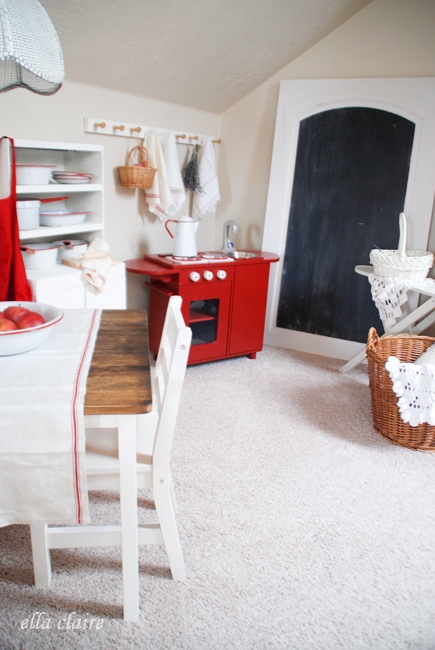
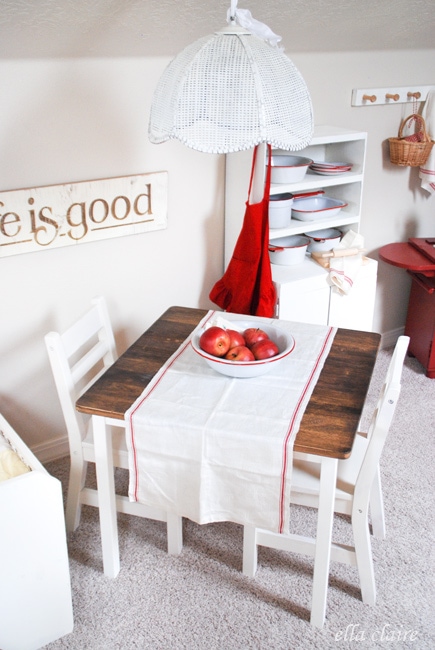
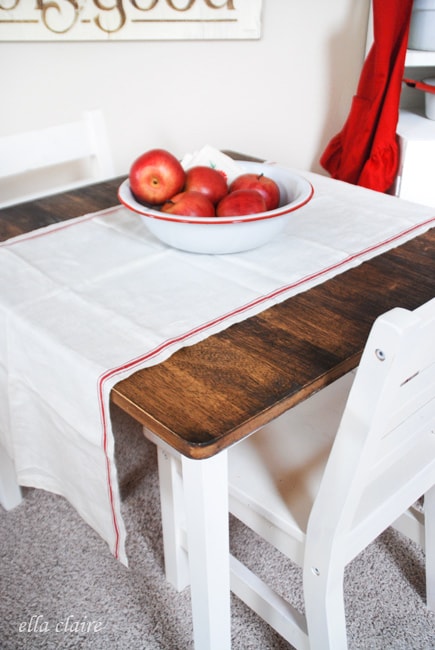
I am planning on painting a different sign to go over her table, but I had this one on hand so I stuck it there for now.
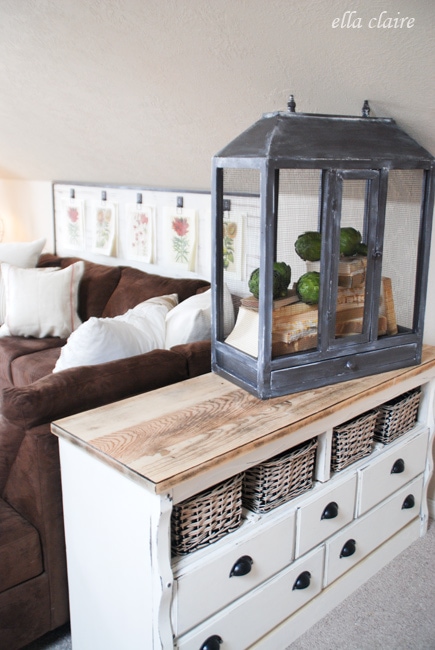
So far, I love having this dual purpose space! And, I made/DIY/repurposed/salvaged almost everything in the room! I love that you can make a room so comfortable and lovely with just bit of elbow grease {or a lot :)}
I promise I will post better pictures when it isn't SO cloudy outside!
Now for adding wood planks to the walls... I'm excited!
Linking at Coastal Charm!
Michele Reynolds
Love your family room makeover!!! I've got too much winter going on here, 40+ inches of snow and more coming, to get creative! I've been wanting to do a room makeover and I have a brown micro suede sofa. You've got me so inspired! Love your storage shelves and hardware. I have an Ikea hutch I can do that with!! Hugs
Debby
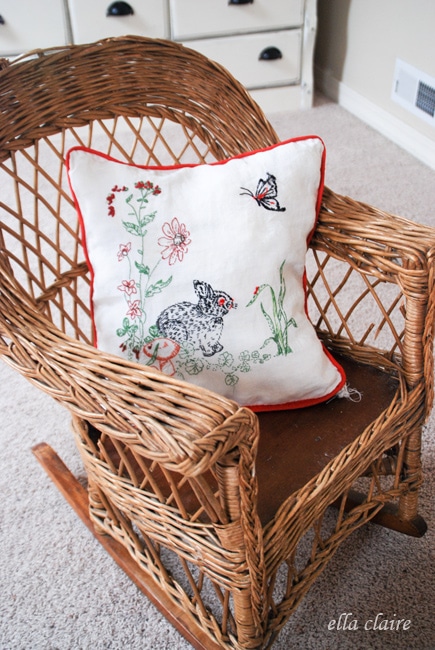
So nice. Your daughter must love playing there with you nearby. I like her table and her kitchen set.
Corn in my Coffee-Pot
Wow! you did a great job pulling this 'bonus room' together!
I love that it has an extra space for your little one to play.
I love how her side is decorated too!
Linda@Coastal Charm
The room looks outstanding..really like how you made into two rooms (awesome idea). The play area is super CUTE!!! The sofa turned out looking great...it fits nice in the area.
Blessings,
Linda
Selene @ Restoration Beauty
I love how it turned out! Looks so inviting and comfy! And the vintage play area is adorable!!!
Daniela @Frugal Aint Cheap
you did a great job! love the idea of splitting the room in two spaces
Jean @ www.thebackyardbungalow.com
The space for Ella is adorable. Love the red!
SugarBug's
Kristin, this turned out so good! I llloooovvveee the playroom, I'd love to do something like that for my granddaughter. You did good!
Kelly Rinzema
Love how this turned out! And of course Ella only has adorable toys for her little adorable self 🙂
Bronwyn
Wow! This is the perfect place for the whole family to hang out! Movies, popcorn and cuddles! And i bet Ella ADORES her play area. I know I would have spent hours there if I were still a little girl!!
Dawn
It's all just darling, I love all the red touches in the play area:) Perfect spot now!
Debra @ Common Ground
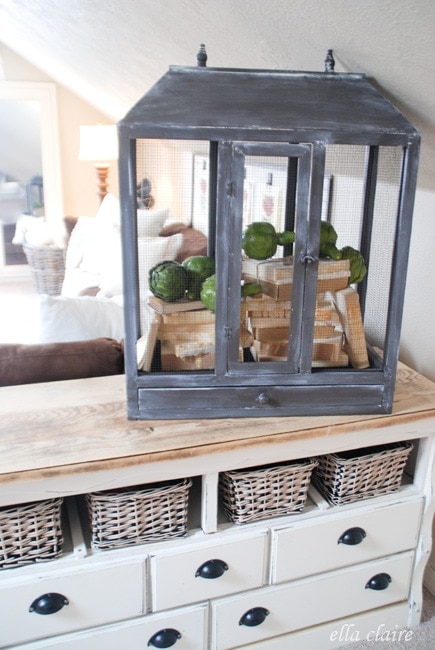
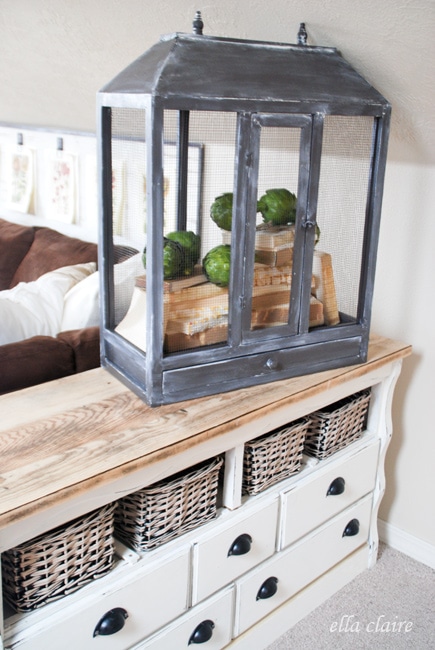
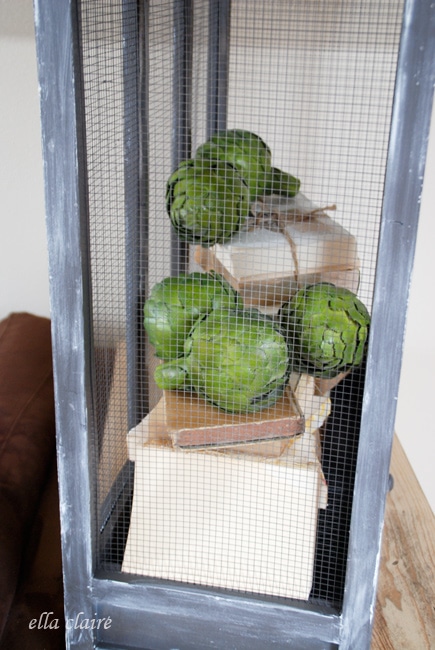
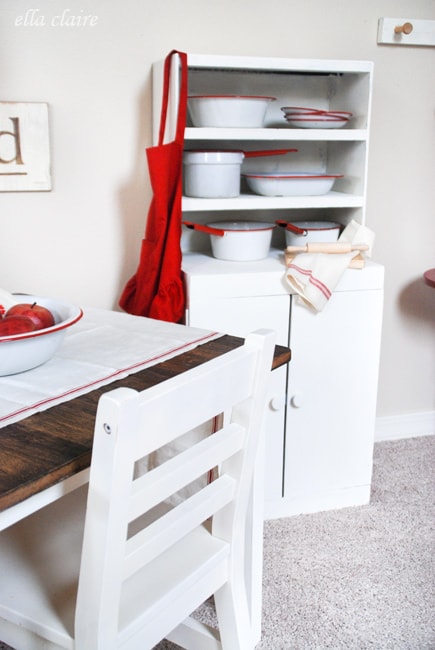
this is such a great space. Ella's area is just soooo cute. love her red stove and enamelware!! OK, the birdcage with books is just too cool, LOVE it!!
Little Vintage Cottage
Awww... love little Ella's playroom, wish my little girl was little again :o) The rest of the room looks awesome, can't wait to see your projects!
Tania
2littlehooligans
so adorable! i love that little kid area:)
Kristin @ Simply Klassic Home
Oh my gosh!! It's so pretty and that play area - I want one!! You've done a truly amazing job my friend. Little Ella is so lucky!
Amber Koogler
Makes me REALLY want a playroom! So creative...I love that feels like as miniature house. The light above the table is my favorite! Always so inspiring!
http://www.dimplesandpigtales.blogspot.com
Allison
I LOVE that play area!!! So cute and totally ties in with your decor! I can't wait to see your DIY projects!!!
20 North Ora
Kristen - It looks amazing!! You did a terrific job!. My favorite is still the mouse traps. Ingenious!!
Judy
Shannon
It looks so amazing! I love the adorable play area you set up for your daughter. You are so creative!
NanaDiana
Wow- That looks great, Kristen. You did a really good job and you can tell a lot of thought and work went into it- xo Diana