

Hello everyone!
I put together a little tutorial for this Rustic Crate Inspired Autumn Luminary that I originally posted about {here}. For anyone who would like to make it, it is actually really easy!
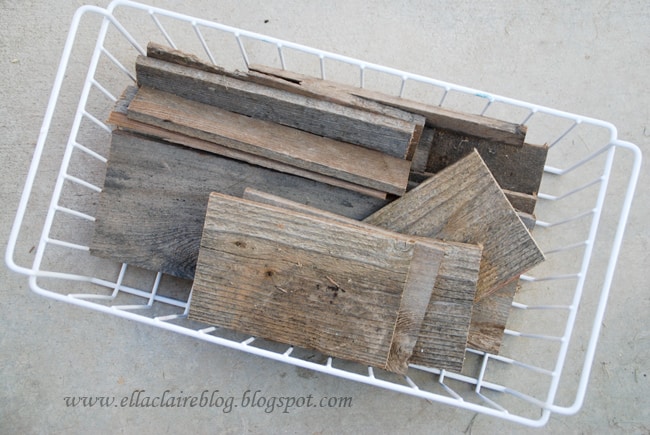
If you would like to make one of these rustic crate inspired luminaries, first, gather up some weathered wood. Old barn wood would work well for this.
I grabbed a bunch of boards that we had on hand in the backyard. Our neighbor's dog kept chewing through the fence and we had replaced a bunch of boards so we had a pile that, luckily for me, my hubby hadn't hauled to the dump yet. They were already nice and weathered.
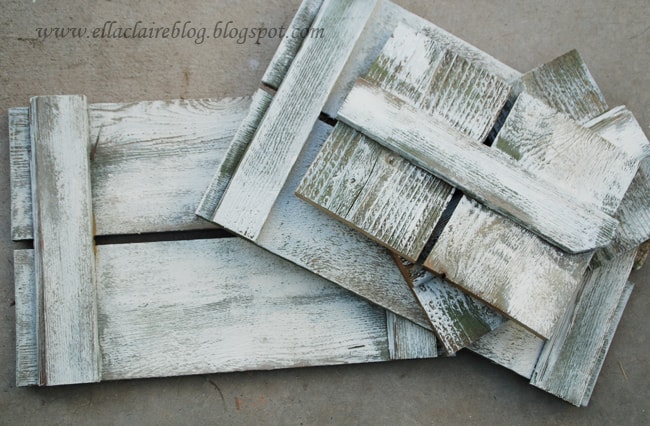
Next, cut your wood down to the width you want your luminary to be. Decide how many slats you will need for your luminary to be the right height. I used 2 slats per side and reinforced them with 2 cross slats.
In order to make the sides {I am sorry I don't have any pictures for this part!} I just used wood glue, and set something heavy on them until they dried.
I wanted a lighter finish, so I dry-brushed a layer of green paint, followed by a layer of creamy white paint. Then I distressed the whole thing with a palm sander. If you don't want this finish, you can just skip this step.
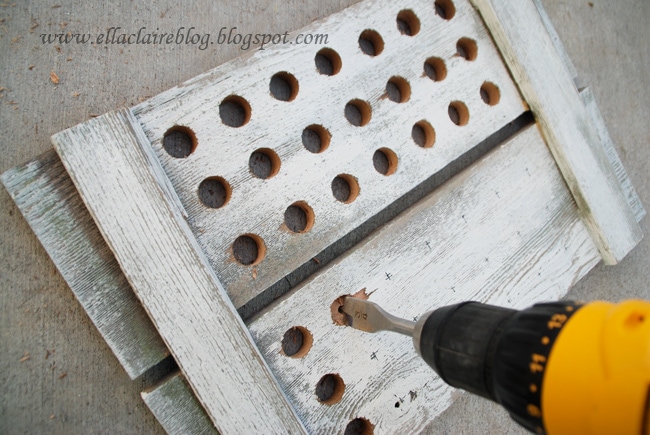
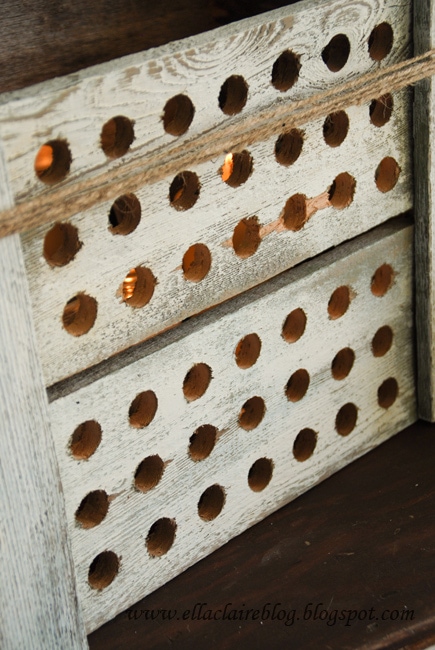
Next, take the side that you want to face toward the front and measure where you want to put your holes. I spaced mine 1 1/2 inches apart, center of hole to center of hole.
Then drill your holes using a 3/4" flat drill bit. {remember to take all safety precautions, that sucker is sharp!}
Once you have all of your holes drilled, nail or glue your sides together. I will be honest, and tell you that I used wood glue to adhere my sides, and reinforced them with the twine. Once the glue was dry, I kind-of liked the way the twine looked with my Autumn decor, so I just left it on there.
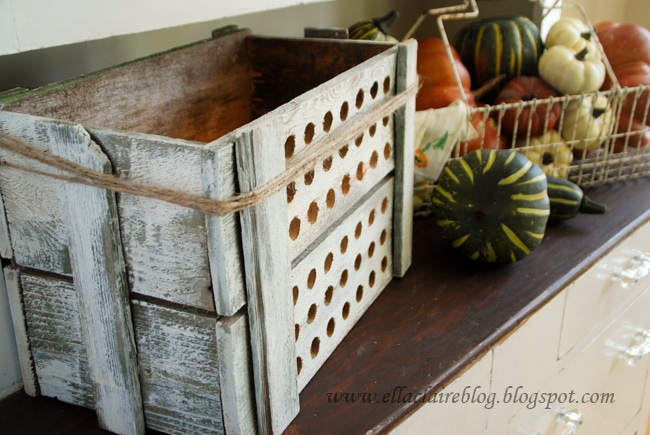
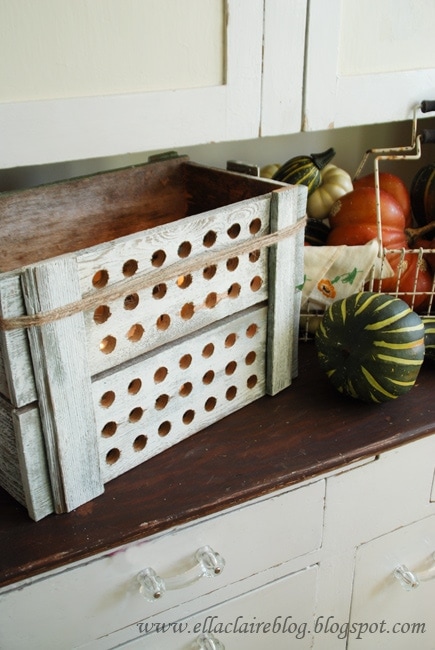
Then, just put a bunch of candles {the kind in glass jars} inside your fabulous new box, and your luminary is complete! I also put a little mirror from the dollar store in the back to help reflect the light.
Be sure to never leave your burning candles unattended. Also, be sure to burn the candles in the center of your luminary, away from the sides.
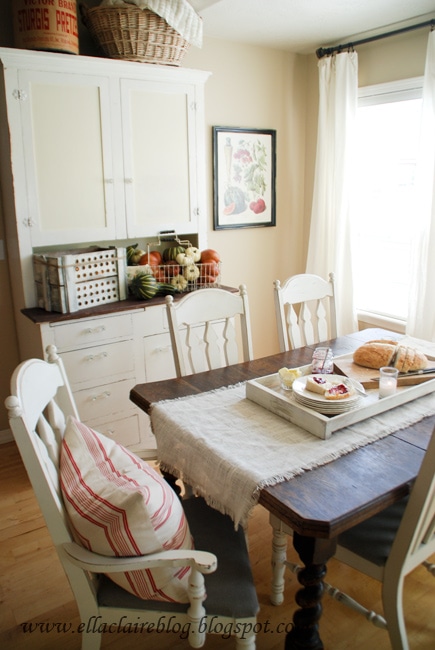
This rustic luminary has a wonderful ambiance, perfect for the fall.
If you would like to see my original post for 6 DIY Autumn Decorations under $6, click {here}.
Thanks for reading!
Amy Kinser
What a cool fun idea.
Girl, from all I have seen in your posts, you have some amazing talent.
Such a fun place to visit!
Suzanne@Meridian Road
I LOVE that, Kristen! It looks old and weathered and just plain cool! Pinning!
Kristin @ Simply Klassic Home
It's beautiful! I really need to become more familiar with my power tools...
Claire @ a little something in the meantime . . .
The white-washing looks fantastic, Kristen! This makes me wish we had a fence that a dog chewed! My supplies are seriously lacking in the weathered wood department but I have a feeling I'll still find a way to make this because I love, love, love it!
Debra @ Common Ground
wow, Girl, you are super handy with power tools!! this is a great idea. I always love anything with candles!