

Hello Ella Claire readers! It's Alicia from A Burst of Beautiful stopping by again, and today I've brought my husband, Nick, along too.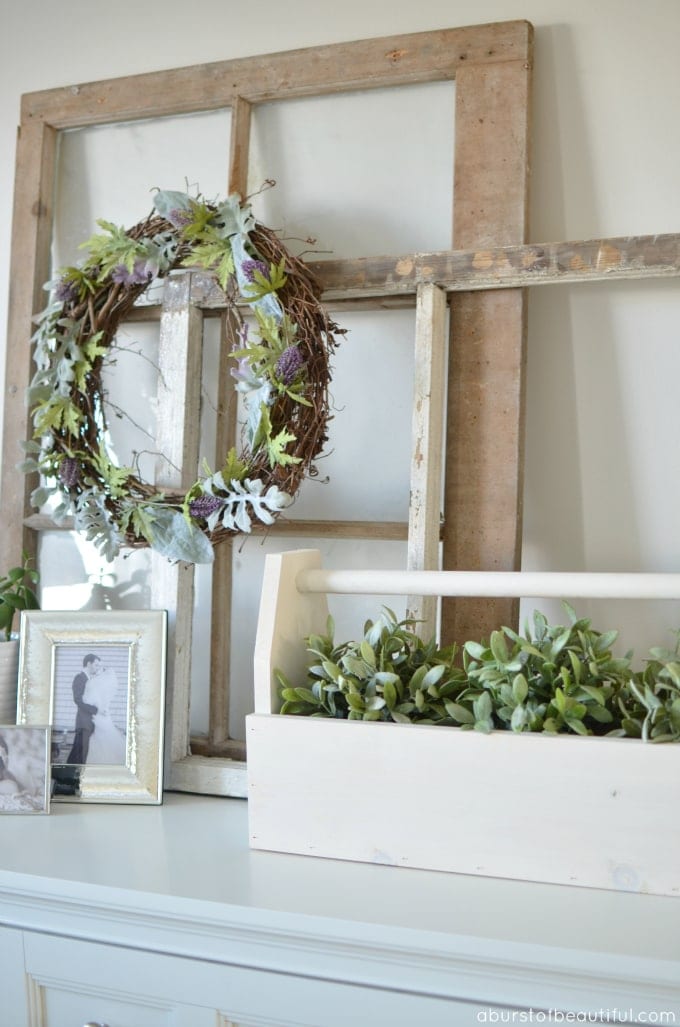
We love scouring flea markets and quaint little vintage shops for those one-of-a-kind finds. One of our favourite Saturday morning rituals is to wake up early, jump in the car and peruse our local markets and antique shows with a coffee in hand. These are usually my favourite type of weekends.
And sometimes discovering those one-of-a-kind treasures leads to a really great DIY project.
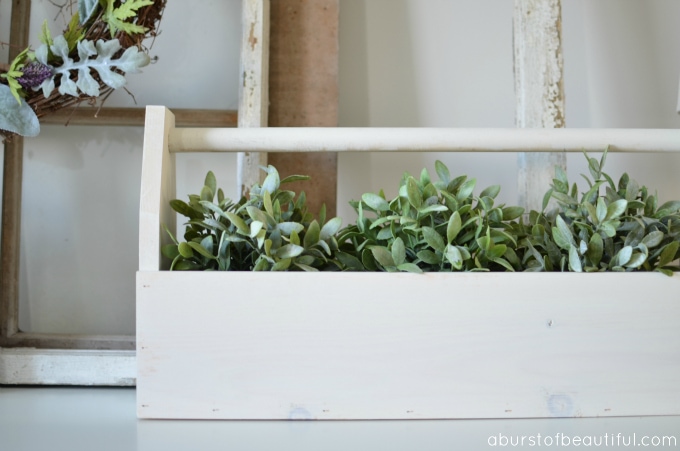
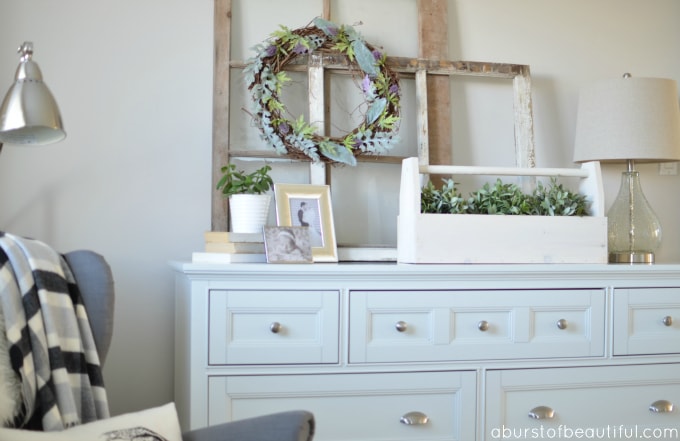
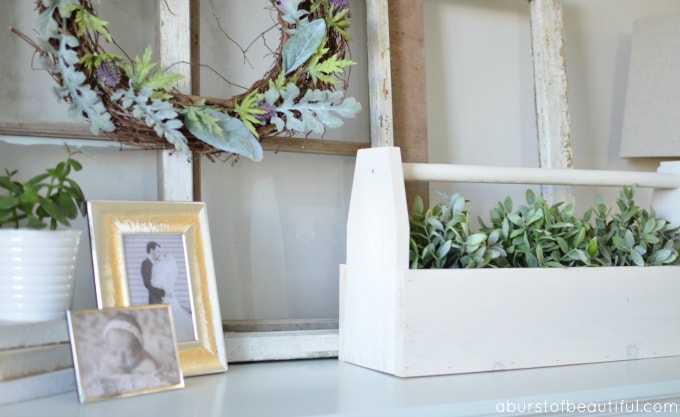 This summer I found a charming wooden toolbox at a local market, complete with the patina of a well-worn piece. I scooped it up knowing I would have so many uses for it, I actually wrote a post about it here. I've used it as a herb planter, a garden caddy and it's the perfect vessel to hold all of your entertaining needs for impromptu company.
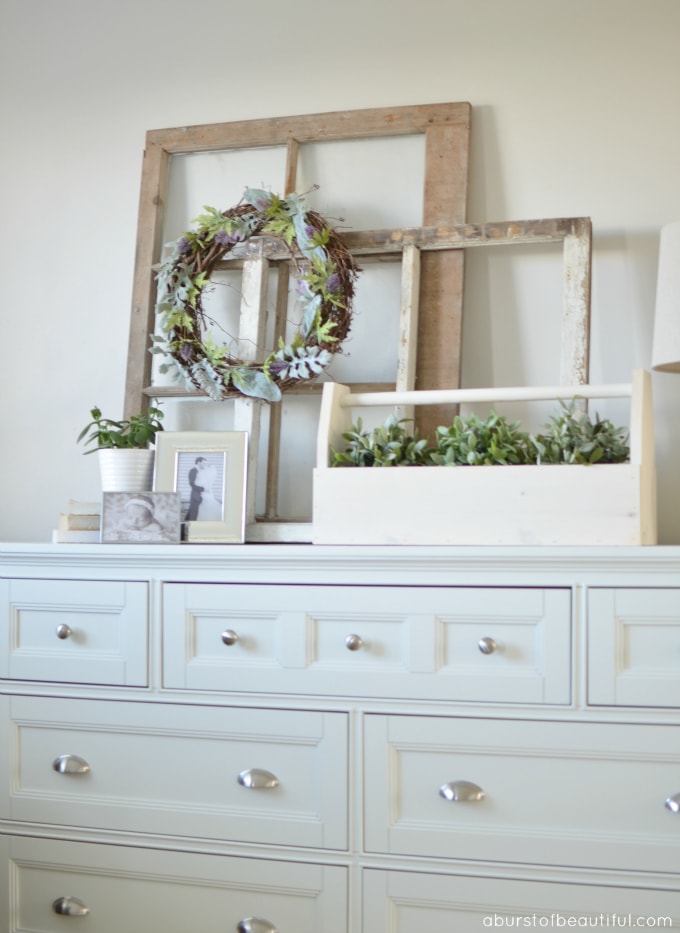
I've used it so much and moved it from room to room in our home, it got my husband thinking. He knew he could easily build me a few extra vintage-inspired toolboxes so I wouldn't have to keep swapping out the one we have.
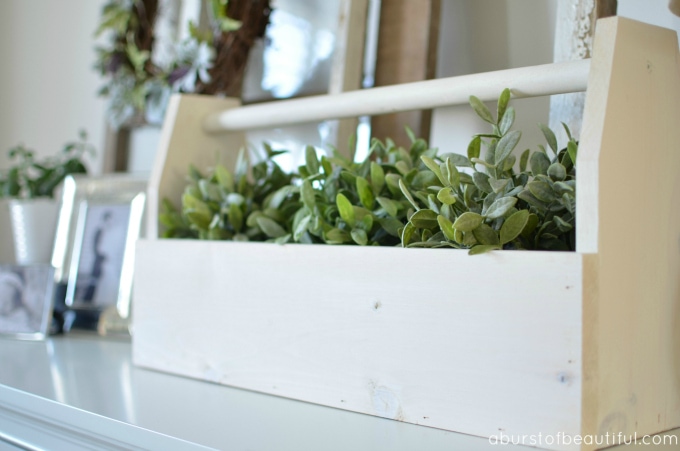
I love this project because it's so versatile. You can change the size of the toolbox to suite your needs, depending on what you are using it for and where you are displaying it. And you can have so much fun with the way it looks - you can give it a white-wash, stain it or paint it a bright bold colour. There are so many possibilities.
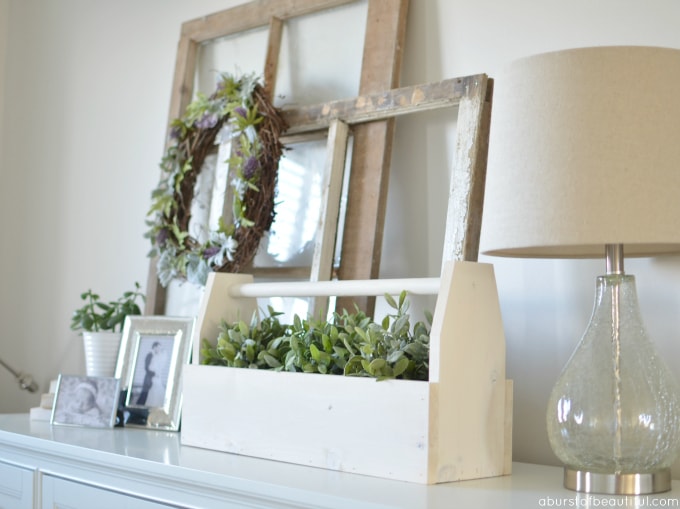
I painted it in a simple white (using a very thin coat of paint so that the natural wood was still visible), because you know how much I love neutrals. You can read my tips for decorating with neutrals here.
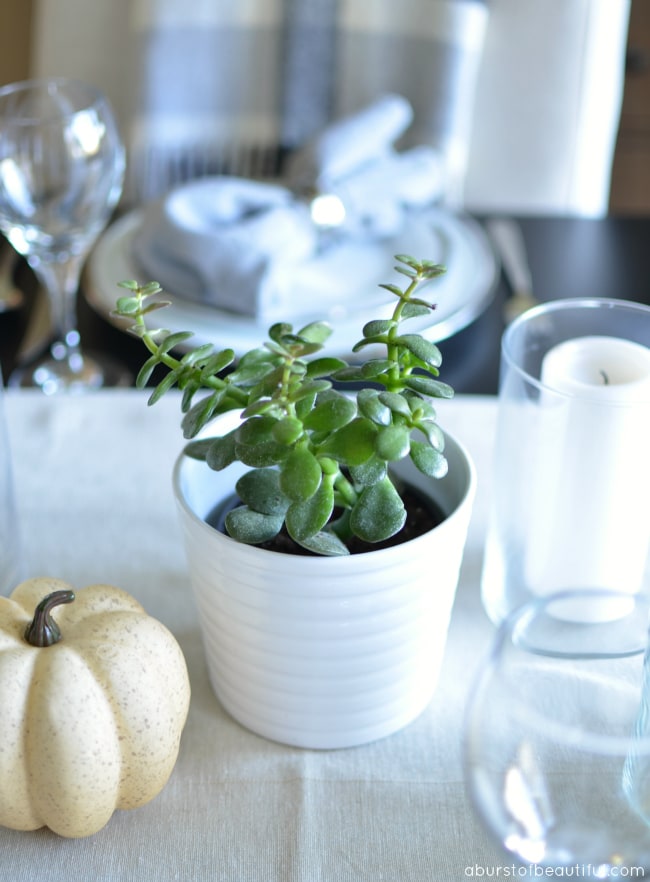
And because you've built it you don't need to worry about the condition it is in, like so many vintage pieces there is always concern about lead paint or mold. It's safe to use in your kitchen to store seasonal fruit and veggies or as storage in the playroom for books or arts and craft supplies.
Now, I'll let Nick jump in with the instructions on making your own vintage-inspired wooden toolbox. I hope you enjoy this project just as much as I have!
This plan uses only one piece of 1" x 6" x 8' wood and one dowel, which makes it a very efficient project.
Supplies & Tools Required
- 8' piece of wood (we used pine)
- 24" dowel (1" diameter)
- Mitre saw
- Nail gun and nails
- Carpenters glue
- Drill with 3/32 bit
- 2 - 8 x 1 3/4 screws
- Paint or stain
Instructions
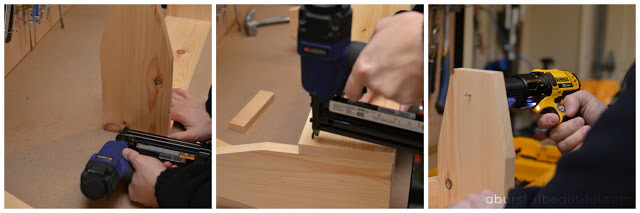
- Cut the 8' piece of wood into the following lengths: 2 x 24", 1 x 22.5", 2 x 12.75 (See Figure 'A' below).
- To create the angles on pieces 4 and 5, mark your wood 1" in on either side. Adjust your mitre saw to a 15 degree angle and cut each side of the plank from the 1" point at the top down to the side.
- Lay the 22.5" plank on a flat level surface. Apply a small amount of carpenters glue to the end piece and using a compressed nail gun attach your end pieces to the base.
- Lay the box on its side and line up one side piece and attach to base and end pieces using carpenters glue and nail gun. Repeat for the other side.
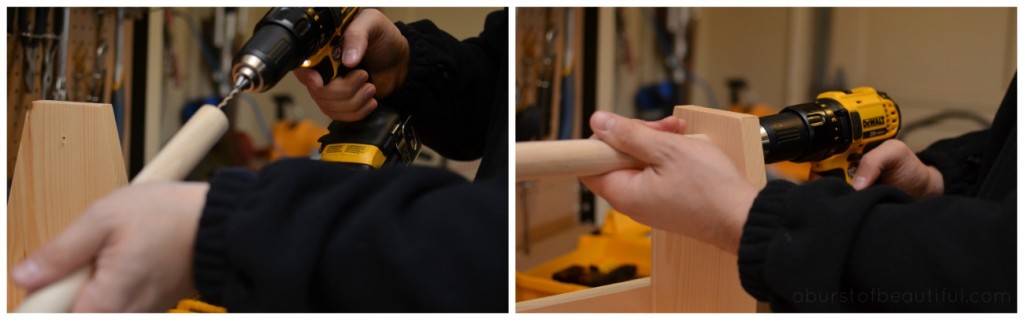
- Pre-drill using a 3/32 bit 1.25" from the top of the end piece and in the centre. Also pre-drill the end of the dowel in the very centre, making sure that you keep the drill bit going in straight.
- While holding the dowel in place, screw from the outside of the end piece into the dowel on each side.
- Paint or stain in any colour you wish.


Figure A
Figure B


If you enjoyed this post, you might also like...
Subtle Fall Touches in our Bedroom

Introducing a New Link Party {Create • Share • Inspire}

Janet (Shabbyfufu)
Great project and you are featured on my blog as one of the pics of the week in our link party this week!
Theresa @DearCreatives
Love your diy tool box. Can't wait to try this. Pinned & shared. Thanks for joining the party
Quinn Caudill
Pinned. Great tutorial. Thanks for sharing at #Throwback Thursday. Please join us again and remember this week will focus on Thanksgiving recipes.
Sahana
It has come out so nice. Love this project. Thank you for linking up with us @ #HomeMattersParty. We would love to have you again next week.
Maria @ Pastels & Macarons
Oh this is just gorgeous! Pinning & also featuring it at this Sunday's Turn It Up Tuesday! Thank you for sharing. I'm a co-host for this month and have loved popping over to view this post and look at your website though I've actually been here before and love your posts! 🙂 Maria. x
Lisa Silfwerbrand
I absolutely am in love with this project! The simply style and colour are just beautiful. I will definitely be making one of these (or maybe more!!!). They would be so handy to hold so many things. Thanks for linking these up to the Bewitchin' Projects Block Party this week. Hugs, Lisa
Beverly
There is just something about boxes. I love them and have lots of them around. Yours looks great and your instructions are awesome.
Thanks for sharing at Turn It Up Tuesday,
Bev
Meredith @ The Palette Muse
Great project, and it looks so pretty the way you styled it! I keep looking for these in thrift stores, but can't find one. Maybe now I'll just make my own! Pinning...
creativejewishmom/sara
Gorgeous as always, thanks so much for sharing on craft schooling Sunday!
Linda J
I can tell you this one is pinned! Great piece, great instructions! Thank you so much. I can see Christmas gifts! Keep up the great work.
Shawnna
hey girl- great ideas!! Love the pics!