


~~~~~~~~~~~~~~~
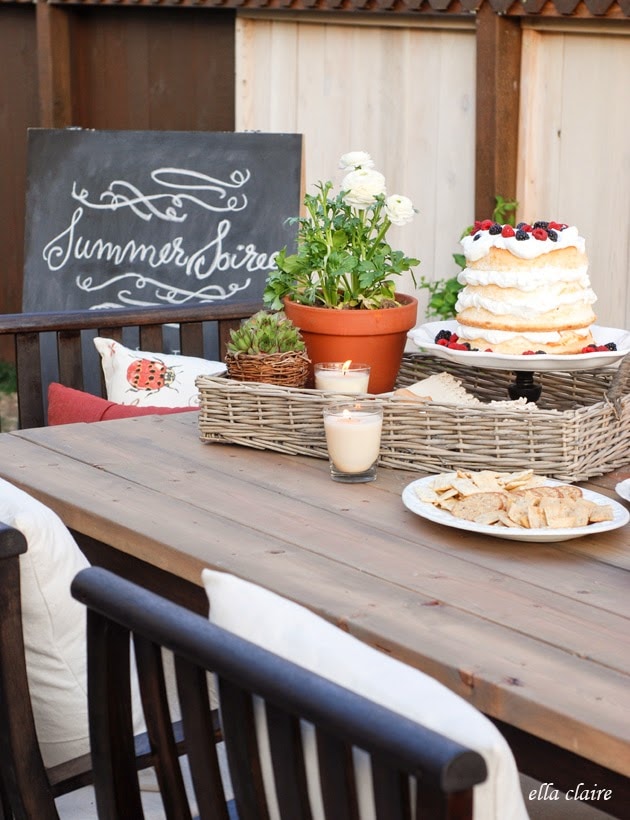
I was SO excited to share my patio reveal yesterday for the Home Depot Patio Style Challenge! I had so much fun dreaming up, and working on, all of the DIY projects for the challenge! It has been such a great experience and I feel so honored to have participated.
As I said yesterday, I will be sharing many, many tutorials... so if you liked something you saw, stay tuned!
Today's tutorial is super easy. It only takes 5 minutes of assembly time to build this versatile and fun chalkboard sandwich board. And, it only costs about $23! I think this is one of those fun things that is perfect to have on hand for parties, lemonade stands, garage sales, etc.
First, grab a set of hinges at The Home Depot. I found these for under $3 for the pair.

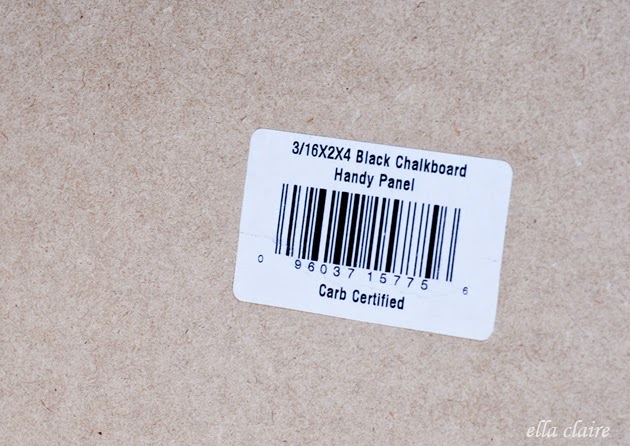
While you are at The Home Depot, grab 2 of these boards. They are 2ft x 4ft chalkboard hardy panels and they are back in the lumber section next to the smaller sheets of particle board. They are already the perfect size, so no cutting is required!
I had some Gorilla Glue on hand, but if you don't have any, be sure to grab some while you're out.
To build your DIY Chalkboard sandwich board:
1. Lay both chalkboard hardy boards face down short end to short end.
2. Measure and mark where you would like to place your hinges.
3. Open up your hings so it will lay flat. Discard screws or save for a different project.
{Make sure you orient your hinge so it will close the right way when you glue it to your boards}
4. Attaching one hinge at a time, squeeze a bead of glue along the board side of the flat parts of the hinge and press against the board. Be careful to not get glue in the movable parts of the hinge, or your hinge will not work properly.
5. Place something heavy on the hinge to hold it in place until dry. I used extra tools I had on hand~ A heavy wrench and a big tape measure. Be sure to avoid setting it in the glue itself by balancing it between the round part of the hinge and the board.
6. Follow package instructions to allow enough dry time. I let mine dry overnight just to be sure.
7. Fold boards together and stand upright.
8. Follow my tutorial HERE to prime your chalkboard before use.
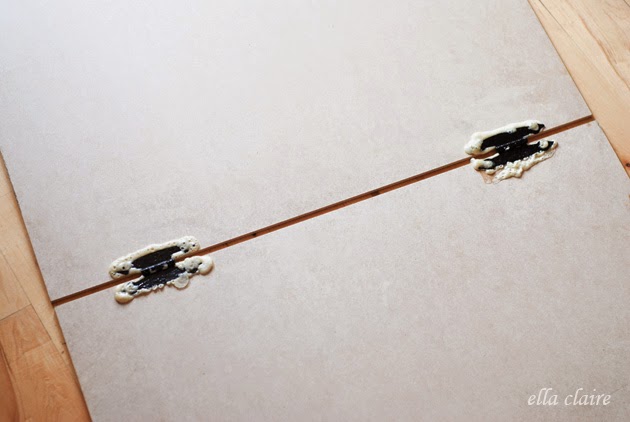
P.S. Don't worry about the messy look of the gorilla glue around the flat part of the hinges. When the sandwich board is closed, it is hidden.
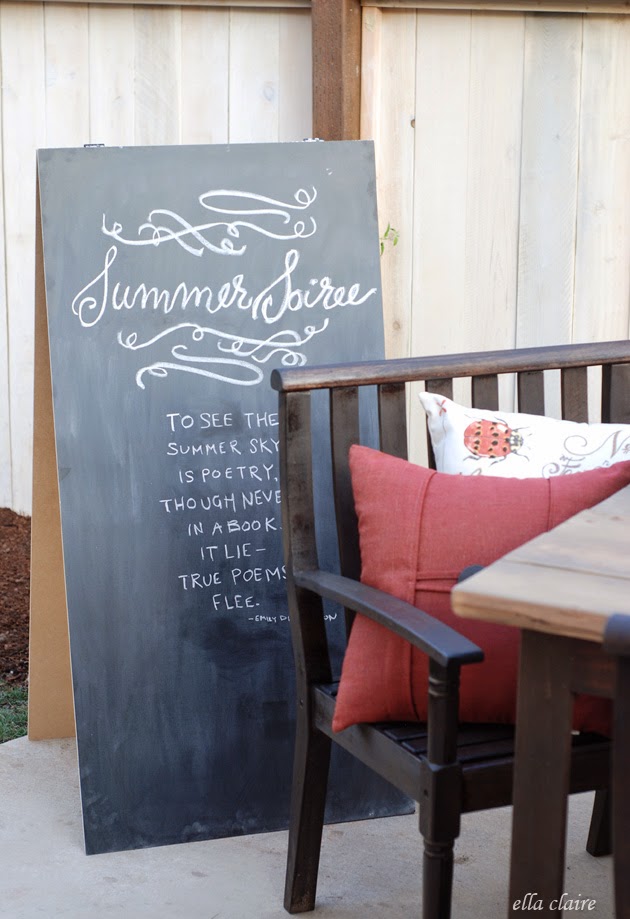
It is easiest to draw on your board by laying it on a flat surface, or setting it up against a wall.
I LOVE chalkboards! They are so fun and versatile.
And I love that it can be changed up and moved around {maybe I should remove the tag off of the backside... hehehe}

You can head over to the see the rest of my patio reveal for the Home Depot Patio Style Challenge on the Apron Blog!
I have plenty more tutorials on their way, so I hope you will stay tuned!
LISA TRAINOR
Thanks for inspiring me with your GREAT idea!! I hope I can find the panels....and after I remove the tag...haha...I'm going to paint the inside a bright color. Have a great day and keep on inspiring us please.
Kayly Nyman
So simple and easy! And your patio looks gorgeous!
[email protected]
So cute! And so easy! That's my kind of project! Life to the full! Melissa @ DaisyMaeBelle
20 North Ora
Cute idea. Looks fairly easy! Thanks for sharing with us.
Judy
Sarah Dahl
GORGEOUS!