

Hey you guys! I'm blogging here at the Ella Claire today, I hope you stick around and see what project I have in store for you today - Holly, Love The Tompkins
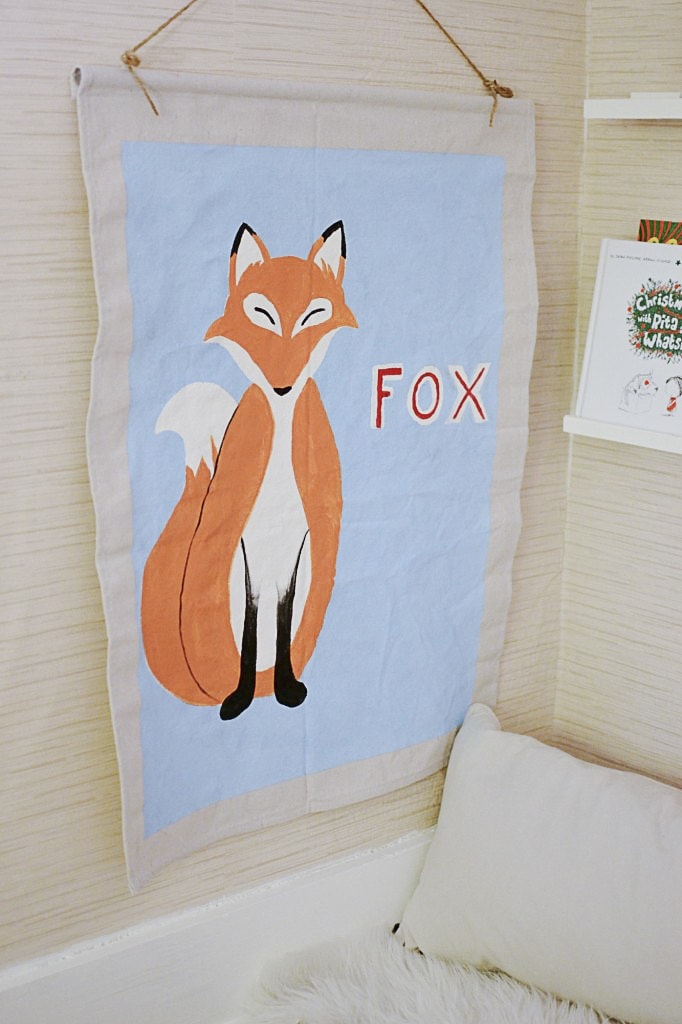
Lately we've been doing revamping my son's nursery and adding some brighter colors. His room has fox hunt theme, which we love but I felt like it's never had enough whimsy. I was perusing Pinterest one day and I spotted these adorable painted animal posters. They are from Pottery Barn and are unfortunately no longer available.
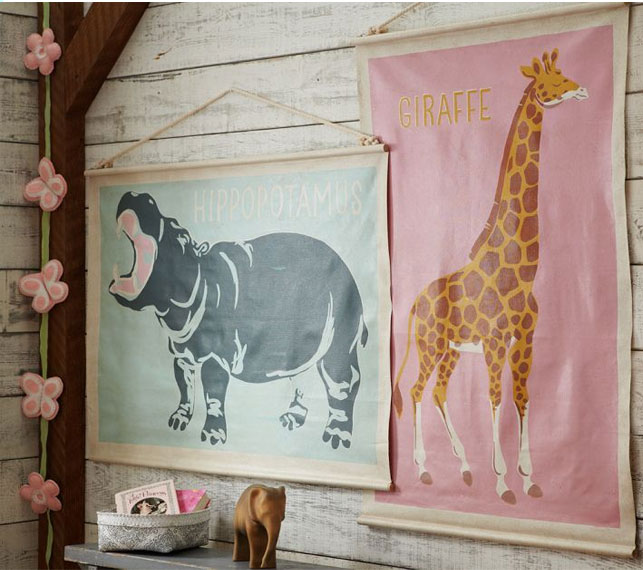
Aren't these so adorable though!? I decided that one of these with a little orange fox would be perfect for Grayson's nursery and I was pretty certain I could whip one up of my own design. Stay tuned and I'll show you how I made my own Pottery Barn inspired painted animal poster.
Supplies:
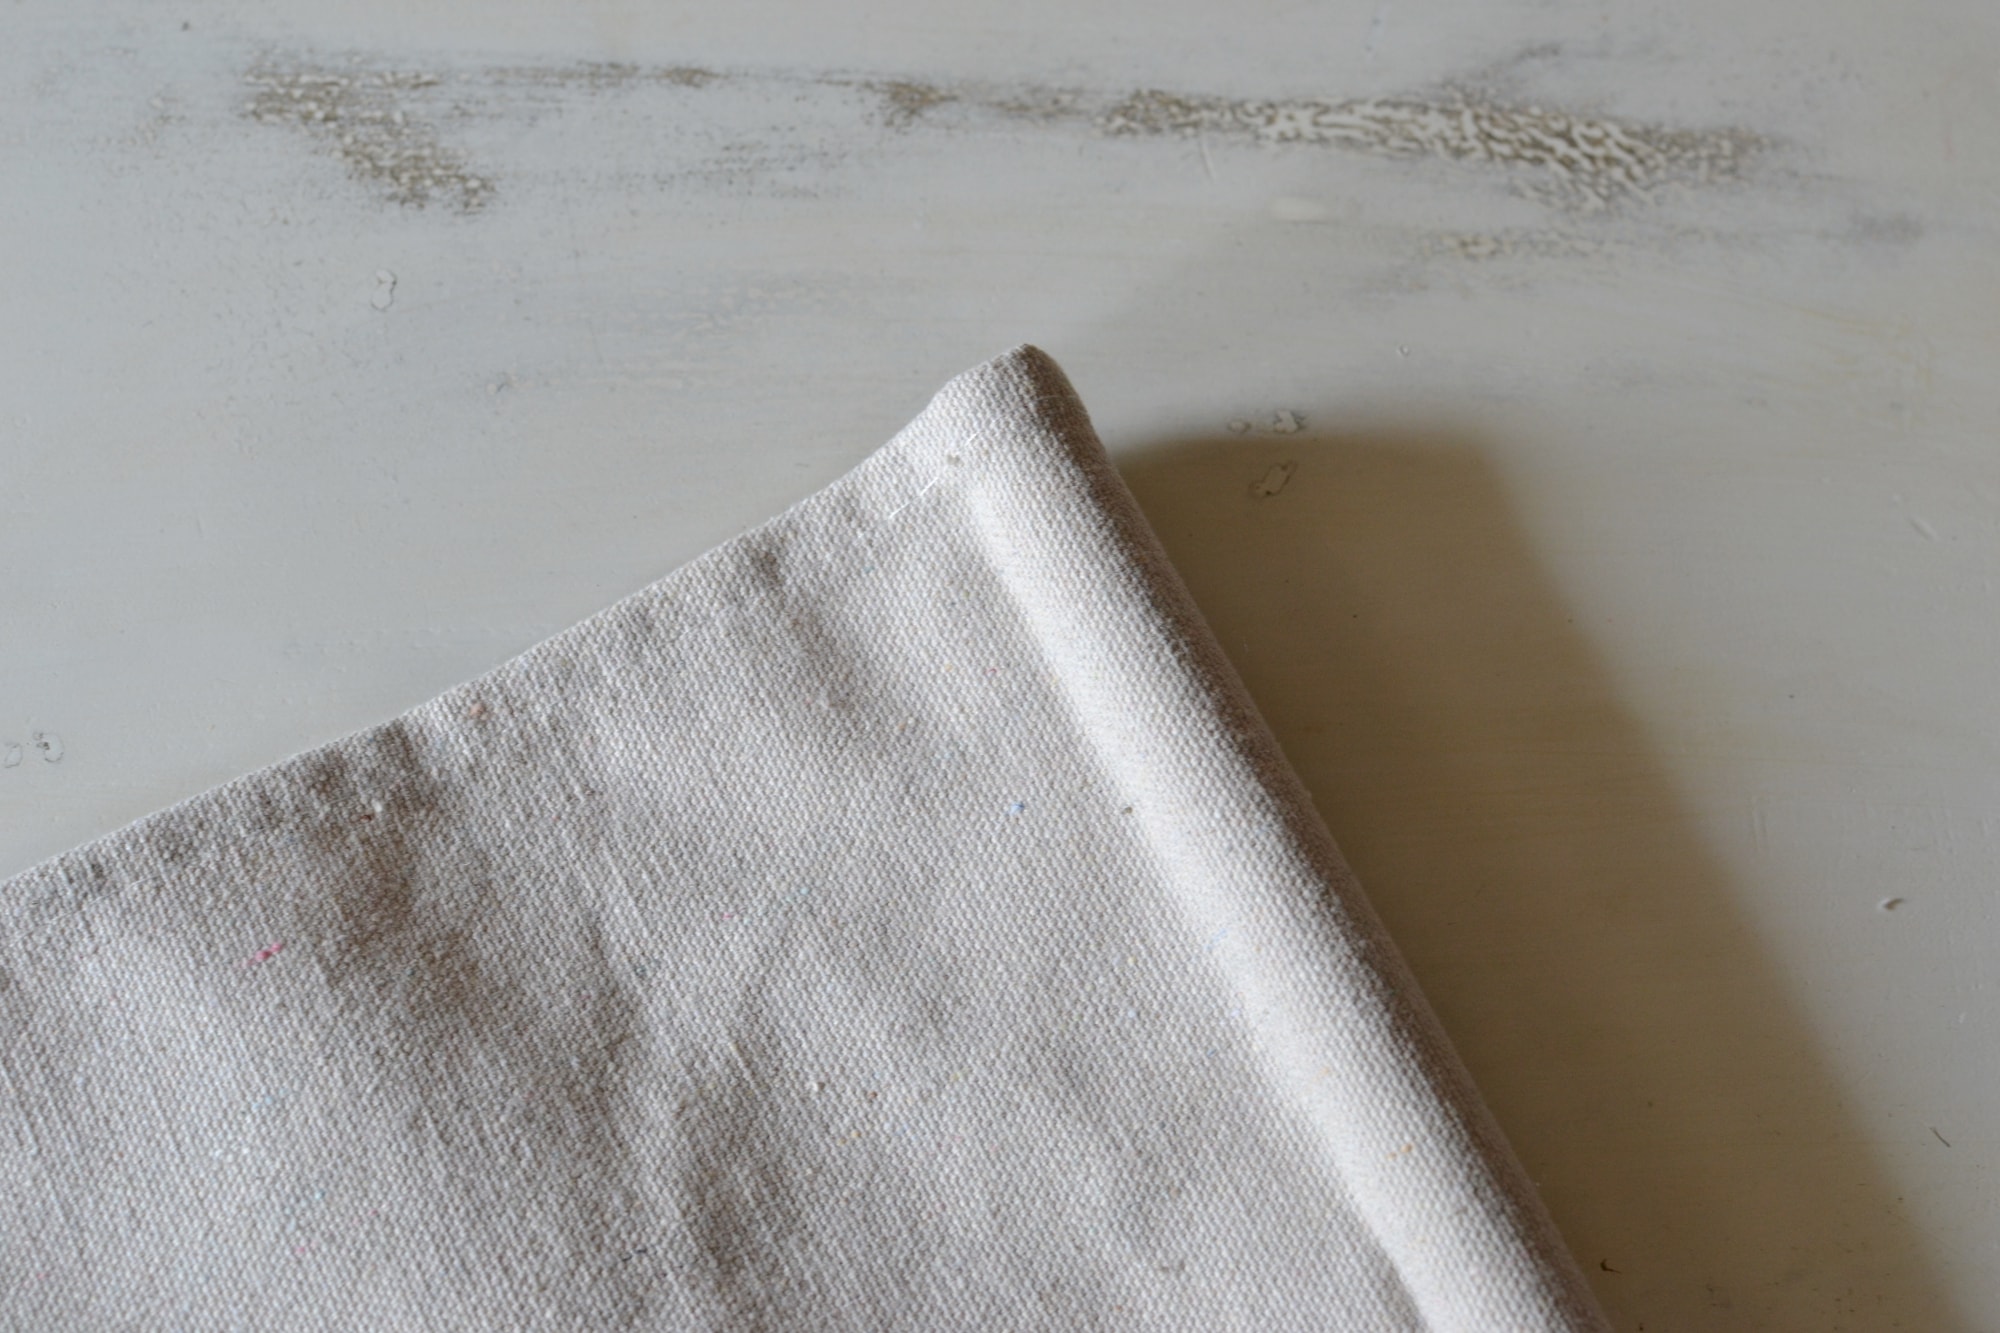
Drop cloth or piece of cotton duck fabric
Wooden dowel
2 Metal eyes
Hot glue and glue gun
Paint
Twine
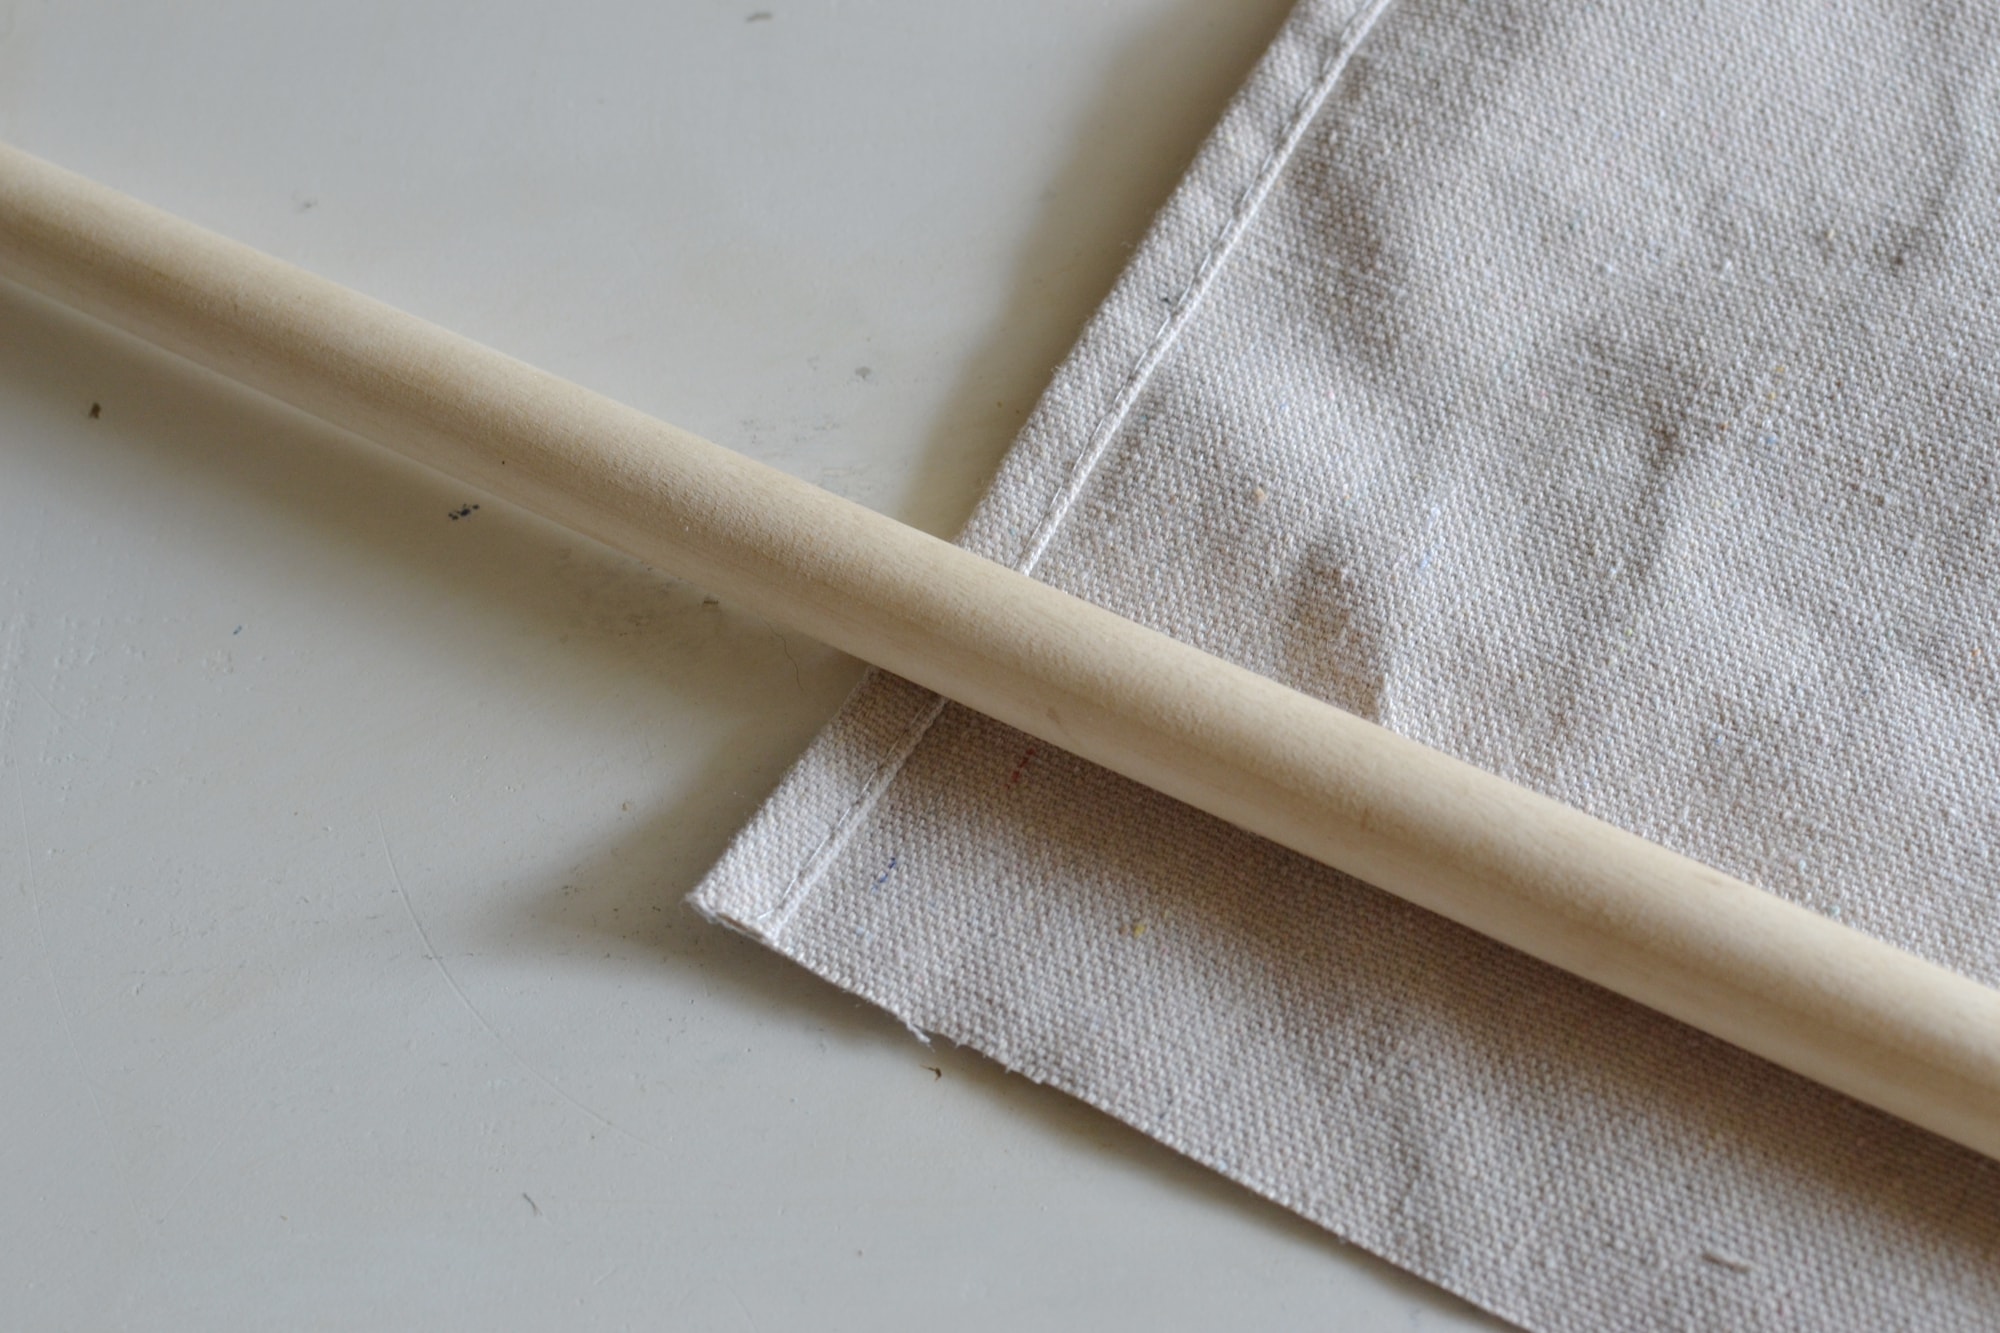
Conveniently I already had a piece of drop cloth and it was hemmed on three sides, so I just cut down the raw edge so that the fabric measured 23" wide by 33" tall with the raw edge as the top. I then measured and cut the dowel to be as wide as the piece of drop cloth.
I then folded the raw edge over the dowel and hot glued in place.
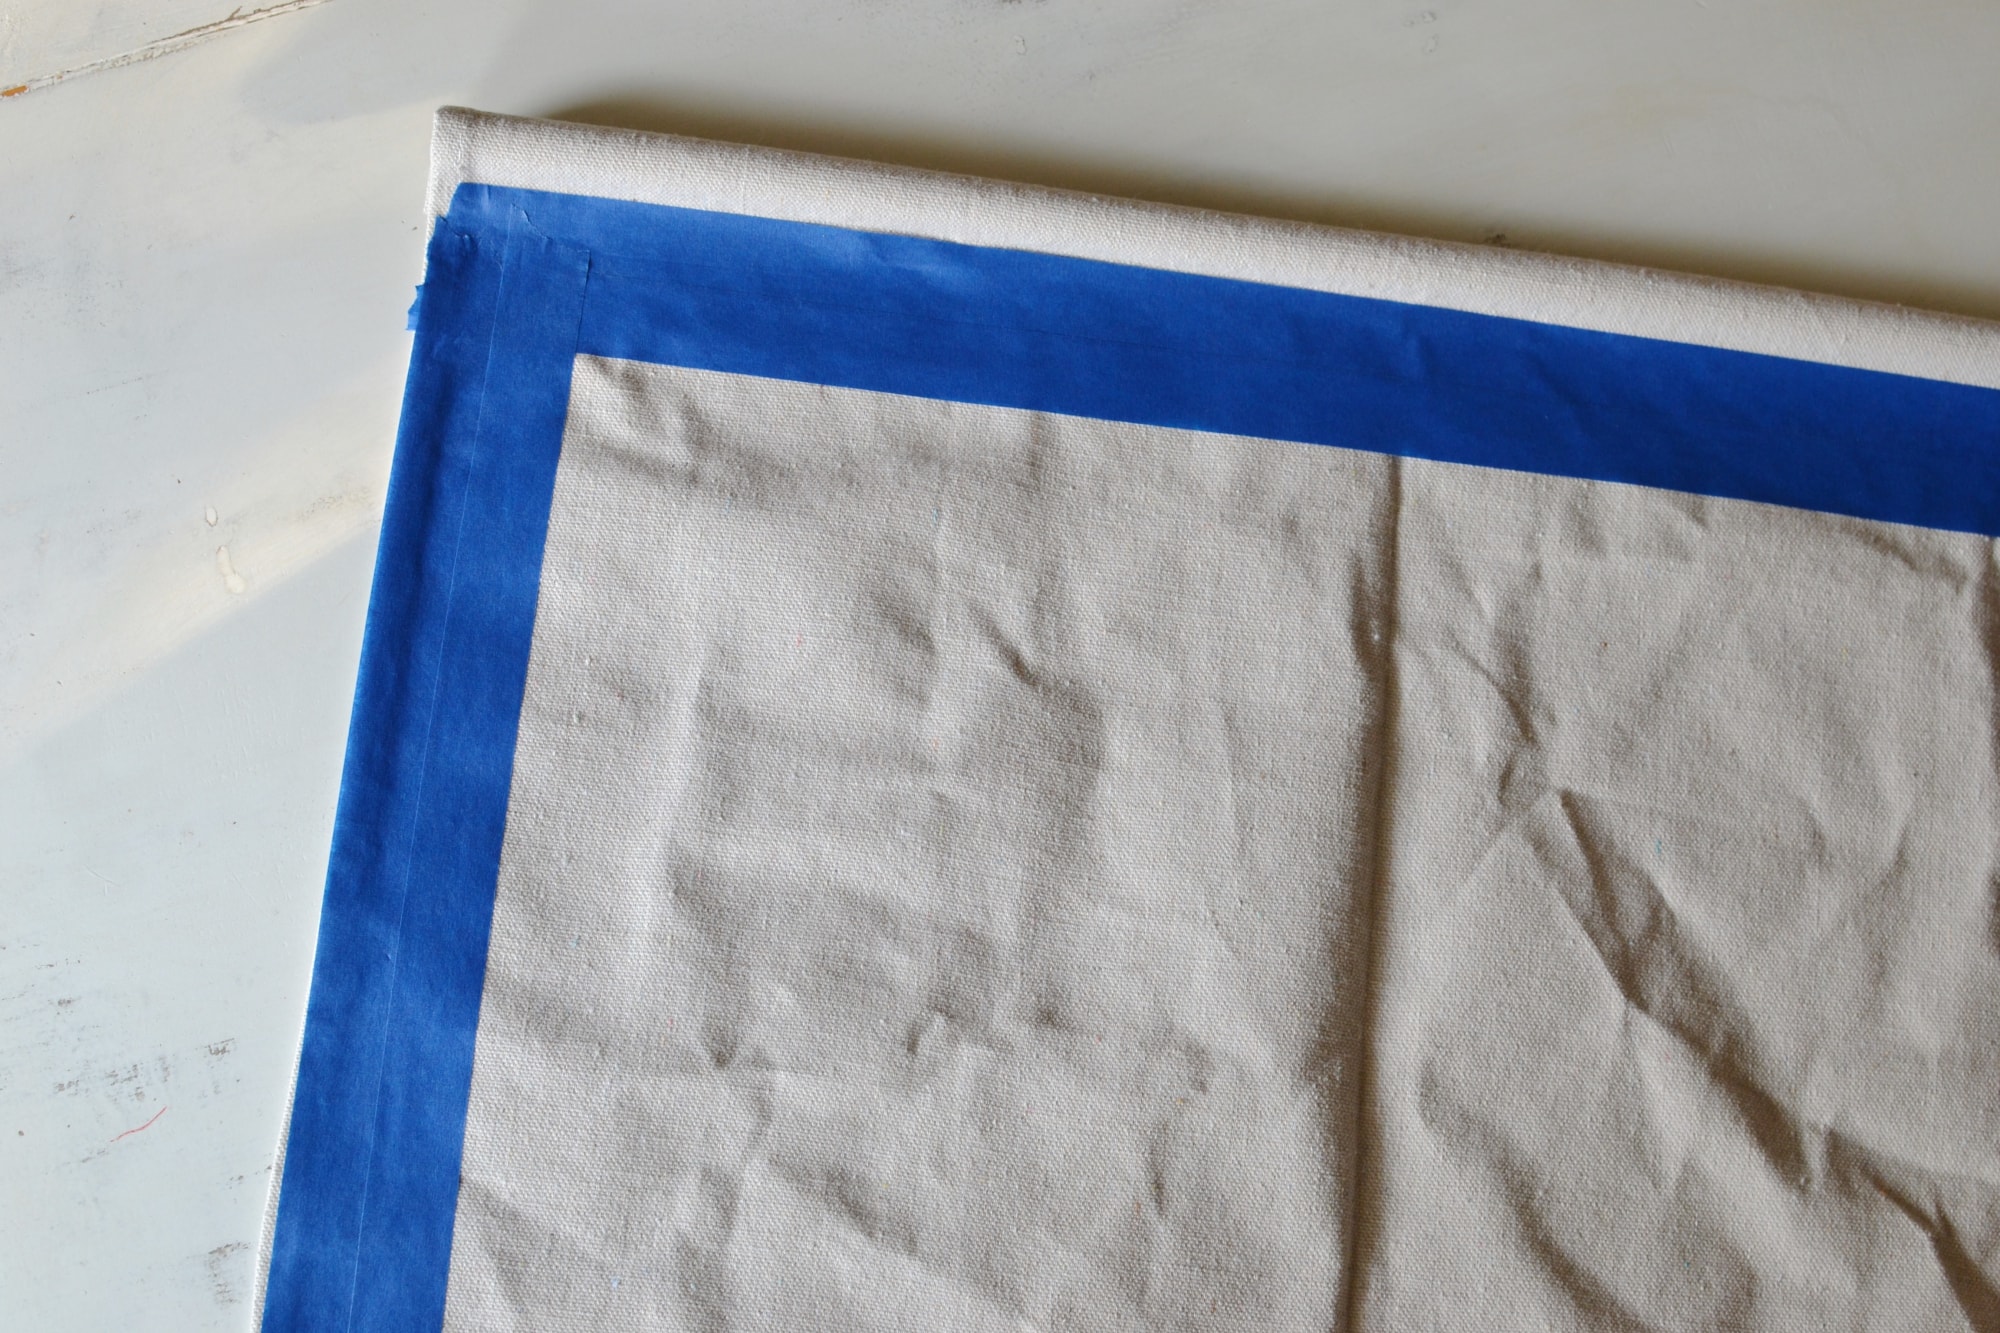
I wanted a thick border of the fabric around the painted part so I taped it off with two rows of painters tape.

I then painted the background of my poster all one color, I chose a light sky blue.
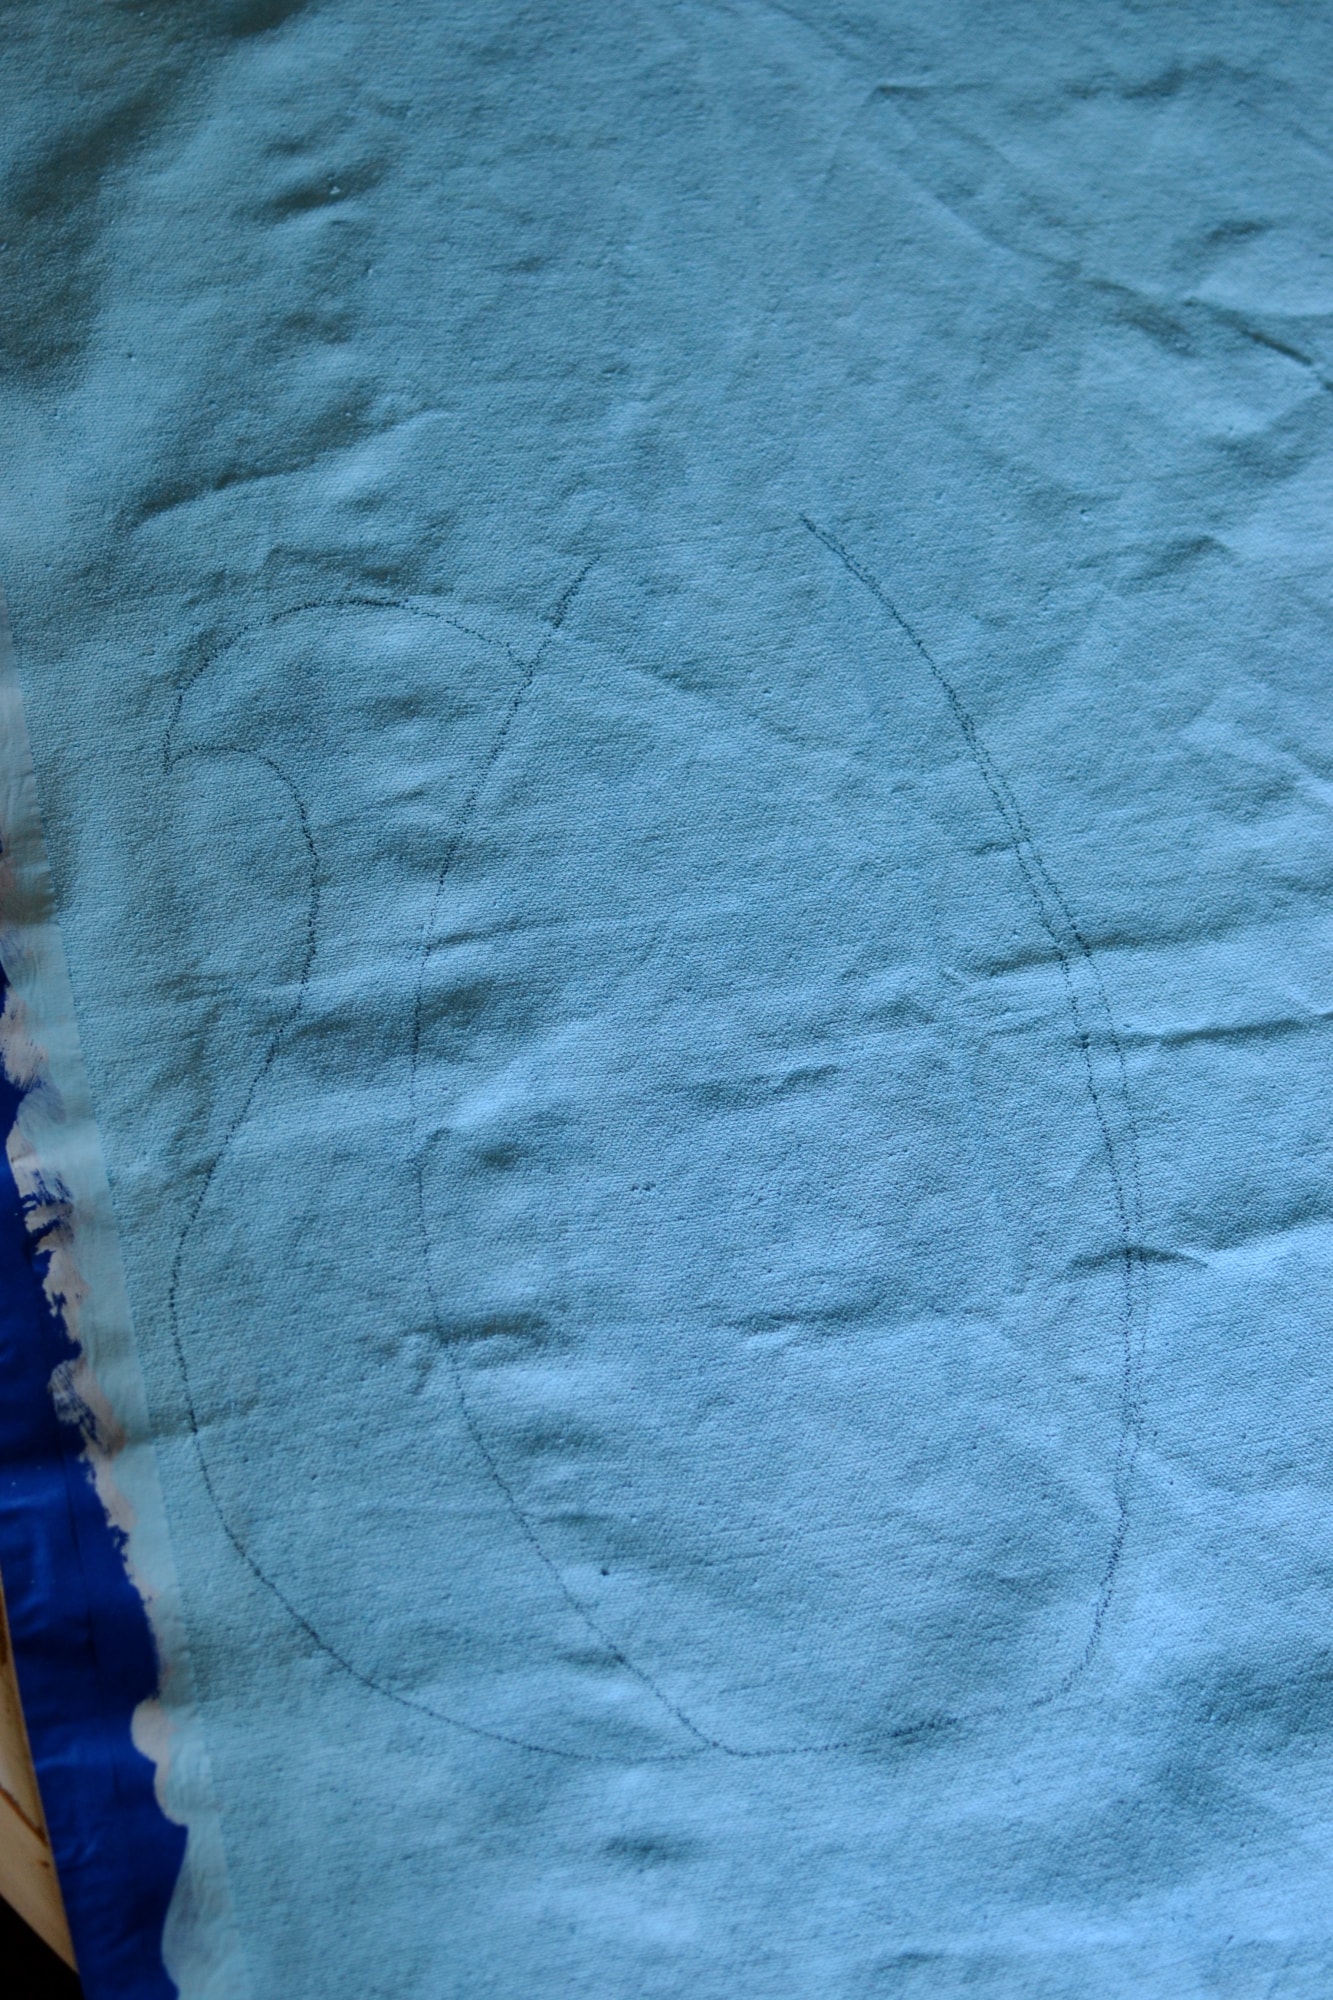
I then sketched out the outline of the fox's body and tail. There are tons of great graphics to refer to online these days, the great thing about this project is you can make it as stylized and simple or realistic as you feel. For my particular project I chose to have a simple mod looking fox. I drew a long oval for the body of the fox and a big bushy tail curling up beside him.
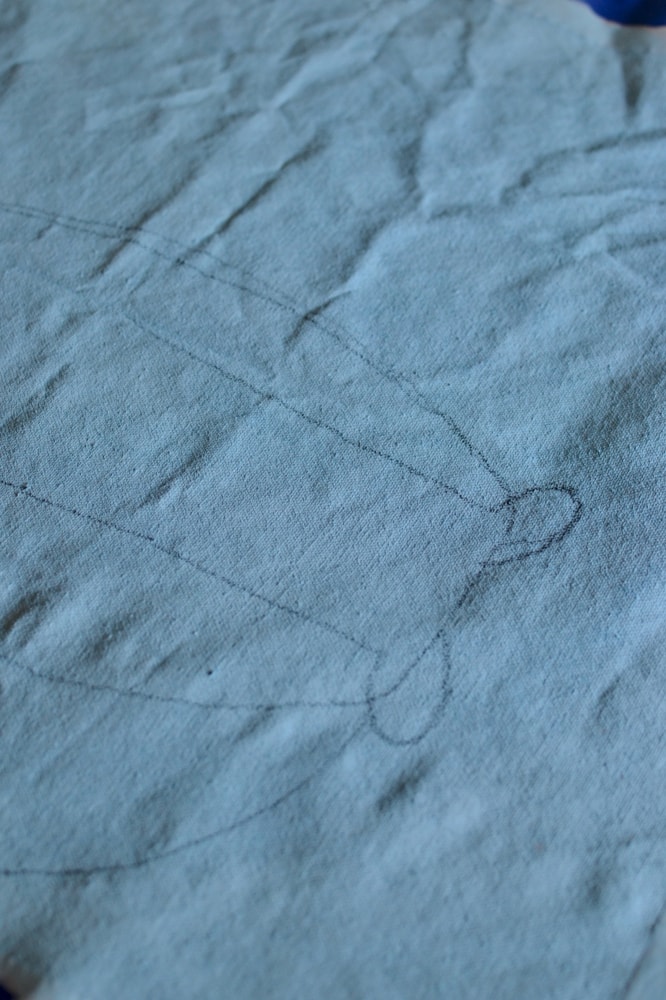
Next I drew two little feet at the base of his body.
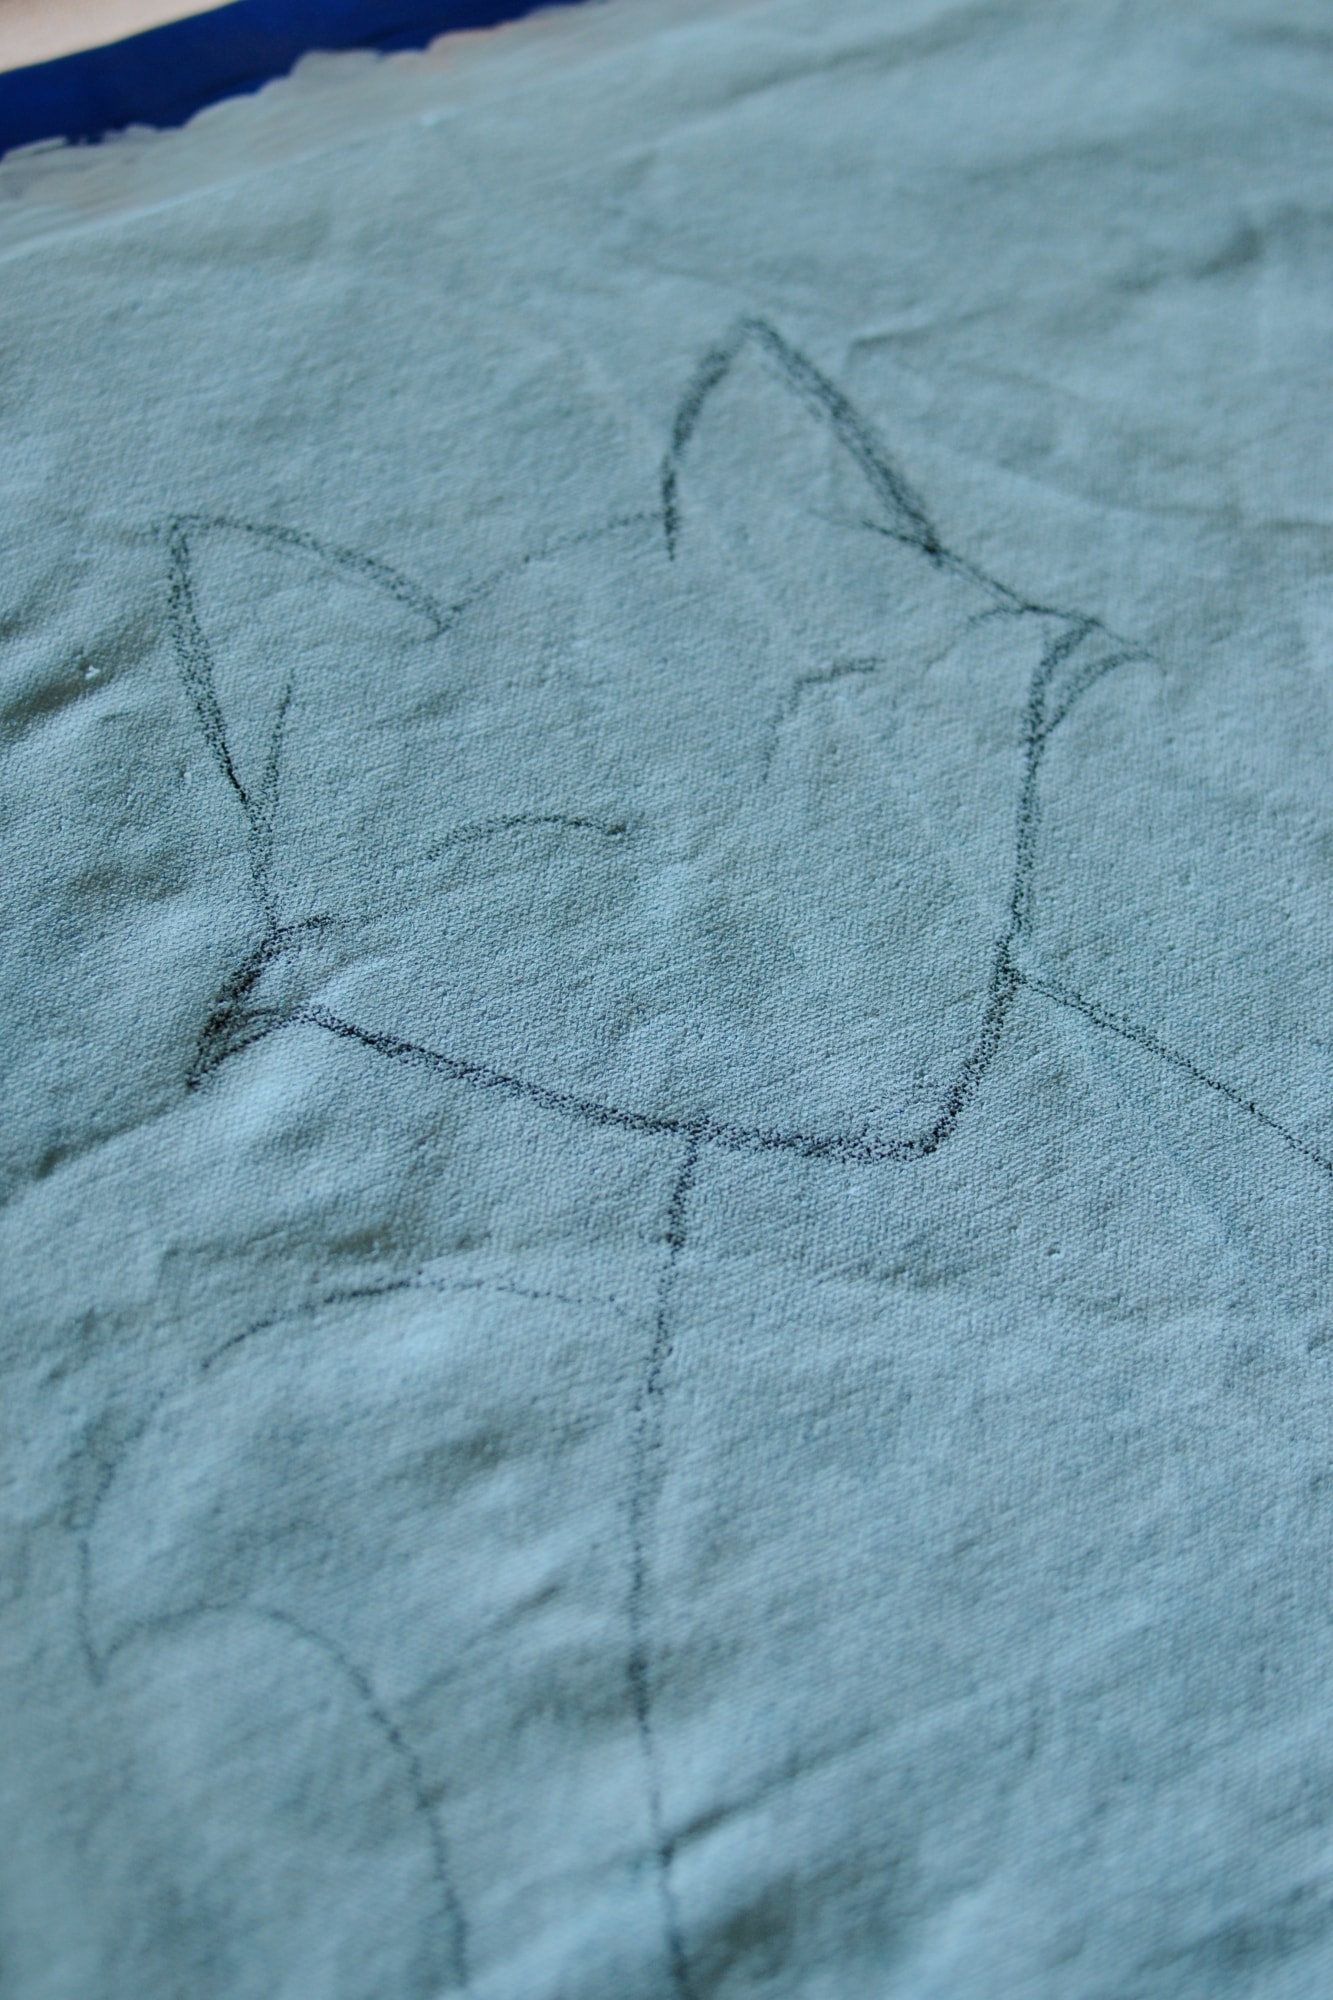
Then I sketched out his sweet little pointed face. Once again, the "interwebs" are great for helping you decide what kind of foxy face you want your little animal to wear.
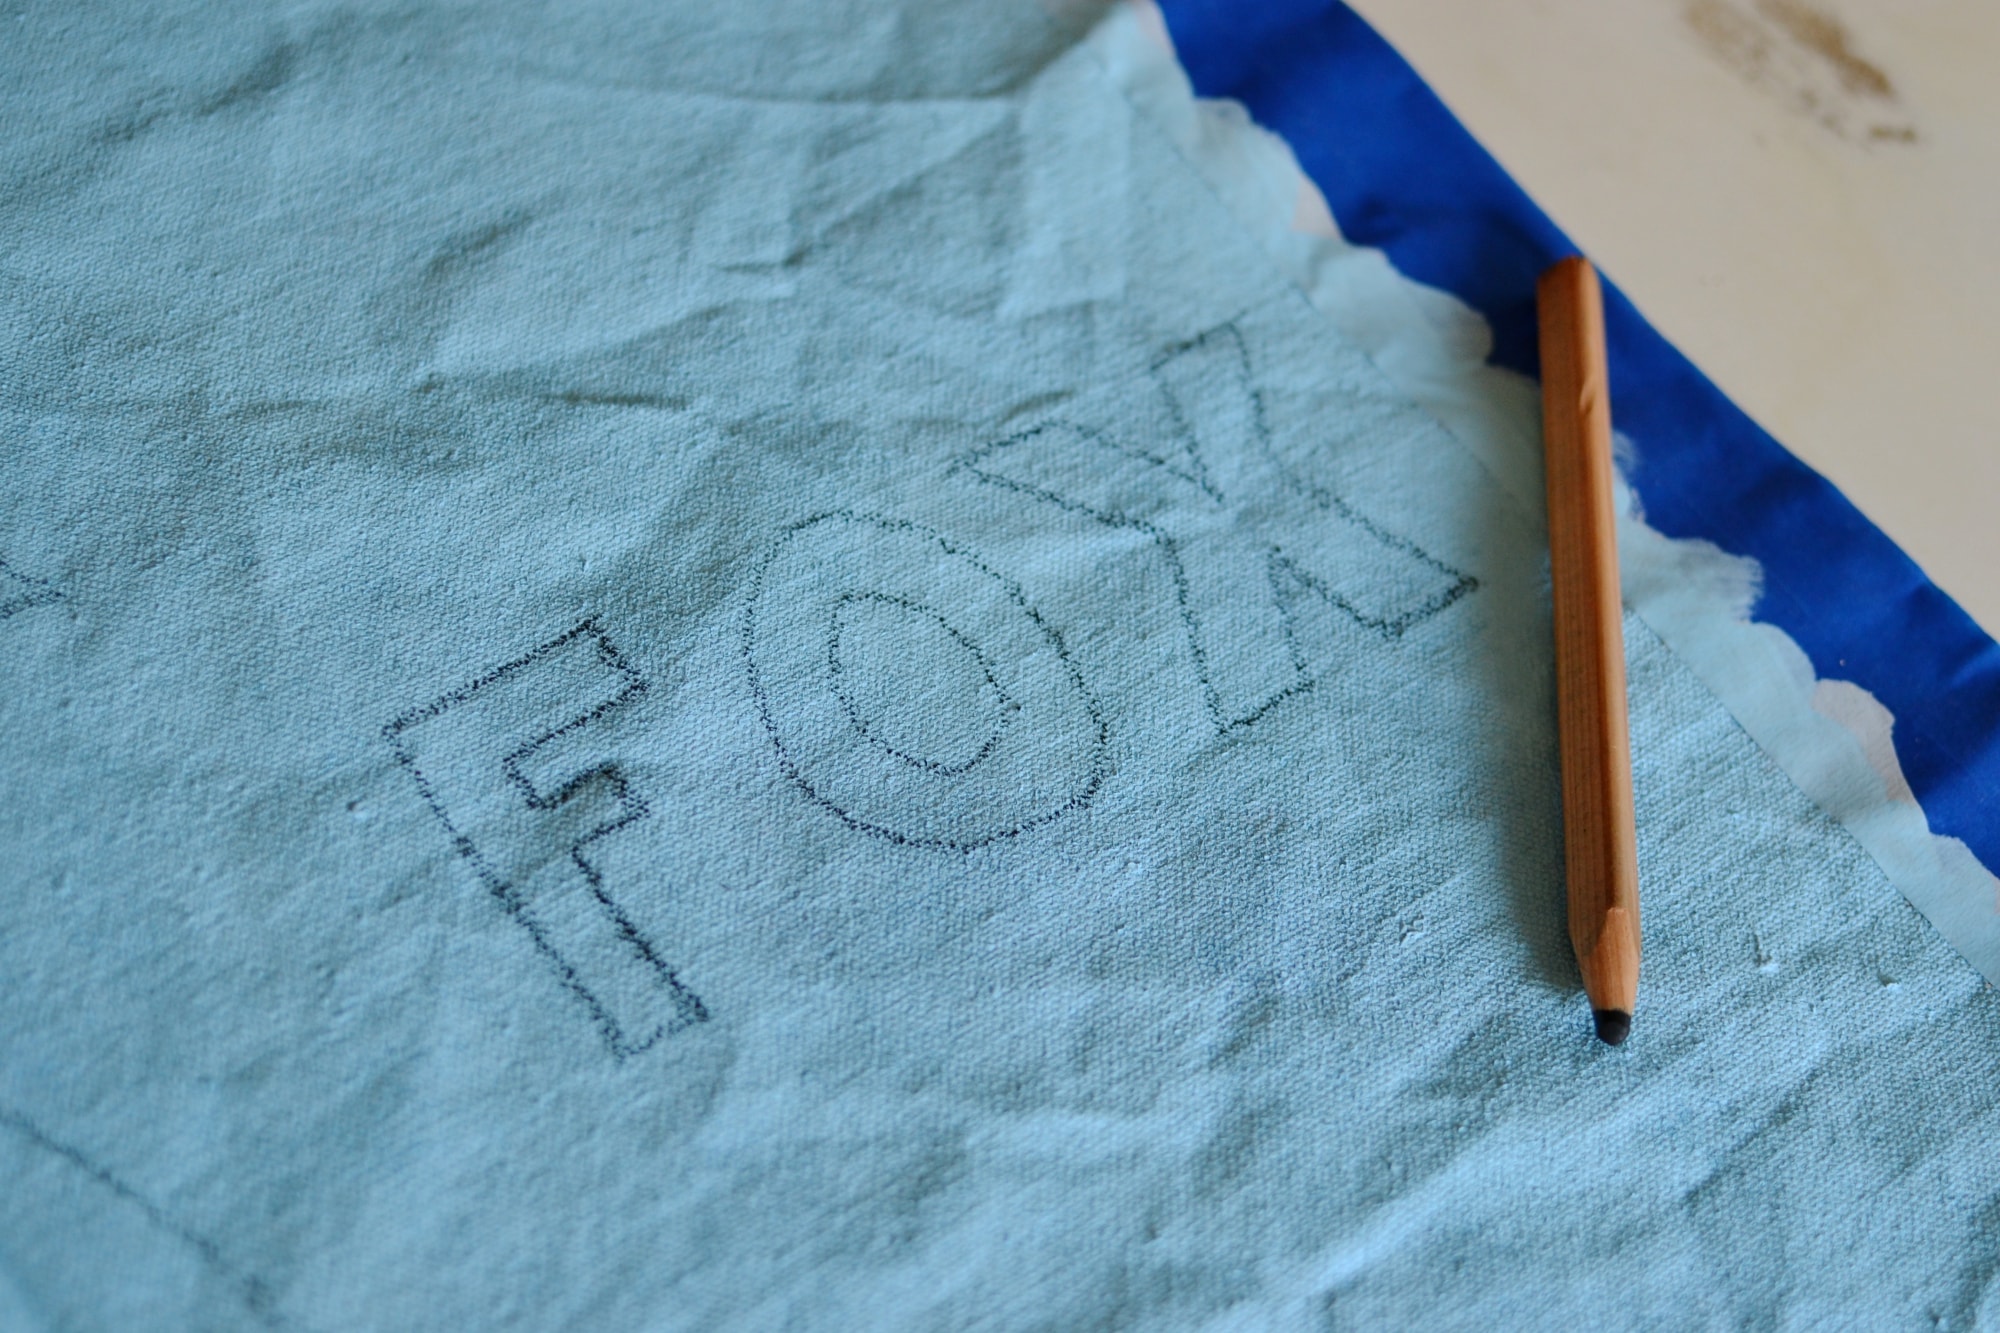
Finally, I wrote "fox" in boxy block letters.
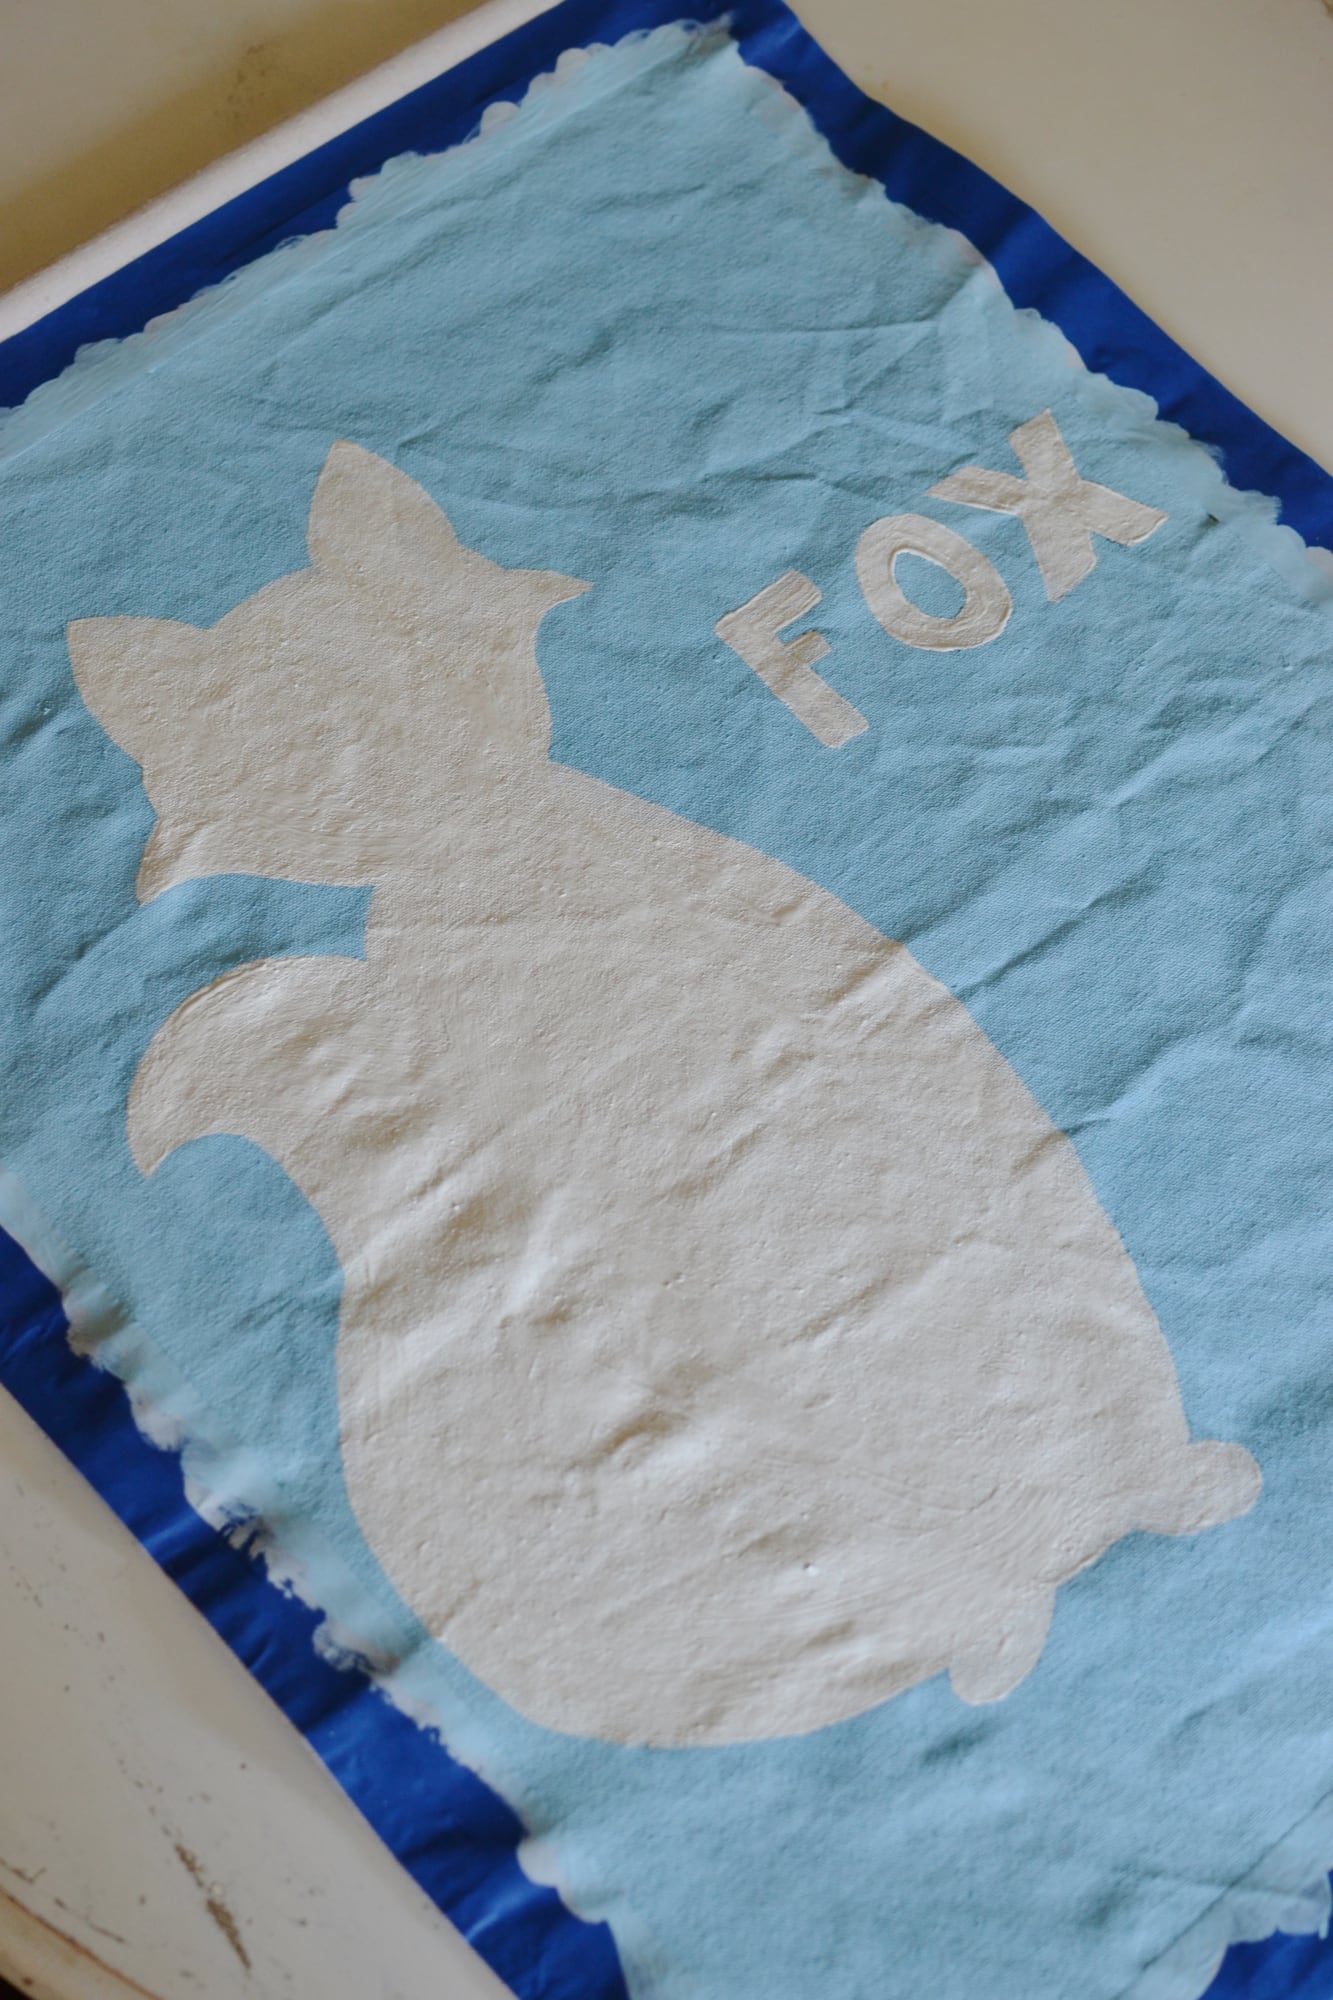
I then painted in the fox silhouette and letters white, this allows all of his pretty colors to pop and be very bright and bold when you paint in all of the details. I chose to use a creamy white semi-gloss that we used on the trim in Grayson's room.
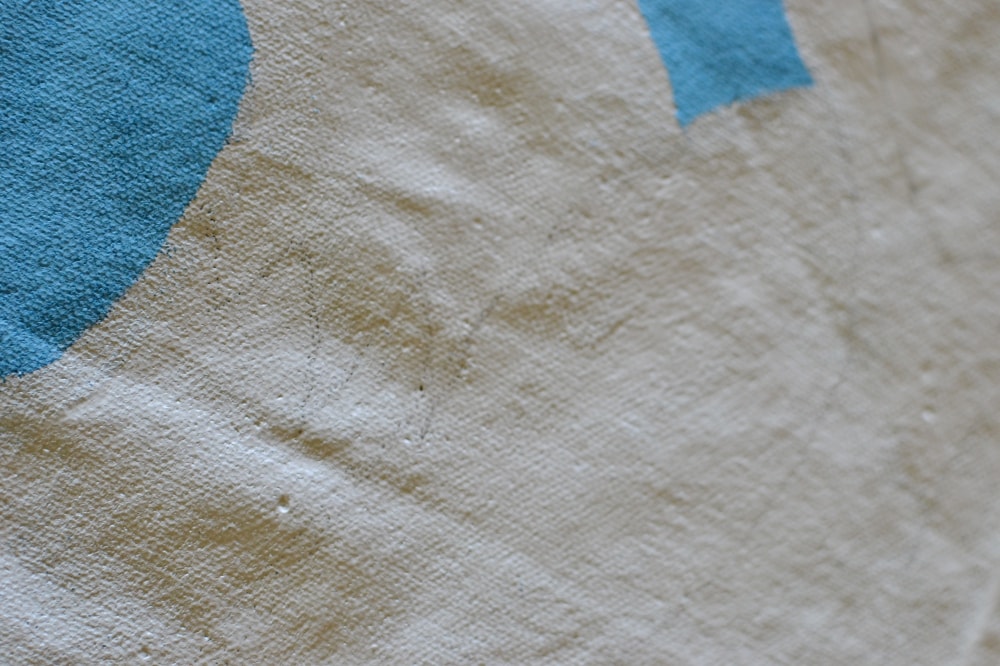
I then very lightly went over the white paint with a pencil mapping out where I would be painting all of the details of my fox.
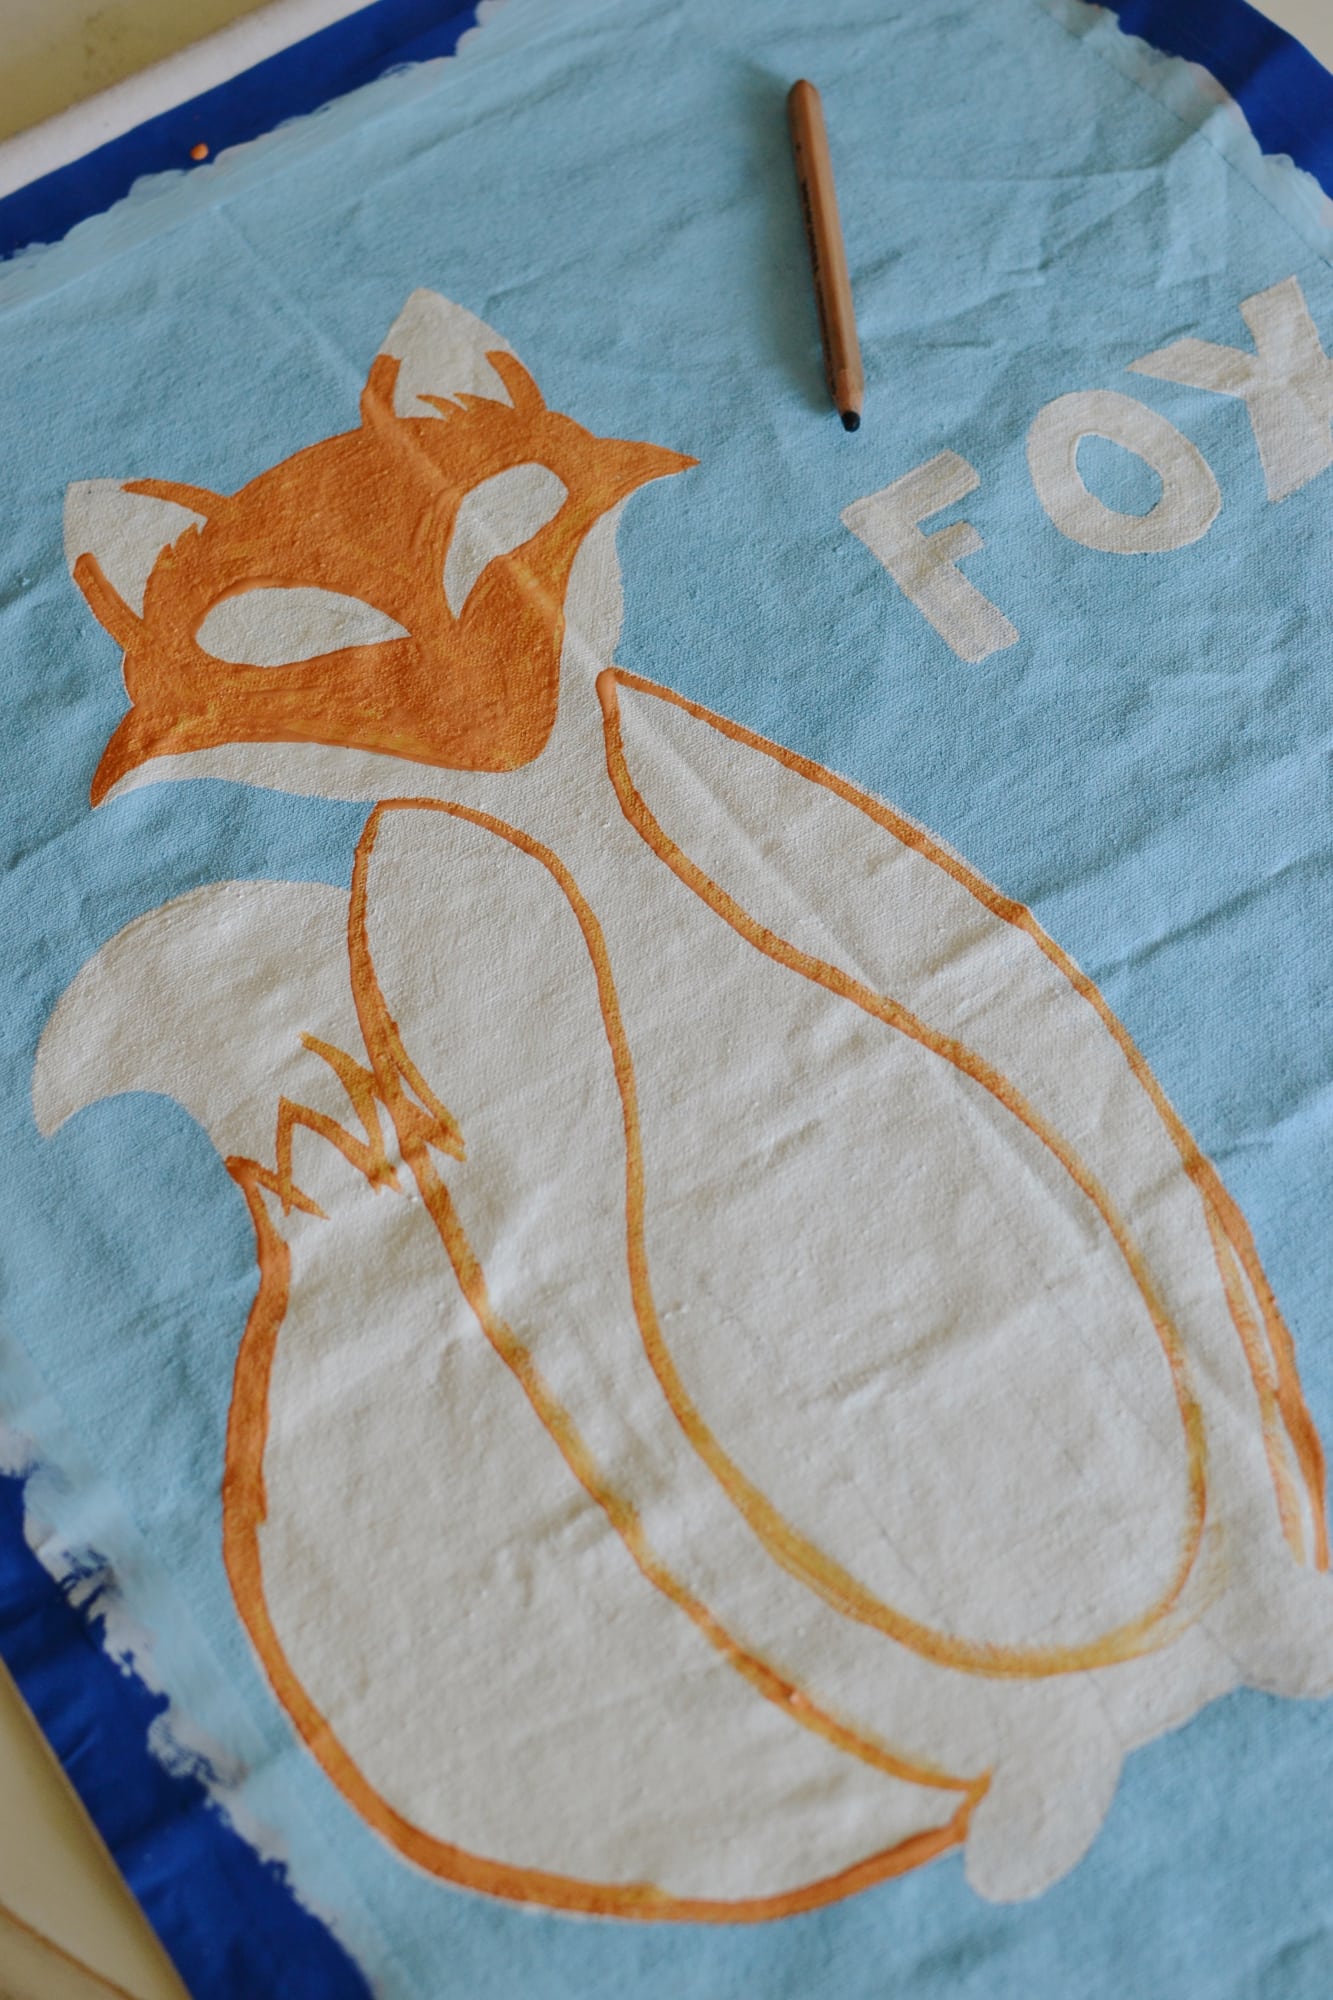
Next I outlined and painted in all of the orange areas of the fox.

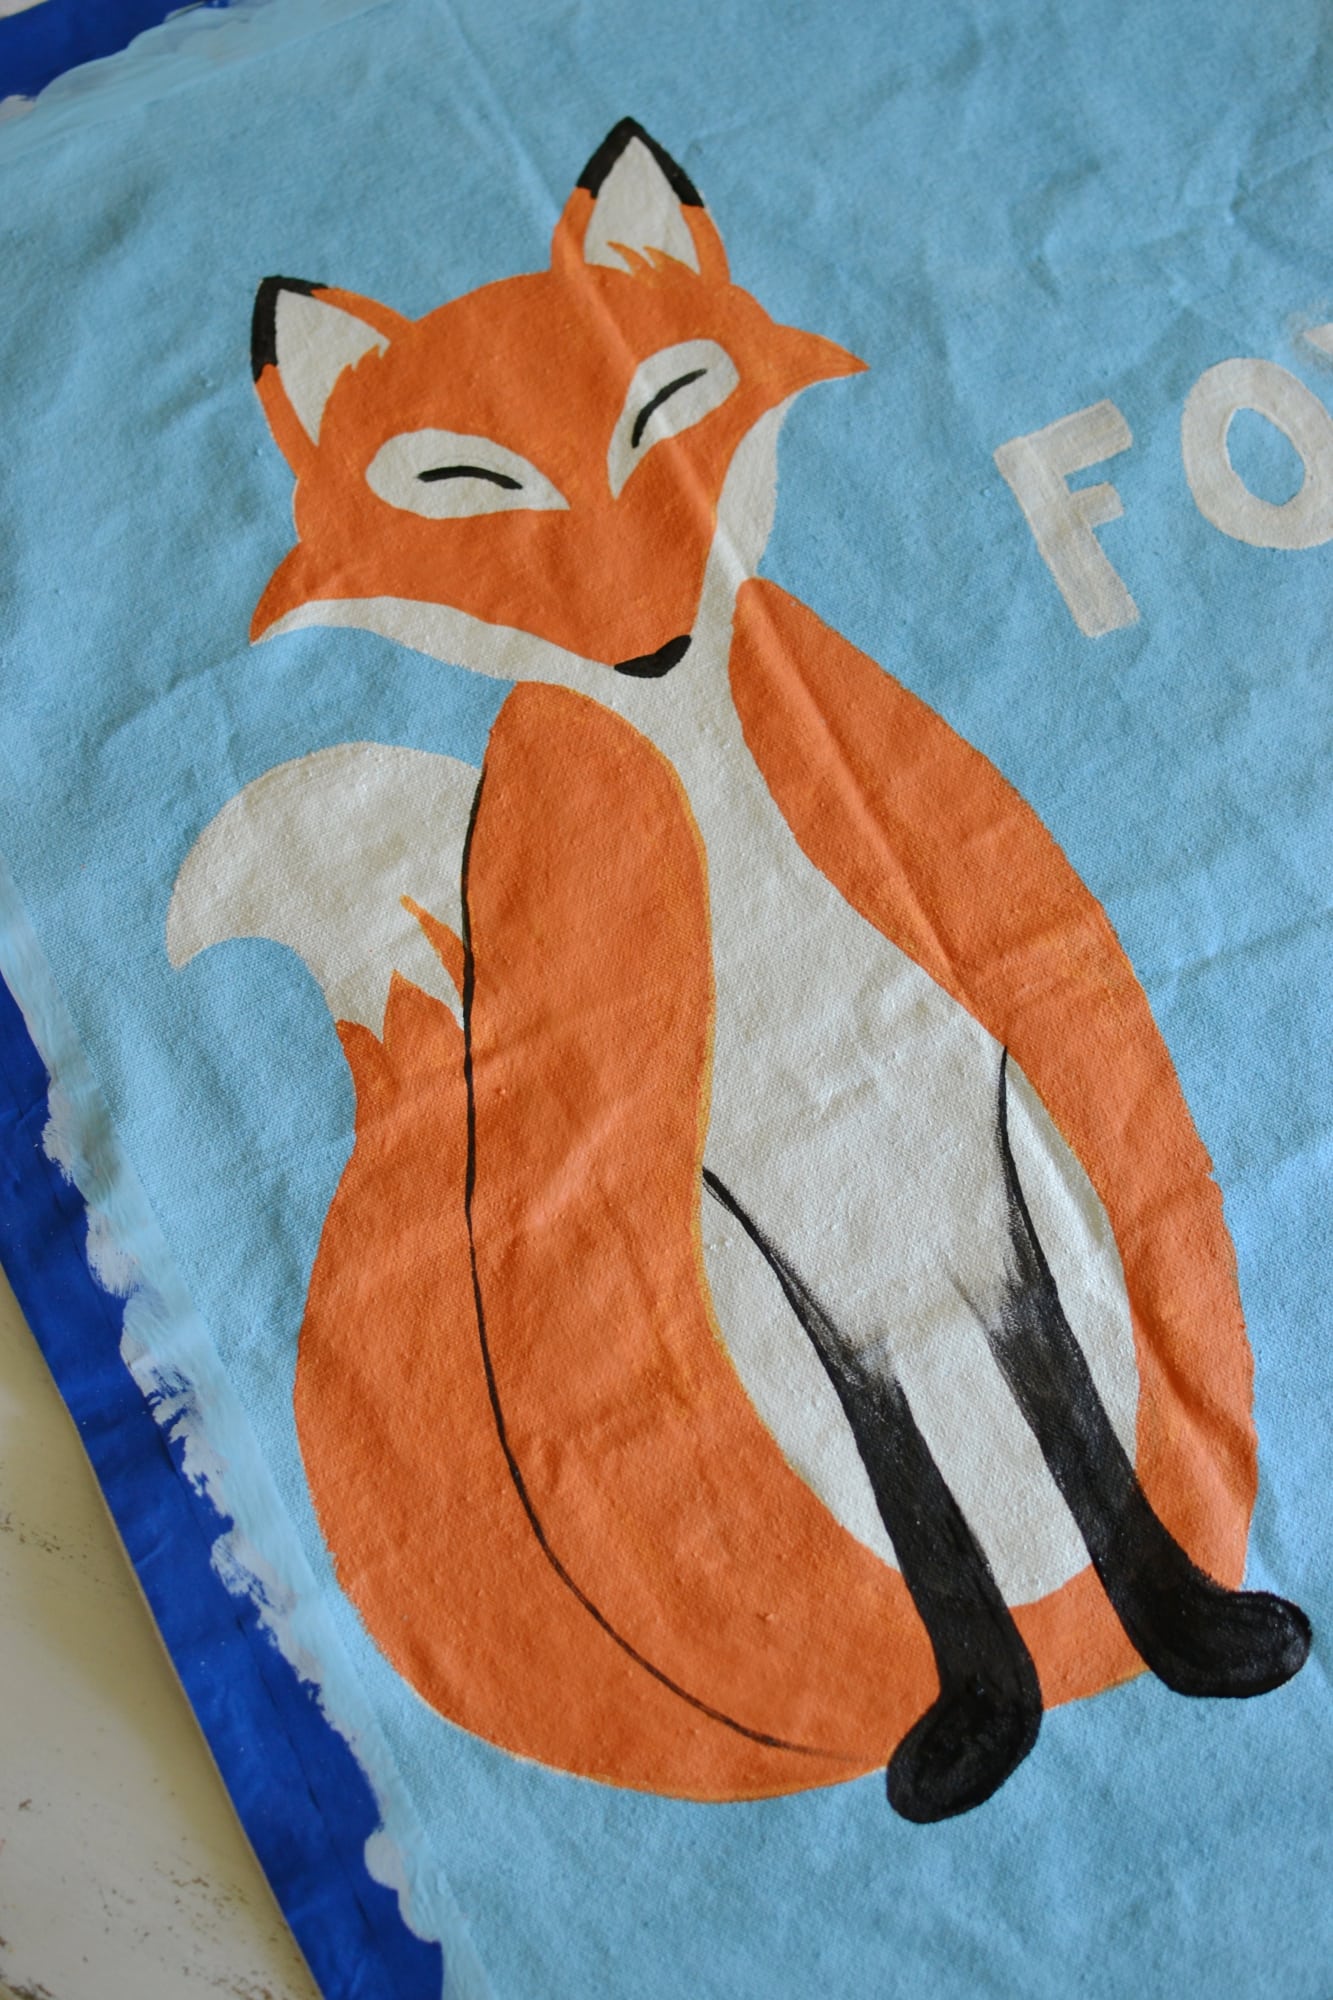
Then I added all the black details to my fox.
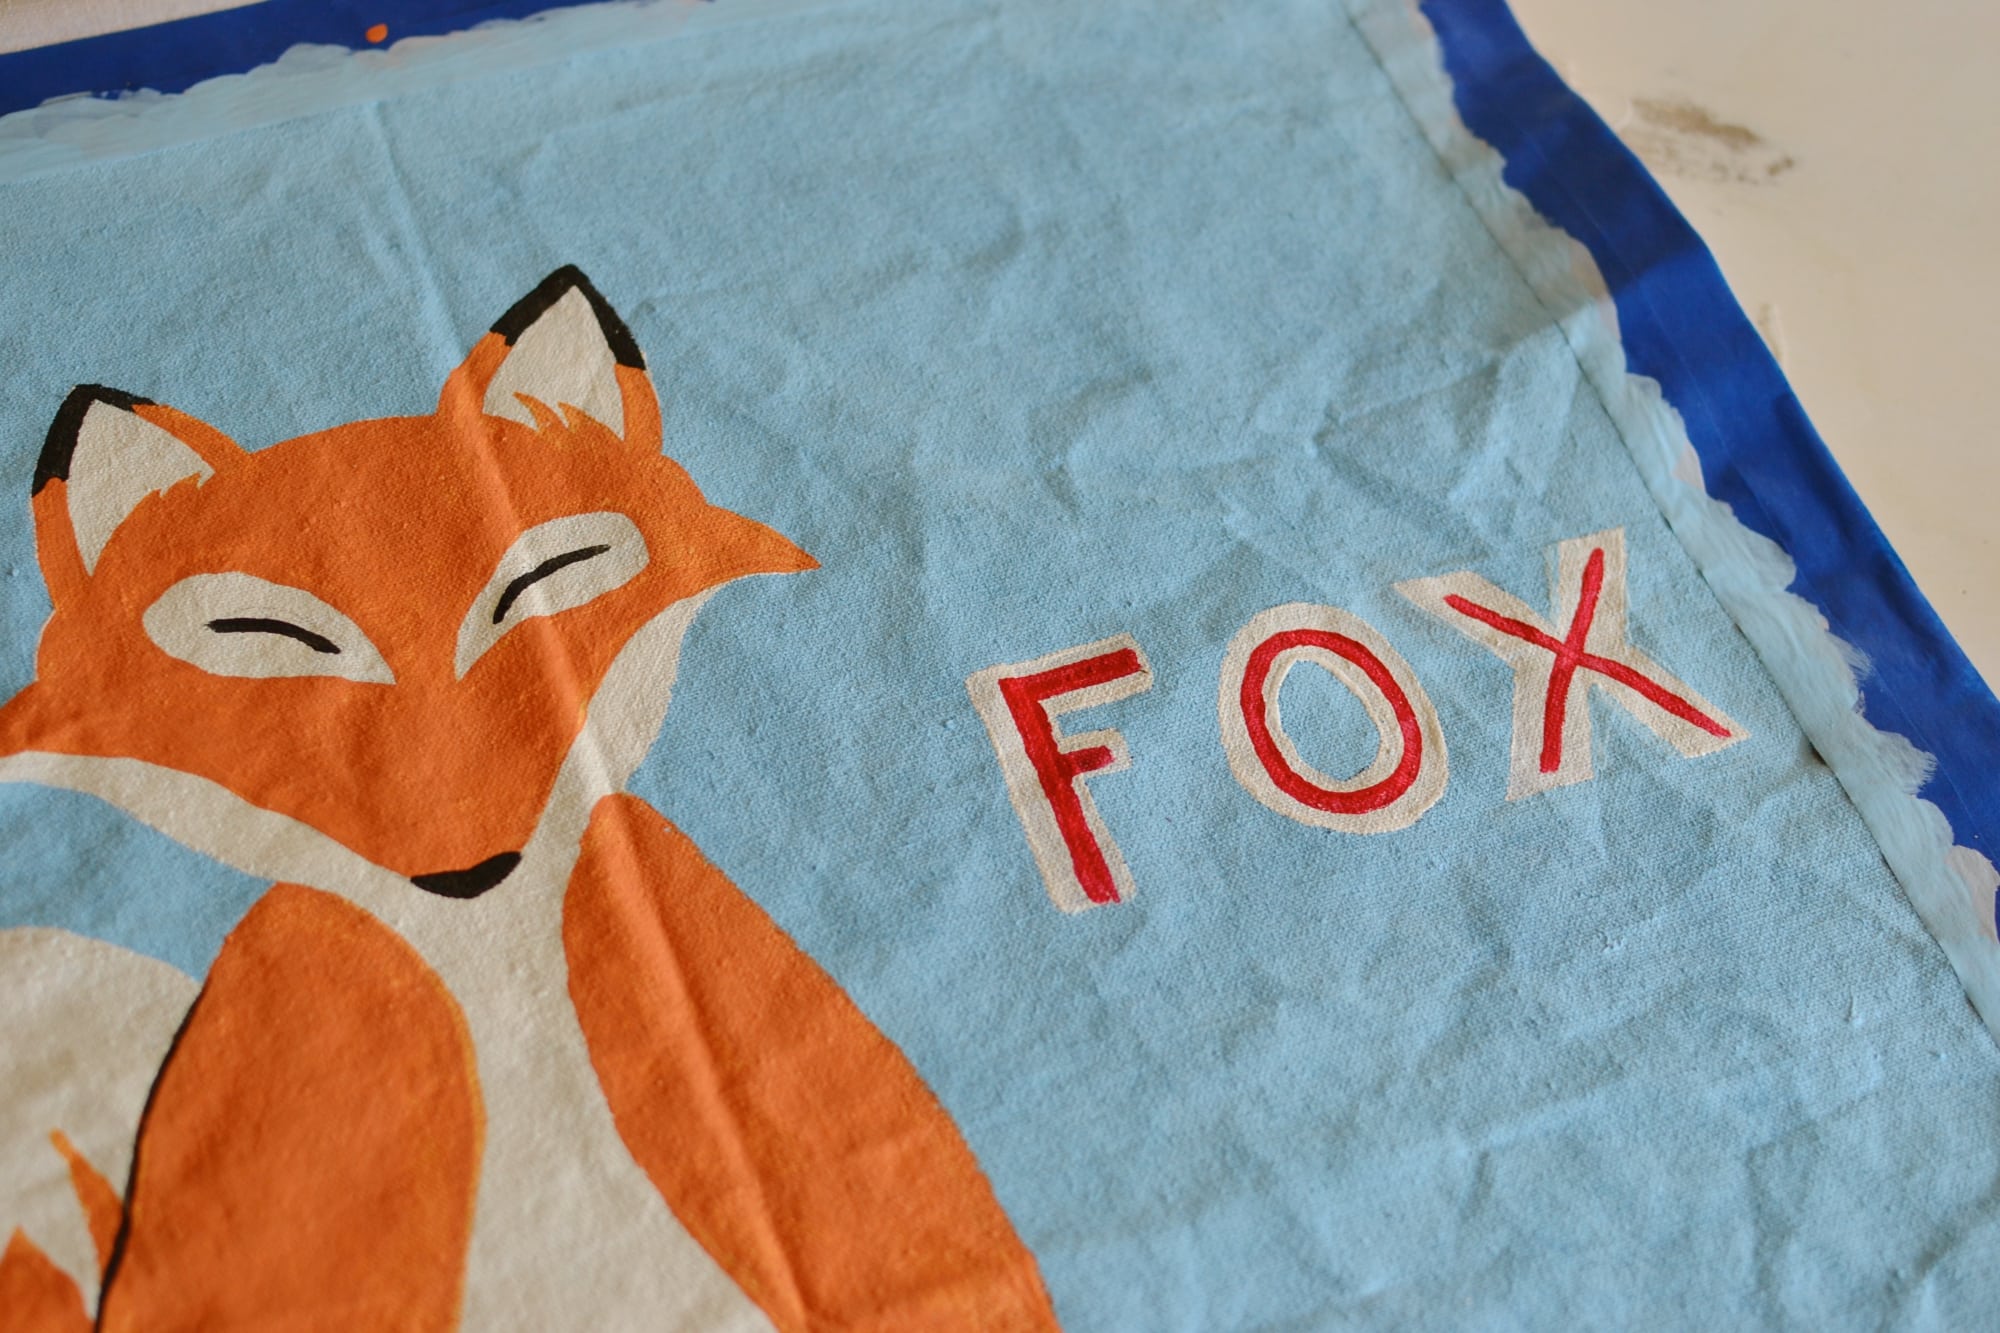
I added a pop of red to the word "Fox".
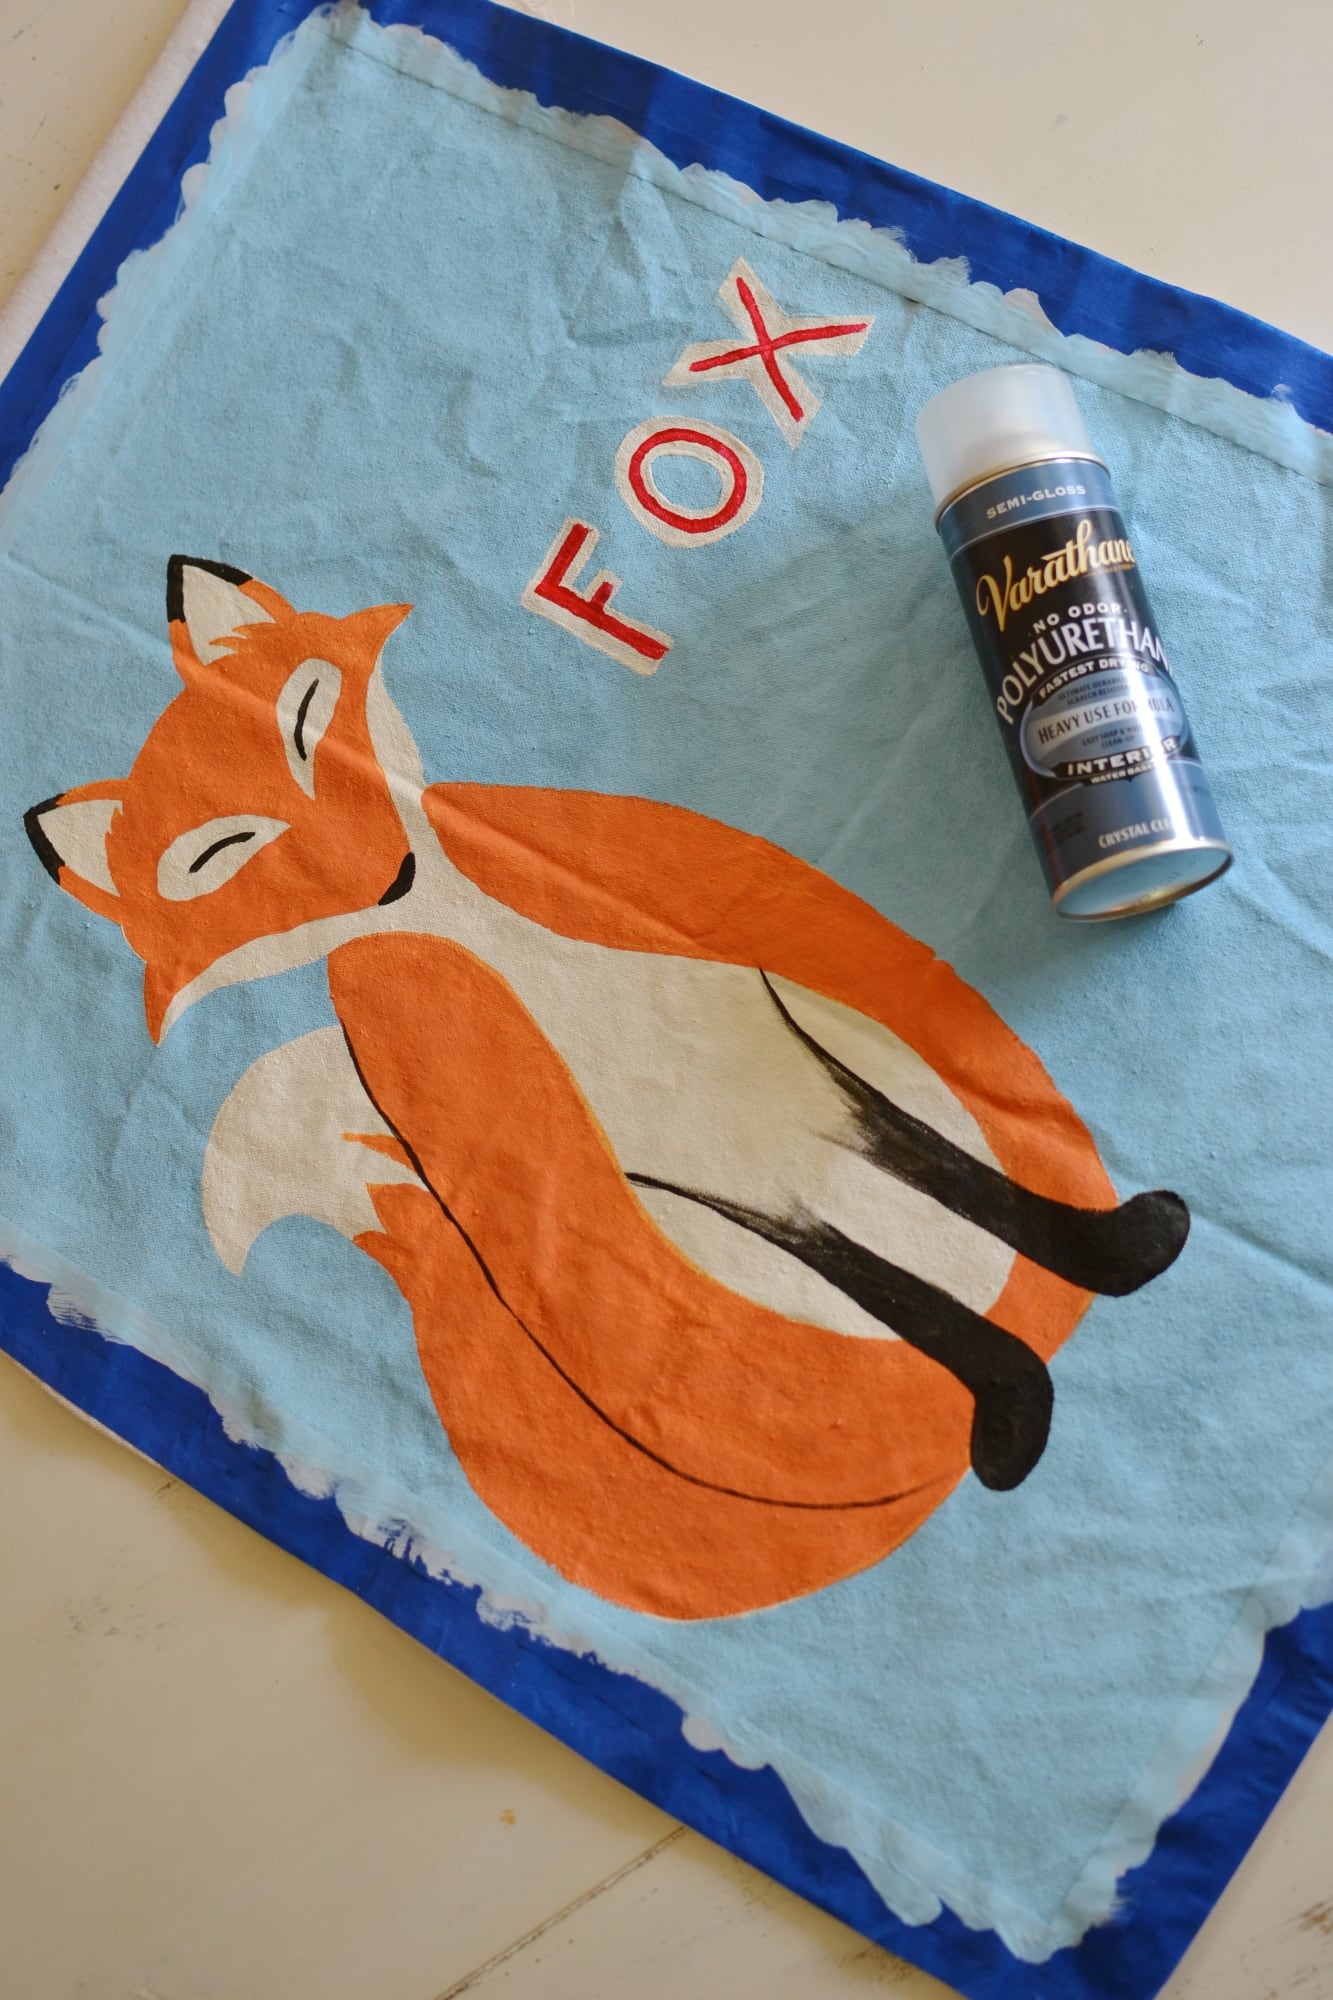
After all the paint was dry I added a clear coat of spray poly to protect the paint and add a glossy sheen.
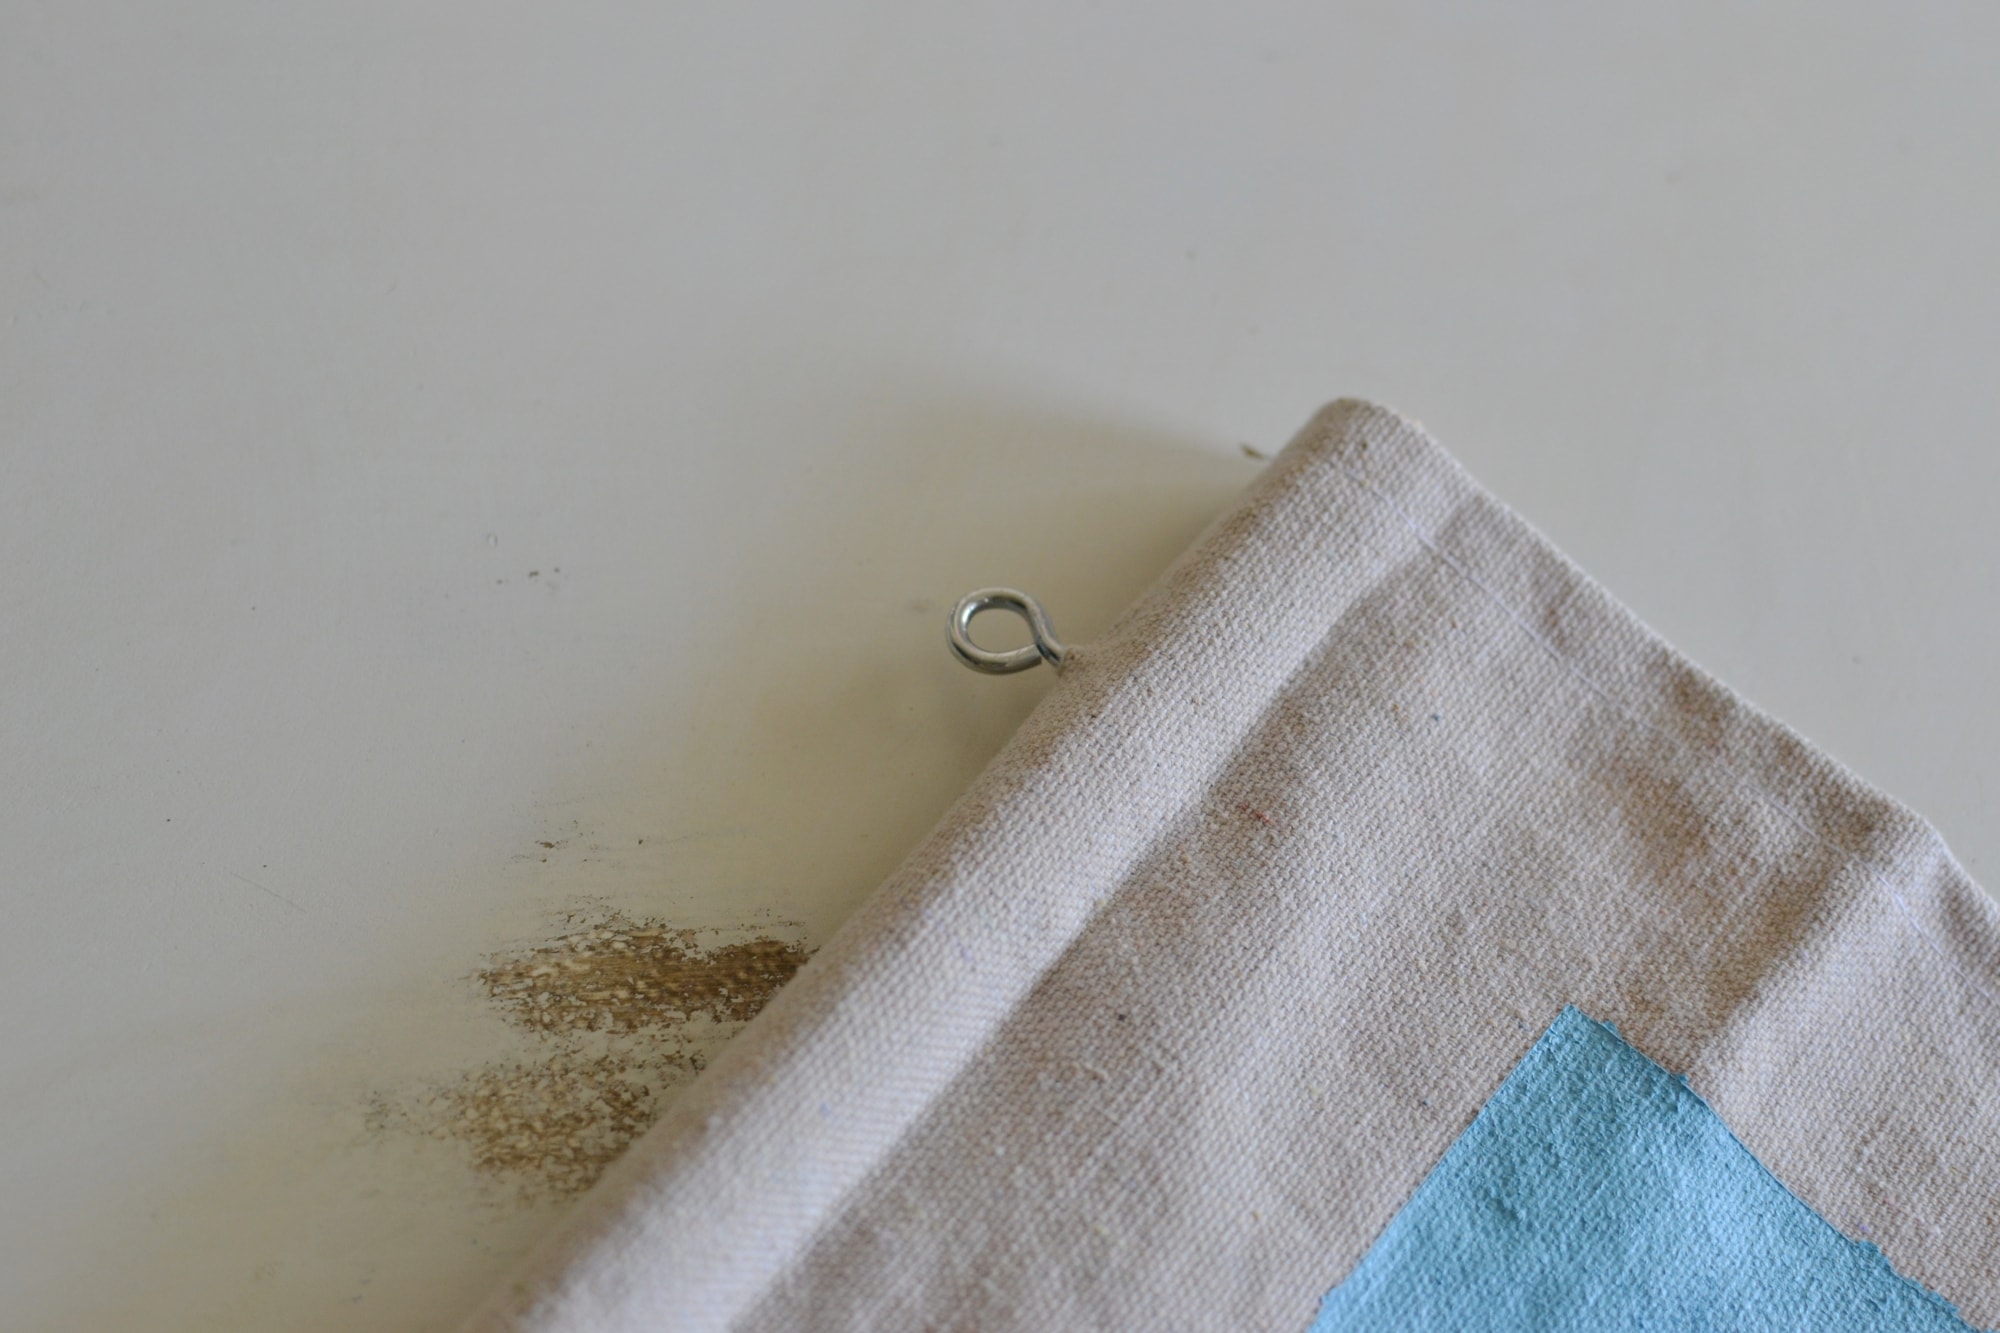
I screwed a metal eye on each end of the dowel at the top of the poster.
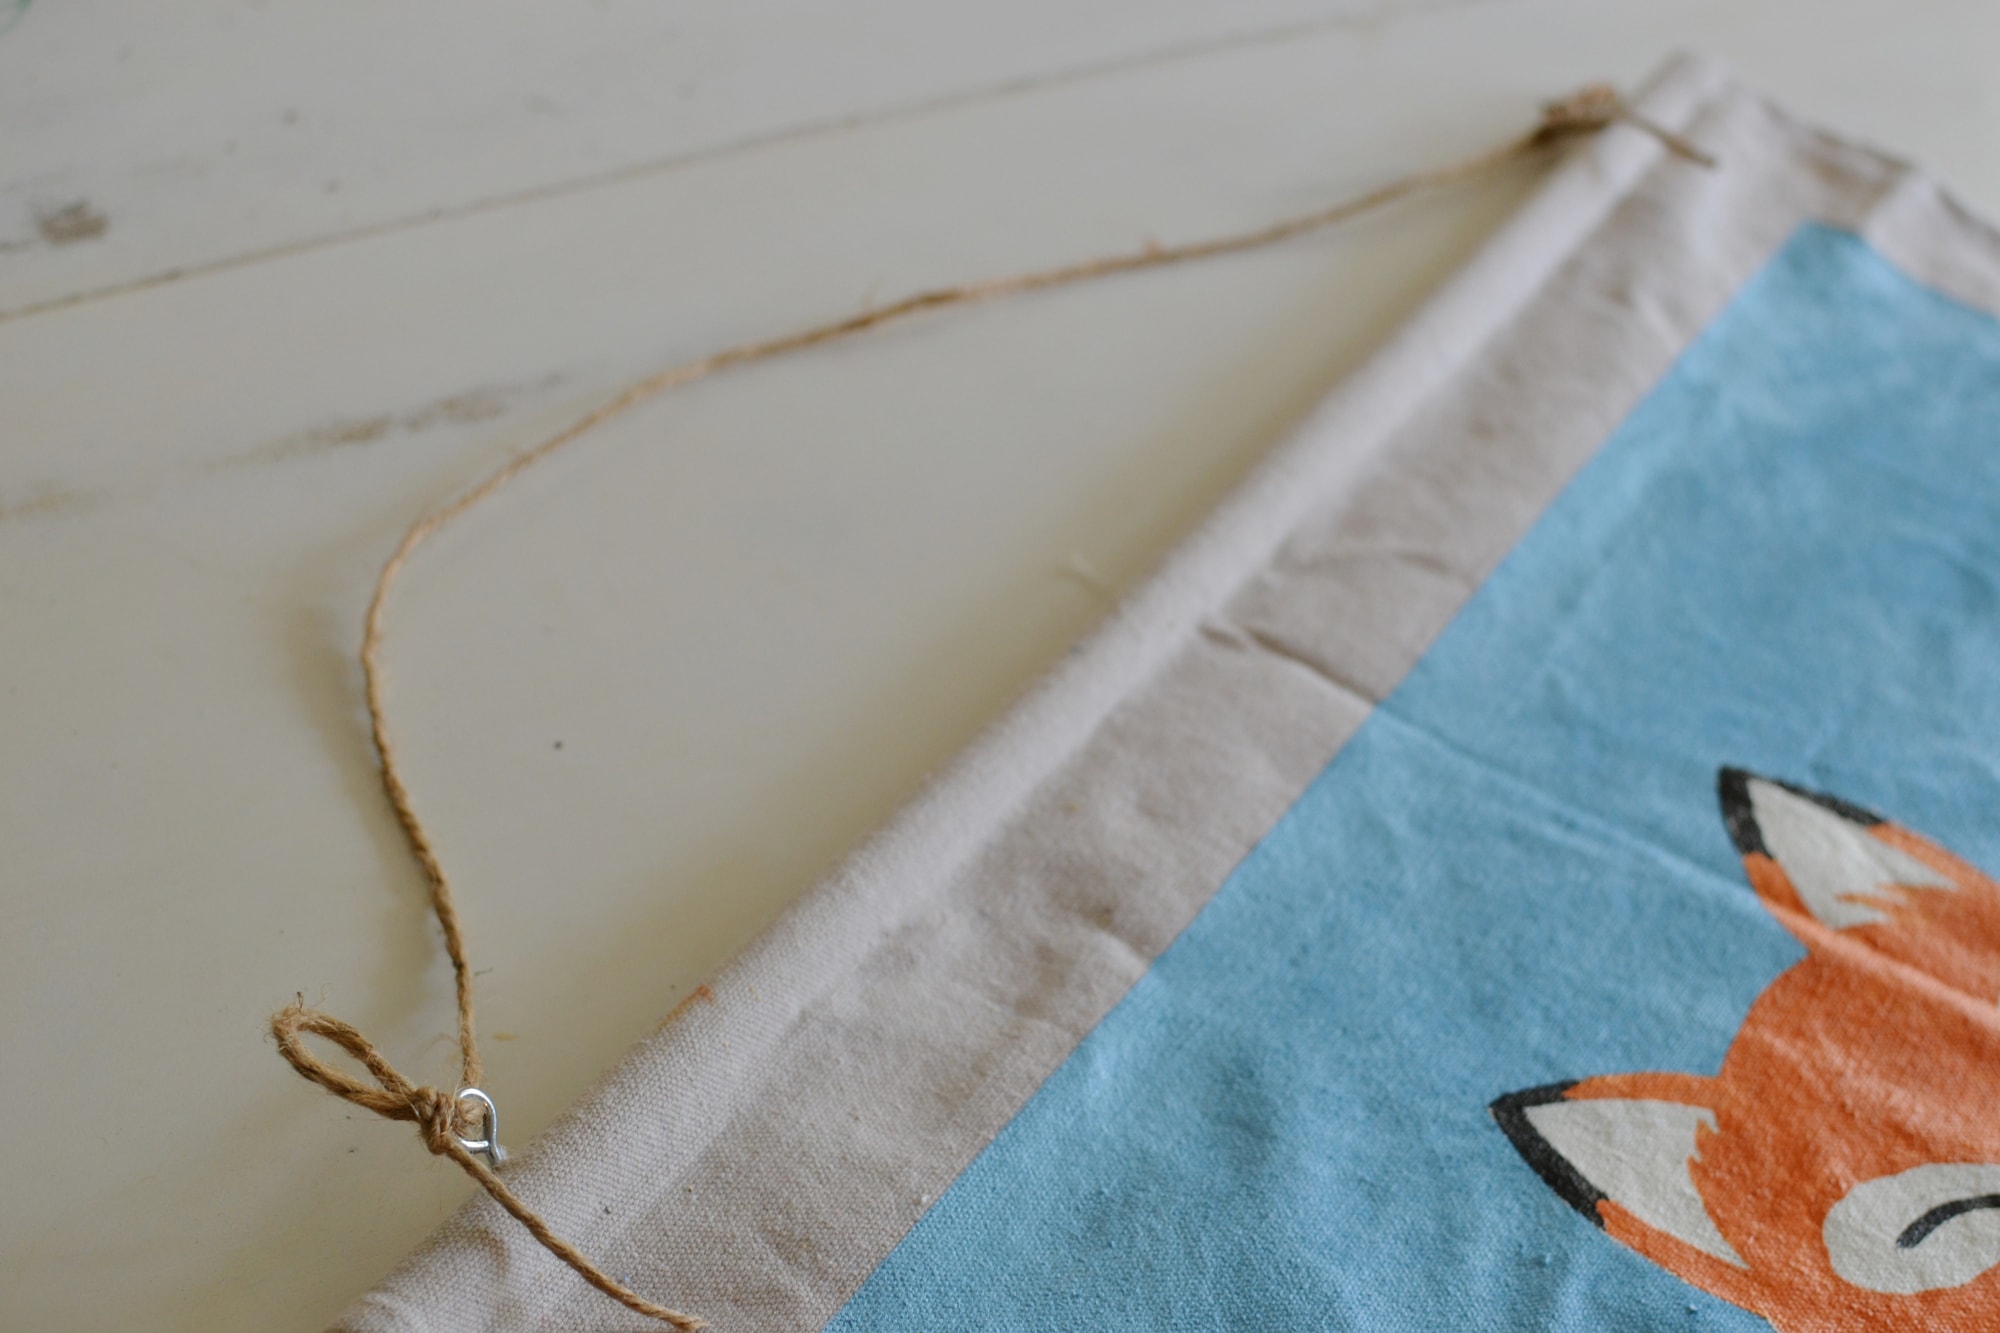
I added twine to hang the poster.
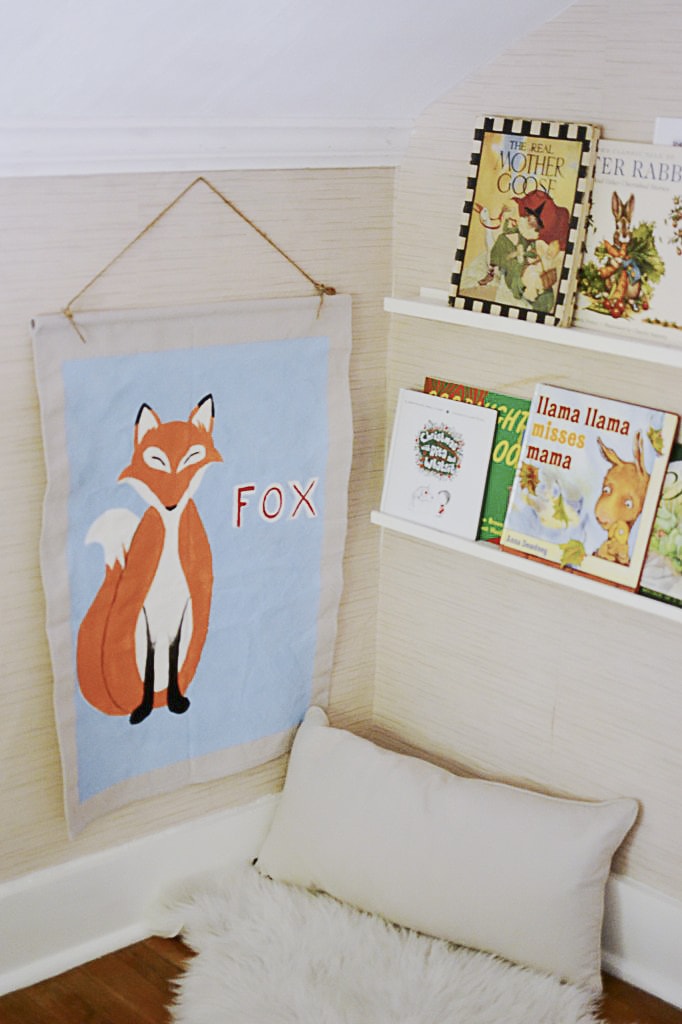
I love how this little poster turned out! It looks so cute in my son's little reading corner and adds such a fun pop of color!
Jillian
This is just too stinkin' cute! I am so impressed with your free hand abilities. You made it look so effortless, I made need to give it a go 🙂
Emily
Adorable Holly!
Shawnna
This is so cool!! So creative!
Kimm at Reinvented
So cute!! The perfect whimsical accent for a boy's room. I'm sure he loves it! 🙂