

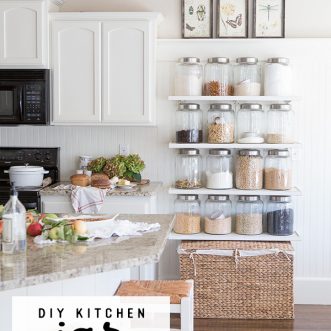
I am thrilled to be sharing the tutorial for my country store inspired kitchen shelves (that I shared HERE and HERE) today! I am sorry for the delay due to all of the construction around here. I was so overwhelmed and touched by the kind compliments about my shelves last week. You guys are the best! I am going to share our exact specs for these shelves, along with things I would do again, and things I would do differently.
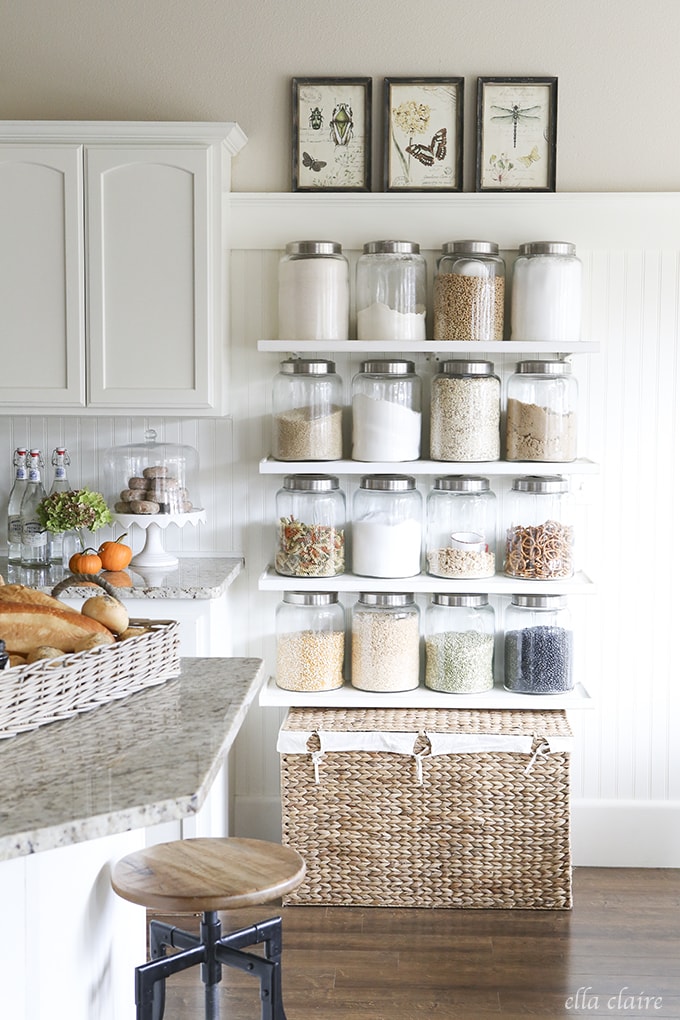
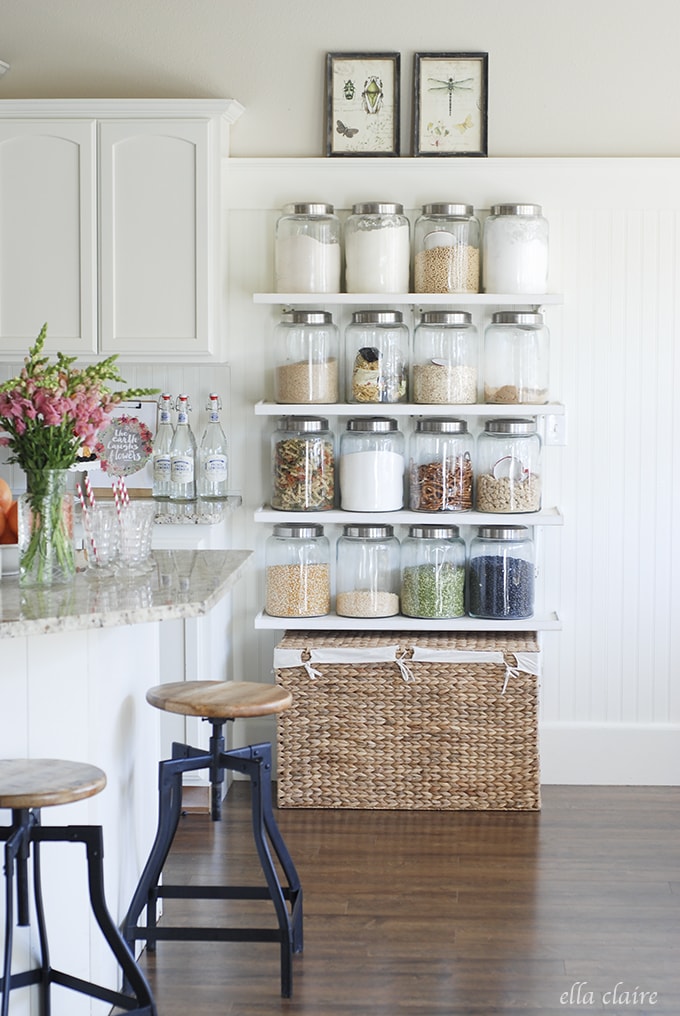
I started brainstorming ideas last year to help create more storage in our kitchen. Our pantry is teeny, tiny; the door is about half as wide as a regular door. Needless to say, I was constantly trying to find things and frustrated whenever I would end up dumping our bulk foods. We had talked about doing a little built in cabinet along this wall and it just did not fit in the budget with all of the other renovations. I had this idea to install shelves to hold big jars all lined up in rows. I love how it is clean lined and organized and has a fun nod to old country stores' shelves of penny candy jars. I love how it makes my kitchen look bigger and just adds so much character!
I have gotten numerous comments about how scary these shelves could be in a toddler/clumsy person/earthquake/etc. situation, and let me assure you, they are A LOT more safe than they seem! It is impossible to knock the jars off of the shelves unless you physically pick them up, lift them, pull them out, and throw them on the floor. But, I will explain more in the tutorial!
What you will need per shelf:
:: 1x12x37" pine board
:: 3 inexpensive metal brackets ($1-$2, Home Depot or Lowes)
:: roughly 62" of 1/4" by 1" Trim
:: 4 giant (138 oz) airtight jars (World Market)
:: Stud Finder, pencil, level
:: Airstrike Cordless Brad Nailer (Ryobi)
:: Drill with coordinating bit and screws
:: Paint (Nacre, Sherwin Williams)
:: Caulk and putty, sandpaper block
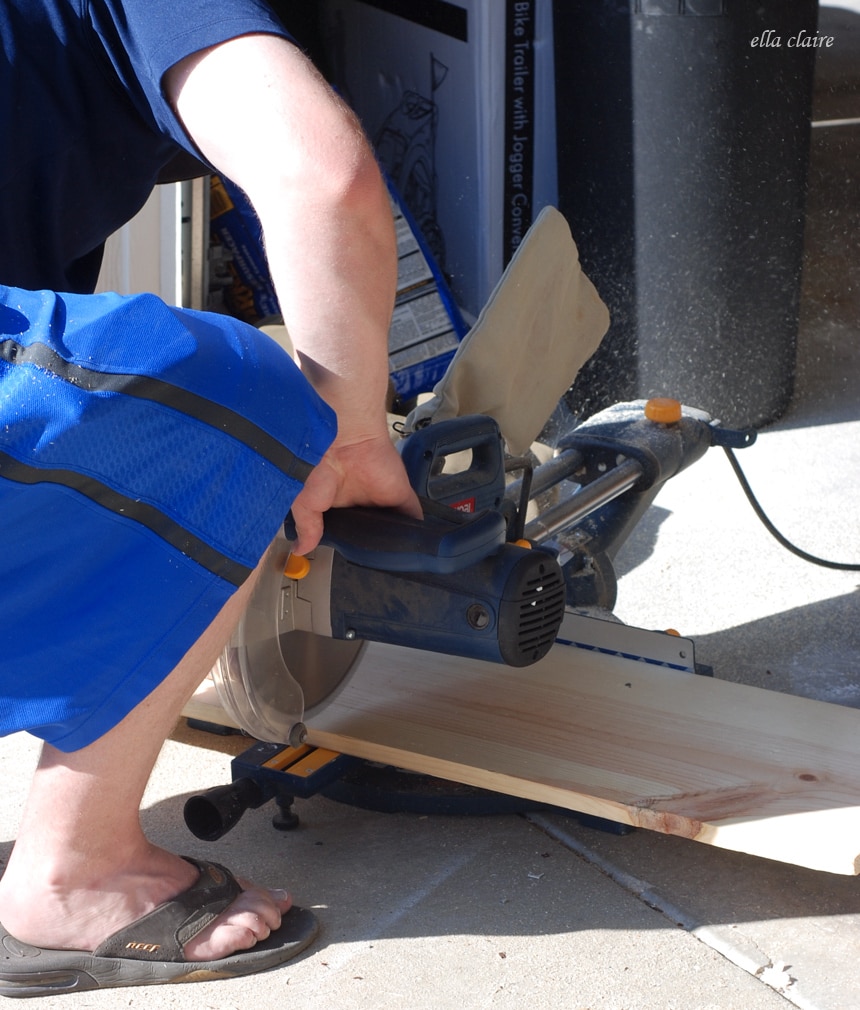
I started by purchasing the inexpensive 1x12" pine shelving boards, and had my hubby cut them down to size. In order to decide how long I wanted each of the shelves, I had him hold them up (for way too long...poor guy) and I eyeballed it. We made sure to measure where each of the studs were so we could be sure to sink the shelf brackets directly into the studs. With the weight that was going to be on them, we didn't want to mess around. So my dimensions ended up being 1x12x37" per shelf.

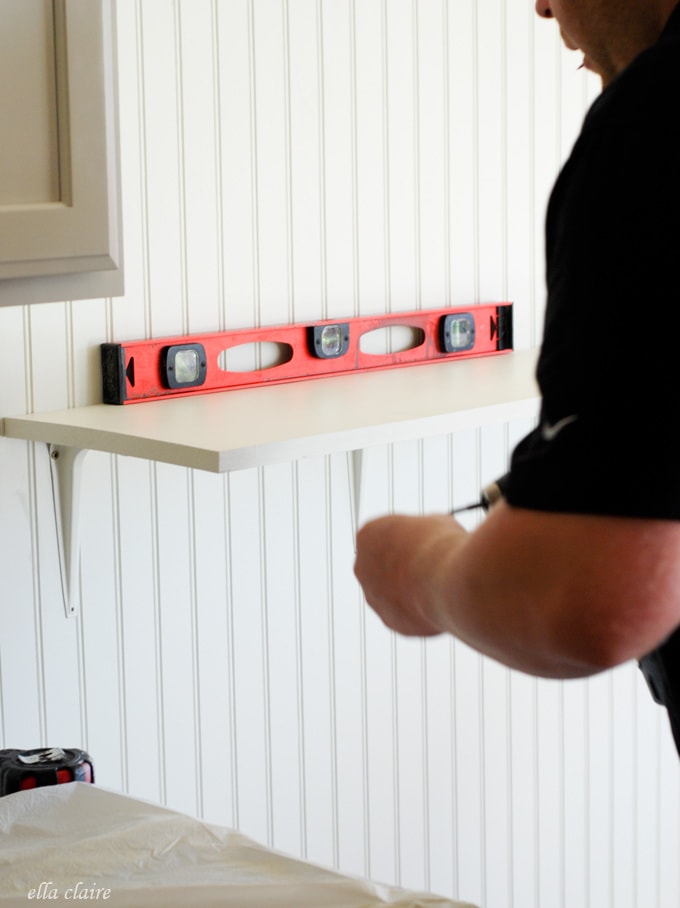
I painted each of the shelves and brackets the color of the beadboard we installed on the wall. Once dry, we measured the wall for where the studs were going to be (marked them for reference), and coordinately screwed the brackets into the shelves. It is much easier to screw your brackets into your shelves before screwing them into the wall instead of vice versa.
Lets talk about these brackets really quickly. They were inexpensive, super strong, and flat (no supporting bar). I am sure there are prettier ones out there, but you really can't see them when the jars are on the shelves, and I am very happy with their strength. I need to go back and paint the screws still... oops.
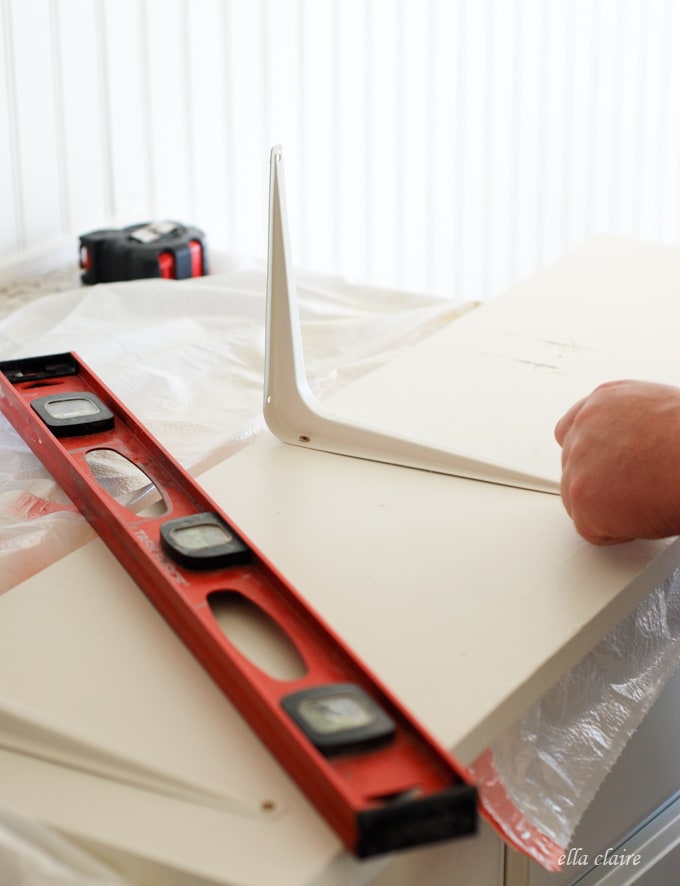
Next, we screwed the brackets into the wall, right into the studs, being very careful to level the shelves as we went. We hung the shelves 13 inches apart.
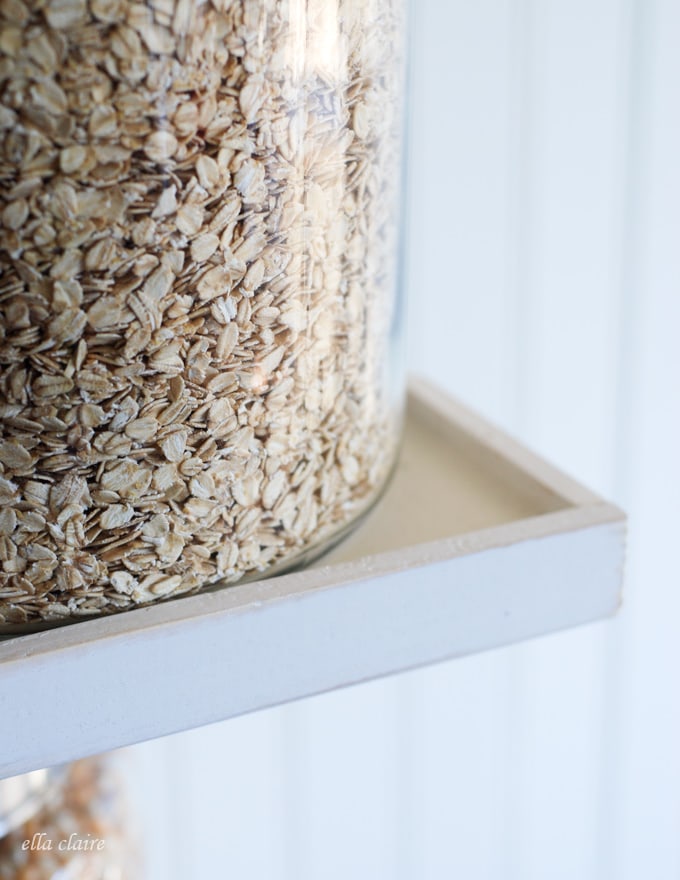
Once all 4 were installed, I trimmed them out with the 1/4" by 1" trim. I used a scrap piece of the trim to act as a reference for the lip height. I just placed it behind the piece I was trying to nail, and made the front piece flush to the back, removed the piece and nailed it into the shelf. This created that nice 1/4" lip to contain the jars.
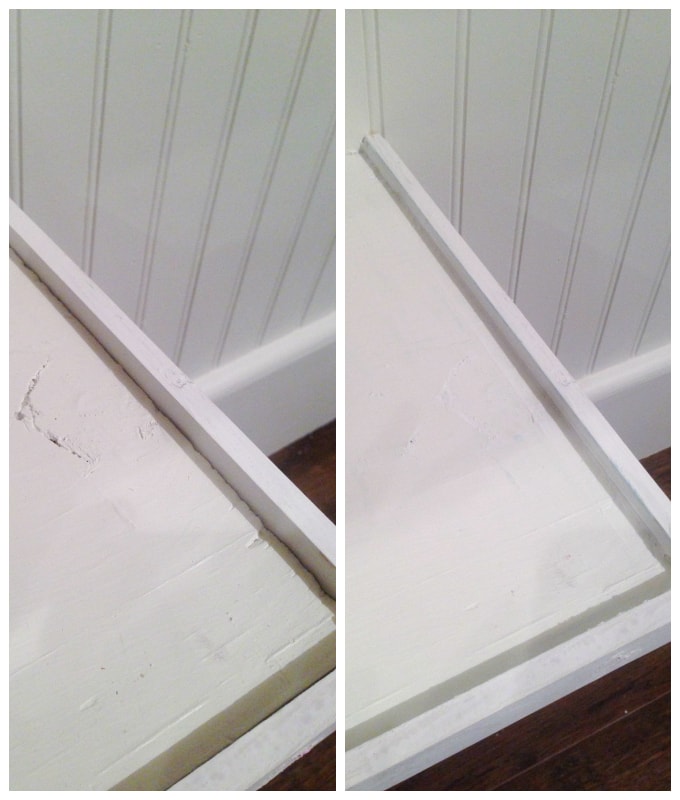
Now, if I had really thought about it ahead of time, I would have trimmed out my boards before we hung the shelves. They were so close to the cabinets that I couldn't use my nail gun to trim out the left side. It ended up working out perfectly, believe it or not, but I had to (ridiculously) jury rig the trim on that side with wood glue and strong painter's tape. I made sure to attach the front directly into those side pieces to help secure them as well. So far, so good. But, like I said, I probably should have done at least that side before hanging the shelves. (yes, these are terrible cell phone pictures. I was working late at night 🙂 And, yes, I left the jars on the shelves. I just worked around them. haha!)

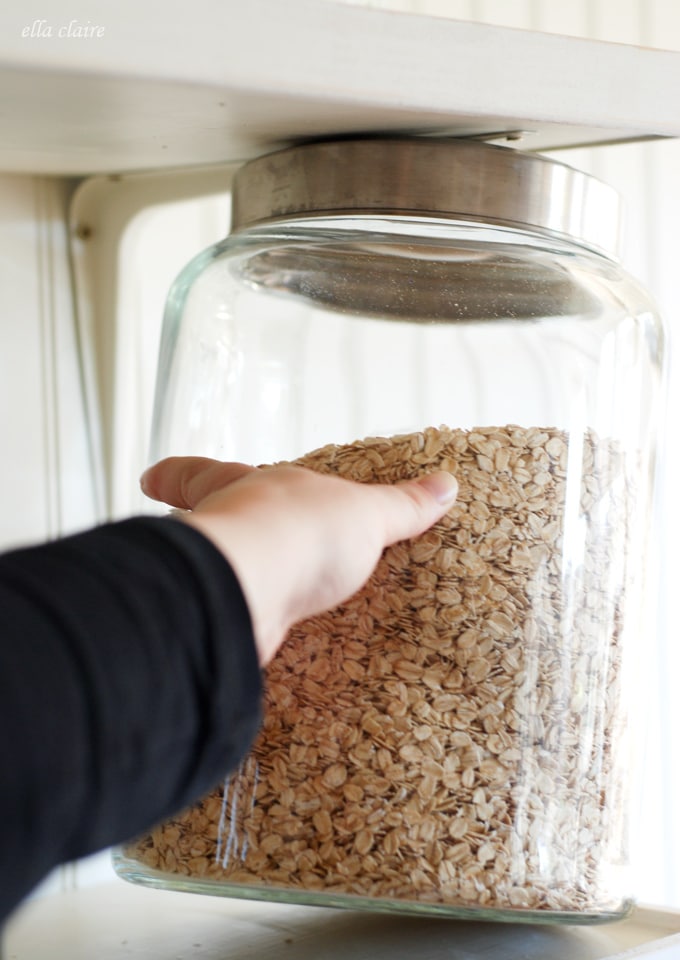
With the lip, and the spacing, and the brackets, it is impossible to casually knock the jars off of the shelves. You would have to pick them up, lift, pull and drop. Unless of course you are 8 feet tall, then maybe it would be slightly easier to elbow the ones off of the top shelf. So far, we haven't had anyone that tall in our home ;).
After I finished installing the moulding, I caulked and spackled all of the cracks. As you can see below (this is before I sanded) it is a very necessary step. I still need to touch up the paint. It is on the to-do list.
I LOVE having these shelves. The jars are filled with bulk foods that we use frequently and I absolutely love the convenience. Someone asked how my kids can get into the jars to get themselves snacks, and the answer is that they can't. I keep little baggies of portioned snacks in the pantry in a basket on the floor that they can have. I also keep little baggies on a shelf in the fridge with fruit, cheese, etc. I plan to store my extra platters in the basket under the shelves. I am actually hoping to find a basket that is a little longer so it can fit even more. I am also thinking I may Rub n' Buff the silver lids to make them darker to match my kitchen a little better. I would love to hear if you have had experience doing that and if you think it would be a good idea!

This is definitely my favorite project of our renovation!
You may also like:
 Free Spooky Black and White Halloween Printables
 Low Calorie Decadent Pumpkin Chai
Ru
You could always spray paint the lids to match your kitchen.
Colleen
I love this idea! And I also, love your stools. Where did you get them?
Tanya Cairns
Omgosh! This is exactly what my kitchen needs! I've been staring at this huge blank wall for way too long! Off to Home Depot! Thank you Kristen, you're a genius ♡
aussiebushgirl
I wouldn't touch those lids. They're a good contrast in the room and bring a bit of 'sparkle' and an added element of interest to the room. Brilliant storage idea! heather x
kalani
These are so lovely. Thanks for the tutorial. I wish I'd done this in our rental a few years ago. We've hung shelves in the bedrooms but never even thought about the kitchen where we are most desperate for space.
Kristen Whitby
That would have been a great idea for a rental Kalani!
RaSHelle
Where did you get those darling white and red scooping cups that are in the jars?
Kristen Whitby
They are vintage enamelware cups. I have just collected them over the years from yard sales and antique stores 🙂
Beth
You have a darling kitchen - love the shelves!! Can I ask where you found your counter stools??? I am having a terrible time finding some for my kitchen, and i really like the way yours look....thanks! 🙂
Kristen Whitby
Hi Beth! I am in the process of looking for some too! These are actually antiques and I need a bunch more!
Julie @ follow your heart woodworking
They look wonderful and well thought out.
Kristen Whitby
Thank you so much Julie!
Kristen Whitby
Thank you Julie!
Kristi Bennett
Love this. Thanks for sharing. Great tutorial.
Kristen Whitby
Thank you so much Kristi!
bethany
You are a genius. That little trim is so convenient and a great safety measure. I'm in love with these and really wish I had a wall to do this on!! Bravo to you and the man!
Andrea
Finally! I was trolling last night and so disappointed when I saw nothing! But I guess you posted late! Ha! Thanks!